manuals.online logo
Brands
  1. Home
  2. •
  3. Brands
  4. •
  5. Grandview
  6. •
  7. Projector Accessories
  8. •
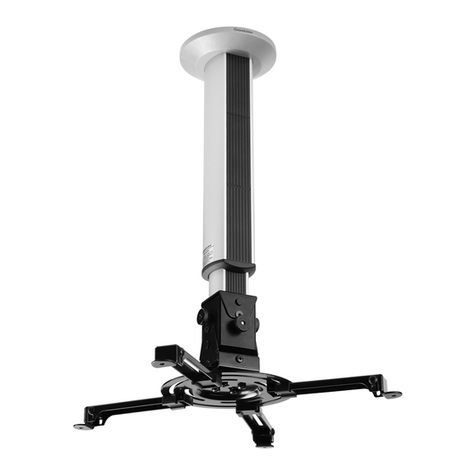
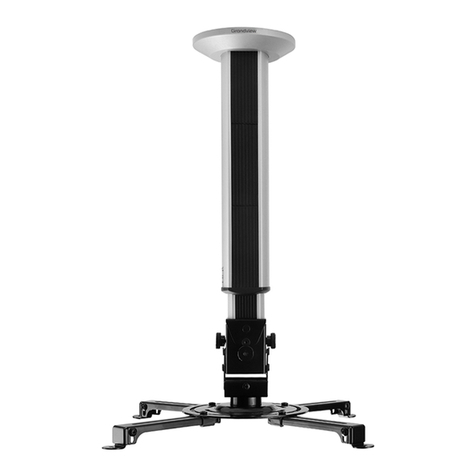
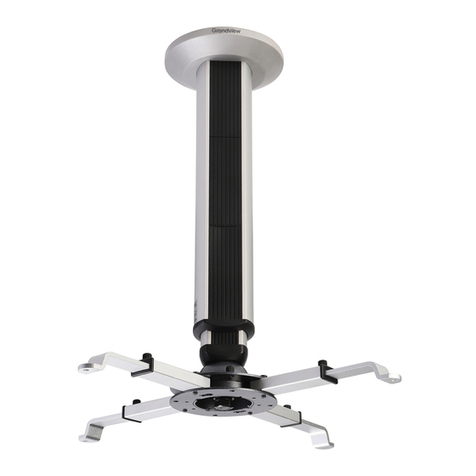
  9. Grandview GPCN- E200 User manual

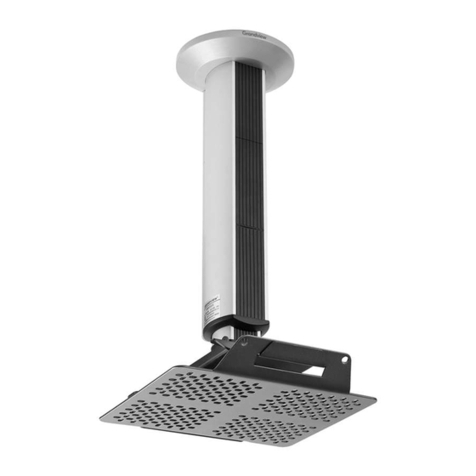
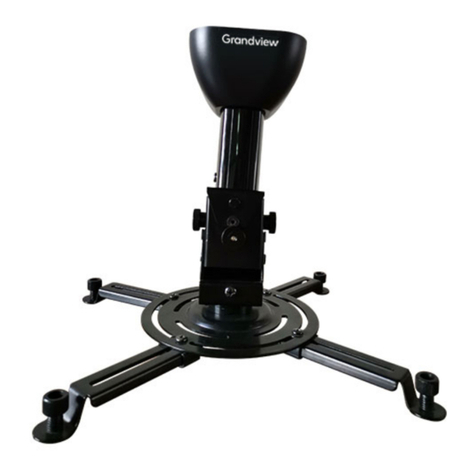
Grandview GPCN- E200 User manual

v e rt ic a l t il t:±1 5°
T he a ngle o f
T he n a g le o f
h or iz o nta l t ilt:±8°
R ot a tio n : 3 6 0 °
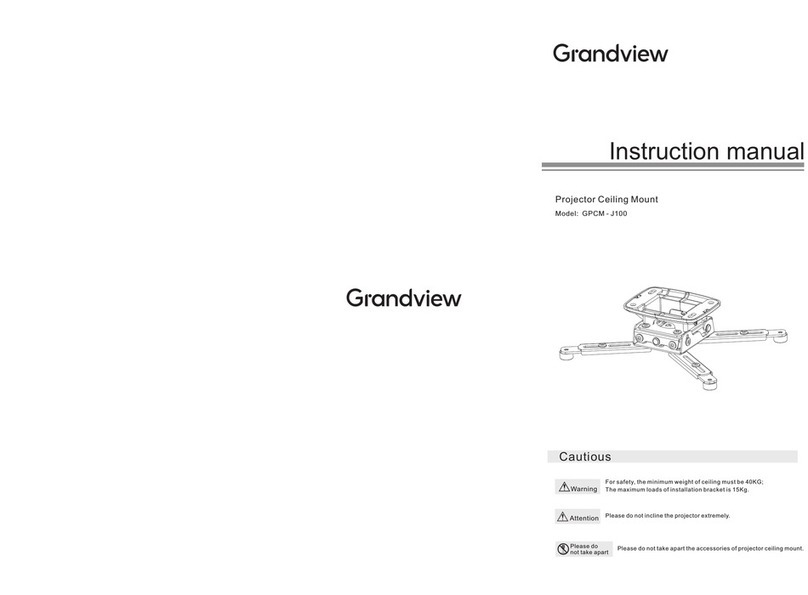
Instr uction Manual
GRANDVIEW REPRODUCING GENUINE COLORS
Cautious
Warnings F o r s a fe ty, th e m in im um we ig ht of c e ilin g mus t be 1 0 K G
Caution P le a s e d o not in c lin e th e p ro je c to r the e x tre m e ly .
Please do not take apart the accessories of projector
ceiling mount.
Do not
take apart
P roje c tor C e iling M oun t
A p plic a b le M ode l
G P C N - E 20 0
G P C N - E 3 0 /4 0
G P C N - E 4 0 /6 0
P le a s e r e a d b e fo r e us in g
Thank you for purchasing our
products. Please read the
instruction manual carefully
in order to ensure this
projector lift is suitable for
your projection equipment.
D e ta ils o f i ns ta lla tion
H e igh t A djus tm e nt
A dju s t th e m a in ba r ( 2- 1 ) to re quire d he ig h t a fte r ta king a pa rt the f r ont
o rna m e nt boa r d ( 2 - 3 ) a n d lo os e n in g th e fr ont po s itio ning s c r e w. A n d
th e n, re - ins ta ll the fro nt p os itio nin g s c r e w a n d the fr ont o r na m e nt
b oa r d ( 2 - 3 ) , fig u r e 1 0 . ( T h e h e ig ht o f G P C N - E 2 0 0 c a n n o t be
a d jus te d; th e m a in b a r o f G P C N - E 3 0 /40 is s e p e ra te d b y 4 s e g me n ts ,
e a c h s e g m e nt is 2 5 m m; th e m a in b a r o f G P C N - E 4 0 /6 0 is s e pe ra te d b y
8 s e gm e nts , e a ch s e gm e n t is 2 5 mm )
figu r e 1 0
A n g le A d ju s tm e n t
1 . V e rtic a l a d jus tme nt: r ota te the a d jus tin g bu tton (3 - 3 ) fo r v e rtic a l
a ngle , f ig u r e 1 1
2 . H o r i z o n ta l a d ju s tm e n t : r o ta t e th e a d j us t in g b u tto n ( 3 - 2 ) f o r
ho r iz onta l a n gle , f ig u re 1 2
3 . H o riz on ta l r ota tion a djus tm e nt: lo os e n the r ota tio n a djus tin g s c r e w
( 3- 4 ) , th e ins ta lla tion ba s e c a n b e r ota te d by 3 6 0 ° ; fa s te n th e r ota tion
a dju s tin g s c re w ( 3 - 4 ) a fte r d e c id in g t he a ngle , figu r e 1 3
figu r e 1 1 figu r e 1 2
figu r e 1 3
Ins ta lla tion o f m a in b a r
1 . F ir s tly , ple a s e c o nfirm ho w ma ny ins ta lla tion hole s th e p ro je c tor ha s ?
3 o r 4
2 .If the re a r e 3 h ole s , the ins ta lla tion a rm s ( 4 - 2) n e ed to be ta k e n a pa r t
fr om Ins ta lla tion bra c ke t fir s tly . C o nne ct 3 in s ta lla tio n a r ms ( 4- 2 ) to th e
pro je c to r, a n d t he n c o n n ec t the i ns ta lla tio n a r m s ( 4 - 2) t o th e i n s ta lla tion
ba s e ( 4 - 5 ) H o we ve r ,the in s ta lla tio n ba s e n e e ds to be the c e nte r of
proje cto r . F igur e 1 4 .
3 . C o nn e ct th e in s ta lla tion a r m s to the pr oje c to r c onv e rs e ly if th e
dis ta n c e of ins ta lla tion h o le s is le s s th a n 1 2 0 m m. C o nne c t the
in s ta lla tio n a r ms (4 - 2) to th e in s ta lla tion b a s e ( 4 - 5) v ia s lidin g
in s ta lla tion b utto n ( 4 - 4) a s f igure 1 5
4 . R o ta te th e a dju s ta ble nuts ( 4- 3 ) for a d jus ting th e he ig ht of ins tlla tion
a rm s ( 4 - 2) i f the i ns ta lla tio n h o le s a re n o t a t the s a me l e ve l a s f igure 1 6
5 .T h e fro nt or b a ck of a djus te r mus t be pa ra lle l to th e s u rfa c e of
proje cto r a s f igure 1 67
The front or back of
adjuster must be
parallel to the surface
of projector
figu r e 1 4
figu r e 1 5 figu r e 1 6
figu r e 1 7
Scope of
adjustment: 10mm
G randview C rystal
Screen C anada Ltd.
#11- 3751 North Fraser Way,
Marine Way Business Centre,
Burnaby, BC, Canada V5J 5G4
Tel: 1-604-412-9777
Fax: 1-604-412-9796
Website: www.grandviewscreen.ca
G uangzhou G randview
Crystal S creen C o., L td.
P.O. 511400 Federal Ind. Zone No. 363,
Yushan West Road,Shiqiao, Panyu
District, Guangzhou, Guangdong, China
Tel: +8620-8489-9499
Fax: +8620-8480-3343
Website: www.grandviewscreen.com
1-1
1-2
1-3
2-1
2-2
2-3
3-1
3-2
3-3 4-1
4-2
4-4
4-5 4-3
2-6
2-4
2-5
1
2
GPCN-E200 GPCN-E30/40 GPCN-E40/60
3-4
Perpendicular
to the ground
Parts
GPCN-E is combined by GPCN and GPE
GPCN Main Bar Overview
1-1 Top Cap
1-2 Fixation
1-3 Sliding Adjusting Hole
2-1 Main Bar
2-2 Subsidiary Bar
2-3 Front Ornament Board
2-4 Back Ornament Board of Main Bar
2-5 Back Ornament Board of Subsidiary Bar
2-6 Moving Button
GPE Adjusting
3-1 Adjuster
3-2 Horizontal Adjusting
Button
3-3 Vertical Adjusting
Button
3-4 Rotation Adjusting
Screw
4-1 Installation Bracket
4-2 Installation Arm
4-3 Adjustable Nut
4-4 Sliding Installation
Button
4-5 Installation Base
Overview
Accessories:
① 6x40 Wood Screw (4pcs)
② M5x12 Philips Screw (4pcs)
③ M5x10 Philips Screw (2pcs)
④ M5x8 Philips Screw (4pcs)
⑤ M3x30 Philips Screw (4pcs)
⑥ M4x30 Philips Screw (4pcs)
⑦ M5x30 Philips Screw (4pcs)
⑧ 6x40 Tapping Screw (4pcs)
Scope for installation (Installation hole of projector):
Maximum scope for installation:345mm diameter
Minimum scope for installation:45mm diameter
Note: Connect the installation arms to the projector conversely for different installation
holes of projector.
Scope
Maximum diameter: 345mm Minimum diameter: 45mm
Scope for installation (H is the distance between ceiling and projector)
The H of GPCN-E200 is 200mm
The H of GPCN-E30/40 is 300mm~400mm
The H of GPCN-E40/60 is 400mm~600mm
Scope
Install the fixation on the ceiling (screws of accessory ① or ⑧ ) as
figure 1, and the fixation also can be installed on the ceiling which
angle is less than 15°as figure 2. GPCN-E can be installed to the
concrete-roof with ceiling or without ceiling, such as figure 3 and
figure 4.
figure 1
figure 2
figure 4figure 3
Steps of installation
Connect the adjuster to GPCN Main Bar , and then fasten
the screws as figure 5. Afterward, slide the Adjustment Overview
(projecter has been installed) to adjuster, and the fasten the
screws (accessory ④) as figure 6.
Overview
figure 5
Details of installation
Wires collection
If the volume of power wire is less than diameter of main bar (2-1) that
please put this power cord inside the main bar directly. But if the volume
is greater than the diameter, please take apart back ormanent board
(2-4 and 2-5) and positioning button (2-6) from main bar (2-1)as figure
7. And then stay the power wire into the main bar (2-1). Finally, re-
install the back ornament board (2-4) from the other end, and then
install positioning button (2-6) and back ornament board (2-5), figure
9.
figure 7 figure 8 figure 9
figure 6
H
H
H

This manual suits for next models

5

Other Grandview Projector Accessories manuals

Grandview GPCM-F User manual

Grandview

Grandview GPCM-F User manual

Grandview GPAD42 Series User manual

Grandview

Grandview GPAD42 Series User manual

Grandview LS-MA III Series User manual

Grandview

Grandview LS-MA III Series User manual

Grandview Cyber Series User manual

Grandview

Grandview Cyber Series User manual

Grandview GPCM-E3540 User manual

Grandview

Grandview GPCM-E3540 User manual

Grandview GPAC76Series User manual

Grandview

Grandview GPAC76Series User manual

Grandview LS-Zxx User manual

Grandview

Grandview LS-Zxx User manual

Grandview Smart Screen User manual

Grandview

Grandview Smart Screen User manual

Grandview PE-L R3 Series Instruction Manual

Grandview

Grandview PE-L R3 Series Instruction Manual

Grandview CB-UY60 User manual

Grandview

Grandview CB-UY60 User manual

Grandview GPAD50 Series User manual

Grandview

Grandview GPAD50 Series User manual

Grandview Prestige PP R1 Series User manual

Grandview

Grandview Prestige PP R1 Series User manual

Grandview GPAD64 Series User manual

Grandview

Grandview GPAD64 Series User manual

Grandview Prestige PP R1 Series User manual

Grandview

Grandview Prestige PP R1 Series User manual

Grandview Smart combo 106H User manual

Grandview

Grandview Smart combo 106H User manual

Grandview GPCM-B User manual

Grandview

Grandview GPCM-B User manual

Grandview GPCN-E200 User manual

Grandview

Grandview GPCN-E200 User manual

Grandview U-WORK User manual

Grandview

Grandview U-WORK User manual

Grandview GPCD50 Series User manual

Grandview

Grandview GPCD50 Series User manual

Grandview PT-Uxx User manual

Grandview

Grandview PT-Uxx User manual

Grandview GPAD58 Series User manual

Grandview

Grandview GPAD58 Series User manual

Grandview GPCM-C User manual

Grandview

Grandview GPCM-C User manual

Grandview GPCM-J Series User manual

Grandview

Grandview GPCM-J Series User manual

Grandview CN-MI series User manual

Grandview

Grandview CN-MI series User manual

Popular Projector Accessories manuals by other brands

Optoma UHDCast Pro Basic user manual

Optoma

Optoma UHDCast Pro Basic user manual

Navitar SSW08 Dimensional drawing

Navitar

Navitar SSW08 Dimensional drawing

Solutions4AV ET-RFD40 installation instructions

Solutions4AV

Solutions4AV ET-RFD40 installation instructions

Barco R817211K installation manual

Barco

Barco R817211K installation manual

Epson ELPMB56 quick start guide

Epson

Epson ELPMB56 quick start guide

Sanyo MT-EDU101 Specifications

Sanyo

Sanyo MT-EDU101 Specifications

Da-Lite Tensioned Advantage Deluxe Electrol Instruction book

Da-Lite

Da-Lite Tensioned Advantage Deluxe Electrol Instruction book

Sanyo LNS-S03 - Zoom Lens - 97 mm Replacement /installation instructions

Sanyo

Sanyo LNS-S03 - Zoom Lens - 97 mm Replacement /installation instructions

PEERLESS PRG-EXA Specifications

PEERLESS

PEERLESS PRG-EXA Specifications

NorthVision VisionShare Series user manual

NorthVision

NorthVision VisionShare Series user manual

Barco ClickShare CSE-800 Installation guides

Barco

Barco ClickShare CSE-800 Installation guides

Navitar 376MCZ151 installation instructions

Navitar

Navitar 376MCZ151 installation instructions

Barco WePresent WiPG-1000 user guide

Barco

Barco WePresent WiPG-1000 user guide

Remaco PLT-416 installation guide

Remaco

Remaco PLT-416 installation guide

Sharp AN-F310LP installation manual

Sharp

Sharp AN-F310LP installation manual

Baseus WKCD010013 user manual

Baseus

Baseus WKCD010013 user manual

Kogan KAPRS100WA user guide

Kogan

Kogan KAPRS100WA user guide

AVer AW200 quick start guide

AVer

AVer AW200 quick start guide

manuals.online logo
manuals.online logoBrands
  • About & Mission
  • Contact us
  • Privacy Policy
  • Terms and Conditions

Copyright 2025 Manuals.Online. All Rights Reserved.