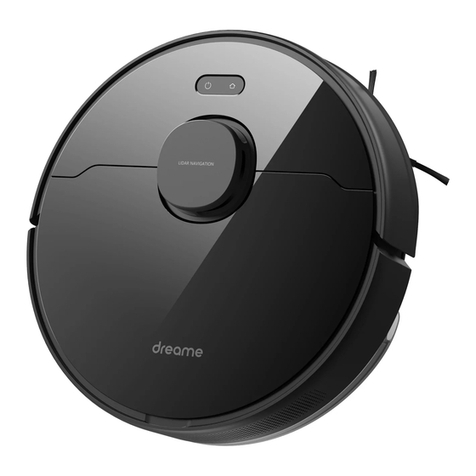
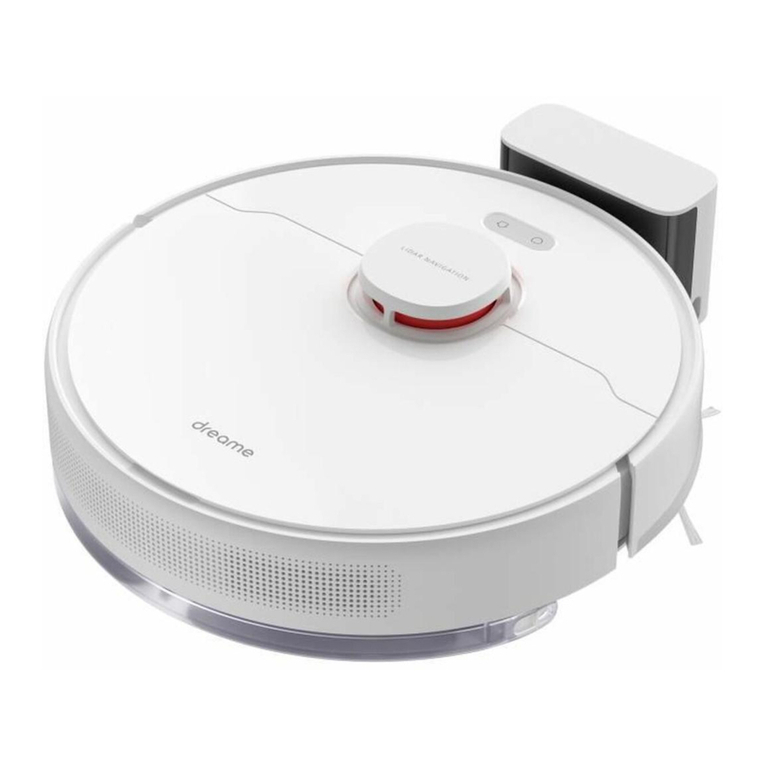
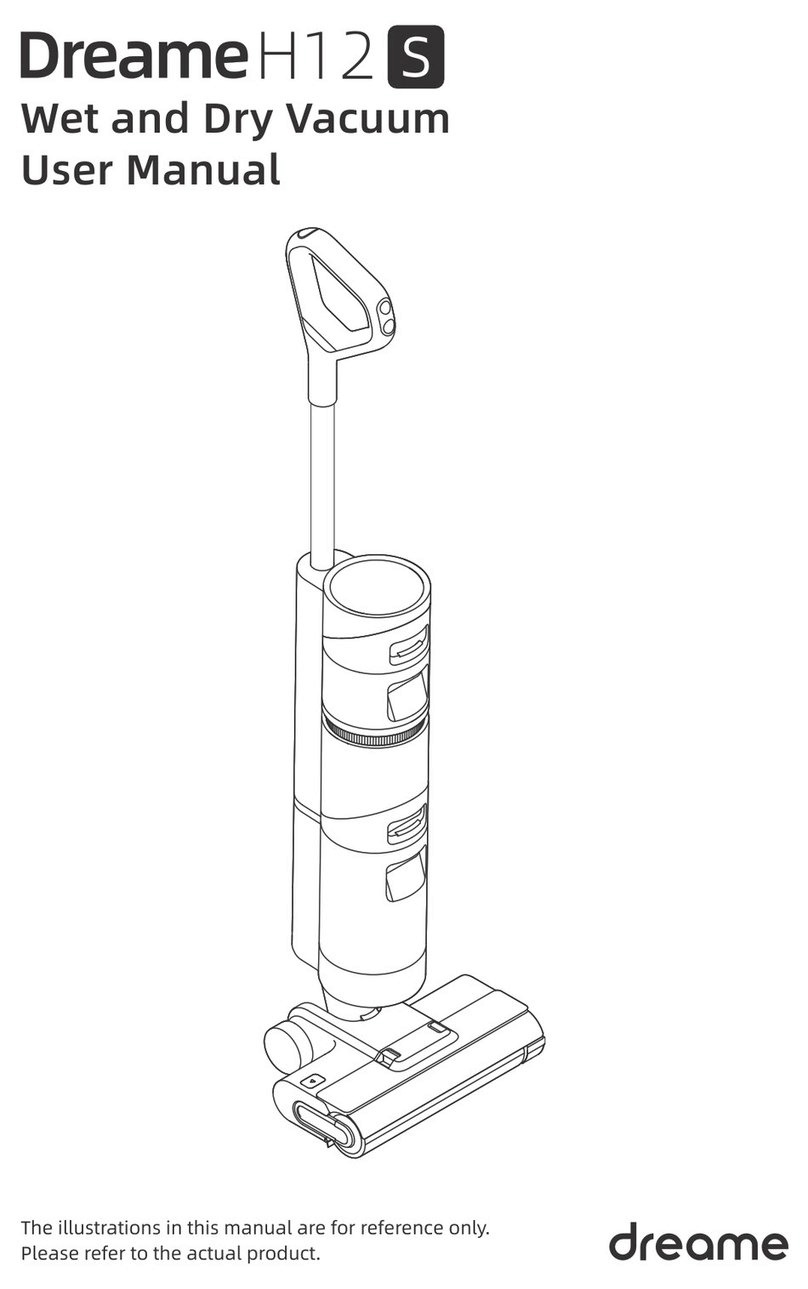
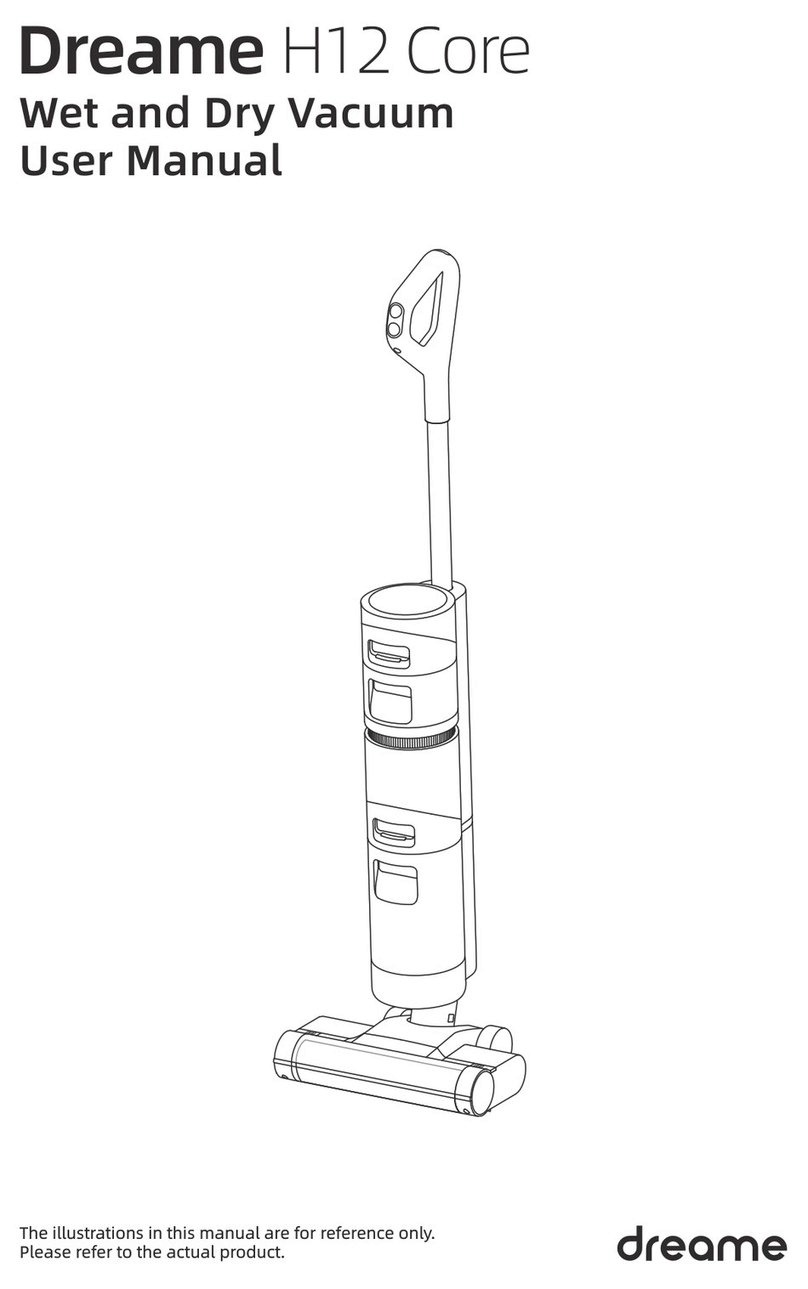
Dreame Bot D9 Max User manual

Robot Vacuum and Mop
User Manual
Read this manual carefully before use and keep it for future reference.
D9

EN
DE
FR
IT
ES
RU
PL
PT
SA
User Manual
Benutzerhandbuch
Manuel d’utilisation
Manuale utente
Manual de usuario
Руководство пользователя
Instrukcja obsługi
Manual do utilizador
1
20
39
58
77
96
116
135
154

1
EN
Usage Restrictions
Safety Information
This product can be used by children aged 8 years and above and persons with
physical, sensory, intellectual deficiencies, or limited experience or knowledge
under the supervision of a parent or guardian to ensure safe operation and to
avoid any risks. Cleaning and maintenance shall not be done by children without
supervision.
Children shall not play with this product. Ensure children and pets are kept at a
safe distance from the robot while it is operating.
This product is for floor cleaning in a home environment only. Do not use it
outdoors, on non-floor surfaces, or in a commercial or industrial setting.
Do not use the robot in an area suspended above ground level without a protective
barrier.
Do not use the robot at an ambient temperature above 40° C or below 0° C or on a
floor with liquids or sticky substances.
Pick up any cables from the floor before using the robot to prevent it from dragging
them while cleaning.
Remove fragile or small items from the floor to prevent the robot from bumping
into and damaging them.
Keep hair, fingers, and other body parts away from the suction opening of the
robots.
Keep the brush cleaning tool out of reach of children.
Do not place children, pets, or any item on top of the robot regardless of whether it
is stationary or moving.

2
EN
Usage Restrictions
Safety Information
Do not use the robot to clean any burning objects.
Do not vacuum hard or sharp objects.
Make sure the robot is turned off and the charging dock is unplugged before
cleaning or performing maintenance.
Do not wipe any part of the product using a wet cloth or liquids.
Please use this product in accordance with the instructions in the User Manual.
Users are responsible for any loss or damage that arise from improper use of this
product.

3
EN
Safety Information
Hereby, Dreame Trading (Tianjin) Co., Ltd. declares that the radio equipment type RLS5-BL1 is in compliance with Directive 2014/53/EU.
The full text of the EU declaration of conformity is available at the following internet address: www.dreame-technology.com
For detailed e-manual, please go to https://www.dreame-technology.com/pages/user-manuals-and-faqs
Batteries and
Charging
Do not use any third-party battery, charger, or charging dock. Use only with RCS0
supply unit.
Do not attempt to disassemble, repair, or modify the battery or charging dock on
your own.
Do not place the charging dock near a heat source.
Do not use a wet cloth or wet hands to wipe or clean the dock's charging contacts.
Do not improperly dispose of old batteries. Unneeded batteries should be
discarded at an appropriate recycling facility.
If the power cord becomes damaged or broken, stop using it immediately and
contact after-sales service.
Make sure the robot is turned off when being transported and kept in its original
packaging if possible.
If the robot will not be used for an extended period, fully charge it, then turn it off
and store in a cool, dry place. Recharge the robot at least once every 3 months to
avoid over-discharging the battery.
This product contains batteries that can only be replaced by qualified technicians
or after-sales service.

4
EN
Accessories
Note: The illustrations in this manual are for reference only. Please refer to the actual product.
Charging Dock
Water Tank Side Brush
Cleaning Tool Power Cord
Mop Pad
Product Overview

5
EN
Robot
Power/Clean Button
• Press and hold for 3 seconds
• Press to begin cleaning after the robot is powered on
Dock Button/Spot Clean Button
• Press to send robot back to the charging dock
• Press and hold for 3 seconds to start Spot Clean Mode
Status Indicator
• White: Cleaning/ Cleanup is completed/ Charging is
completed
• Blinking White: Return to dock to charge when the
battery power is not low
• Breathing White: Vacuum is charging when the battery
power is not low
• Blinking Orange: Return to dock to charge when the
battey power is low/Error
• Breathing Orange: Vacuum is charging when the battey
power is low
Product Overview

6
EN
Robot
Robot Sensors
Reset Button
• Press and hold for 3
seconds to restore the
robot to factory settings
Wi-Fi Indicator
Cleaning Tool
Air Outlet/Speaker
Returning-to-dock Sensor
Bumper
Laser Distance Sensor
Cli Sensor
Cli Sensor
Cli Sensor
Main Wheels
Main Brush
Charging ContactsCharging Contacts
Brush Guard Clips
Omnidirectional
Wheel
Side Brush
Product Overview

7
EN
Dust Bin Mopping Module
Charging Dock
Water Inlet
Water Tank
Mop Pad
Attaching Area
Filter
Bin Cover
Bin Clip
Signaling Area
Power Port
Charging Contacts
Water Tank Release Clip
Product Overview

8
EN
> 0.5 m
> 0.5 m> 1.5 m
Note:
• Fully charge your robot before rst-time use.
• Don't install the mopping module while charging. Be extra careful with
wet mop as it can damage the oor.
1. Remove the protective lm 3. Place the charging dock on the level ground
against the wall and connect it to a power outlet
2. Install the side brush
Click
4. Place the robot onto the charging dock to
recharge. The robot will turn on automatically and
begin recharging
Note:
• Keep the immediate area 1.5m in front of the charger and 0.5m to both
sides of the charging dock clear of objects.
• To ensure you can connect to the robot with your phone well, make sure
the robot and charging dock are within the range of Wi-Fi.
• Do not place the charging dock in an area with direct sunlight or where
other objects might block the signal, as this may hinder the robot from
returning to the charging dock.
Note: Install the side brush until it clicks into place.
Preparation Before Use
Remove the protective lms on the robot.
Tidy up Any
Loose Cord
Battery Level Indicator
• White: Battery level
is more than 15%
• Orange: Battery
level is less than 15%

9
EN
xxxxxxx’home
No home environment info
Devices Rooms
Scanning for devices nearby...
What should I do if I cannot scan for
devices?
1.Download the Mi Home/Xiaomi Home App 3. Reset Wi-Fi
2.Add Device
This product works with the Mi Home/Xiaomi Home app. * Use the Mi Home/Xiaomi Home app to control your device and to interact with
other smart home devices.
Scan the QR code to download and install the app. You will be
directed to the connection setup page if the app has been installed
already. Alternatively, search "Mi Home/Xiaomi Home" in the app
store to download and install it.
Note:
• Only 2.4GHz Wi-Fi is supported.
• The version of the app might have been updated. Please follow the
instructions based on the current app version.
Note: If your robot cannot connect to the app successfully, reset the Wi-Fi
and add the device again.
Simultaneously press and hold the buttons and until
you hear a voice say, "Waiting for the network conguration."
Once the Wi-Fi indicator is blinking slowly, the Wi-Fi has been
successfully reset.
Open the Mi Home/Xiaomi Home app, and tap " " in the upper
right. Then tap " " in the top right corner, scan the QR code,
add "Dreame Bot D9 Max", and follow the prompts to nish the
connection.
Connecting with Mi Home/Xiaomi Home App
Wi-Fi Indicator
• Blinking slowly: To be
connected
• Blinking quickly:
Connecting
• On: Wi-Fi connected

10
EN
1. Turn On/O
4. Pause/Sleep Mode
5. Do Not Disturb Mode
2. Start Cleaning
Press and hold the button for 3 seconds to turn on the robot.
Once the power indicator turns solid white, the robot is in standby
mode. To turn o the robot, press and hold the button for 3
seconds when the robot is not moving. Turning o the robot will
end the current cleaning task.
3. Cleaning Mode
Dreame Bot D9 Max has four cleaning modes: Quiet, Standard,
Strong and Turbo. The default mode is Standard. You can specify
the cleaning mode in the Mi Home/Xiaomi Home app.
Pausing: Press any button to pause the robot during cleaning.
Sleep Mode: The robot will automatically enter Sleep Mode after
10 minutes of inactivity, then the power and charging indicators
will go o. To wake up the robot, press any button.
Do Not Disturb Mode prevents the robot from automatically
starting cleaning tasks, and the power indicator remains o. You
can enable Do Not Disturb Mode or modify its hours in the app.
(The mode is on by default from 22:00 to 08:00.)
Press the button briey to turn on the robot. Upon activation,
the robot will accurately map out a route, methodically clean
along the edges and walls, then nish by cleaning each room in
an S-shaped pattern to ensure a thorough job.
Note: If the battery is too low, the robot will automatically return to the dock
to charge. It will resume unfinished cleaning tasks after charging to the
necessary battery level.(The breakpoint continuous cleaning function must
be enabled on the app in advance.)
Note:
• The robot will turn o automatically if left in Sleep Mode for more than 12
hours.
• When the robot is paused, placing it onto the charging dock will end the
current cleaning task.
Note:
• Scheduled cleaning tasks will still be carried out during the DND period.
• The robot will continue cleaning after the DND period ends.
How to Use

11
EN
6. Spot Clean Mode 7. Scheduled Cleaning
8. Additional App Functions
You can schedule cleaning time in the Mi Home/Xiaomi Home
app. The robot will automatically start cleaning at the designated
time and then return to the charging dock to recharge when the
cleaning is done.
Follow the instructions on the app interface to use more
functions.
The version of the app might have been updated; please follow
the instructions based in the current app version.
Note: Activating Spot Clean Mode will end the current cleaning task of the
robot.
When the robot is paused or in Standby Mode, press and hold the
button for 3 seconds to start Spot Clean Mode. In this mode,
it will clean a square-shaped area of 1.5 ×1.5 meters directly
around the robot. When the spot cleaning is done, the robot will
automatically return to its original location and power o.
How to Use
1.5 meter
1.5 meter

12
EN
9. Use the Mopping Function
It is recommended that all oors are vacuumed at least three times before
the rst mopping session to achieve a better cleaning eect.
1) Dampen the mop pad and wring out excess water. Slide the
pad all the way into the slot of the water tank until it is securely in
place.
3) Align the mopping module as indicated by the arrow, then
slide it into the back of the robot until it clicks into place. Press the
button or use the Mi Home/Xiaomi Home app to start cleaning.
2) Open the water tank lid, ll the tank with water, then securely
close the lid. 4) Press the two side clips inwards and slide the water tank
backwards to separate it from the robot.
Note:
• It is not recommended to use the mopping function on carpets.
• Use the app to adjust the water ow as required.
Note: Do not use detergent or disinfectant.
Note: When the robot is charging or not in use, remove the mopping
module, pour out all the remaining water in the tank, and clean the mop
pad to prevent mildew or odor.
Click
Click
How to Use

13
EN
Clean the Dust Bin and Filter
1. Open the robot cover, then press the dust bin clip to remove the
dust bin.
2. Open the dust bin cover as indicated by the diagram.
3. Remove the lter and tap its basket gently.
4. Rinse the dust bin and lter with water until they are clean.
Thoroughly dry the lter before re-installing.
Note: Do not attempt to clean the lter with a brush or nger.
Note:
• Only clean water should be used to clean the lter. Do not use detergent.
• Keep it in a well-ventilated or cool place.
Routine Maintenance

14
EN
Clean the Mopping Module
1. Press the two release clips on the side of water tank, remove the
mopping module and pull the mop pad o the mopping module.
3. Clean the mop pad with water only and leave to air dry before
re-installing.
2. Pour out the water in the tank. Clean with water only and leave
to air dry before re-installing.
4. If slow water ow occurs, or the volume is not well-distributed,
please clean the air hole in the cover of the water tank.
Note: Do not expose the tank to the sun directly.
Note:
• Remove the pad from the mopping module before cleaning it, and make
sure dirty water does not ow back into the water outlet to avoid clogging.
• For optimal performance, it is recommended to replace the mop pad every
3 to 6 months.
Routine Maintenance

15
EN
Clean the Main Brush
Clean the Side Brush
Clean the Main Wheel / Omnidirectional Wheel
Press the brush guard clips inwards to remove the brush guard
and lift the brush out of the robot.
Pull out the side brush and use the included cleaning tool to
remove any hair tangled on the brush.
Pull out the brush cover as shown in the diagram. Use the
included cleaning tool to remove any hairs tangled in the brush.
Note: Use a tool such as a small screwdriver to separate the axle and the tire.
Routine Maintenance

73
IT IT
Pulizia del Sensore laser di distanza/
sensore del ritorno in carica
Pulire il contatto della carica
Pulizia del sensore di dislivello
Nota: Si prega di usareun panno asciutto per la pulizia, in quanto il dispositivo principale e l'interno della stazione di ricarica contengono elementi sensibili. Non
usare panni bagnati per evitare l'insorgere di danni causati dall'acqua.
Batteria
Il robot contiene una batteria agli ioni di litio ad alte prestazioni.
Assicurarsi che l'apparecchio resti carico durante l'utilizzo
quotidiano per mantenere le prestazioni ottimali della batteria.
Se il robot non viene utilizzato per lungo tempo, spegnerlo
e conservarlo. Per evitare danni da scaricamento eccessivo,
ricaricare il robot almeno una volta ogni tre mesi.
Riavvio del robot
Se il robot smette di rispondere o non può essere spento,
tenere premuto il pulsante per 10 secondi per forzarne lo
spegnimento. Quindi tenere premuto il pulsante per 3 secondi
per riaccendere il robot.
Manutenzione quotidiana

74
IT IT
Problemi comuni
Problema Soluzione
Il robot non si accende
Il livello della batteria è basso. Ricaricare il robot sulla stazione di ricarica, e poi riprovare.
La temperatura ambientale è troppo bassa (meno di 0° C) o troppo alta (oltre 40℃ ). La
temperatura di funzionamento va da 0° C a 40℃ .
Il robot non si ricarica
La stazione di ricarica non riceve alimentazione. Vericare che entrambe le estremità del cavo di
alimentazione siano collegate correttamente.
Problema sui terminali. Pulire i terminali di ricarica della stazione di ricarica e del robot.
Il robot non ritorna alla stazione di ricarica
Ci sono troppi ostacoli intorno alla stazione di ricarica. Posizionare la stazione di ricarica in una
zona più libera.
Pulire il ricevitore della stazione di ricarica.
Il robot non funziona bene Spegnere e riaccendere il robot.
Il robot fa uno strano rumore Potrebbe essersi incastrato un oggetto estraneo in una delle spazzole o in una delle rotelle
principali. Spegnere il robot e rimuovere eventuali residui.
Il robot non pulisce più con la stessa ecienza di
prima o lascia polvere dietro di sé
Il raccogli-polvere è pieno. Svuotarlo.
Il ltro è intasato. Pulirlo.
Un oggetto estraneo si è incastrato nella spazzola principale. Eliminarlo.
Il robot non riesce a collegarsi al Wi-Fi
La connessione Wi-Fi potrebbe non essere stabile. Resettare il Wi-Fi e scaricare l'ultima versione
dell'app Mi Home/Xiaomi Home, poi provare a riconnetterti.
L'accesso alla posizione non è stato autorizzato. Assicurarsi che l'accesso alla posizione sia stato
autorizzato sull'app MI HOME.
Il segnale Wi-Fi è troppo debole. Assicurarsi che il robot sia in una zona coperta dal segnale
Wi-Fi.
La frequenza 5 Ghz del Wi-Fi non è supportata. Assicurarsi che il robot sia connesso alla banda
Wi-Fi 2.4 Ghz.
Il nome utente o la password del Wi-Fi non sono corretti. Assicurarsi di aver inserito le
informazioni corrette.

75
IT IT
Problemi comuni
Problema Soluzione
Il robot non eettua la pulizia programmata Il robot ha la batteria scarica. La pulizia programmata non inizierà a meno che il robot non sia
stato ricaricato in tempo.
Il robot continua a consumare energia anche
quanto si trova sulla stazione di ricarica
Se il robot viene lasciato sulla stazione di ricarica, il consumo di energia sarà minimo e ciò
contribuirà a salvaguardare la batteria per garantirne prestazioni ottimali.
Dal modulo di lavaggio non esce acqua o ne esce
poca
Vericare che nel serbatoio d'acqua ci sia acqua.
Pulire il panno se diventa stroppo sporco.
Accertarsi che il panno di lavaggio sia installato correttamente facendo riferimento al manuale
d'uso.
Si raccomanda una pulizia sistematica del foro d'aria sul coperchio del serbatoio d'acqua.
Il robot non riprende automaticamente la pulizia
dopo essersi ricaricato
Accertarsi che il robot non sia impostato sulla modalità ND (Non disturbare) che ne impedisce la
ripresa della pulizia.
Il robot non ritorna sulla stazione di ricarica dopo
essere stato spostato
Lo spostamento del robot potrebbe alterarne la capacità di riconoscimento dello spazio
circostante. Se il robot è troppo lontano dalla stazione di ricarica, potrebbe non riuscire a tornare
automaticamente alla stazione di ricarica da solo, nel qual caso sarà necessario posizionarlo
manualmente su di essa.
Other manuals for Bot D9 Max
2
Table of contents
Languages:
Other Dreame Vacuum Cleaner manuals

Dreame
Dreame DreameBot L20 Ultra User manual

Dreame
Dreame DreameBot D10s User manual

Dreame
Dreame DreameBot D10 Plus User manual

Dreame
Dreame Bot Z10 Pro User manual

Dreame
Dreame T20 Pro User manual

Dreame
Dreame DreameBot L20 Ultra User manual

Dreame
Dreame H11 MAX User manual

Dreame
Dreame V10 Installation guide

Dreame
Dreame U10 User manual

Dreame
Dreame H12 User manual