manuals.online logo
Brands
  1. Home
  2. •
  3. Brands
  4. •
  5. Drive
  6. •
  7. Bathroom Aid
  8. •
  9. Drive Solido T User manual

Drive Solido T User manual

Reinigung/Wartung
Cleaning / Maintenance
Die Saugteller immer von Öl, Staub und
Schmutz frei halten. Zur Reinigung der
Sauger haushaltsübliche Reiniger verwen-
den (kein Essigreiniger). Die Saugteller
niemals längere Zeit dem direkten Sonnen-
licht aussetzen, ansonsten verlieren sie ihre
Elastizität. Die Saugteller auf möglichen
Verschleiß/Alterung überprüfen. Sind die
Sauger beschädigt, umgehend ersetzen.
Always keep the rubber discs clear of oil and
dust. Clean the rubber discs with standard
household detergents (no acetic cleaner).
Never expose the rubber discs to direct
sunlight for longer periods otherwise they will
quickly lose their elasticity. Check the rubber
discs for possible deterioration.
If the suc-
tion cups show damage, replace imme-
diately.
Technische Daten
Technical Data
Art.-Nr. –Art. No.
660 100 400
660 100 500
660 100 600
Max. Belastung –Max. load:
70 kg
70 kg
70 kg
Ø Sauger –Ø suction cups:
120 mm
120 mm
120 mm
Gesamtlänge –Length over all:
440-570 mm
560-690 mm
665-780 mm
Länge Grifffläche –Space for hand:
210-340 mm
330-460 mm
425-555 mm
Abstand zur Wand –Distance wall:
35 mm
35 mm
35 mm
Farbe –Color:
weiß –white
weiß –white
weiß –white
Gewicht –Weight:
0,8 kg
0,9 kg
1,1 kg
Material Griff –Material grip:
Kunststoff PP -High-quality plastic PP
Material Saugteller –
Material suction cups:
NBR
Material Innere Mechanik –Material
inner parts:
VA (stainless steel)
Garantie
Warranty
Die Gewährleistung beträgt 24 Monate ab
Kaufdatum.
We issue a warranty of 24 months from date
of purchase.
Irrtum und Änderungen aufgrund von tech-
nischen Verbesserungen und Designände-
rungen vorbehalten.
Subject to technical alterations.
Stand 10/2009
As per: 10 / 2009
Drive Medical GmbH & Co. KG * Leutkircher Str. 44 * D-88316 Isny / Allgäu
Tel. 0049 (0) 7562-9724-0 * Fax 0049 (0)7562-9724-25 * mail info@drivemedical.de
Drive Medical Ltd. * Ainley’s Industrial Estate; Elland * GB West Yorkshire HX5 9JP
Phone +44 1422-314488 *· Fax +44 1422-314489
Gebrauchsanweisung
Operating manual
Saughaltegriff
Solido T, ausziehbar
Suction Cup Grab bar
Solido T, adjustable
www.drivemedical.de
www.drivemedical.co.uk
Indikation
Indication
Für Personen, die wegen reduzierter phy-
sischer Funktionen (z. B Instabilität im
Stehen und/oder reduzierter Funktion von
Muskeln) nicht im Stande sind, Badewan-
ne oder Dusche für die tägliche persönli-
che Hygiene ohne Unterstützung zu ver-
wenden.
For persons who are not able to use bath
tub or shower for daily personal hygiene
without support of medical devices due to
reduced physical functions e.g. instability in
standing and/or reduced function of mus-
cles of the lower extremities
Lieferumfang
Product Contents
Haltegriff inkl. 2 Saugtellern. Der Saug-
Haltegriff ist gebrauchsfertig.
Suction grab bar with 2 suction cups.
Suction grab bar is ready for use.
Montage
Assembling
Die Montage erfolgt ohne Werkzeug. Saug-
teller und Untergrund, auf dem der Saughal-
tegriff angebracht werden soll, überprüfen
und sorgfältig reinigen. Saugteller fest auf
den Untergrund drücken. Die Befestigungs-
hebel am Haltegriff müssen geöffnet sein
(nach innen zeigend) und der ganze Saug-
teller muss vollflächig auf dem Untergrund
aufliegen.
(1)
Die Saugteller müssen jeweils komplett auf
einer Fliese bzw. dem Untergrund aufliegen,
so dass keine Fuge überdeckt wird bzw. die
Auflagefläche unterbrochen wird (siehe 1).
Die Sauger sollten mindestens 1-1,5 cm von
der Fuge entfernt positioniert sein. Zum
Festsaugen der Sauger am Untergrund)
Hebel rechts und links am Griff nach außen
(siehe 2) umlegen. Der Widerstand durch
den Unterdruck muss deutlich am Befesti-
gungshebel spürbar sein. Je größer der
spürbare Widerstand, umso besser die Haf-
tung des Haltegriffes. Falls die Haftung un-
zureichend ist, den Haltegriff über die bei-
den Befestigungshebel lösen und den Griff
erneut anbringen.
Wenn keine ausreichende Haftung erzielt
wird, darf der Griff nicht benutzt werden !
Assembling requires no tools. Check the
vacuum suction discs and the surface it is
to be attached to. Clean the surface tho-
roughly. Press the rubber discs firmly to the
surface. The tilting vacuum levers must be
loose at this point and the whole of each
rubber disc must lie on the surface. (1)
(2)
Ensure that the rubber discs are com-
pletely on the tile area or other surfaces
so that the discs do not cover any grout-
ing lines or other joints. The discs should
be positioned at least 1-1.5 cm from all
joints. (see 1)First press down one tilting
lever and then the second. The resistance
of the negative pressure generated must
be clearly felt. The greater the resistance
felt on the vacuum lever, the better the
suction power of the grab bar. If you use
the bar regularly, you will get a feel for the
vacuum strength and the suction power
generated. Before each use, test the firm
hold of the suction device. If the adhesion
seems insufficient, release the rail and
reattach again.
If the required suction power hasn’t been
achieved, the rail should not be used !
Richtig - correct
Falsch - wrong
Entfernungshinweise: Um den Haltegriff zu
lösen, beide Hebel nach innen umlegen,
Haltegriff dabei festhalten! Mit der Finger-
spitze unter die Gummidichtung fahren, um
den Sauger zu lösen.
Removal instructions: Release bath latches.
Slide fingertip under rubber seal at each end
to release suction.
Saugkopf tauschen
Suction cup exchange
Zum Austausch des Saugkopfes drücken
Sie den Arretierknopf an der Seite und zie-
hen den Saugkopf in Pfeilrichtung ab. Den
neuen Saugkopf aufschieben bis er deutlich
einrastet.
For the exchange of the suction head press
the interlock at the side and draw off the
suction head in direction of the arrow. Push
the new suction head until it lock clearly.
Sicherheitshinweise
Safety Instruction
ACHTUNG:
Dieses Produkt wurde konzipiert um Unters-
tützung zu geben und nicht um das gesamte
Gewicht einer Person zu halten oder tragen.
Vor der Anbringung des Haltegriffes den
Untergrund säubern und trocknen. Lesen
Sie sorgfältig die Gebrauchsanweisung.
Die ordnungsgemäße Haftung des Griffes
muss vor jeder Benutzung überprüft wer-
den. Falls der Griff nicht richtig haftet muss
er vor jedem Gebrauch neu angebracht /
fixiert werden. Saughaltegriff bei Defekt
nicht verwenden!
ATTENTION:
This product is designed to provide sup-
port. It is not designed to hold a person’s
entire body weight. Before using the grab
bar, clean and dry the area where the grab
bar is to be attached, and read the instruc-
tions carefully.
Be sure to test the stability of the grab
bar before every use.
Always make sure that the grab bar is se-
curely attached before each use and always
reattach if loose.
Do not use the suction
grab bar if it is damaged!
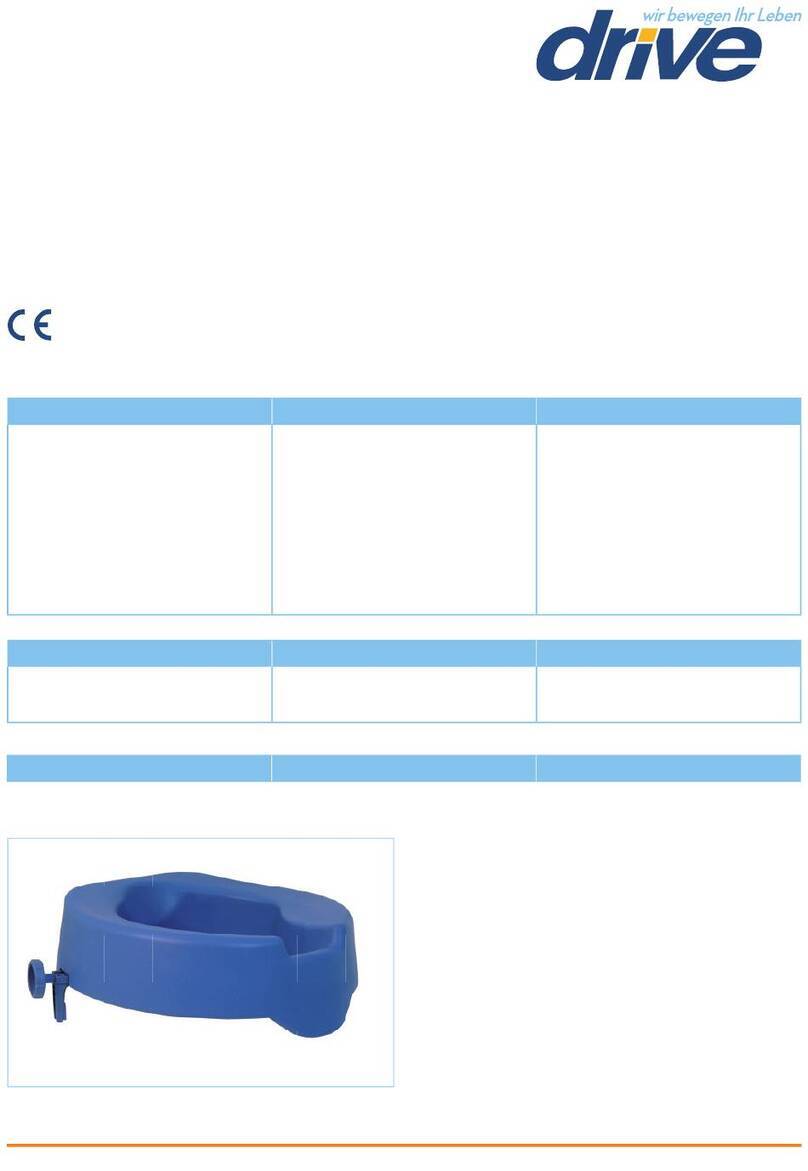
This manual suits for next models

3

Other Drive Bathroom Aid manuals

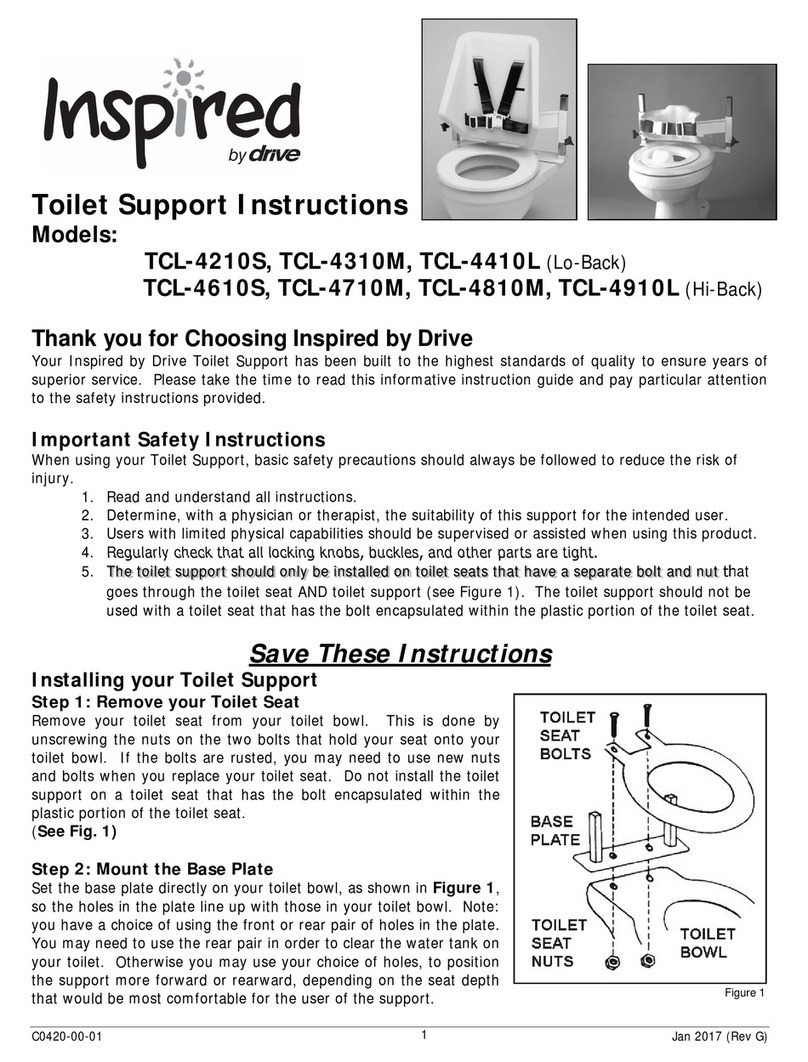
Drive inspired TCL-4210S User manual

Drive

Drive inspired TCL-4210S User manual

Drive TICCO 2G User manual

Drive

Drive TICCO 2G User manual

Drive 11138-1 User manual

Drive

Drive 11138-1 User manual

Drive Otter Series User manual

Drive

Drive Otter Series User manual

Drive Bellavita Owner's manual

Drive

Drive Bellavita Owner's manual

Drive TSE 100 S User manual

Drive

Drive TSE 100 S User manual

Drive Active Living MG12171 User manual

Drive

Drive Active Living MG12171 User manual

Drive NRS185006 User manual

Drive

Drive NRS185006 User manual

Drive OT 1000 SF User manual

Drive

Drive OT 1000 SF User manual

Drive Vitaturn K User manual

Drive

Drive Vitaturn K User manual

Drive Inspired Ultima BTUC-8131M User manual

Drive

Drive Inspired Ultima BTUC-8131M User manual

Drive OT 1000 Installation instructions manual

Drive

Drive OT 1000 Installation instructions manual

Drive PreserveTech RTL12C006-WH User manual

Drive

Drive PreserveTech RTL12C006-WH User manual

Drive PreserveTech RTL12A001-GR User manual

Drive

Drive PreserveTech RTL12A001-GR User manual

Drive Inspired Ultima User manual

Drive

Drive Inspired Ultima User manual

Drive Dolphin User manual

Drive

Drive Dolphin User manual

Drive DINO 550 500 100 User manual

Drive

Drive DINO 550 500 100 User manual

Drive BEN User manual

Drive

Drive BEN User manual

Drive 12008KDR User manual

Drive

Drive 12008KDR User manual

Drive RTL12026 User manual

Drive

Drive RTL12026 User manual

Popular Bathroom Aid manuals by other brands

Mobeli 14002 20SU instruction manual

Mobeli

Mobeli 14002 20SU instruction manual

Timago TGR-R KP 355L Instructions for use

Timago

Timago TGR-R KP 355L Instructions for use

Essential Medical Supply B5082 manual

Essential Medical Supply

Essential Medical Supply B5082 manual

Pressalit Care PLUS R4750 Operation and maintenance manua

Pressalit Care

Pressalit Care PLUS R4750 Operation and maintenance manua

Care & Independence COMFORT VALUE CVT user guide

Care & Independence

Care & Independence COMFORT VALUE CVT user guide

aidapt Solo VY300 Fixing and maintenance instructions

aidapt

aidapt Solo VY300 Fixing and maintenance instructions

Invacare Aquatec 900 user manual

Invacare

Invacare Aquatec 900 user manual

Homecraft Rolyan Bathmaster sonaris user manual

Homecraft Rolyan

Homecraft Rolyan Bathmaster sonaris user manual

identités LUMEX instruction manual

identités

identités LUMEX instruction manual

Dietz relaxon basic SmatrCare operating instructions

Dietz

Dietz relaxon basic SmatrCare operating instructions

lopital Nemo Instructions for use

lopital

lopital Nemo Instructions for use

NRS Healthcare M00869 User instructions

NRS Healthcare

NRS Healthcare M00869 User instructions

Symmons Carrington 443TB-24 Operation & maintenance manual

Symmons

Symmons Carrington 443TB-24 Operation & maintenance manual

Fleurco VEH1805 Installation and user guide

Fleurco

Fleurco VEH1805 Installation and user guide

Pressalit Care PLUS R7334 Mounting instruction

Pressalit Care

Pressalit Care PLUS R7334 Mounting instruction

Pressalit R9430 Mounting instruction

Pressalit

Pressalit R9430 Mounting instruction

Vermeiren 139E user manual

Vermeiren

Vermeiren 139E user manual

Allegion NORMBAU Nylon 447 Fixing instructions

Allegion

Allegion NORMBAU Nylon 447 Fixing instructions

manuals.online logo
manuals.online logoBrands
  • About & Mission
  • Contact us
  • Privacy Policy
  • Terms and Conditions

Copyright 2025 Manuals.Online. All Rights Reserved.