manuals.online logo
Brands
  1. Home
  2. •
  3. Brands
  4. •
  5. Duevi
  6. •
  7. Security System
  8. •
  9. Duevi SIRPZ-RB-868 User manual

Duevi SIRPZ-RB-868 User manual

SIRPZ-RB-868 22.02-M:2.1-H:2a-F:0.7+
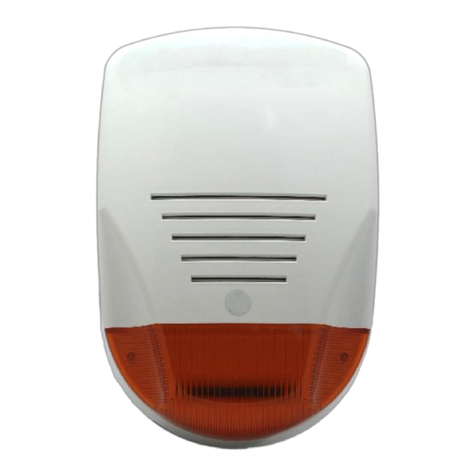
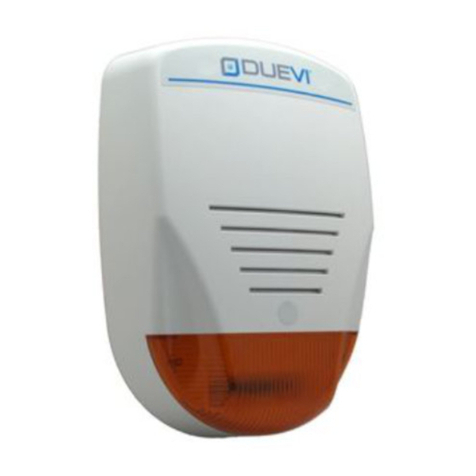
SIRPZ-RB-868 Battery powered indoor wireless siren
SIRPZ-RB-868 is an indoor wireless siren with high-power
piezoelectric horn, self-powered with batteries, used for
internal signaling of alarms, with indication of system arming
and disarming.
The siren is also equipped with a wired output which is
activated at the same time as the alarm sound.
PLEASE NOTE. Before definitively fixing the
siren, carry out some transmission tests towards
the control panel to check that the position is
adequate.
1. Identification of parts
Figure 1 –Identification of parts
A –Battery holder
B –Electronic board
Figure 2 –Scheda elettronica
1 –LED1
2 –Anti-removal tamper
3 –Settings Dip-switch
4 –Piezoelectric horn
5 –LED2
6 –JP1 jumper
7 –BAT connector
8 –Output terminals
2. Powering the siren
Insert 4 batteries in the battery holder A (Figure 1) and
connect the cable to the BAT connector (Figure 2 ref. 7).
ATTENTION - RESPECT THE POLARITY
3. Dip-switch
DIP
Function
OFF
ON
1
Siren tone
Tone 1
(2000/2600 Hz)
Tone 2
(3000/2600 Hz)
2
Output logic
IMPULSIVE
Active 2 sec at the
start of alarm
ON/OFF
Active during the
alarm sound
3
Control
Panel Model
CE-LAN
EZY-LAN
4
Mode
Normal operation
Wireless enroll
PLEASE NOTE. The position of DIP3 (for the
selection of the panel model) is checked only
when the siren boot. In case of modification
disconnect the battery, wait a few minutes and
reconnect the battery.
4. Wireless enroll
To enroll the siren on the control panel (CE-LAN or EZY-
LAN), proceed as follows:
1. Log in as INSTALLER on the control panel
2. Enter SETUP> DEVICES> ADD NEW DEVICES. The
control unit waits for the sensor to be enrolled
3. Enter ENROLL MODE on the siren (DIP4 = ON)
4. Press the siren TAMPER button (Figure 2 ref. 2)
5. Check that the control panel has learned the code
6. Exit the ENROLL MODE on the siren (DIP4 = OFF)
5. Siren settings
Once the siren is enrolled, it is possible to set its sound
functions directly on the control panel setup.
Follow the control panel manual for details
6. Acoustic and visual signalling
Event
LED1
LED2
SIREN
High Alarm (L2)
on
High intensity
Sound
Low Alarm (L1)
Low intensity
Sound (*)
Entering setup
5 beeps
Exiting setup
2 flashes
2 beeps
Arming
1 flash (*)
1 beep (*)
Disarming
3 flashes (*)
3 beeps (*)
Wireless enroll
Continuous
flashing
(*) If enabled in the control panel configuration
1
2
3
4
5
6
7
8
B
A
7. Output
The output is activated simultaneously with the alarm sound
(Figure 2 ref. 8). The output can be set in two electric modes
via the jumper JP1 (Figure 2 ref. 6). See details in the table
below.
JP1
Output electric mode
Terminal usage
CLOSED
POSITIVE VOLTAGE
TO GIVE
0V=GND
OU1=GND at rest
OU1=+6Vdc in alarm
OU2=+6Vdc
OPEN
DRY CONTACTS
NORMALLY OPEN
OPTOMOS
Contacts OU1 + OU2
OPEN at rest
CLOSED in alarm
ATTENTION: The output must not be used to
power other components (eg signaling LEDs or
other devices).
8. Operation
The siren is bidirectional, therefore it receives and transmits
radio packets to communicate with the alarm control panel
and act accordingly. Each transmission waits for a
confirmation response, otherwise it is repeated.
Radio information sent by the control panel:
•System armed / disarmed
•Entry / Exit from SETUP
•High level alarm (High power sound)
•Low level alarm (Sound with intermittent beeps)
•End of alarm (Siren silence)
Radio information sent by the siren:
•Tamper manumission
•Battery level
•Supervision
9. Auto-protection
The device is equipped with anti-opening protection. If
enabled, the tamper alarm is active 24H, even at system
disarmed (excluding when the control panel is in "SETUP").
When the siren cover is opened, the tamper code is sent to
the control unit and both start to ring.
Once the tamper alarm has been triggered, it is disabled
until the next ARMING of the system.
Following a tamper alarm, it is therefore necessary to arm
the system at least once to reactivate it.
NOTE: when the siren is new to enable the
tamper it is necessary to perform at least one
arming.
10.Battery
The battery level is constantly monitored and sent to the
control panel. The status of the battery can be viewed in real
time on the Software / Application. In case of low battery,
the control panel records it as an event and, if programmed,
notifies the user.
CAUTION:
DANGER OF EXPLOSION IF THE BATTERY IS
REPLACED BY ANOTHER INCORRECT TYPE.
DISPOSE OF USED BATTERIES FOLLOWING
THE INSTRUCTIONS.
11.Warnings and precautions
•The installer must follow the current regulations. The
manufacturer declines all responsibility in the event of
improper use by the user or incorrect installation by the
installer
•Handle the battery carefully. Explosion and fire hazard.
Do not throw the battery into a fire, do not weld or
damage the battery. Replace the battery only with one
of the same type. Have the battery replaced by a
specialized technician
•Dispose of used batteries according to the regulations
in force, even if the equipment is no longer in use. In
case of leakage of liquid, protect your hands with special
gloves
12.Technical features
Power supply
6Vdc (4 lithium batteries 3V type CR123A
Consumption
Stand-by: about 70 µA
Alarm: about 220 mA
Battery life
About 2 years (4 activations/day + 12 alarms/year)
Alarm limitation
max 5 alarms for each arming
Alarm duration
Settable on control panel - Limited to max 90 seconds
Acoustic power
140 dB/m
Frequency
869,650 MHz
Radio range
Up to 1000m (open field)
Dimensions
160 x 120 x 55mm (LxHxD)
DUEVI SRL
Via Bard 12/A –10142 Torino
MADE IN ITALY
EU DECLARATION OF CONFORMITY
Hereby, DUEVI declares that the radio equipment type
“Battery powered indoor wireless siren” mod. SIRPZ-RB-
868 is in compliance with Directive RED 2014/53/EU.
The full text of the EU Declaration of Conformity is
available at the internet address www.duevi.eu

Other Duevi Security System manuals

Duevi VV-ZELA-RB-868 User manual

Duevi

Duevi VV-ZELA-RB-868 User manual

Duevi PEPEROSSO Guide

Duevi

Duevi PEPEROSSO Guide

Duevi CE-LAN User manual

Duevi

Duevi CE-LAN User manual

Duevi EZY-LAN User manual

Duevi

Duevi EZY-LAN User manual

Duevi EZY-LAN User manual

Duevi

Duevi EZY-LAN User manual

Duevi CE-LAN User manual

Duevi

Duevi CE-LAN User manual

Duevi EZY-LAN HW 3B User guide

Duevi

Duevi EZY-LAN HW 3B User guide

Duevi VV-ZELA-RB Guide

Duevi

Duevi VV-ZELA-RB Guide

Popular Security System manuals by other brands

Auto Page RF-525 Operation manual

Auto Page

Auto Page RF-525 Operation manual

Abus FUMK35000A quick guide

Abus

Abus FUMK35000A quick guide

smart things ADT Keychain Remote Setup guide

smart things

smart things ADT Keychain Remote Setup guide

Lloyd's LA-543 Quick installation guide

Lloyd's

Lloyd's LA-543 Quick installation guide

Tracer TRACER START user manual

Tracer

Tracer TRACER START user manual

IDTECH SecureMag Quick start manual

IDTECH

IDTECH SecureMag Quick start manual

DAY 6 PlotWatcher Pro Game Surveillance System user manual

DAY 6

DAY 6 PlotWatcher Pro Game Surveillance System user manual

HIK VISION DS-PEA101 Series Configuration guide

HIK VISION

HIK VISION DS-PEA101 Series Configuration guide

ViewZ PRO S3 Graphics MaxWall user guide

ViewZ

ViewZ PRO S3 Graphics MaxWall user guide

Contro l4 Smart Home OS 3 Security guide

Contro l4

Contro l4 Smart Home OS 3 Security guide

Q-See QR40198 user manual

Q-See

Q-See QR40198 user manual

DM TECH FP9000A Instruction manual for installation

DM TECH

DM TECH FP9000A Instruction manual for installation

Abus GBM7300W installation guide

Abus

Abus GBM7300W installation guide

Paradox Magellan MG-6060 Reference and installation manual

Paradox

Paradox Magellan MG-6060 Reference and installation manual

C & K Systems Sierra Quick reference card

C & K Systems

C & K Systems Sierra Quick reference card

HIK VISION DS-PEA102S user manual

HIK VISION

HIK VISION DS-PEA102S user manual

Paradox StayD Series manual

Paradox

Paradox StayD Series manual

Little Giant HWAB manual

Little Giant

Little Giant HWAB manual

manuals.online logo
manuals.online logoBrands
  • About & Mission
  • Contact us
  • Privacy Policy
  • Terms and Conditions

Copyright 2025 Manuals.Online. All Rights Reserved.