iii
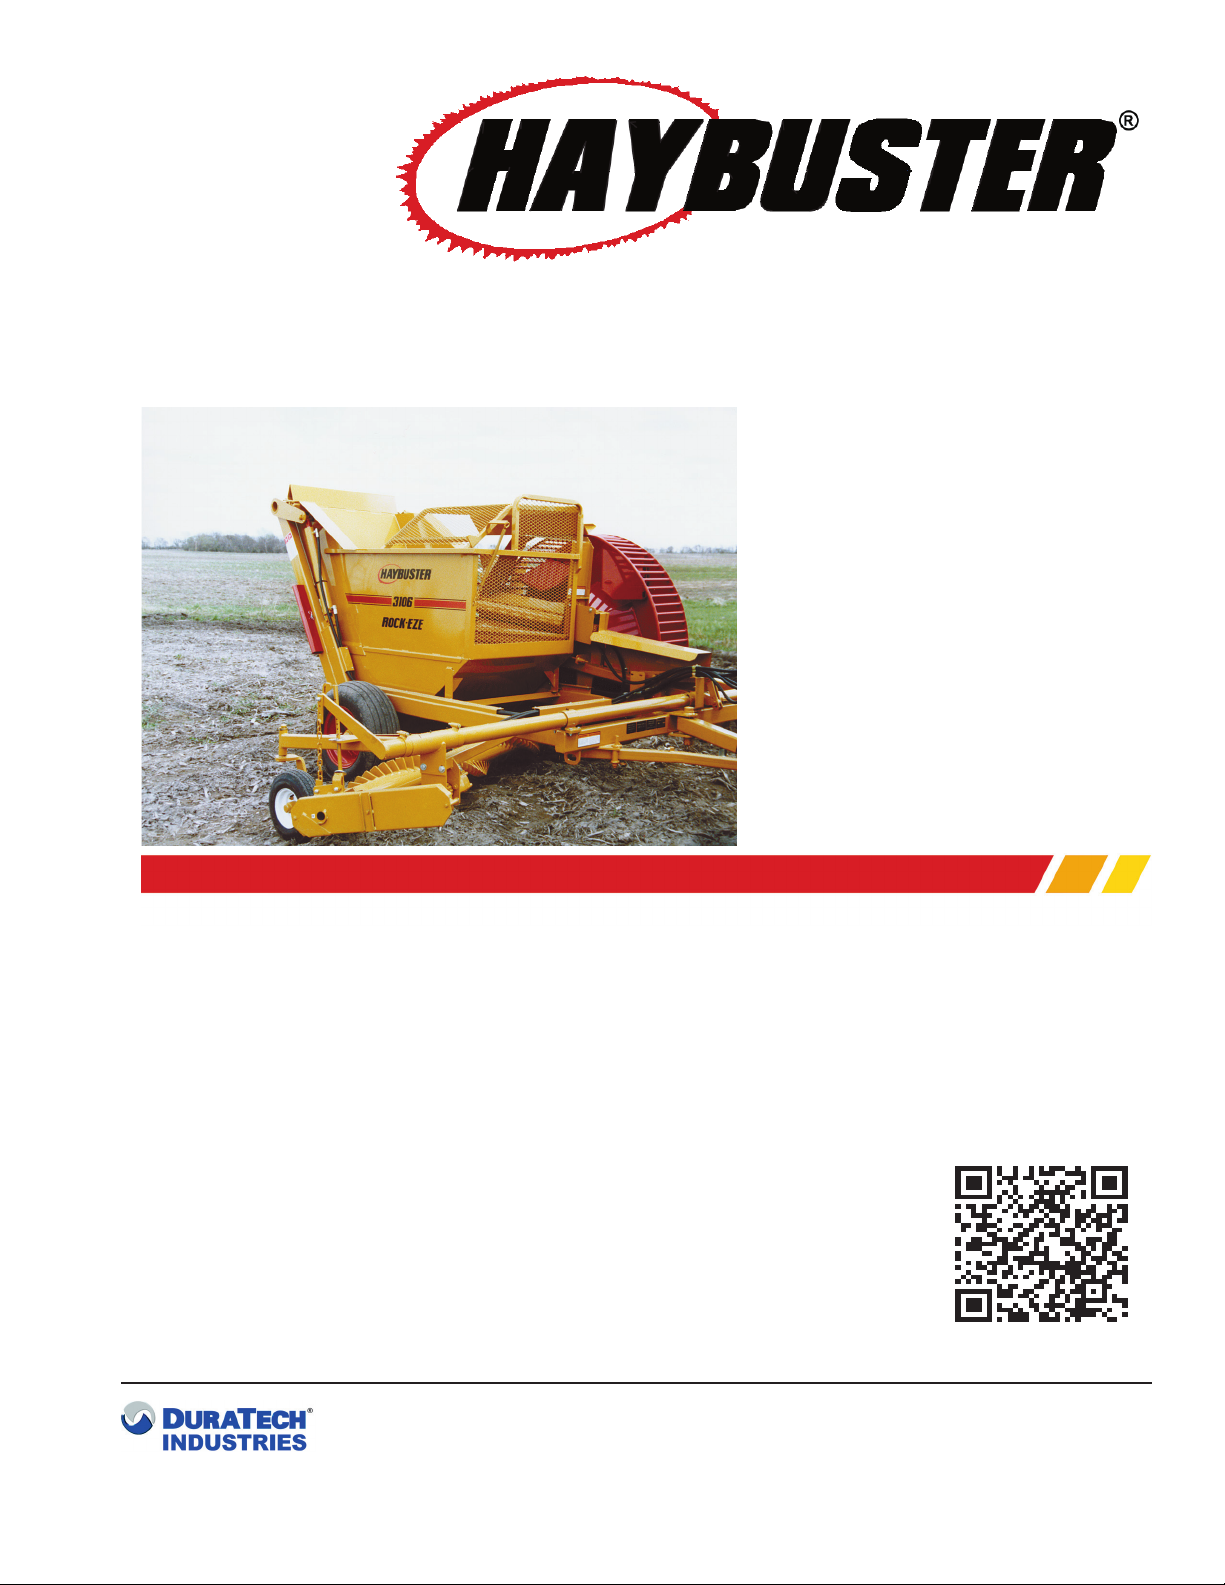
H-106 ROCK-EZE OPERATING INSTRUCTIONS
TABLE OF CONTENTS
Part 1: Operating Instruction ...........................................1
Introduction ................................................................................. 2
Purpose ........................................................................................ 2
Section 1: Safety.......................................................................... 5
1.1 Safety-alert symbols.......................................................................................... 5
1.2 Operator - personal equipment.......................................................................... 7
1.3 Machine safety labels ........................................................................................ 8
1.4 Safety review Section ....................................................................................... 9
1.5 Towing/road transport ..................................................................................... 10
Section 2: Dealer preparation ................................................... 11
2.1 ASSEMBLY .................................................................................................... 11
2.2 ADJUSTMENTS.............................................................................................. 19
Section 3: Operation .................................................................. 20
3.1 Pre-operation inspection.................................................................................. 20
3.2 Normal shutdown procedure ............................................................................ 21
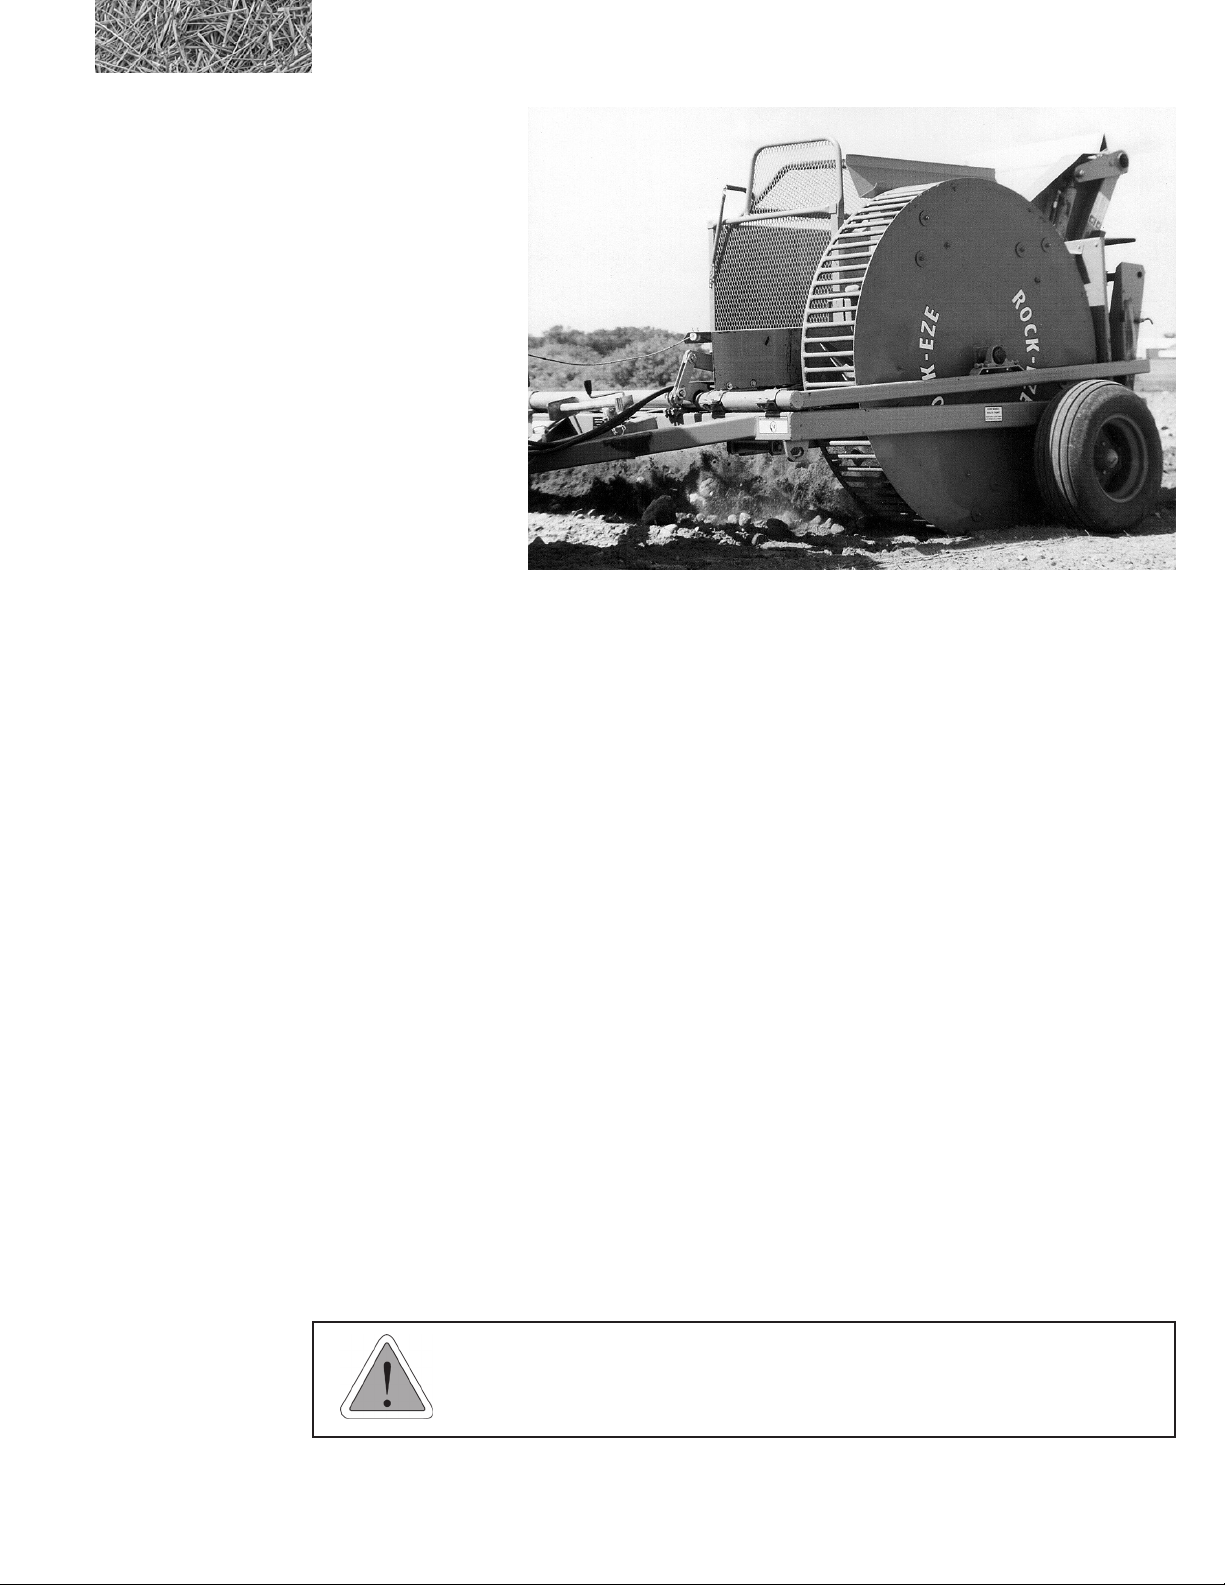
3.3 3106 ROCK-EZE hydraulic system.............................................................. 21
3.3.1 Using the3106 ROCK-EZE with a tractor that has triple hydraulic
outlets............................................................................................................. 21
3.32 Hose Torquing Procedure .................................................................... 21
3.4 Operating Tips ................................................................................................ 24
3.5 Storage........................................................................................................... 25
3.5.1 Preparing the machine for storage:...................................................... 25
3.5.2 Removing the machine from storage.................................................... 25
Section 4: General maintenance .......................................... 26
4.1 Lubrication ...................................................................................................... 26
4.2 Axle, wheels, tires ........................................................................................... 31
4.3 General appearance ......................................................................................... 31
Appendix A: Warranty ................................................................ 32
Appendix B: General specications .......................................... 33
Appendix C: Required for operation .......................................... 34
Part 2: Parts Reference........................................................ 35
MAIN FRAME ASSEMBLY............................................................................................ 36
MAIN FRAME ASSEMBLY - DETAIL A....................................................................... 38
MAIN FRAME ASSEMBLY - DETAIL B ....................................................................... 40
MAIN FRAME ASSEMBLY - DETAIL C ....................................................................... 42
MAIN FRAME ASSEMBLY - DETAIL D....................................................................... 44
WHEELS AND HUBS...................................................................................................... 46
ROCK BOX ASSEMBLY ................................................................................................ 48
lIFT/ROCKWHEEL ASSEMBLY .................................................................................... 50
LIFT/ROCKWHEEL ASSEMBLY DETAIL A ................................................................ 52
LIFT/ROCKWHEEL ASSEMBLY DETAIL B ................................................................ 54
LIFT/ROCKWHEEL ASSEMBLY DETAIL C ................................................................ 56
WINDROWER ASSEMBLY - CHAIN DRIVEN END................................................... 58
WINDROWER ASSEMBLY - UNDRIVEN END........................................................... 60
HYDRAULIC ASSEMBLY 1........................................................................................... 62
HYDRAULIC ASSEMBLY 2 .......................................................................................... 64
DRAG PLATE (OPTION) ................................................................................................ 66
TAIL LIGHT ASSEMBLY................................................................................................ 68
TAIL LIGHT WIRING HARNESS .................................................................................. 71
DECALS ........................................................................................................................... 72
3106 ROCK-EZE DOCUMENTATION COMMENT FORM.................... 76