manuals.online logo
Brands
  1. Home
  2. •
  3. Brands
  4. •
  5. DURAVIT
  6. •
  7. Bathtub
  8. •
  9. DURAVIT Zencha User manual

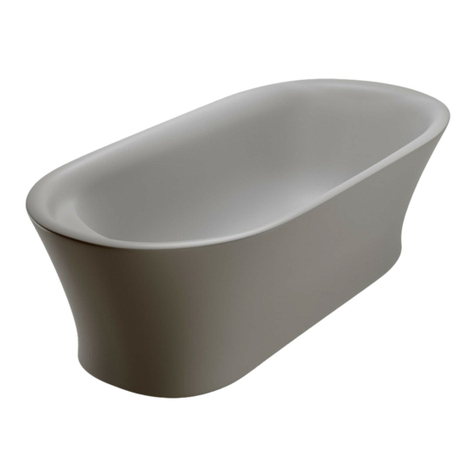
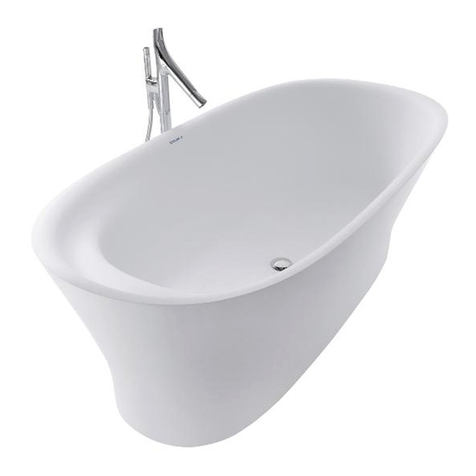
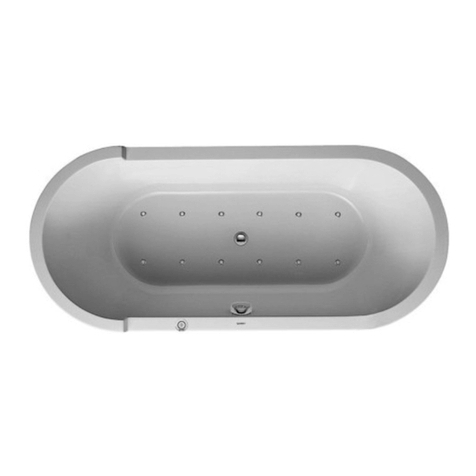
DURAVIT Zencha User manual

Pre-installation Data Sheet Bathtubs and Whirltubs
Zencha
Pre-installation data sheet Zencha_22.07.1
Index
Notes........................................................................................................... 2
Pre-installation ........................................................................................... 3
Maintenance openings ................................................................................ 5
Data sheets for bathtubs and whirltubs ...................................................... 9
Notes
NOTESPLANNING
Before starting the installation, plan the layout in detail, taking the site
conditions into consideration.
TARGET READERSHIP AND QUALIFICATIONS
All work associated with the installation and water connection may only
be undertaken by a plumber and all work associated with the electrical
installation may only be undertaken by a licensed electrician.
SAFETY INSTRUCTIONS
Incorrect handling/transport may result in product damage.
The metal frame and whirl system are not resilient.
> Never hold by the metal frame or whirl system.
Improper transport can cause damage to the product and/or property
damage, e.g. leaks.
> Wear appropriate protective clothing.
> Avoid knocks.
Risk of product and/or property damage!
The breach of local and country-specific regulations and standards can
cause damage to the product and/or property damage.
> Observe the local installation regulations and any country-specific
standards at all times.
Duravit AG assumes no liability for the consequences of improper
handling or improper transport.
2
Pre-installation data sheet Zencha_22.07.1
Pre-installation
Pre-installation
INSTALLATION LOCATION / INSTALLATION ROOM
> Make sure that the installation location fulfils the following criteria
Doors / external
access
• Ensure that doors or other access openings are
large enough to accommodate transport dimen-
sions, keeping in mind the weight and need for
sufficient manoeuvring room.
Required area • Allow for enough space around the tub for the in-
stallation.
Floor • Completely level.
• At a right angle to the wall.
• Note the overall strength of the floor structure
including the floor finish.
• There must not be any underfloor heating under
the tub.
• Install tubs after the tiles. (Top edge of finished
floor).
• Depending on the combination of tub and whirl
system it is possible that system components may
protrude beyond the edge of the tub. We there-
fore recommend installation in a support frame.
• Tolerances for acrylic: As a result of the manu-
facturing process, deviations from the nominal
dimensions may occur within the limits specified
in the DIN 198 standard. Please take this into
account in your planning.
Wall • Tiled.
• At a right angle to the tub.
• Completely straight.
• Note the overall strength of the wall structure
including the wall finish.
WATER INSTALLATION
Water connection
• Connections for the water supply and drains must be in compliance
with the currently valid standards and public regulations.
• Position the water drain (DN 50) flush to the mounting surface or out of
the wall directly above the mounting surface; see drawing for recom-
mended area.
MAINTENANCE OPENINGS AND AIR SUPPLY
• The air supply for the whirl system (ventilation grille/ventilation slot)
must not be covered.
ELECTRICAL INSTALLATION
DANGER Risk of fatal electric shock
> Disconnect the power supply while working on the electrical
components.
> The device must be earthed. Earthed appliances must be permanently
connected to fixed wiring.
> Connect the device only to the designated electrical cable.
> NEVER touch the power supply line with wet hands.
Pre-installation
> Lay a permanent power supply line which must be on a separate
circuit.
• The device itself does not have electrical leakage protection func-
tion. The device must be supplied through a residual current device
(RCD) with a rated residual operating current not exceeding 30 mA.
• Means for disconnection must be incorporated in the fixed wiring
in accordance with the wiring rules and have a contact separation
in all poles that provides full disconnection under overvoltage cat-
egory III conditions outside the prescribed protection zones (0 – 2).
• Leave 3000 mm of the supply line exposed.
> Lay an equipotential bonding cable:
• Leave 3000 mm of cable exposed.
> Select a supply line cross-section based on the connected load on the
identification plate (2.5 mm – 4 mm).
> Confirm that the grounding wire is 10 mm (⅜ ”) longer than the L and
N wire.
> Install a circuit breaker.
Protection zones
600
600
2250*
0
1
2
* Or the height of the highest fixed-location shower head/water outlet,
whichever is higher.
Electrical data
Whirl system Rated power with
standard equipment
Max. rated power,
fully-equipped
Air System (DuraSolid)
(# 760XXX XX X AS 00XX)
0.58 kW 0.58 kW
Power supply
# 76XXXX XX X XX XXX0: 220 – 240 V AC, 50 Hz
# 76XXXX XX X XX XXX6: 220 – 240 V AC, 60 Hz
Fuse IN= 16 A
RCD IΔN ≤ 30 mA
3
Pre-installation data sheet Zencha_22.07.1
Maintenance openings
Maintenance
Install the whirltub in such a way that all of the important equipment
(pump, blower and control system) remains accessible. It is recom-
mended to install the tub with a removable furniture panel for easy
maintenance.
Location of the whirl system components
The illustrations show the standard configuration for the components
of the whirl system* with the location of the operating unit. The back
massage is located at the head end (depending on the whirl system).
Custom-made designs available on request. In such cases we will
require a drawing showing the desired layout. Duravit will confirm
whether the desired layout can be implemented.
Legend
* Only Combi-Systems / ** The number of operating elements is based on the whirl system and the additional modules selected / *** Only necessary for Combi-System E/L in combination with sound and/or
coloured LED light
Unit 1 Unit 2* Control panel** Suction screen Recommended
equipment covers***
Recommended
equipment covers
4
#760462, #760463
Pre-installation data sheet Zencha_22.07.1
Height
[mm]
Bathtub
Whirltub
Technical specifications
Net
weight
[kg]
Floor load
[kg/m2]
Shipping weight
[kg]
Shipping dimen-
sions lxwxh
[cm]
Drain
connection
[mm]
Inlet connection
(OG)
[inch] Whirlsystem Model-No.
Pre-installation Zencha
Hot water connection
Cold water connection
Drain connection
Electricity connection
600
600
120 357 156,4 206,5 x 109 x 72 40 / 50 - - 700462 00 0 00 0000
131 365 16 7,0 206,5 x 109 x 72 40 / 50 - Air-System 760462 00 0 AS 0000
#700462 / #760462 |< 850 x 1600 >|
H:
C:
D:
EC :
450
1600
45090 90
280
620
850
D
EC
C
H
5
Pre-installation data sheet Zencha_22.07.1
Height
[mm]
Bathtub
Whirltub
Technical specifications
Net
weight
[kg]
Floor load
[kg/m2]
Shipping weight
[kg]
Shipping dimen-
sions lxwxh
[cm]
Drain
connection
[mm]
Inlet connection
(OG)
[inch] Whirlsystem Model-No.
Pre-installation Zencha
Hot water connection
Cold water connection
Drain connection
Electricity connection
600
600
138,2 348 174,6 206,5 x 109 x 72 40 / 50 - - 700463 00 0 00 0000
149,2 355 185,2 206,5 x 109 x 72 40 / 50 - Air-System 760463 00 0 AS 0000
#700463 / #760463 |< 900 x 1800 >|
H:
C:
D:
EC :
500
1800
45025 25
280
850
900
D
EC
C
H
6
Pre-installation data sheet Zencha_22.07.1
Height
[mm]
Bathtub
Technical specifications
Net
weight
[kg]
Floor load
[kg/m2]
Shipping weight
[kg]
Shipping dimen-
sions lxwxh
[cm]
Drain
connection
[mm]
Inlet connection
(OG)
[inch] Whirlsystem Model-No.
Pre-installation Zencha
Hot water connection
Cold water connection
Drain connection
630
132,5 380 181,9 197 x 148 x 72 40 / 50 - - 700464 00 0 00 0000
#700464 / #760464 |< 1250 x 1250 >|
H:
C:
D:
480
50110 110
700
ø1250
C
H
D
ø450
110
110
7

Other DURAVIT Bathtub manuals

DURAVIT Darling New 760246 User manual

DURAVIT

DURAVIT Darling New 760246 User manual

DURAVIT Happy D.2 700316 User manual

DURAVIT

DURAVIT Happy D.2 700316 User manual

DURAVIT 2nd floor 700078 User manual

DURAVIT

DURAVIT 2nd floor 700078 User manual

DURAVIT Combi L User manual

DURAVIT

DURAVIT Combi L User manual

DURAVIT 2x3 760023 User manual

DURAVIT

DURAVIT 2x3 760023 User manual

DURAVIT Combi-System L User manual

DURAVIT

DURAVIT Combi-System L User manual

DURAVIT Architec 700353 User manual

DURAVIT

DURAVIT Architec 700353 User manual

DURAVIT Blue Moon 760143 User manual

DURAVIT

DURAVIT Blue Moon 760143 User manual

DURAVIT Vero Air 760418 User manual

DURAVIT

DURAVIT Vero Air 760418 User manual

DURAVIT Cape Cod User manual

DURAVIT

DURAVIT Cape Cod User manual

DURAVIT XViu User manual

DURAVIT

DURAVIT XViu User manual

DURAVIT 2x3 760023 User manual

DURAVIT

DURAVIT 2x3 760023 User manual

DURAVIT Cape Cod User manual

DURAVIT

DURAVIT Cape Cod User manual

DURAVIT Bento Starck Box 700517 90 Series User manual

DURAVIT

DURAVIT Bento Starck Box 700517 90 Series User manual

DURAVIT Combi L Darling New 710238 User guide

DURAVIT

DURAVIT Combi L Darling New 710238 User guide

DURAVIT D-Code 700065 User manual

DURAVIT

DURAVIT D-Code 700065 User manual

DURAVIT Vero Air 760418 User manual

DURAVIT

DURAVIT Vero Air 760418 User manual

DURAVIT Shower + Bath 700403 00 0 00 0000 User manual

DURAVIT

DURAVIT Shower + Bath 700403 00 0 00 0000 User manual

DURAVIT Blue Moon User manual

DURAVIT

DURAVIT Blue Moon User manual

DURAVIT DuraSquare User manual

DURAVIT

DURAVIT DuraSquare User manual

DURAVIT Combi-System L User manual

DURAVIT

DURAVIT Combi-System L User manual

DURAVIT 2nd floor 7X0079 User manual

DURAVIT

DURAVIT 2nd floor 7X0079 User manual

DURAVIT Sundeck 760065 User manual

DURAVIT

DURAVIT Sundeck 760065 User manual

DURAVIT DuraSquare 760430000AS0000 User manual

DURAVIT

DURAVIT DuraSquare 760430000AS0000 User manual

Popular Bathtub manuals by other brands

Aquatica Digital AquateX True Ofuro Installation & Care Manual

Aquatica Digital

Aquatica Digital AquateX True Ofuro Installation & Care Manual

TEIKO CONSTANTA LUX Assembly instructions

TEIKO

TEIKO CONSTANTA LUX Assembly instructions

Arjo Malibu 1600 Assembly and installation instructions

Arjo

Arjo Malibu 1600 Assembly and installation instructions

Oliveri Munich MU1500 installation instructions

Oliveri

Oliveri Munich MU1500 installation instructions

Clou InBe IB/05.40507 installation instructions

Clou

Clou InBe IB/05.40507 installation instructions

agape Normal AVAS0910 Instructions for installation

agape

agape Normal AVAS0910 Instructions for installation

Jacuzzi FUZION 7236 RH Specification sheet

Jacuzzi

Jacuzzi FUZION 7236 RH Specification sheet

glass 1989 nubea 170/75 manual

glass 1989

glass 1989 nubea 170/75 manual

American Standard Green Tea 3575.002 Specifications

American Standard

American Standard Green Tea 3575.002 Specifications

GALA mitta installation instructions

GALA

GALA mitta installation instructions

Schonberg Leipzig Instructions of instalation and use

Schonberg

Schonberg Leipzig Instructions of instalation and use

American Standard Princeton 2392.202 ICH Specifications

American Standard

American Standard Princeton 2392.202 ICH Specifications

Swiss Madison Ivy SM-AB546 installation instructions

Swiss Madison

Swiss Madison Ivy SM-AB546 installation instructions

Mirolin Beacon CF2001 installation guide

Mirolin

Mirolin Beacon CF2001 installation guide

American Standard Colony Oval Whirlpool and Bathing Pool... Specification sheet

American Standard

American Standard Colony Oval Whirlpool and Bathing Pool... Specification sheet

American Standard Scala Corner Whirlpool and Bathing Pool... Specification sheet

American Standard

American Standard Scala Corner Whirlpool and Bathing Pool... Specification sheet

Kohler K-1244-CM Roughing-In Guide

Kohler

Kohler K-1244-CM Roughing-In Guide

Universal Tubs 2953WCA operating instructions

Universal Tubs

Universal Tubs 2953WCA operating instructions

manuals.online logo
manuals.online logoBrands
  • About & Mission
  • Contact us
  • Privacy Policy
  • Terms and Conditions

Copyright 2025 Manuals.Online. All Rights Reserved.