DUSK Middleton User manual

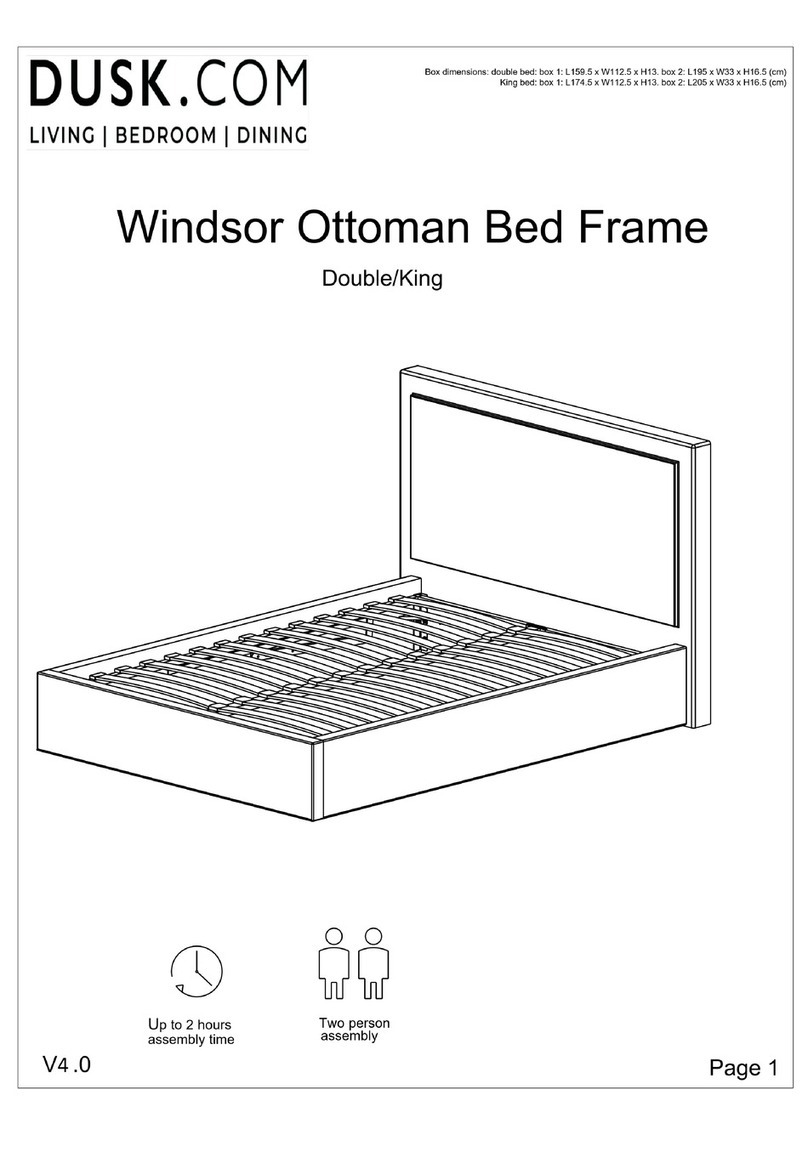
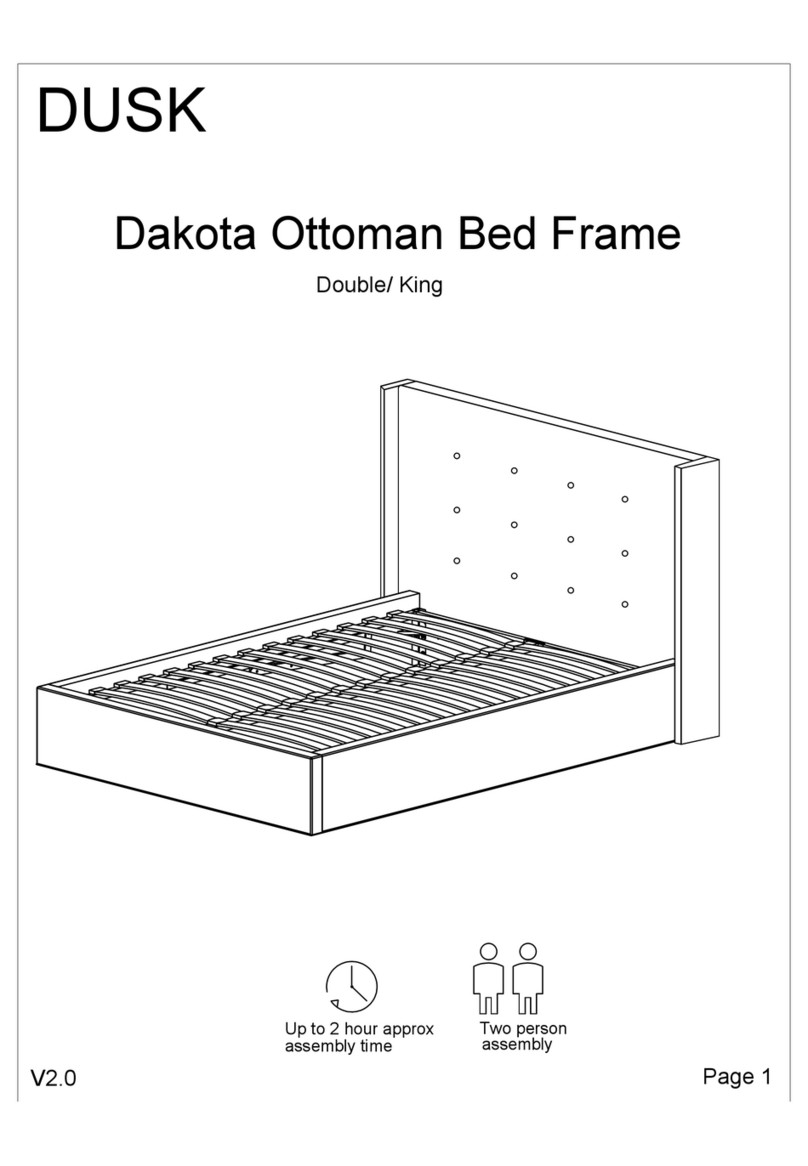
Middleton Ottoman Bed Frame
Two person
assembly
Page 1
Up to 2 hour approx
assembly time
Double/King size
V3.0
DUSK

Important
Assembly Tip
Before you begin, it's best to identify all of the parts and fittings to build your ottoman bed
frame. We advise laying these out on the floor to check you have everything, and to
familiarise yourself with all of the parts and fittings before building.
Top Tip
We recommend that you build your new ottoman bed frame in the room you'd like it to be
located. This will help prevent any risk of damage to the frame whilst moving it.
Safety and Care
It's important to ensure children and animals are kept away from the assembly area, as
there are small components used in this bed frame which could present a choking
hazard. All plastic and wrapping materials should be kept away from children and animals
to prevent any risk if suffocation.
Help and Support
Please contact our customer service team on 0113 519 0311 if you have any questions
or issues with your purchase.
Recycling
Please ensure that packaging is disposed of in a safe and environmentally friendly way,
and recycle where possible. Please keep your assembly instructions safe to refer back
to in the future.
Page 2

Operating Your Ottoman Bed Frame Safely
Page 3
·Caution, this ottoman bed frame uses a pressurised mechanism.
·Please ensure children and animals are kept away from the ottoman bed frame
when operating the mechanism.
·Use caution when operating, and always use two hands at arm's length.
·You must always ensure the mattress is on the ottoman bed frame before lifting
the mechanism. Failure to do so may result in injury or damage to the mechanism.
·If removing the mattress, make sure the ottoman bed frame is secured as it could
flip open.
·Only use the storage compartment when the ottoman bed frame is fully in the
upright position.
·Do not remain on the ottoman bed frame whilst the lifting mechanism is in use.
·Beware of entrapment. Keep both hands clear of the mechanism when operating.
·When lifting the ottoman bed frame, remove all bedding except the fitted sheet.
·Always use the strap to lift or lower the ottoman metal frame. Close the ottoman
metal frame by pushing down firmly with both hands towards the centre of the bed
frame with equal pressure.
·No children or animals should be left unattended when the ottoman bed frame is in
the upright position.
·When fully assembled, raise and lower the ottoman metal frame 4/5 times to
ensure the gas pistons are fully lubricated.
·Ensure to re-tighten all nuts and bolts within the ottoman bed frame after the first
two weeks of use.

3R
1
2
3L
8
6
7
12
79
6
10
11
11 17
13
13
14
Page 4
15
15
16
17
17
Parts
Before you begin building your ottoman bed frame, please take a moment to read through the instructions
and make sure that you have all the relevant parts listed on the parts check list.
5
4L
4R
12

PART CHECK LIST
Headboard
Side Rail-LH
Lift Mechanism - LH
Lift Mechanism - RH
Angle Iron
Gas Strut
Strap
Slat Double/King
Angle Corner Bracket
Side Slat Cap Double/King
Centre Slat Cap Double/King
Mattress Positioning Handle
Fabric Base
Side and Centre Ottoman
Metal Frame
NO.
Central Support Rail
QTY NO. Part list
Part list QTY
1pc
1
2
3L
3R
4L
4R
5
6
7
8
9
10
11
12
13
14
15
16
17
Footboard
Side Rail-RH
Front Ottoman Metal Frame
Rear Ottoman Metal Frame
28/30pcs
28/30pcs
14/15pcs
1pc
1pc
1pc
1pc
1pc
1pc
2pcs
1pc
1pc
1pc
2pcs
2pcs
1pc
3pcs
2pcs
ABCDE
FGH
M8x45mm Bolt 16pcs M8x30mm Bolt 16pcs M8x16mm Bolt 12pcs
Allen Key 1pc
M8 Nut 16pcs Spanner 1pc
Flat Washer 12pcs
Plastic Gasket 8pcs
Fittings
Please check you have all the fittings listed below with your product.
Page 5
NB: there are additional spare Fittings included within the Fitting pack

Step 1:
Step 2:
B
G
8pcs
1pc
Page 6
1
2
G
C4pcs
1pc
6
C
G
Ensure that the Angle
Irons are attached to
the Headboard and
the Footboard with the
ledge facing upwards.
Headboard
Attaching the Angle Irons to the Headboard & Footboard
Attaching the Headboard & Footboard to the Side Rails
Headboard
Footboard
WRONG CORRECT
B
1
23R
3L
G
NB: Before tightening the bolts, please ensure the bed frame is square
NB:Attach the bottom Bolt first
Headboard end
Footboard end
NB: Side Rail Angle Irons are pre- attached

B
G1pc
Step 3:
8pcs
Page 7
C
G
C
G
Step 4:
A
G
5
12
A4pcs
C
G1pc
8pcs
8pcs
D
Attaching the Side Rails & Lift Mechanisms
Attaching the Central Support Rail & Angle Corner Brackets
G
B
B
D
D
4R
23R
3L
1
4L
4L

Step 5:
A
G1pc
6pcs
Ensure that the holes on the
left and right are aligned.
16
Step 6:
G
A
E
F
H
E6pcs
F6pcs 9
8
17
17
17
Page 8
With an assistant, carefully lift both the Headboard & Footboard at the same time, do not let
the bed frame twist. Lift and turn the bed frame on its side holding the bed upright for safety.
Attach the Fabric Base (16) to bottom of the Side Rails, Headboard & Footboard with the
velcro tape. Ensure the fabric is fixed evenly all round.
Fabric Base Attachment
Constructing the Ottoman Metal Frame
Rear Ottoman Metal Frame
Ensure the pre-drilled
holes are facing upwards
Front Ottoman Metal Frame
Side Ottoman Metal Frame
Centre Ottoman Metal Frame
Side Ottoman Metal Frame
H1pc

Step 7:
11 14 11
11
13
G1pc
F
H
6pcs
1pc
14
13
A6pcs
Page 9
Side Slat Caps Double/King 28/30pcs
G
A
FH
4
17
Centre Slat Caps Double/King 14/15pcs
Step 8:
15
Screw the Ottoman Metal
Frame to each Lift Mechanism
Attaching the Slat Caps to the Ottoman Bed Frame
Push down firmly on the Slat
Caps into the pre-drilled holes
on the Ottoman Metal Frame.
It is recommended to push the
Centre Slat Caps into position
before pushing down on the
Side Slat Caps.
E6pcs
E
Insert both Mattress
Positioning Handles (15).

Step 9:
10 1pc
F
H
4pcs
1pc
Here are some good tips to keep your new ottoman bed frame in tip-top condition.
Cleaning
To clean your new ottoman bed frame, we advise using a damp cloth if the fabric is
dusty or a low suction vacuum. Do not use abrasive chemicals or bleach as this may
damage the product.
Checkingandmoving
Periodically, we recommend you check that the screws and fixtures haven't become
loose over time. To move your bed frame, we recommend lifting it where possible, as
dragging or pushing it could cause damage to the legs or flooring.
Fabric
Please note, depending on the Iighting, positioning and surroundings of your room,
the shade of the fabric will appear differently. Over a period of time, the fabric may
also lighten or fade slightly due to light exposure.
CareandMaintenance
Page 10
Attaching the Gas Stuts to Lift Mechanisms
10
Attach the Strap (10) to
the Center Ottoman
Metal Frame, at the
Footboard end.
F
F
H
H

Gas strut/piston best use:
·Use caution when operating - always use two hands.
·Only attempt to close the ottoman frame, once the mattress has been placed on the frame.
·The thicker side of the cylinder should be above the thinner side- this will increase longevity of
the part.
·Only attempt to close the frame with two hands from the footboard side, slowly increasing the
pressure until the frame starts moving downwards.
·Closing the frame for the first time may be difficult, as the cylinder needs cycling and
lubricating. After closing for the first time, open and close a further 5 timers.
·If the frame is stuck open and unable to be closed, we recommend getting assistance from a
second person, both applying equal pressure from each side of the footboard until the frame
closes, this may require more force than expected. Stop applying pressure if the metal frame
begins to warp – contact customer services at this point.
Top tips:
·Do not attempt to close the gas strut/piston by hand, it can only be compressed once added to
the frame
·Ensure the frame can move freely before adding thew gas struts/pistons
·Check the frame is fully square, being offset can cause the frame to catch on the side rail
Page 11

Two person
assembly
Page 1
Up to 2 hour approx
assembly time
Super King size
V3.0
DUSK
Middleton Ottoman Bed Frame

Important
Page 2
Assembly Tip
Before you begin, it's best to identify all of the parts and fittings to build your ottoman
bed frame. We advise laying these out on the floor to check you have everything, and
to familiarise yourself with all of the parts and fittings before building.
Top Tip
We recommend that you build your new ottoman bed frame in the room you'd like it to
be located. This will help prevent any risk of damage to the frame whilst moving it.
Safety and Care
It's important to ensure children and animals are kept away from the assembly area, as
there are small components used in this bed frame which could present a choking hazard.
All plastic and wrapping materials should also be kept away from children and
animals to prevent any risk of suffocation.
Help and Support
Please contact our customer service team on 0113 519 0311 if you have any questions
or issues with your purchase.
Recycling
Please ensure that packaging is disposed of in a safe and environmental yl friendly way,
ad n recy ecl whe e r possibl . e Plea e s ke p e yo r u assemb y l instructio s n sa e fo t ref r e back
to in the future.

Operating Your Ottoman Bed Frame Safely
Page 3
·Caution, this ottoman bed frame uses a pressurised mechanism.
·Please ensure children and animals are kept away from the ottoman bed frame
when operating the mechanism.
·Use caution when operating, and always use two hands at arm's length.
·You must always ensure the mattress is on the ottoman bed frame before lifting
the mechanism. Failure to do so may result in injury or damage to the
mechanism.
·If removing the mattress, make sure the ottoman bed frame is secured as it could
flip open.
·Only use the storage compartment when the ottoman bed frame is fully in the
upright position.
·Do not remain on the ottoman bed frame whilst the lifting mechanism is in use.
·Beware of entrapment. Keep both hands clear of the mechanism when operating.
·When lifting the ottoman bed frame, remove all bedding except the fitted sheet.
·Always use the strap to lift or lower the ottoman metal frame. Close the ottoman
metal frame by pushing down firmly with both hands towards the centre of the
bed frame with equal pressure.
·No children or animals should be left unattended when the ottoman bed frame is
in the upright position.
·When fully assembled, raise and lower the ottoman metal frame 4/5 times to
ensure the gas pistons are fully lubricated.
·Ensure to re-tighten all nuts and bolts within the ottoman bed frame after the first
two weeks of use.

3R
1
2
3L
8
67
12
79
6
10 11
11
17
13
14
15
15
16
17
17
5
4L
4R
12
17
13
14
Page 4
11
Parts
Before you begin building your ottoman bed frame, please take a moment to read through the instructions
and make sure that you have all the relevant parts listed on the parts check list.

PART CHECK LIST
ABCDE
FGH
M8x45mm Bolt 18pcs M8x30mm Bolt 16pcs M8x16mm Bolt 12pcs
Allen Key 1pc
M8 Nut 18pcs Spanner 1pc
Flat Washer 14pcs
Plastic Gasket 8pcs
Page 5
Fittings
Please check you have all the fittings listed below with your product.
NB: there are additional spare Fittings included within the Fitting pack
Headboard
Side Rail-LH
Lift Mechanism - LH
Lift Mechanism - RH
Angle Iron
Gas Strut
Strap
Slat
Angle Corner Bracket
Side Slat Cap
Centre Slat Cap
Mattress Positioning Handle
Fabric Base
Side and Centre Ottoman
Metal Frame
NO.
Central Support Rail
QTY NO. Part list
Part list QTY
1pc
1
2
3L
3R
4L
4R
5
6
7
8
9
10
11
12
13
14
15
16
17
Footboard
Side Rail-RH
Front Ottoman Metal Frame
Rear Ottoman Metal Frame
45pcs
30pcs
30pcs
1pc
1pc
1pc
1pc
1pc
1pc
2pcs
1pc
1pc
1pc
2pcs
2pcs
1pc
4pcs
2pcs

Step 1:
Step 2:
Page 6
1
2
G
C4pcs
1pc
6
C
G
Attaching the Angle Irons to the Headboard & Footboard
Ensure that the Angle
Irons are attached to
the Headboard and
the Footboard with the
ledge facing upwards.
Headboard
Headboard
Footboard
B
G
8pcs
1pc
Attaching the Headboard & Footboard to the Side Rails
WRONG CORRECT
B
1
23R
G
NB: Before tightening the bolts, please ensure the bed frame is square
NB:Attach the bottom Bolt first
Headboard end
Footboard end
NB: Side Rail Angle Irons are pre- attached

Step 3:
Page 7
C
G
C
G
Step 4:
A
G
5
12
A4pcs
C
G1pc
8pcs
B
G1pc
8pcs
8pcs
D
Attaching the Side Rails & Lift Mechanisms
G
B
B
D
D
4L
Attaching the Central Support Rail & Angle Corner Brackets
23R
3L 4R
4L

Step 5:
A
G1pc
8pcs Ensure that the holes on the
left and right are aligned.
16
Step 6:
G
A
E
F
H
E8pcs
F8pcs
9
8
17
17
17
Page 8
Fabric Base Attachment
Constructing the Ottoman Metal Frame
17
H1pc
With an assistant, carefully lift both the Headboard & Footboard at the same time, do not let the bed frame
twist. Lift and turn the bed frame on its side holding the bed upright for safety. Attach the Fabric Base (16)
to bottom of the Side Rails, Headboard & Footboard with the velcro tape. Ensure the fabric is fixed evenly
all round.
Rear Ottoman Metal Frame
Ensure the pre-drilled
holes are facing upwards
Front Ottoman Metal Frame
Side Ottoman Metal Frame
Centre Ottoman Metal Frame

Step 7:
11 14
11
11
13
14
13
Page 9
30pcs
30pcs
Step 8:
15
G1pc
F
H
6pcs
1pc
A6pcs
G
A
FH
4
17
E6pcs
E
Screw the Ottoman Metal
Frame to each Lift Mechanism
Attaching the Slat Caps to
the Ottoman Bed Frame
Push down firmly on the Slat
Caps into the pre-drilled holes
on the Ottoman Metal Frame.
It is recommended to push the
Centre Slat Caps into position
before pushing down on the
Side Slat Caps.
Table of contents
Other DUSK Indoor Furnishing manuals
Popular Indoor Furnishing manuals by other brands

PALI
PALI Caravaggio 20503A-WH manual

Coaster
Coaster 100654 Assembly instructions

PHI VILLA
PHI VILLA E02GF-039-BU Use and care guide

Better Homes and Gardens
Better Homes and Gardens BH18-021-199-35 Assembly instructions

New Works
New Works UNTITLED CONCRETE CHAIR User instructions

Dorel Home Products
Dorel Home Products 2115029N manual

Furniture of America
Furniture of America CM7561Q Assembly instructions

SHANGRI-LA
SHANGRI-LA SLHAMPTBFWA user guide

Till-Hilft
Till-Hilft 88128.512 quick start guide

BoLiving
BoLiving Swan Coffee Table 519617 Assembly instructions

Wren
Wren FI.PK.FIT.002 Fittings guide

Serta
Serta FCTBRYPINR01 Assembly instructions