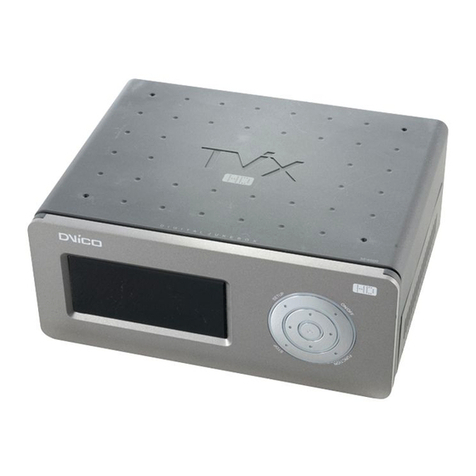
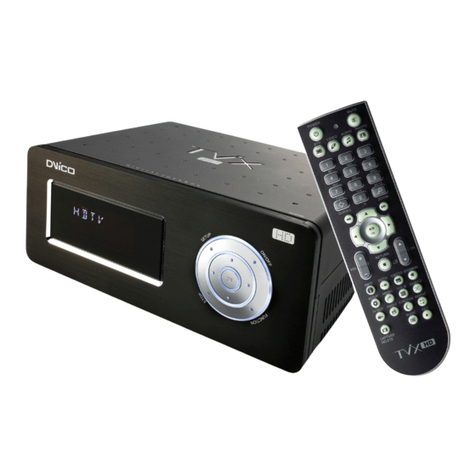
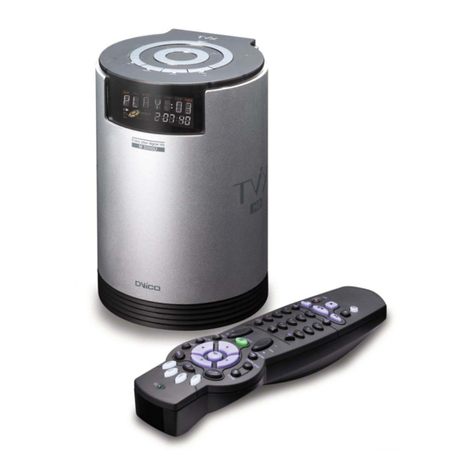
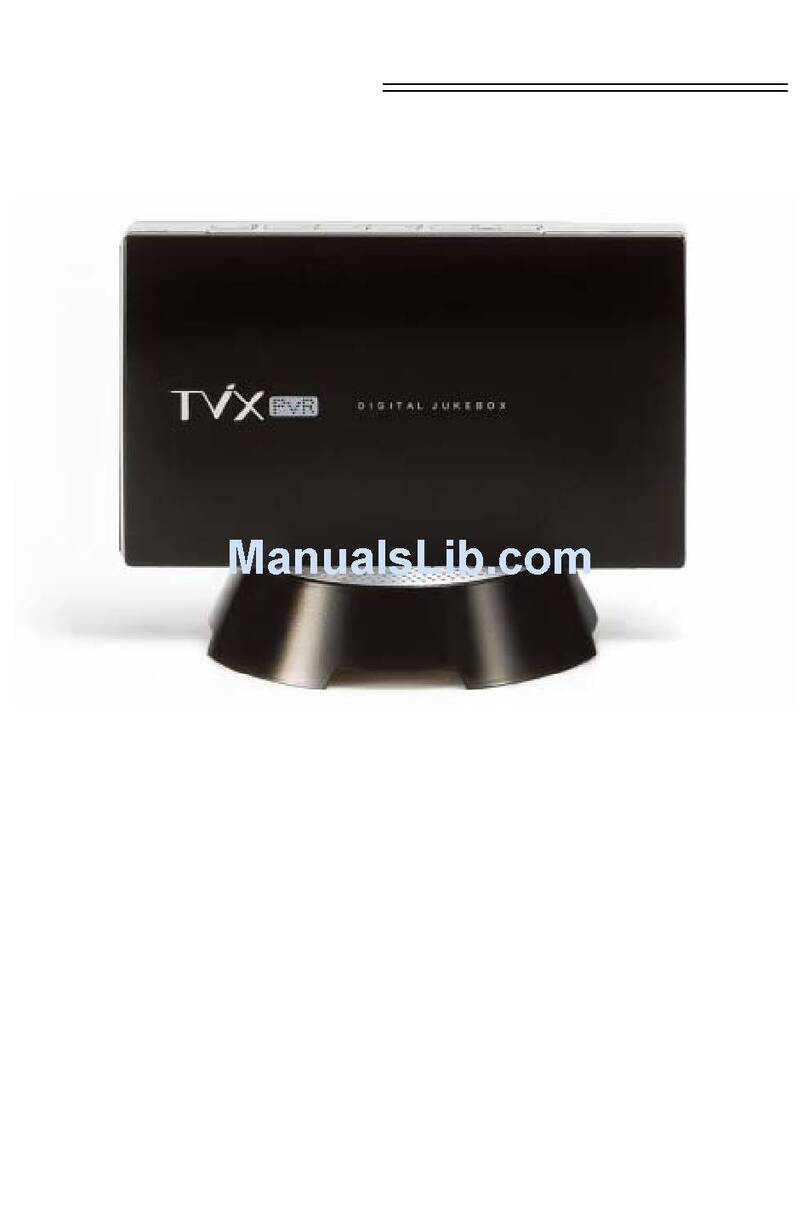
Dvico TViX C-3000U Deluxe User manual

T V i X
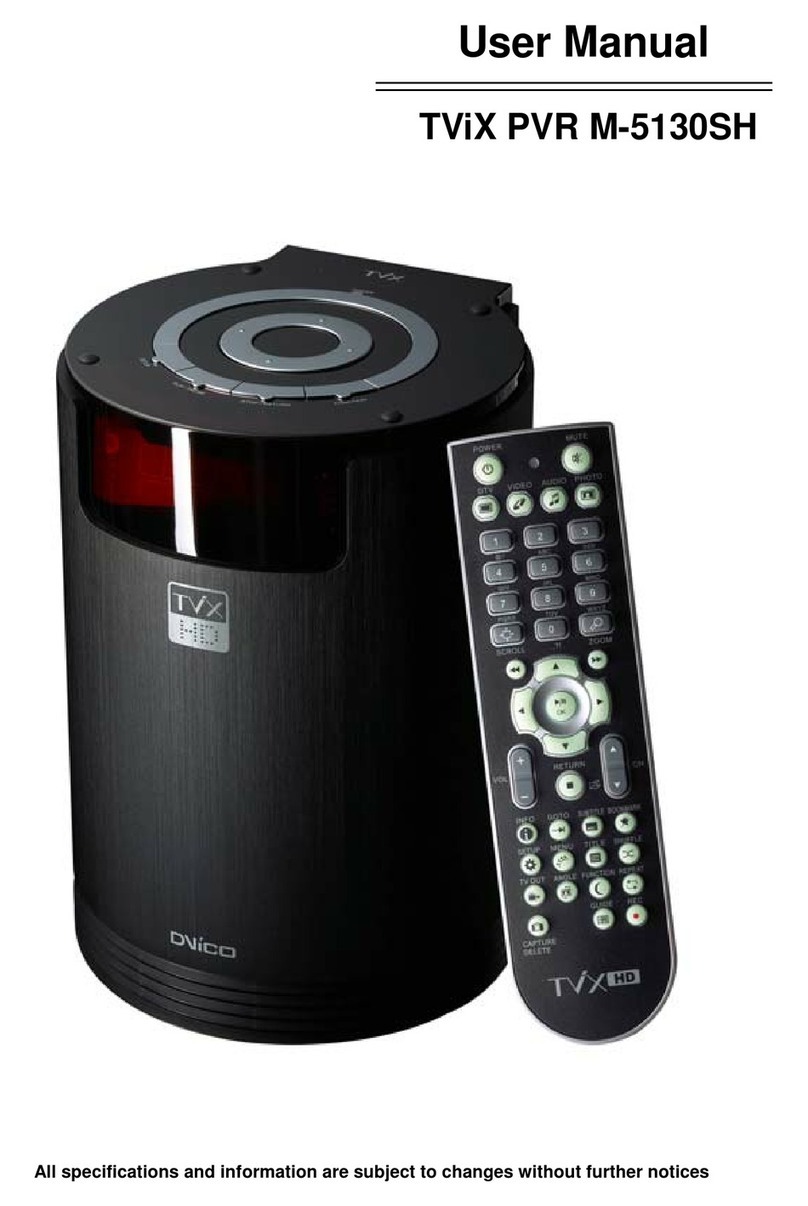
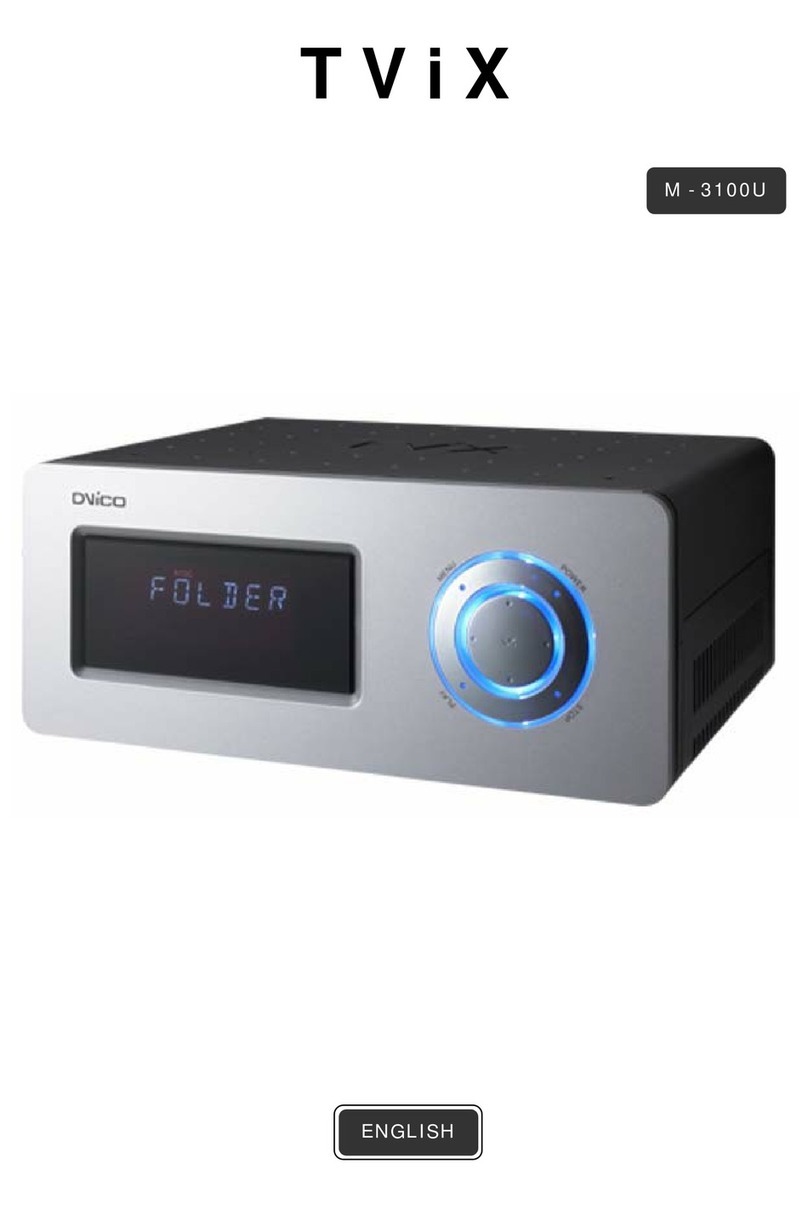
M - 3000U
C – 3000U Deluxe
TViX MODEL :
ENGLISH

2
Table of Contents
1Introduction ................................................................................................3
1.1 What the TViX is? ................................................................................................................3
1.2 Specification ........................................................................................................................3
1.3 TViX Connection ..................................................................................................................4
2Caution ........................................................................................................5
2.1 Safety notice........................................................................................................................5
2.2 Note for Win98SE USB user.................................................................................................5
3Name of each part ......................................................................................6
3.1 Control Panel.......................................................................................................................6
3.2 Cable connection ( Audio, Video, Power, USB interface ).......................................................6
3.3 Front panel ..........................................................................................................................8
3.4 Package contents.................................................................................................................8
4Installation and connection .....................................................................10
4.1 Video Connection...............................................................................................................10
4.2 Audio connection ...............................................................................................................12
4.3 HDD Installation/Exchange .................................................................................................13
4.4 TViX Setup Menu...............................................................................................................17
5Using remote controller ...........................................................................21
5.1 Basic function ....................................................................................................................21
5.2 Descriptions on each buttons..............................................................................................22
5.3 Extra feature ......................................................................................................................26
6Firmware upgrade ....................................................................................34
7Using USB connection with PC...............................................................36
7.1 Windows 98SE Driver Installation .......................................................................................36
7.2 Making partition and formatting the HDDs under Windows 98SE / ME..................................40
7.3 Making partition and formatting the HDDs under Windows 2000 / XP...................................42
7.4 Unplug or eject hardware....................................................................................................46
8Appendix - Technical Terms ....................................................................47
9GNU General Public License ...................................................................49

3
1 Introduction
1.1 What the TViX is?
Enjoy your digital movies, music and photos on your TV!! TViX can be used as a multimedia jukebox,
music tank, photo album and even as a portable storage. TViX brings all of your digital contents to the
living room so that you can enjoy movie, music and photos with your family, friends or colleagues.
Multimedia Jukebox
TViX supports most of the video formats including MPEG-1, MPEG-2 (AVI, VOB) and MPEG-4 (AVI,
DivX, XviD) movies on the internet. CD or DVD can be copied into TViX and you can enjoy your
favorite contents on TV. Download your favorite contents into TViX and go vacation with it.
TViX is a portable multimedia jukebox!!
- Supporting ISO file format (4GB or more)
- Under the NTFS format system, over 4 GB of video (mpg) file is supported.
Music Tank
Put all of your music files into TViX and travel with it!! TViX can play variety of audio files such as MP3,
Ogg Vorbis or WMA through the TV speaker or your existing audio system. To listen to your favorite
music files continuously, you can organize a custom play list and enjoy music all day without changing
CDs.
Photo Album
TViX is also a Digital photo album which can hold tens of thousands of high resolution digital photos.
Take digital pictures and store the files in TViX. Instead of bringing your whole family to your PC
monitor to watch the digital photos, enjoy the photos on TV sitting on a comfortable sofa in your living
room. Life is so good.
Portable Storage
TViX uses a 3.5” HDD as its contents storage and it works just like a external USB 2.0 hard drive when
you connect it to your PC. When sharing multimedia files with your friends, you can do it so fast by
using the latest USB2.0 interface. USB2.0 lets you transfer data at 480Mbps!!
1.2 Specification
Video DivX 3.x/4.x/5.x , XviD, AVI, MPG, mp2,DAT, VOB, IFO, ISO
music MP3, WMA, WAV, Ogg Vorbis
File format supported
Image JPEG
Video Output S-Video, Composite ,HD Component (Progressive mode support)
Audio output Digital 5.1CH, Analog 2 CH
Interface USB2.0 ( data transfer rate: 480Mbps )
OS Supported Windows98SE/ Me/ 2000/ XP or later
SubTitle Smi, SMIL, .SUB (bitmap) + .idx
File System NTFS, FAT32
Size 122.5 x 171.8 x 68.5 mm
Weight 1.2Kg (HDD included)
Operating
Temperature 0 - 40℃
Power supply
M-3000U : Power Supply embedded( You don’t need additional adapter), Free
Voltage(AC90-250V~50/60Hz)
C-3000U Deluxe : DC 12V , DC Adapter Included
4
1.3 TViX Connection
When TViX is connected to PC, it is recognized as a USB external storage.
Multimedia Player Mode ( Connecting with the Video or Audio Cable )
[ Connecting TViX to a TV ]
TViX serves as a player and you can playback multimedia files(movie, music, picture).
(The concerned A/V cables should be connected & PC-USB cable should be disconnected.)
Portable Storage Mode ( Connecting with USB/ Cable )
[ Connecting TViX to a Computer ]
TViX serves as an external storage so that you can not see any signal on the TV.
(connecting with USB cable)

5
2 Caution
2.1 Safety notice
Do not take out the internal hard drive by yourself. The internal hard drive is very hot when it is
working. The warranty will be void if any other hard drive is inserted into TViX.
2.2 Note for Win98SE USB user
If you are a Windows98SE user, you should download a USB storage driver from our web site
www.tvix.co.kr before you connect your TViX with your system. You do not need to install driver under
Windows ME/2000/XP.
Do not disassemble the device; it may
cause malfunction or fire.
Keep TViX away from heat or fire..
Magnetic material may erase the data in TViX.
Keep any magnetic material away from TViX..
Do not expose TViX to oil, smoke, water,
humidity and dust.
Do not touch power plug with wet hands or do
not use defective power cable & loose outlet. It
may cause electric shock or fire.
Be careful not to drop TViX from a height. It
will damage the internal hard drive.

6
3 Name of each part
3.1 Control Panel
You can do basic operation without remote controller.
3.2 Cable connection ( Audio, Video, Power, USB interface )
Please connect appropriate output to a TV or a digital decoder/amp.
FF
PLAY
MENU
STOP
OK
REW

7
[ M - 3000U ]
[ C - 3000U Deluxe ]
COMPONENT
P
r
STEREO
LEFT
COAXIAL
AUDIO
POWER
COMPOSITE
COMPONENT
Pb
S-VIDEO
USB PORT
COMPONENT
Y
OPTICAL
DIGITAL AUDIO
STEREO
RIGHT
Ext.IR
COMPONENT
P
r
STEREO
LEFT
COAXIAL
AUDIO
POWER
COMPOSITE
COMPONENT
Pb
S-VIDEO
USB PORT
COMPONENT
Y
OPTICAL
DIGITAL AUDIO
STEREO
RIGHT
NOT USED
Ext.IR

8
3.3 Front panel
3.4 Package contents
[ M - 3000U ]
TViX main unit①
Manual②
A/V cable③
Power cable x 2 (This cable will vary depending on where you live)④
USB Cable⑤
Remote controller⑥
⑦Battery (AAA) X2
1 2 3 4 5 6 7
POWER LED
HDD LED
PLAY
REMOTE RECEIVER
POWER ON

9
[ C - 3000U Deluxe ]
TViX①main unit
Manual②
A/V cable③
USB Cable④
Remote controller⑤
⑥Battery (AAA) X2
⑦Carrying Bag
⑧DC 12V adapter , Power cable x 1
[ C - 3000U Deluxe Car Kits ]
Remote receiver (5m)①
CAR Remote controller②
RCA to Stereo Jack③
④Cigar jack (1m 15Cm)
1 2 3 4
1 2 3 4
5 6 7 8

10
4 Installation and connection
4.1 Video Connection
4.1.1 Connection with ordinary(Composite) TV output
Connect TViX and your TV using the yellow video cable.
Turn on the TViX and TV. Select appropriate video input
mode on your TV until you can get the initial TViX
screen.
4.1.2 Connection to S-VIDEO output
Connect TViX and your TV using the S-Video cable.
Turn on the TViX and TV. Select appropriate video
input mode on your TV until you can get the initial
TViX screen.
(S-Video cable is not included and should be
purchased separately)
YELLOW CABLE
BLACK ROUND CABLE

11
4.1.3 Connection to component output
Connect TViX and your TV with component cable as the image above.
Turn on the TViX and TV. Select appropriate video input mode on your TV ( in this case, Component input
mode )
NOTE: After you connect the video cable to your TV, press the TV out button repeatedly on your remote
controller until you can get stable TViX initial screen.( refer to section 4.3.1, TV Out )
* Component cable is not included in the TViX. It should be purchased separately.
GREEN,BLUE,RED CABLE

12
4.2 Audio connection
4.2.1 Connection to 2 CH of normal TV
Connect left(white), right(red) sound output to the
appropriate terminal of your TV or Hi-Fi.
4.2.2 Connection to 5.1CH amplifier(Digital)
When you have a multi channel decoder/amplifier with
optical/coaxial input, you can enjoy 5.1 CH high quality
sound through coaxial or optical cable.
The illustration on the left shows how to connect with
coaxial cable. Optical cable connection can be done by
similar method.
(Those cables are not included in the package and should
be purchased separately)
WHITE , RED CABLE
OPTICAL COAX
DIGITAL CABLE

13
4.3 HDD Installation/Exchange
4.3.1 HDD Installation
Warning : If you change HDD by yourself, warranty would be voided in case TViX is equipped with
HDD.
Open the lid of the TViX by sliding the lid like pictures①
Set the jumper to Master②
< Jumper Setting >
Jumper Setting is different depending on the HDD manufactures, please refer to the instructions of
the specific HDD provided by the HDD manufactures.
- You can find the cable connection part as the follow.
No. 1 : Connection Part of the IDE cable
No.2 : HDD Jumper
No.3 : Connection part of power cable

14
Put the HDD into the device after spreading the IDE cable to avoid damage③
Connect power cable and IDE cable④
Close the lid of TViX⑥

15
4.3.2 HDD replacement
Open the lid of TViX①
Pull out the HDD with the black string.②
(Note : Be careful to protect IDE cable from being damaged when removing the HDD. When you detach the
HDD, please let the heat out sufficiently).
Ensure the jumper is set to master and put the HDD into the device.③

16
After put into the HDD, connect IDE cable and power cab④le and close the lid.

17
4.4 TViX Setup Menu
4.4.1 Audio/Video Setting
* Analog/DPCM
Select this when you connect the audio with stereo RCA cable.(RED and White)Output PCM data.
* Encoded Digital
Select this when you connect the audio with optical or coaxial cable for digital audio connection to the
Decoder/Amplifier. There will not be analog audio out from the analog audio port of TViX.
* HD Component Out
Select this when you connect the video through component(YPbPr) cable. You can select the output
resolution among 480P/720P/1080i. Setting to 1080i will work on all of the HD grade TVs.
* TV OUT
Default video setting of TViX is COMPOSITE (NTSC/S-VIDEO or PAL C/S-VIDEO) This is the most general
setting that works with most of the TV.
NTSC C/YPbPr(480i), PAL C/YPbPr(576i) is a special case. Select these settings if your TV is connected
to TViX with component output.
Note : If you fail to see the initial TViX screen after the unit and TV are turned on, make sure you have
chosen the right TV out option by repeatedly pressing TV Out button on the remote controller.
Audio Out : Analog/DPCM Analog/DPCM
EncodingDigital
HDComponentOut : OFF 480P
720P
1080i
OFF
TVOut: NTSCC/S-Video NTSC C/S-VIDEO
NTSC C/YPbPr
PAL C/S-VIDEO
PAL C/YPbPr
TVType:4:3LetterBox 4:3 Letter Box
4:3 Pan & Scan
16:9
Firmware Version : 1 . 9. 0
Use to setu
p
and
p
ress OK
Press SETUP to exit

18
* TV Type : 4:3 Letter Box / 4:3 Pan & Scan for ordinary TV.
16:9 for Wide TVs like HDTV or Plasma TV.
If the ratio of TV is 4:3, select 4:3 letter box or 4:3 Pan & Scan, if the ratio of TV is 16:9, select 16:9
4:3 Letter letter box can show the original ratio f the multimedia file of 16:9.①
4:3 Pan & Scan adjust the image of the 16:9 multimedia file to the 4:3 of the TV screen by cutting the②
image.
16:9 can adjust any ratio of multimedia file to the T③V screen with original image
* Firmware Version: Displays installed firmware version (the version number may vary depends on the time
of purchase)

19
4.4.2 MISC1 setting
* Slide Show Delay Time: You can set the slide show time interval (1 sec – 10 sec)
* Subtitle Font Size: You can select the subtitle font size
* Subtitle/Outline: You can change the color of the subtitle and its outline
* Font Color : You can change the color of font.
* Language Selection: Select the language you prefer. It supports English, French, and German
* AutoRun : You can listen to music(audio files) without display(TV). If you select “shuffle”, it plays randomly.
* OSD : You can turn On/Off OSD while you playback or load a file.
SlideShowDelayTime:3Sec
SubTitle Font Size : Large
SubTitle/outline : White/Black
Font Color : White
Language Selection : English
AutoRun :On
OSD :Off
Use to setu
p
and
p
ress OK
Press SETUP to exit

20
4.4.3 MISC2 setting
The FF/REW and LEFT/RIGHT buttons have been upgraded so users can select their preference.
This function also with the time setup can be changed with the MISC2 menu item in setup.
Instead of using setup, you can change the time setup by pressing the up/down arrow buttons which will then
display an OSD, such as “+15.
LEFT/RIGHT Key : Time Skip FF/REW
Time Skip
FF/REW Key : FF/REW FF/REW
Time Skip
Time Skip Duration : 15 sec 10 sec 15 sec
20 sec 30 sec
40 sec 50 sec
1 min 2 min
3 min 4 min
Use to setu
p
and
p
ress OK
Press SETUP to exit
This manual suits for next models
1
Table of contents
Languages:
Other Dvico Media Player manuals

Dvico
Dvico TViX HD M-4000P User manual

Dvico
Dvico TViX Slim S1 User manual

Dvico
Dvico TViX PVR M-5130SH User manual

Dvico
Dvico TViX PVR R-2230 User manual

Dvico
Dvico TVX-HD M-6600 User manual

Dvico
Dvico TViX HD M-4000PA User manual

Dvico
Dvico TViX M-3100U User manual

Dvico
Dvico TVix HD M-5000U User manual

Dvico
Dvico TViX HD M-7000A User manual

Dvico
Dvico TViX PVR R-2200 User manual