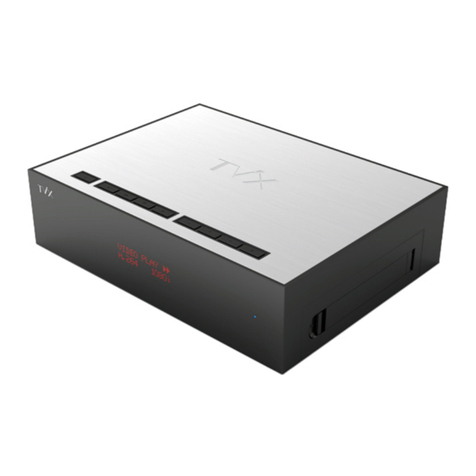
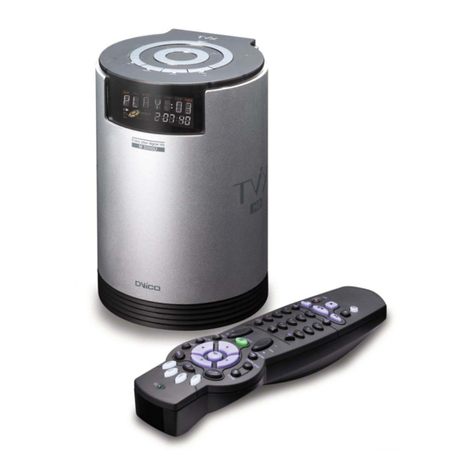
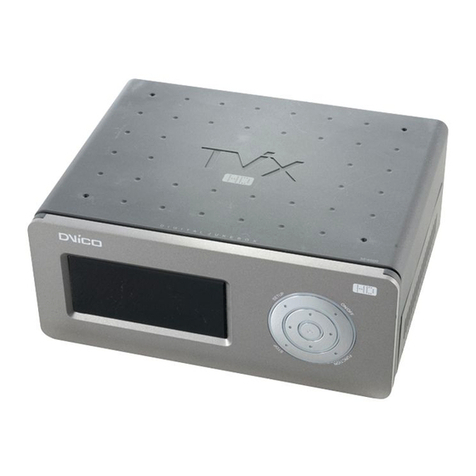
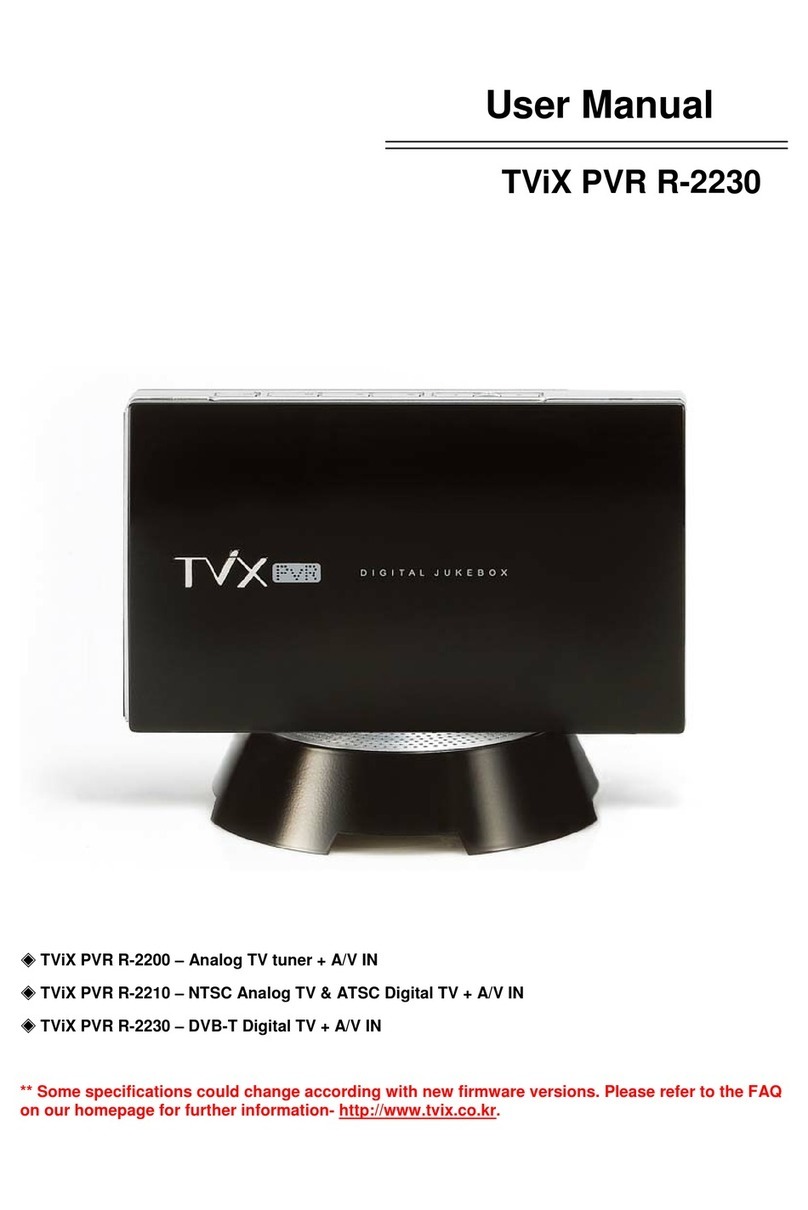
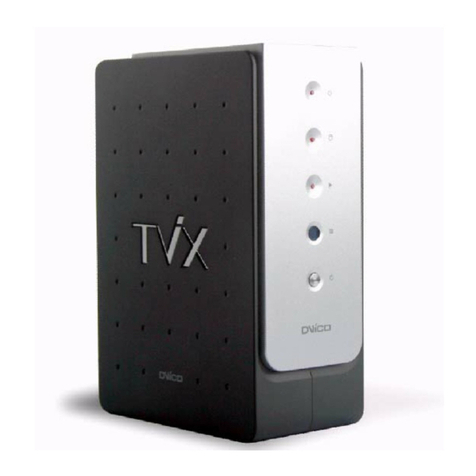
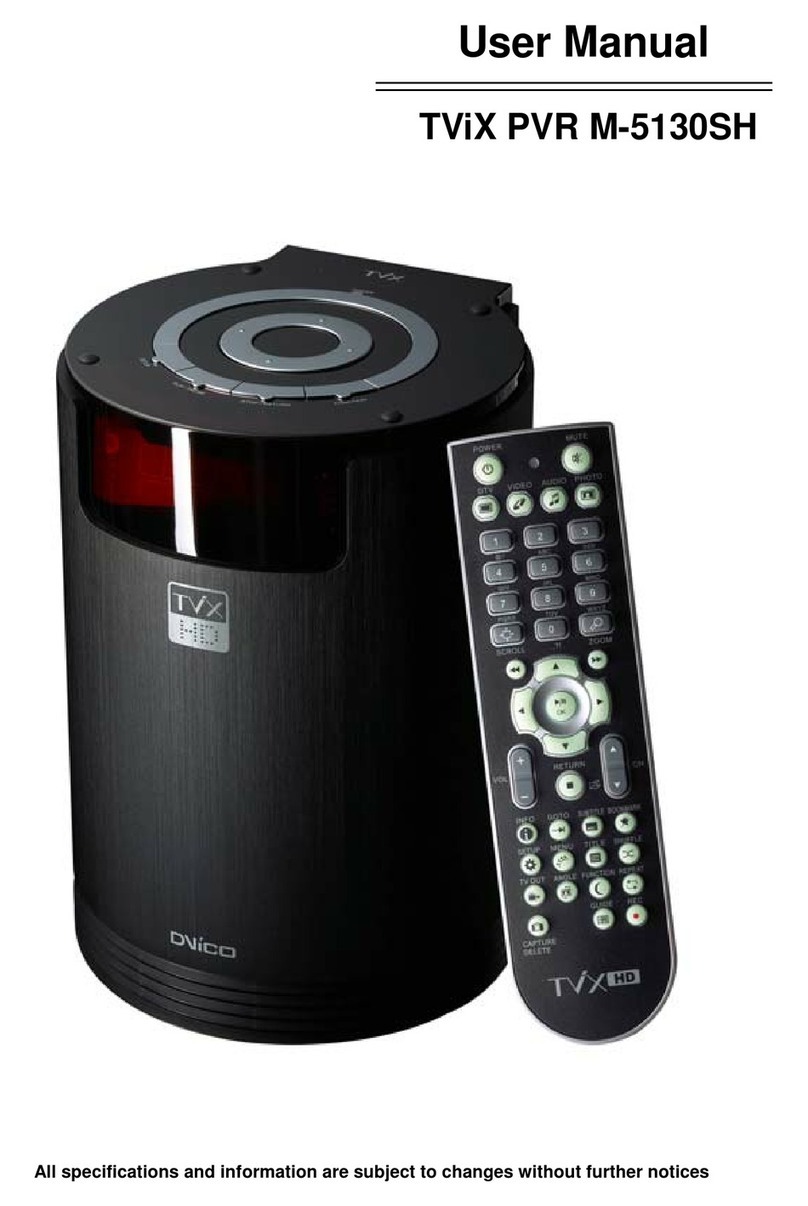
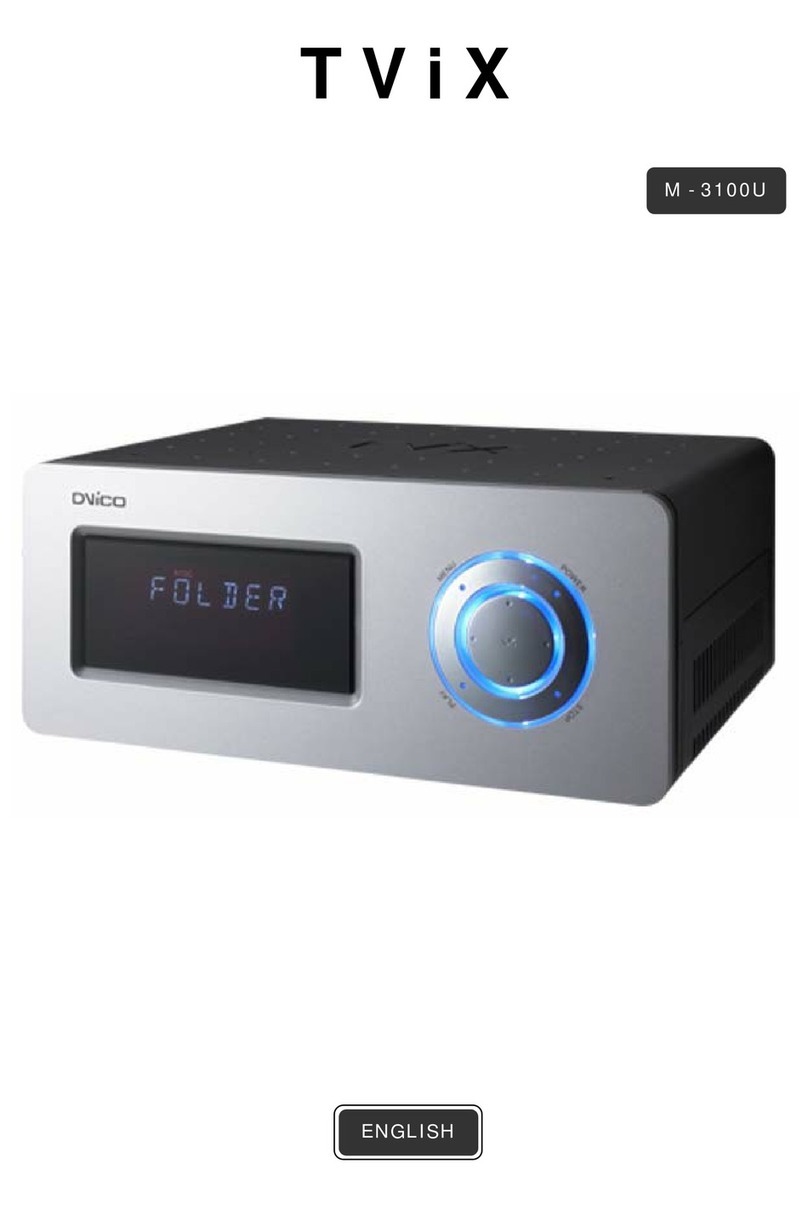
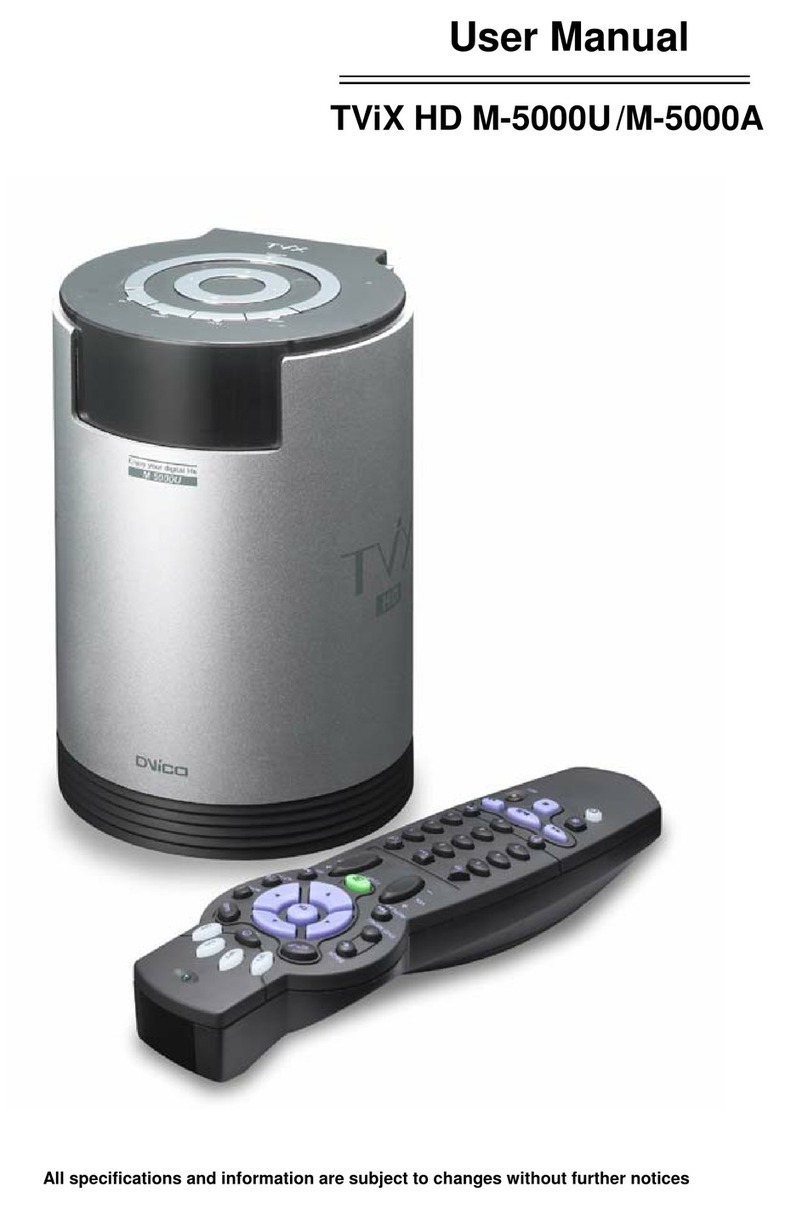
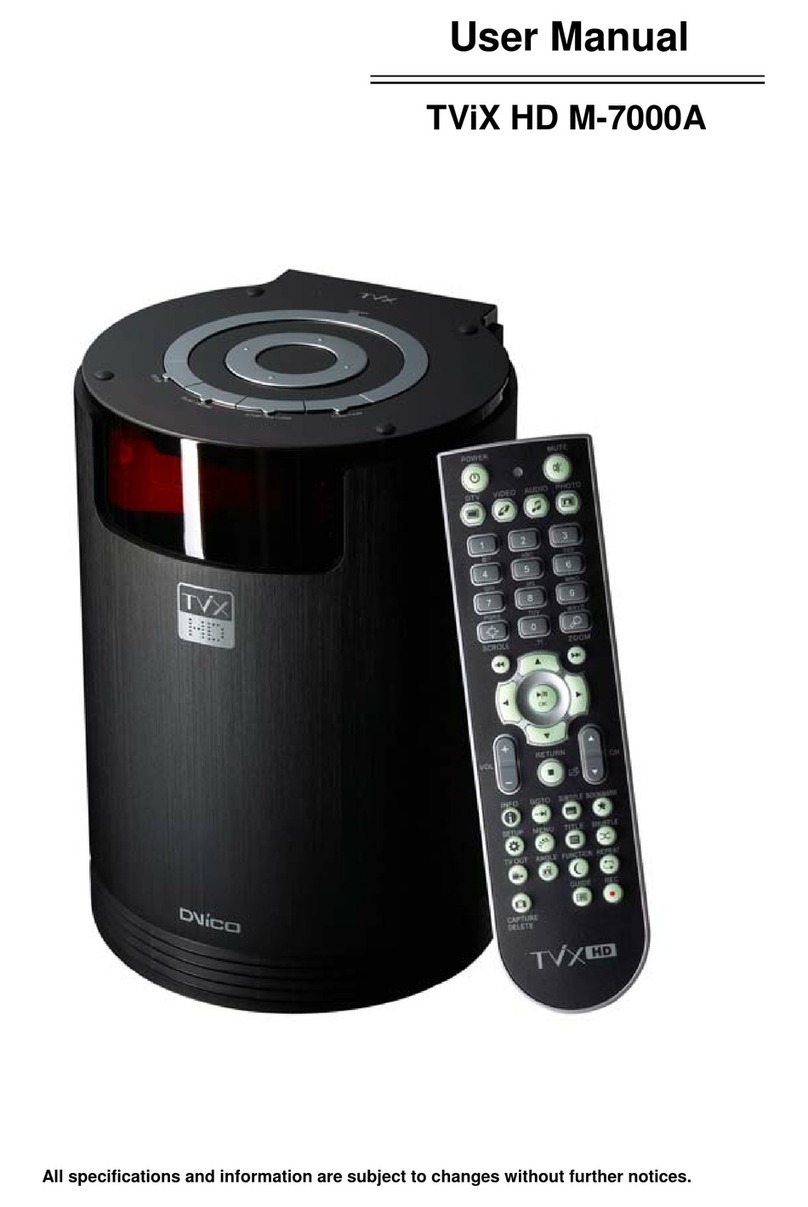
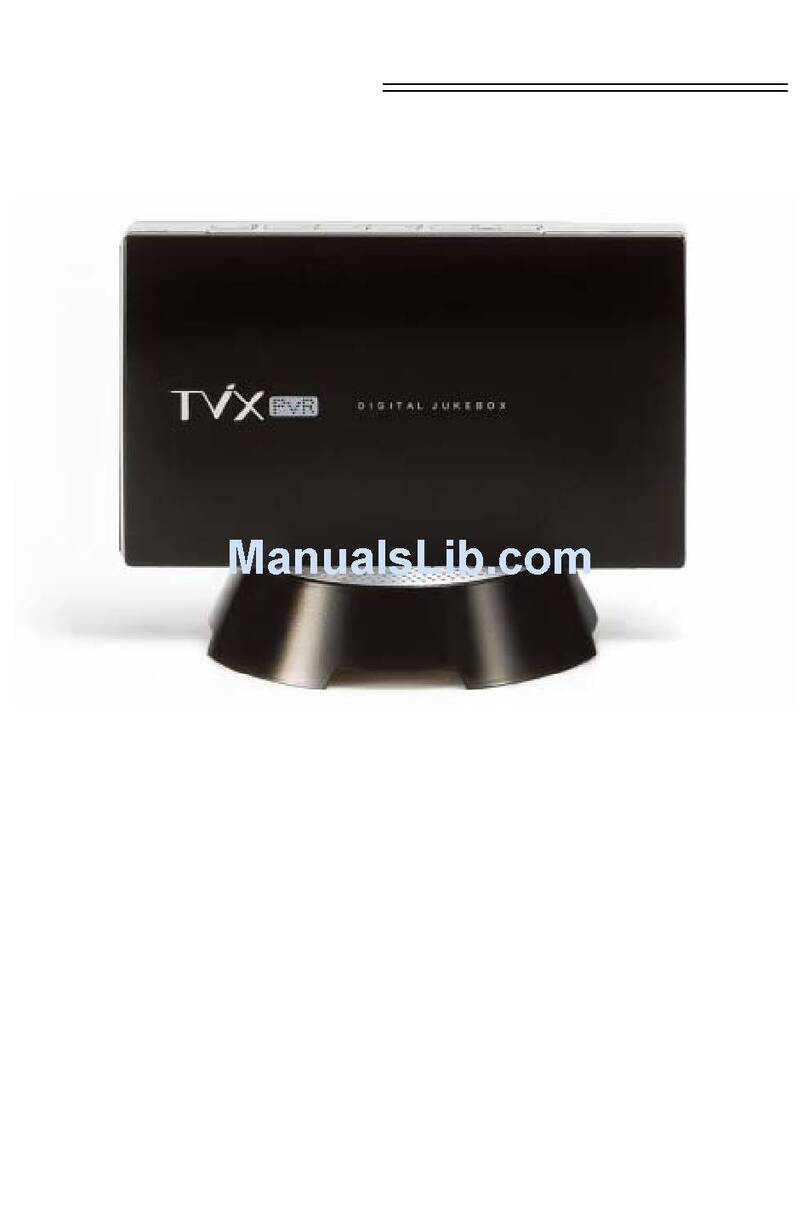
Dvico TViX HD M-6500A User manual

1
Quick Guide
TViX HD M-6500A
English 1
한국어 13
Français 26
Español 38
日本語 50
Svenska 62
Deutsch 74
中 文 86
Romanian 98
Nederlands 110
** For detailed instructions, please refer to the enclosed TViX CD or the latest pdf file on the TViX
Homepage (www.tvix.co.kr).
** Some specifications could change according with new firmware versions. Please refer to our
homepage for further information- http://www.tvix.co.kr.
ENGLISH

2
Safety Notice
Do not take out the internal hard drive by yourself. The internal hard drive is very hot when it is
working. The warranty will be void if any other hard drive is inserted into TViX.
"Do not block any ventilation openings. Ensure that a free airflow is maintained around the appliance."
The socket-outlet shall be installed near the equipment and shall be easily accessible.
Do not expose TViX to oil, smoke,
water, humidity and dust.
Do not touch power plug with wet hands or do
not use defective power cable & loose outlet. It
may cause electric shock or fire.
Be careful not to drop TViX from a height.
It will damage the internal hard drive.
Keep TViX away from heat or fire.
Do not block any ventilation openings. Ensure
that a free airflow is maintained around the
appliance.
Do not disassemble the device. It may
cause malfunction or fire. Magnetic material may erase the data in TViX.
Keep any magnetic material away from TViX..
ENGLISH

3
1 Introduction
1.1 Multimedia Player
TViX HD is a standalone, multimedia hard disk player which plays
digital videos, digital music, digital still images and DVD files to a
TV display and home entertainment system. You can enjoy digital
contents in your living room without having to burn discs or
having to play it back on a DVD or CD player anymore.
** For the detail instruction, please refer to enclosed TViX CD or the latest pdf file on the download site.
TViX HD plays back DVD movies with the full functionality of DVD navigation. You can
create your own virtual DVD library by storing your personal collection of DVDs in .ISO
or .IFO format and watch them exactly as if they were running from the original DVDs (all
original features included: Menu, Chapter, Audio Stream, Subtitle, Fast Forward, Rewind,
Slow, Pause, Step Forward, Repeat, Search etc.).
TViX HD plays back high definition video (up to 1920x1080P) and still images. Pre-
recorded HDTV programs from a digital TV set-top box or personal digital video contents
taken by a HDV™ camcorder can be played back with the TViX HD on a high definition
display. The TViX HD features a HDMI connector and component, which will match the
high resolution of HD level video contents.
Using the latest SMP8635 processor, TViX HD supports the latest multimedia formats
MKV, MPEG-4 AVC(H.264), VC-1( MP@HL, AP@L3), WMV9 & WMV HD as well as
MPEG4 3.11,4.0 , 5.0. H.264 is a brand-new and superb compression technology today.
It makes you more stunning HD movie with lower storage capacity.
HDMI provides unparalleled qualities to digital video and audio, while DVI only serves
digital video. You don’t have to mess around with several AV cables. It provides single,
pure and simple way to connect your display. It can deliver uncompressed digital video
up to 1080p as well as multi-channel digital audio.
TViX HD supports DTS hardware decoder to mix DTS sound into 2 channels for a more
dynamic sound quality.
The TViX HD can be networked with a PC system using its built-in LAN port. You are
able to navigate to a PC file through TViX HD’s wired or wireless network and play the file
from its original destination without having to copy it into the TViX first. We’re supporting
the file copy via LAN.
With two USB2.0 host ports, you can now attach additional external USB hard drives to
further extend the storage capacity. You can also playback files from a digital camera,
USB flash driver, USB flash card reader, or a MP3 player.
Manu
f
actured under license
f
rom Dolby Laboratories.
"Dolby" and the double-D symbol are trademarks of Dolby Laboratories.
ENGLISH

4
2 Name of Each Part
2.1 Control Panel
Basic functions can be done without the remote control.
2.2 Cable Connection
You can connect the TViX to a TV display or audio Amplifier using the A/V cable. There is detail instruction
for tuner box on the quick guide of optional tuner box package.
2.3 Package Contents
TViX main unit Power cable A/V cable USB Cable Manual TViX Remote
Optical Out
Stereo
Coaxial
Cooling FAN
Composite/S-video
POWER
LAN
HDMI OUT USB HOST HD Tuner port
COMPONENT USB PORT
ENGLISH
HDMI cable is enclosed.

5
3 Installation and Connection
3.1 Video/Audio Connection
We support HDMI, Component, S-Video, Composite video output for connecting to the TV and each output
needed to change settings on the TViX HD.
The highest quality components are as follows: HDMI > Component >S-Video > Composite.
Ordinary (Composite) TV Output Connection to HDMI Output (HDMI-D
V
I)
Connect the TViX HD and your TV using the yellow
video, red/White audio cable.
Turn on the TViX HD and TV. Select an appropriate
video input mode on your TV until you get the initial
TViX HD screen.
Simply connect your TViX HD to the HDMI port on
the TV. TViX plays back high definition video (up to
1920x1080P).
With HDMI to HDMI cable, you don’t need to connect
additional audio cable
CAUTION
After you connect the video cable to your TV, press the TV Out button repeatedly on your remote
control until you get the initial TViX screen.
* The component or S-Video cable is not included in the TViX and must be purchased separately.
ENGLISH

6
Connection to S-
V
ideo Output Connection to Component Output
Connect the TViX HD and your TV using the S-Video
cable. Turn on the TViX HD and TV. Select an
appropriate video input mode on your TV until you
get the initial TViX HD screen. Additional cables
required for audio.
(The S-Video cable is not included and has to be
purchased separately.)
Connect the TViX HD and your TV with the
component cables.
Turn on the TViX HD and TV. Select an appropriate
video input mode on your TV (in this case, the
Component input mode). Additional cables required
for audio.
5.1CH Amplifier (Digital)
If you have a multi-channel decoder/amplifier with an optical/coaxial
input, you can enjoy 5.1 CH high quality sound through the coaxial or
optical cables.
The illustration on the left shows where to connect the coaxial cable.
Optical cable connection is done in a similar method.
(These cables are not included in the package and must be
purchased separately.)
CAUTION
If no sound is heard after connecting the Optical or Coaxial Cable, you have to change the audio
setup of TViX to Digital.
ENGLISH

7
3.2 HDD Installation/Exchange
Warning: If you change the HDD of a TViX equipped with an HDD, the warranty
will be voided.
Assembling the TViX HD is very easy. Just follow the instructions below:
Use a driver and screw the hard disk on to the guide board.
Open the lid of the TViX by sliding the lid like pictures.
Set the jumper to Master and connect power cable and DATA cable
Put the HDD into the TViX after spreading the cable to avoid damage.
Connect the cable to cross direction.
Close the lid of TViX.
To change the hard disk, pull the hdd’s guide while pushing the
locking.
ENGLISH

8
3.3 Initial Setting
Connect the TViX HD to your TV and then turn on the TViX HD.
Press OK button when you can see this TViX Logo.
Select your language preference.(English)
Appear the TViX SETUP screen.
For detailed instructions, please refer to the enclosed TViX CD or the latest pdf file on
the TViX Homepage (www.tvix.co.kr).
ENGLISH

9
4 TViX HD Setup Menu
4.1 Audio/Video Setting
This section indicates the Audio/Video settings. Setup password protection is available. You can set
password to enter into setup menu. (on MISC menu inside SETUP) .This will block children changing setup
accidentally. The password is 1111
* Audio : You can set the mode of audio output by each audio codec used.
- If you set Audio to Digital, you can set DTS and WMA to digital or analog.
- Please set this according to the audio format your receiver supports.
* Analog : Select this when you connect the audio with a stereo RCA cable (the RED and WHITE cable)
You can set the mode of audio output by each audio codec used. If you set Audio to Digital, you can set DTS
and WMA to digital or analog. Please set this according to the audio format your receiver supports.
* Digital : Select this when you connect the audio with an optical or coaxial cable for digital audio connection
to the Decoder/Amplifier. There will be no analog audio out from the analog audio port of the TViX HD.
* TV Standard : The default video setting of the TViX HD is COMPOSITE (NTSC/S-VIDEO or PAL C/S-
VIDEO). This is the most general setting and works with almost all TVs.
* Auto Switch : is used when the video out is changed according to the NTSC , PAL or 24Hz format.
* TV Type : 4:3 Letter Box / 4:3 Pan & Scan for ordinary TVs / 16:9 for Wide TVs like HDTV or Plasma TV.
If the ratio of the TV is 4:3, select the 4:3 letter box or 4:3 Pan & Scan. If the ratio is 16:9, select 16:9.
* The 4:3 Letter box can show the original ratio of the multimedia file in 16:9.
* The 4:3 Pan & Scan will adjust the image of the 16:9 multimedia file to the 4:3 of the TV screen by scaling
the image. (Currently, not support this mode)
* 16:9 can adjust any ratio of the multimedia file to the TV screen with the original image.
* Video Port : If you fail to see the initial TViX HD screen after turning the unit and TV on, make sure you
have chosen the right TV out option by repeatedly pressing the TV Out button on the remote control.
A
udio: Digital
A
nalog(PCM)
Digital
DTS Audio : Digital
WMAAudio : Analog(PCM)
AAC Audio: Analog(PCM)
TV Standard : NTSC NTSC
PAL
-> AutoSwitch Off
TVType: 4:3letterBox 4:3letterBox
4:3 Pan-Scan
16:9
Video Port : Composite/S-video Composite/S-video
Component
HDMI/DVI
HDMIAudioAuto/Manual OFF
Video Out Mode : 480i/576i 480i/576i
LuminanceLevel: Auto
Apply Now
ENGLISH

10
Composite/S-Video is a default.
* HDMI Audio Auto/Manual : Select On when you use HDMI audio.
* Video Out Mode : Select this when you connect the video through a component (YPbPr) or HDMI cable.
With HDMI setting, you can select the output resolution among Auto EDID/480P/720P/1080i/1080P. Setting
it to 1080i will work on all HD grade TVs.
HDMI/DVI : Auto EDID/,480i/576i, 480P/576P, 720P, 1080i,1080P
Component : 480i/576i, 480P/576P, 720P, 1080i,1080P
* Luminance Level : Auto / 0-255 / 16-235, This option is enabled with HDMI or DVI Video out. (Auto EDID
is not used)
* Apply Now : After configuration, please press ‘Apply Now’ to save the Video out state.
If you want to exit the Setting, Select the EXIT button and then press OK on the remote control.
4.2 MISC Setting
This section indicates the MISC settings.
*Slideshow Effect : This is used when playing background music while watching picture slideshows.
(Currently, not support)
*Slideshow Delay : Set the slide show time interval (0 sec – 60 sec)
* Date / Time Setting : Adjust the clock on the VFD by using the arrow and numeric keys.
* FAN Speed : Select your Fan Speed. We recommend the Normal setting.
*Language : Select your language preference.
*Autorun : You can listen to music(audio files) without display(TV). If you select “random”, it plays randomly.
(Off-on-Random-Repeat-Random/Repeat)
* OSD Display : Select the type of OSD display. We recommend the Normal mode.
* Safety Lock : is used the password(“1111”) when you run the SETUP menu.
* Subtitle/Outline: Change the color of the subtitle and its outline.
* Screen Saver : If there is tvix_ss.jpg on the root directory, you can see this image(160*160 pixel) after 5
minutes. When the pause status or playback of audio(without slide show), Screen saver will work.
* Remote Controller : You can select your remote type. We recommend the common setting. If there is a
collusion between other device and TViX remote, you’d better A or B type referring to image.
SlideShowEffect: Fade In/Out
Slide Show Delay : 5s
Date / Time Setting :
FANSpeed: Normal
Language: English English
Korean
Autorun : ON
OSD Display : Normal
SafetyLock: Disable Enable
Disable
Subtitle/Outline: White/Black
Screen Saver Disable Enable
Remote Controller: Common
SmartNavigation: Smart
Font : SYSTEMFONT
Load Factory Setup
ENGLISH

11
* Smart Navigation : If there is VIDEO_TS.IFO file in the folder, Clicking on the
DVD folder will automatically playback .VOB content.
* Font : Show current font.
* Load Factory Setup : recover to the factory setting, after rebooting, select the video out or language again.
4.3 Network Setting
This section indicates the Network settings.
* IP setting : Default setting is DHCP. If you cannot access via LAN with DHCP setting, use the Static IP
setting. Please refer to Setting Network Configurations in TViX HD.
* Network Disk : Write the PC’s IP address in the Server IP. (ex:
192.168.001.128) Supports up to 4 Network disk server.
There are two network method in the TViX model. One is SAMBA
mode another is NFS mode.
- SAMBA mode : You can play the file via network without
special program, but the speed is lower than NFS mode.
- NFS mode : You must install the TViX NetShare utility in to
your PC, but you can play the TP or DVD jukebox without
stutter.
We recommend to share the NTFS file system. FAT32 file system does not contain enough information
to create a lasting file name, so TViX doesn’t load the file after changing the file name.
For the detail instruction, you can download the NetShare installer and NetShare manual from our homepage.
(www.TViX.co.kr/Eng)
When several tvix is accessed to one PC, You must set to SAMBA setting.
* TViX Network Info : You can see the information of TViX’s Network.
* FTP : If you want to use FTP function, you must use this ID & password.
For the detail instruction, please refer to following FAQ. - http://www.tvix.co.kr/eng/faq
** Number 1 key is changed as @Æ: Æ/ Æ_ Æ- when this key is pressed.
* Lan Speed : To use 1000 Mbps speed, please connect CAT6 cable.
Default Network : Wi-Fi
Wired IP Setting : DHCP
Wi-Fi IP Setting : DHCP
SearchWi-FiNetwork
TViXNetworkInfo
Network Disk1 : Normal(NFS) Slow(SAMBA)
Normal(NFS)
Network Disk2 : Slow(SAMBA)
Network Disk3 : Slow(SAMBA)
Network Disk4 : Slow(SAMBA)
Restart FTP server
FTP: ID - tvixftp, PW – 800510
LanSpeed: 10/100Mbps
ENGLISH

12
5 Using the remote control
This indicates Remote Buttons. Some buttons is not available without DTV Tuner.
When the File list menu, 1/2/3/4 : used to change the partition (partition 1/ partition 2/ partition 3/ partition 4)
6/7/8/9 : used to change the Drive (Local/Network/Usb1/Usb2)
< Changing Batteries>
- Use new batteries (2 AAA size batteries are included in the package).
@ : / _ -
TV OUT button
DVD Menu button DVD Title button
Scroll button
Subtitle button
Shuffle button
Change Volume
Mute button
Number / Character button
File mode :
1/2/3/4 : Change Partition
6/7/8/9 : Change Drive
Local/Network/USB1/USB
Information button
Zoom button
GOTO button
Change TV channels
A
d
j
ust Subtitle S
y
nc
STOP/Return
Go to File mode
TV Record button
Go to Audio Folder
Go to Photo Folder
Go to Video Folder
Boot as Pla
y
er
Go to DTV
Boot as DTV
SETUP button
TV Guide button
Jump/Repeat button
Next File button
Previous File button
Delete file or folder
NavigationArrow Button
REW / FF
OK/Selection button
POWER On/Off button
Sleep Function, Eject ODD
File Co
py
/Move
Bookmark button
ENGLISH

13
제품 사용설명서
TViX HD M-6500A
안전상의 주의사항
위급 상황이 발생시 바로 전원을 차단 할 수 있도록 TViX 를 콘센트 옆에 위치 하십시오.
사용자가 임으로 제품을 분해하거나 개조
하지 마세요. 화재의 원인이 됩니다.
직사광선이 노출된 곳, 난로, 열기구 등과 같은
뜨거운 물건 위에 가까이 놓지 마세요. 설치는
통풍이 잘되는 곳에 하시기 바랍니다.
스피커나 자석과 같이 자성이 강한 물체가 가까이
하면 하드디스크의 데이터가 손상 될 수 있습니다.
기름,연기,습기,물,먼지가 많은 곳,비바람이
노출된 장소에서는 설치하지 마십시오.
젖은 손으로 전원플러그를 만지거나 손상된 전원코
드,헐거운 콘센트는 사용하지 마세요.감전,화재의 원
인이 됩니다.
제품을 떨어뜨리거나 충격을 주게 되면 하드
디스크에 치명적인 손상을 줄 수 있습니다.
한 국 어

14
1 제품의 특징
1.1 멀티미디어 플레이어 기능
TViX 는 진정한 HD급(1,920ⅹ1,080) 동영상을 비롯해 DVD,
디지털 사진, 음악 파일 등을 USB 포트를 통해 내장 하드디스
크에 저장하여 이를 A/V 케이블로 TV에 연결하여 재생하는 "
디지털 주크박스" 입니다.
** 제품에 대한 자세한 사용법은 동봉된 CD 에 있는 PDF 사용설명서를 참고하거나 자료실에 있는 최신
사용설명서를 참고 하십시오.
하드디스크에 저장된 DVD를 완벽하게 재생하는 DVD 주크박스 기능을 제공합니다. 파
티션이 NTFS일 경우에는 4GB이상의 고용량 ISO파일과 4GB이상의 비디오 파일도 재생
할 수 있습니다.
최대 1,080P 해상도의 고화질 HD 녹화 파일(TS, TP) 재생이 가능합니다. HDTV 고화질
에 대응하기 위한 HDMI 출력 단자를 장착해 완벽한 디지털 영상의 전달과 재생이 가
능합니다.
최신 SMP8635 프로세서를 장착하여 기존 MPEG4 버전 3.11, 4.0, 5.0 이상의 최신 코덱
AVI 및 Xvid, MPG 동영상 파일뿐만 아니라 MKV, MPEG-4 AVC-HD(H.264) 및 VC-
1( MP@HL, AP@L3) 파일도 재생 가능합니다.
고화질의 영상을 HDTV 수상기에 전송할 수 있도록 HDMI 출력 단자를 지원합니다.
HDMI 단자를 연결하는 경우 오디오 케이블을 연결하지 않고도 1920*1080P까지 고해
상도의 영상과 음성을 출력할 수 있습니다.
DTS 다운 믹싱 기능을 내장해 외장 디코더 없이 DTS 형식의 오디오를 재생할 수 있습
니다. 외장 DTS 디코더 앰프 사용자는 멀티채널의 고 음질 DTS 오디오를 동영상과 함
께 감상할 수 있습니다.
네트워크를 통한 파일 재생이 가능하며 또한 손쉬운 파일 관리를 위한 자체 복사 기능
을 제공합니다. 유선과 무선 네트워크를 모두 지원하며 유선네트워크를 사용한 파일 감
상시 고화질의 HD영상까지 끊김없이 재생 가능합니다. 네트워크 디스크는 4개까지 지
원하며 FTP 서버기능을 이용한 외부 네트워크에서 파일의 전송도 가능합니다. 무선 네
트워크를 이용하려면 반드시 지원가능한 USB형 무선 모듈을 별도 구입하여야 합니다.
추가로 하드디스크를 증설하거나 외장형 DVD 드라이브, 디지털 카메라, USB 메모리 또
는 메모리 카드 리더 등을 연결하여 멀티미디어 파일을 재생할 수 있습니다.
M
anu
f
acture
d
un
d
er
li
cense
f
rom
D
o
lb
y
L
a
b
orator
i
es.
"Dolby" and the double-D symbol are trademarks of Dolby Laboratories.
한국어

15
2 각부분의 명칭
2.1 윗면
리모컨을 사용하지 않고도 기본적인 조작이 가능하도록 설계되어 있습니다.
2.2 뒷면
각 A/V 단자를 이용하여 TV 수상기나 오디오 앰프와 연결할 수 있습니다. 튜너 박스에 대한 연결이나
사용법은 Tuner 제품 구입시 Quick Guide 에 자세히 나와 있습니다.
2.3 TViX 구성물
박스를 개봉하고 내용물을 확인하십시요.
TViX M-6500A 전원 케이블 A/V 케이블 USB 케이블 사용설명서 리모콘
Optical Out
Stereo
Coaxial
Cooling FAN
Composite/S-video
POWER
LAN
HDMI OUT USB HOST HD Tuner port
COMPONENT USB PORT
한국어
HDMI cable
제공

16
3 설치 및연결하기
3.1 비디오/오디오 연결
TV와 TViX를 연결하기 위한 비디오 출력은 컴퍼지트(Composite), S-Video, 컴포넌트(Component), HDMI
를 제공합니다. 사용자의 TV가 제공하는 해당 단자와 연결하면 됩니다.
우수한 영상 단자 순서는 HDMI, 컴포넌트, S-Video, 컴퍼지트 순이며, 가능하면 HDMI, 컴포넌트, S-
Video, 컴퍼지트 순으로 한 단자를 연결하는 것이 좋습니다. 더불어 해당 단자에 맞게 TV의 외부 입력
을 설정하고, TViX의 비디오 출력을 설정해야 합니다.
일반 TV 출력에 연결 HDMI 영상 출력에 연결 (HDMI-DVI)
노란색(비디오), 빨강, 흰색(오디오) 케이블을 TV 후
면이나 전면부에 위치한 동일 색상의 단자에 연결
하십시오. TV 전원을 켠 후 TV 입력 선택 버튼을
눌러 비디오 모드를 선택하십시오.
DTV 입력 단자의 HDMI 포트와 연결하시면 됩니
다. HDMI 단자를 연결하는 경우 1920*1080P까지
고해상도의 출력을 할 수 있습니다.
HDMI-HDMI로 연결시에는 별도의 오디오 케이블
을 연결하지 않아도 됩니다.
< 주의 사항 : TV와 연결 후 화면이 나오지 않는 경우 >
TViX 전원을 켠 후 TV화면에 아무것도 나오지 않거나 흑백으로 보이는 경우에는 리모컨 하단 왼
쪽에 있는 TV OUT 버튼을 반복해서 눌러주면 되는데, 약 0.5초 간격으로 화면이 정상적으로 보일
때까지 눌러 주면 됩니다. 약 4가지의 TV Out 모드(전세계 TV출력 포맷)가 순차적으로 바뀌면서
출력되며, 최소 5번 이상을 눌러줘야 모든 출력 모드를 테스트해 볼 수 있습니다.
(이때 설정된 TV Out 설정은 TViX의 전원을 꺼도 저장되므로 매번 설정할 필요는 없습니다.)
한국어

17
S-VIDEO 출력에 연결 컴포넌트 영상 출력에 연결
TViX 뒷면의 4핀 S-Video 단자와 TV의 S-Video 단
자를 연결하십시오.
S-Video 단자는 검은색이며 내부에 4개의 작은 핀
구멍이 있습니다. S-Video 케이블은 검은색이며 내
부에 4개의 작은 핀이 있습니다.
컴포넌트 영상출력Y(녹색), Pb(청색), Pr(적색) 단자
를 TV 뒷면의 컴포넌트 입력 또는 DTV 입력의
YPbPr 단자에 동일한 색끼리 연결 하십시오. 영상
출력 해상도는 설치 후 ‘Setup-비디오’ 설정에서
TV 기기의 사양에 따라 1080i, 720P, 480P 중에서
선택하시기 바랍니다.
5.1CH 앰프(디지털)에 연결
오디오 기기가 광 출력/동축케이블 입력단자를 제공하는 앰프나
리시버인 경우 5.1CH의 고감도 사운드를 감상할 수 있습니다. 위
와 같이 TViX의 광 출력 단자에 광 케이블을 연결한 후 앰프나 리
시버에 연결하면 5.1CH로 감상할 수 있습니다.
DTS, 돌비 등의 특수 음장 효과는 반드시 외부 앰프나 리시버를
이용하셔야 합니다.
< 주의 사항 : 광 케이블 연결 후 소리가 나오지 않는 경우 >
광 케이블이나 코엑셜 케이블을 연결한 후 소리가 나오지 않는다면 리모컨의 SETUP 버튼을
누른 후 오디오 설정을 디지털로 변경하시기 바랍니다.
한국어

18
3.2 하드디스크 장착/교체하기
** 새로운 하드디스크를 장착할 때는 아래의 설명에 따라 진행하면 됩니다.
그림을 참조하여 하드디스크와 가이드를 조립하시기 바랍니다. 가이드는
전원 케이블 쪽에 걸개가 위쪽으로 오도록 조립하시면 됩니다. 볼트를 조일
때, 드라이버를 사용하시면 됩니다.
새 하드디스크를 장착할 경우에는 HDD 의 전원 케이블과 데이터 케이블을
방향에 맞게 크로스로 연결해야 합니다. 다른 방향으로 강제로 연결하는 경
우 문제가 발생할 수 있습니다
본체 옆면에 있는 디스크 커버를 그림과 같이 밀어서 분리합니다. 하드디스크의 장착이나 교체를 위
해서는 별도의 나사 조립 없이 장착이 가능합니다.
새로 구입하신 하드디스크를 장착하실 때는 하
드디스크의 회로 부분을 아래쪽으로 하신 후
약 2/3가량 정도를 집어 넣습니다.
전원 케이블과 DATA 케이블을 연결합니다. 장
착시에 간혹 HDD에 따라 DATA 케이블에 손상을 줄 수도 있으니
DATA 케이블을 잘 펴서 뒤로 완전히 제쳐 놓고 하드디스크를 장
착 하십시오. 전원 케이블과 DATA 케이블의 크기가 다르므로 연
결부의 위치를 확인 후 연결합니다.
한국어

19
하드디스크를 밀어서 넣고 아래 그림과 같이 분리
된 디스크 커버를 밀어서 딸깍 소리가 날 때까지 닫습
니다.
HDD 교체를 위해 HDD를 분리하실 때에는 POWER 케이블과
DATA 케이블 분리 합니다.
하드 디스크를 교체하기 위해서 하드디스크를 TViX 본체로부터 분리하기 위해서는 가운데 손가락을
은색 가이드에 걸고 집게 손가락으로 검정색 플립을 아랫 방향으로 누른 채 당기면 됩니다. 가이드가
나오지 않는다고 억지로 잡아 당기면 절대 안됩니다.
한국어

20
3.3 초기 설정
TViX를 플레이어 모드로 구동하기 위해 TV와 연결합니다. 필요한 A/V 케이블 등을 연결하고나
서 전원 케이블을 연결합니다. 다시 한번 오디오와 비디오 케이블 연결을 확인합니다.
아래 그림과 같은 TViX 로고가 보이면 리모콘의 OK 버튼을 누릅니다.
구동이 완료되면 아래 이미지와 같은 TVIX SETUP 화면이 나타납니다.
** 제품에 대한 자세한 사용법은 동봉된 CD 에 있는 PDF 사용설명서를 참고하거나 자료실에
있는 최신 사용설명서를 참고 하십시오.
한국어
Table of contents
Languages:
Other Dvico Media Player manuals

Dvico
Dvico TViX HD M-7000A User manual

Dvico
Dvico TViX HD M-4000PA User manual

Dvico
Dvico TViX PVR R-2230 User manual

Dvico
Dvico tvix hd n1 User manual

Dvico
Dvico TViX PVR R-2200 User manual

Dvico
Dvico TViX C-3000U Deluxe User manual

Dvico
Dvico TVX-HD M-6600 User manual

Dvico
Dvico TViX HD M-4000P User manual

Dvico
Dvico TViX Slim S1 User manual

Dvico
Dvico TViX M-3100U User manual