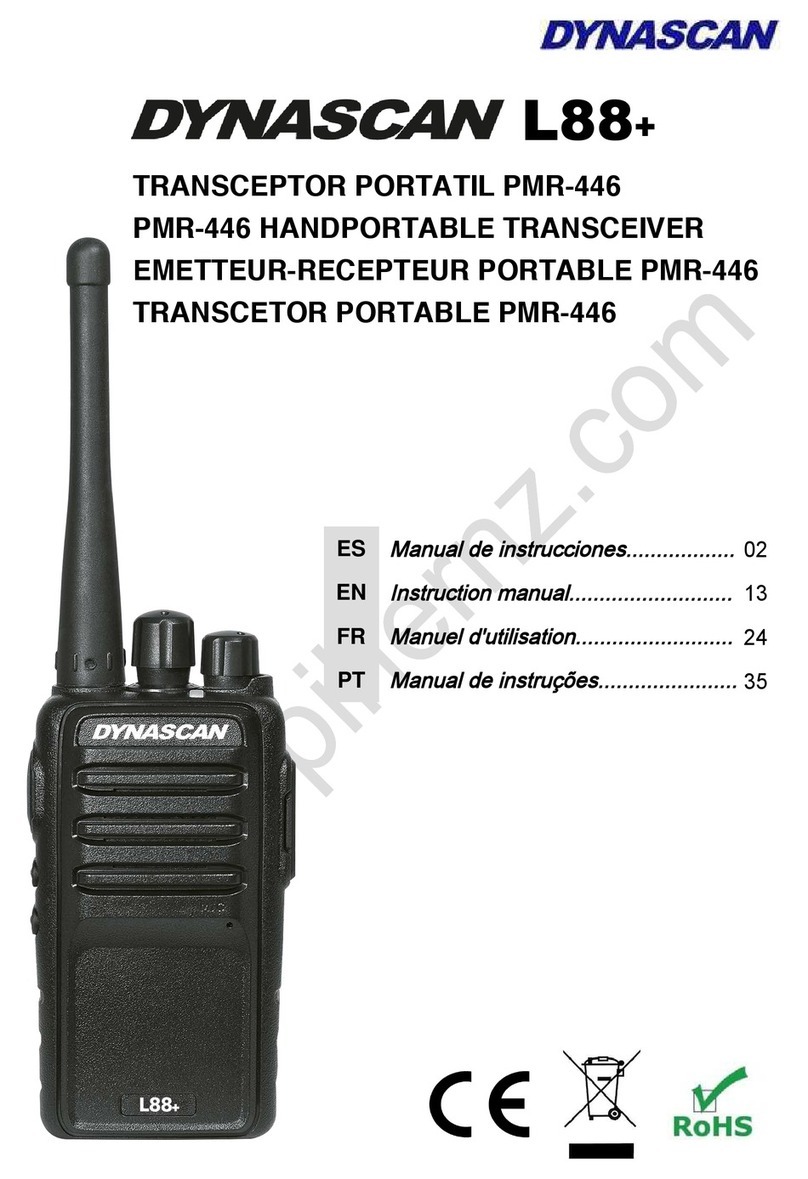
Dynascan L88 User manual

PMR-446 HANDPORTABLE
TRANSCEIVER
USER´S MANUAL
D
DY
YN
NA
AS
SC
CA
AN
N
L
L8
88
8
Licence-free PMR-446 two-way radio for
instant free communication

English - 2 -
INDEX
Page no.
1.-
DEFINITIONS
3
2.-
INTRODUCTION
4
3.-
SAFETY INFORMATION
4
4.-
SUPPLIED ARTICLES
4
5.-
INSTALLING AND REMOVING THE BATTERY PACK
4
6.-
BATTERY CHARGING
5
7.-
GETTING STARTED
5
8.-
OPERATION
6
8.1.- POWER ON/OFF
6
8.2.- STATUS LED INDICATOR
6
8.3.- VOLUME ADJUSTMENT
6
8.4.- CHANNEL SELECTION
7
8.5.- BUSY CHANNEL LOCKOUT (BCL)
7
8.6.- TRANSMITTING AND RECEIVING
7
8.7.- VOICE OPERATED TRANSMISSION (VOX)
7
8.8.- SQUELCH LEVEL
7
8.9.- VOICE GUIDE
7
8.10.- TIME OUT TIMER (TOT)
7
8.11.- CTCSS / DCS
7
8.12.- BATTERY SAVE
8
8.13.- SCAN FUNCTION
8
8.14.- LOW BATTERY ALERT
8
8.15.- SCRAMBLER FUNCTION
8
8.16.- COMPANDER FUNCTION
8
9.-
TECHNICAL SPECIFICATIONS
8
9.1.- CHANNELS AND FREQUENCIES TABLE
9
10.-
TROUBLESHOOTING
9
11.-
DECLARATION OF CONFORMITY
10
12-
GUARANTEE
11

English - 3 -
1.- DEFINITIONS:
This transceiver is designed for free communication, so it is not necessary to purchase
administrative authorization or licences in order to use it and it is intended for use in the following
member states of the European Union:
BE
BG
CZ
DK
DE
EE
IE
EL
ES
FR
HR
IT
CY
LV
LT
LU
HU
MT
NL
AT
PL
PT
RO
SI
SK
FI
SE
UK
This equipment complies with Directive 2012/19/EU on waste electrical and electronic
equipment (WEEE). This means that this product must be disposed of at a designated
collection point for the recycling of waste electrical and electronic equipment, with the
intention of being either recycled or dismantled in order to reduce any impact on the
environment. For more information, please contact your distributor, salesperson or
regional administration.
Electronic products that have not been disposed of in this way are potentially dangerous for the
environment and public health due to the possible presence of dangerous substances.
This equipment complies with Directive 2011/65/EU on the restriction of the use of
certain hazardous substances in electrical and electronic equipment (RoHS). The
restricted substances are: Lead (<0.1%); Mercury (<0.1%); Hexavalent chromium
(<0.1%); PBB (<0.1%); PBDE (<0.1%); Cadmium (<0.01%).
● This Instruction Manual has been created with the intention of supplying as much information as
possible. PHERNZ COMMUNICACIONES, S.A. is not responsible for any omissions or any errors
in printing or translation.
● It is prohibited to totally or partially reproduces this Instruction Manual without prior written
authorization from PHERNZ COMUNICACIONES, S.A.

English - 4 -
2.- INTRODUCTION:
PIHERNZ COMUNICACIONES, S.A. he thanks for purchasing this PMR-446 Handportable
Transceiver. This equipment allows you talk with as many users and as many times as you like,
with no need for a license, subscription or tax payment. It is very easy to use by any user.
Please read through this manual carefully for many features of this transceiver.
3.- SAFETY INFORMATION:
- The use of non-original or incompatible accessories may cause damages in the transceiver.
- Making modifications not authorized by the manufacturer may make the use of the equipment
illegal.
- Avoid storing the equipment and its accessories in areas with high temperature and/or humidity
for long time.
- If strange smell or smoke comes off the transceiver or battery charger, contact with the Technical
Service Center immediately.
- Turn to lowest volume if external mic/speaker is used, then adjust appropriately.
- Never use other power sources for charging other than the standard charger set designed for this
transceiver model.
- Remove de battery pack from the transceiver if not use for long time.
4.- SUPPLIED ARTICLES:
Open the package contents carefully. We recommend confirming that all the articles listed in the
following table are present. If you find that the any article is missing or damaged, please contact
your salesperson.
Article
Quantity
PMR-446 Handportable transceiver with incorporated
antenna
1
7.4 V Li-Ion battery pack
1
AC/DC adaptor
1
Desktop battery charger
1
Belt clip
1
User´s manual
1
Note:
- The articles supplied in the box may differ from the table above in relation to the country
in which the products are supplied. For more information contact with your salesperson.

English - 5 -
5.- INSTALLING AND REMOVING THE BATTERY PACK:
Installing the battery pack:
Place the battery pack into battery compartment making sure that it is firmly fixed with the battery
latch.
Remove the battery pack:
Holding the transceiver in one hand, push the battery latch and remove the battery pack of the
transceiver.
6.- BATTERY CHARGING:
1.- Insert the output terminal of the AC/DC adaptor into the DC jack of the desktop battery charger.
2.- Connect the AC/DC adaptor into a nearby and easily accessible 230 VAC wall outlet.
3.- Insert the transceiver with their battery pack into the charging slot, charge the battery with the
transceiver switch OFF.
Battery charger LED indicator:
- Green light: Battery charger standby mode / Battery charged.
- Red blinking: Trickle charge.
- Red light: Charging.
4.- Once the battery charge is complete, remove the transceiver from the desktop charger and
remove the AC/DC adaptor from the 230 VAC wall outlet.
Notes:
- Do not charge the battery pack in a fire or explosion areas.
- The disconnection device of the desktop battery charger is the AC/DC adaptor.

English - 6 -
7.- GETTING STARTED:

English - 7 -
Notes:
- The side keys 1 and 2 can be configured via the programming software with the following
functions: No function, squelch, high/low transmission power, scanning (monitor), VOX
function (voice activated transmission).
- For more information, consult with your salesperson.
8.- OPERATION:
8.1.- POWER ON/OFF:
To turn ON the transceiver, rotate the [ON/OFF/Vol] knob clockwise, you will hear a “beep”. The
transceiver will annunciation the current channel number by voice (the voice guide function must be
enabled).
To turn OFF the transceiver, rotate the [ON/OFF/Vol] knob counterclockwise until a “click”
sounds.
8.2.- STATUS LED INDICATOR:
Will lights up red color when transmitting, lights up green when a signal is received and blinks red
when the battery charge is low.
8.3.- VOLUME ADJUSTMENT:
Rotate the [ON/OFF/Vol] knob clockwise to increase the volume level and turn it counterclockwise
to reduce it.

English - 8 -
8.4.- CHANNEL SELECTION:
Turn the channel selector knob clockwise to select the top channel and turn it counterclockwise to
select the bottom channel.
8.5.- BUSY CHANNEL LOCKOUT (BCL):
This function can prevent disturbance the communications on a busy channel. This function can be
enabled or disabled by programming software. If this function is enabled, when press the [PTT] on
a busy channel, the transmission will prohibited and you will hear a warning beep. If this function is
disabled, you can transmit on a busy channel.
8.6.- TRANSMITTING AND RECEIVING:
Press and hold the [PTT] and speak into the microphone transceiver. The status LED will light red.
Release the [PTT] to receive a signal and the status LED will light green.
8.7.- VOICE OPERATED TRANSMISSION (VOX):
You can speak by means the transceiver without pressing the [PTT] to activate the transmission.
The “VOX” sensitivity function can setting by the programming software. The settings levels are 0-
9, the level 1 is less sensitivity and the level 9 of the greater sensitivity.
8.8.- SQUELCH LEVEL:
The squelch level allows you to activate the speaker in accordance with the reception signal
strength. The levels of 0-9 can be setting by means the programming software. Level 9 needs to
receive a stronger signal to open the squelch. If level 0 is set, the squelch will always remain open.
8.9.- VOICE GUIDE:
A voice prompt you will inform of the operation performed on the transceiver. You can program
OFF or one of the available languages by means the programming software.
8.10.- TIME OUT TIMER (TOT):
This function is to prevent to use a channel for an extended period of time.
If you transmit continuously for the times will by pre-programmed, the transceiver will stop
transmitting and you will hear a warning beep.
To turn OFF the “beep” sound, release the [PTT] and press again to resume transmission.
You can program OFF, 30, 60, 90 ... 300 seconds of transmission by means the programming
software.
8.11.- CTCSS / DCS:
Some channels may incorporate “CTCSS” tones or “DCS” codes pre-programed a secondary
signalling that allows you to ignore calls from other users who are using the same channel. When
you receive a signal that has a tone or code different from that programmed on your transceiver, you
will not hear the signal. Same mode, the signals you transmit will only be heard by those users
whose “CTCSS” tone or “DCS” code matches with programmed in your transceiver. This setting is
programmable by means the programming software.
English - 9 -
Note:
- Consult with your salesperson to program the “CTCSS” tones and “DCS”codes on your
transceiver.
8.12.- BATTERY SAVE:
This function decreases the battery consumption when no signal is being received and operations
are not performed on the transceiver (keys and controls are not used). While the channel is not busy
and no operation is performed on the transceiver for 10 seconds, the battery save function will be
turn ON. When a signal is received or any operation is performed on the transceiver, the battery
save function will turns OFF.
8.13.- SCAN FUNCTION:
The transceiver will scan the 16 channels to search a busy channel. With the programming software
you can configure the scanning by carrier or by time.
Carrier Scan: The transceiver will scan the channels and stop on an active channel until the signal
disappears.
Time scan: The transceiver will scan the channels and stop on an busy channel for 5 seconds, after
which time the scan will resume automatically.
8.14.- LOW BATTERY ALERT:
If the battery charge is low, the transceiver will sound a warning beep (can be set by the
programming software).
8.15.- SCRAMBLER FUNCTION:
This is another voice encryption different from “CTCSS”tone or “DCS”code. With this function
enable, the transceiver will transmit the signal + the encryption code and the other user must be
enabling this function previously they can communicate with clear voice. This function can
program by programming software.
8.16.- COMPANDER FUNCTION:
This function minimizes background noise when receiving a signal; it is very useful in long distance
communications or background noise environments.
You can activate this function by the programming software.
9.- TECHNICAL SPECIFICATIONS:
Frequency range: 446.00625 MHz to 446.09375 MHz (Tx/Rx).
Channels number: 16 (8 + 8).
Channel separation: 12.5 kHz.
Antenna type: Integral.
Transmission power (E.R.P.): 500 mW.
Modulation: FM (F3E).
Maximum deviation: ±2.5 kHz.
Frequency stability: ±1.5 ppm.
Sensitivity: <6.0 dBμV.
Spurious emissions: <-60 dB.

English - 10 -
Operating temperature range: -20 ºC to +40 ºC.
Power supply: 7.4 V Li-Ion battery pack.
Duty cycle: 100 %.
9.1.- CHANNELS AND FREQUENCIES TABLE:
Channel (CH)
Frequency (MHz)
1
446.00625
2
446.01875
3
446.03125
4
446.04375
5
446.05625
6
446.06875
7
446.08125
8
446.09375
10.- TROUBLESHOOTING:
If you have problems with the operation of your transceiver, follow the instructions in the following
table.
Problem
Cause/Possible solution
The transceiver does not
turn on when operating the
[ON/OFF/Vol] knob.
- The battery pack is discharged. Charge the battery pack.
- The battery pack life is finished. Replace the battery pack for a
new one of the same characteristics as that supplied with this
transceiver.
- The battery pack was not installed correctly. Remove and install
again.
Battery power dies shortly
after charging.
- The battery life is finished. Replace the battery pack for a new one
of the same characteristics as that supplied with this transceiver.
Cannot communicate with
other members in your
group.
- Make sure that you use the same channel and the same tone or
code as the other members of your user group.
- It is very far from the other members of its user group. Make sure
you are within the coverage range of other users.
Other communications are
listened on the channel.
- Change the “CTCSS”tone or “DCS”code of all transceivers in
your users group.
Once carried out these previous checking’s, if it continues having problems with the
transceiver, consult with the Authorized Technical Service.
Table of contents
Other Dynascan Transceiver manuals

Dynascan
Dynascan DB-93M User manual

Dynascan
Dynascan F-15 User manual

Dynascan
Dynascan R-58 User manual

Dynascan
Dynascan RL-300 User manual

Dynascan
Dynascan V-600 User manual

Dynascan
Dynascan DB-59 User manual

Dynascan
Dynascan V-440 User manual

Dynascan
Dynascan P-72 User manual

Dynascan
Dynascan L88+ User manual

Dynascan
Dynascan PMR446 User manual