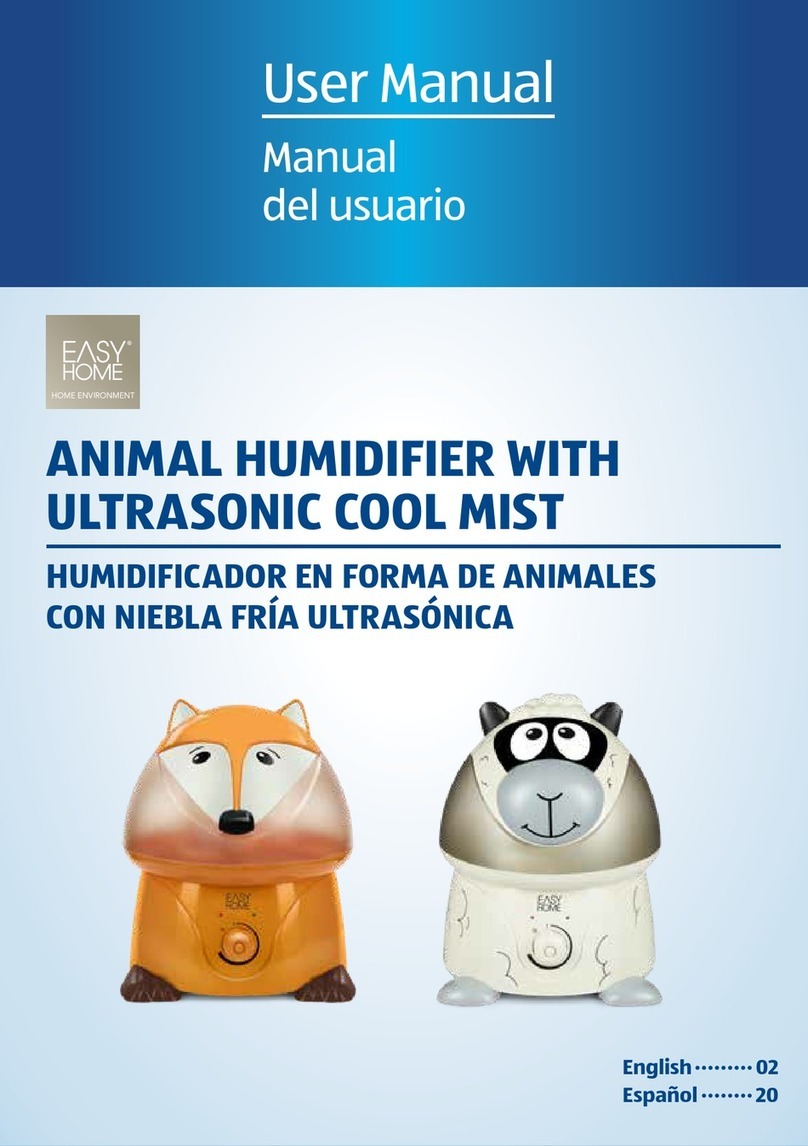
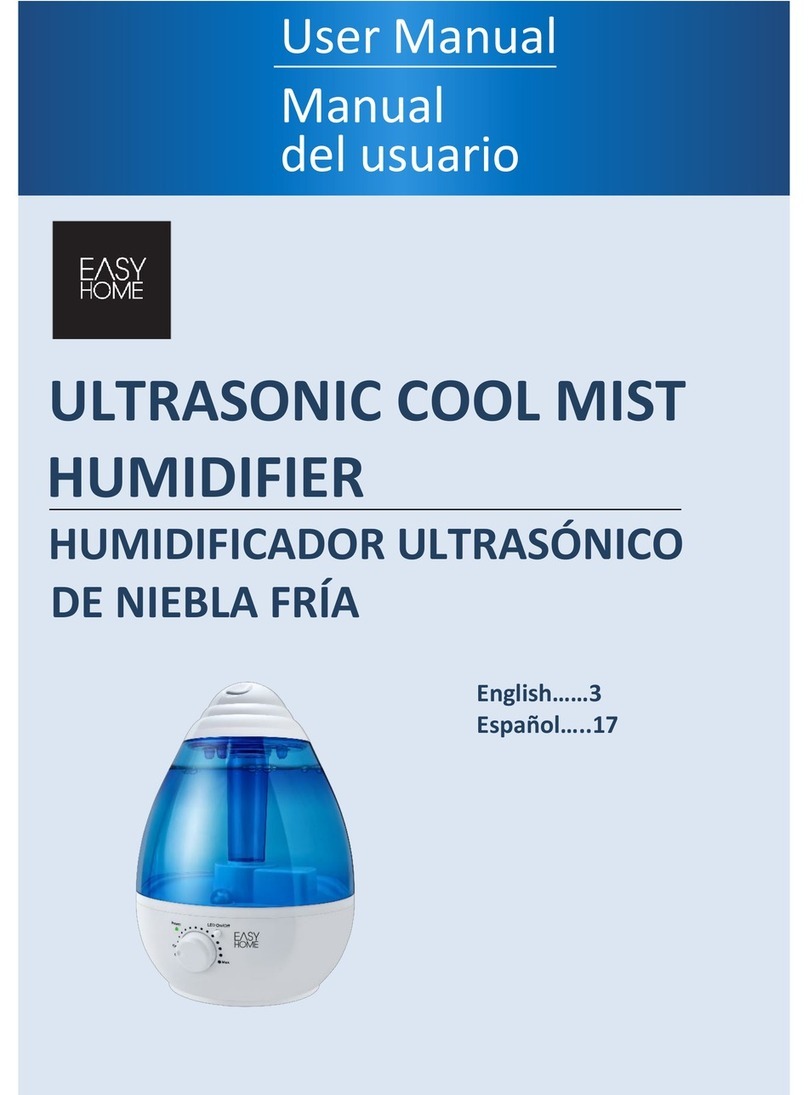
Easy@Home 809A User manual

FOX OR UNICORN
HUMIDIFIER
HUMIDIFICADOR CON FORMA DE ZORRO
O DE UNICORNIO
English……3
Español…17
User Manual
Manual
del usuario

Table of contents
2
Table of contents
Parts list ......................................................................................3
Contents................................................................................3
Main parts disassembled ......................................................4
Important safety instructions....................................................5
User instructions ......................................................................10
Helpful hints........................................................................12
Troubleshooting..................................................................13
Cleaning and maintenance ......................................................14
Other useful information.........................................................16
Technical specifications ......................................................16
Storing.................................................................................16

Parts list
3
2
3
1
4
Main parts
1. Mist lid
2. Water tank
3. Humidifier base
4. Control panel for mist and night light
Contents of packaging
•Humidifier base
•Water tank
•Mist lid
•Adaptor
•1 vapor pad (soothing menthol)
•Instruction manual

Main parts disassembled
4
3
2
6
5
11
9
8
7
10
1
4
Main parts disassembled
Fig. 1 –Water Tank Mist Lid
1. Vapor Output
Fig. 2 –Top of Water Tank
2. Vapor Outlet Channel
3. Water Tank Handle
Fig. 3 –Bottom of Water Tank
4. Water Tank Valve
5. Water Tank Cap
6. Vapor Outlet Channel
Fig. 4 –Top of Base
7. Nebulizer
8. Valve Opener
9. Water Level Sensor Float
10. Fan Vent
11. Vapor Pad Tray
Fig. 5 –Front of Base
12. Control panel for mist and
color changing night light
13. Low, Medium High
12
13

Important safety instructions
5
IMPORTANT SAFETY INSTRUCTIONS
When using electrical appliances, basic safety precautions should always be followed.
PLEASE READ AND SAVE ALL
INSTRUCTIONS BEFORE USING THE FOX
OR UNICORN HUMIDIFIER.
KEEP AWAY FROM WATER!
1. Read all instructions. To protect against electrical shock, do not immerse
power cord or plug in water or any other liquid. This is an electrical appliance.
To avoid the risk of electrical shock or serious personal injury, always operate
with dry hands.
2. This humidifier is not a toy! Close supervision is necessary when any appliance
is being used by or near children. This humidifier is not intended for use by
persons (including children) with reduced physical, sensory or mental
capabilities, or lack of experience and knowledge, unless they have been given
supervision or instruction concerning the use of the humidifier by a person
responsible for their safety.
3. DO NOT carry the water tank by the handle when it is filled with water. It is
advisable to carry filled water tank with two hands.
4. DO NOT operate outdoors. This humidifier is intended for indoor use only.
5. Do not touch hot surfaces.
6. DO NOT remove the water tank during operation or within 15 minutes after
the humidifier is turned off and unplugged. Serious injury may result.
7. DO NOT operate without water. Always have water in the water tank when
operating the humidifier.
8. Use only clean, cool tap water to fill the tank (filtered or distilled water is
recommended to avoid white dust if tap water is too hard). DO NOT use hot
water.
9. DO NOT pour water in any openings other than the water tank.
10. Be sure that the water tank cap is firmly tightened.
11. Always have the mist lid in place while the unit is operating. DO NOT aim mist
directly at children, walls, furniture, or electrical appliances.
12. Use only a 110-120VAC outlet.
ALWAYS plug and unplug humidifier with dry hands.

Important safety instructions
6
13. Unplug from outlet when not in use and before cleaning. Allow to cool before
putting on or taking off parts, and before cleaning.
14. DO NOT let the cord hang over the edge of a table or counter or touch hot
surfaces. Do not place near a hot gas or electric burner.
15. Never operate the humidifier with a damaged power supply cord or plug, or
after the appliance malfunctions, or has been damaged in any manner. Please
call customer service for replacement or refund.
16. DO NOT use the humidifier for other than intended use.
17. The use of accessory attachments not recommended by the manufacturer
may cause injuries.
18. Always place the humidifier on a smooth, flat, lint free, non-metallic,
waterproof, level surface, and away from direct sunlight. Keep the power
supply cord away from heated surfaces and areas where it could be walked on
or tripped over.
19. NEVER add any medication, salt or other additives directly to the water tank or
base. ONLY essential oils can be added directly into the water tank.
20. Do not cover any openings on the unit or insert objects into any openings.
21. ONLY use vapor pads in the vapor tray of this humidifier, not in the water
tank.
22. The humidifier should not be left unattended in a closed room as the air could
become saturated and leave condensation on walls or furniture. Leave room
door partly open when humidifier is being operated.
23. The humidifier requires daily and weekly cleaning to operate appropriately.
Refer to cleaning instructions.
24. NEVER use detergents, gasoline, glass cleaner, furniture polish, paint thinner
or other household solvents to clean any part of the humidifier.
25. DO NOT tilt or tip the unit or attempt to empty or fill it while it is in operation.
26. DO NOT attempt to move the humidifier while full water tank is placed on the
humidifier base. Doing so may cause leakage of water and/or humidifier base
to overfill.
27. Always fill water tank first, then plug the cord into the wall outlet. To
disconnect, always turn OFF first, then unplug from wall outlet.
28. Do not abuse the power cord. Never carry the humidifier by the power cord or
pull the power cord to disconnect the outlet plug from an outlet; instead
grasp the outlet plug and pull to disconnect.
SAVE ALL INSTRUCTIONS!

Safety instructions
7
Safety instructions
WARNING: Read and understand all instructions. Failure to follow all instructions
listed below may result in electric shock, fire or serious personal injury. The
warnings, cautions, and instruction discussed in this instruction manual cannot
cover all possible conditions and situations that may occur. It must be understood
by the operator that common sense and caution are a factor which cannot be built
into this product but must be supplied by the operator.
CAUTION: A short power supply cord is provided to reduce the risk of personal
injury resulting from becoming entangled in or tripping over a longer cord.
Extension cords are available from local hardware stores and may be used if care is
exercised. If an extension cord is required, special care and caution is necessary.
Also, the cord must be: (1) marked with an electrical rating of 125V, and at least 13
A., 1625 W., and (2) the cord must be arranged so that it will not drape over the
countertop or tabletop where it can be pulled on by children or tripped over
accidentally.
Electric power
If the electric circuit is overloaded with other appliances, your humidifier may not
operate properly. The humidifier should be operated on a separate electrical
circuit from other operating appliances.
1. The power supply is certified according to the relevant safety standards
UL1310, CSA C22.2.
2. The output power taken from the supply must not exceed the rating given on
the adapter.
3. The switching power supply is not intended to be repaired by service
personnel in case of failure or component defect (unit can be thrown away).
4. The equipment disconnect device is considered to be appliance plug.
5. This power unit is intended to be correctly orientated in a vertical or floor
mount position.

Safety instructions
8
FCC PART 18
This device complies with Part 18 of the FCC Rules.
Warning: Changes or modifications to this unit not expressly approved by the party responsible for
compliance could void the user’s authority to operate the equipment.
NOTE: This equipment has been tested and found to comply with the limits for a Class B ISM
equipment, pursuant to Part 18 of the FCC Rules. These limits are designed to provide reasonable
protection against harmful interference in a residential installation. This equipment generates, uses
and can radiate radio frequency energy and, if not installed and used in accordance with the
instructions, may cause harmful interference to radio communications.
However, there is no guarantee that interference will not occur in a particular installation. If this
equipment does cause harmful interference to radio or television reception, which can be
determined by turning the equipment off and on, the user is encouraged to try to correct the
interference by one or more of the following measures:
•Reorient or relocate the receiving antenna.
•Increase the separation between the equipment and receiver.
•Connect the equipment into an outlet on a circuit different from that to which the receiver
is connected.
•Consult the dealer or an experience radio/TV technician for help.
FCC PART 15 (External power adapter)
This external power adapter complies with Part 15 of the FCC Rules. Operation is subject to the
following two conditions: (1) this device may not cause harmful interference, and (2) this device
must accept any interference received, including interferences that may cause undesired operation.
Warning: Changes or modifications to this unit not expressly approved by the party responsible for
compliance could void the user’s authority to operate the equipment.
NOTE: This equipment has been tested and found to comply with the limits for a Class B digital
device, pursuant to Part 15 of the FCC Rules. These limits are designed to provide reasonable
protection against harmful interference in a residential installation. This equipment generates, uses
and can radiate radio frequency energy and, if not installed and used in accordance with the
instructions, may cause harmful interference to radio communications.
However, there is no guarantee that interference will not occur in a particular installation. If this
equipment does cause harmful interference to radio or television reception, which can be
determined by turning the equipment off and on, the user is encouraged to try to correct the
interference by one or more of the following measures:
•Reorient or relocate the receiving antenna.
•Increase the separation between the equipment and receiver.
•Connect the equipment into an outlet on a circuit different from that to which the receiver
is connected.
•Consult the dealer or an experience radio/TV technician for help.

Safety instructions
9
Safety warning
Although your humidifier is easy to operate, for your safety, the warnings below
must be followed:
1. Do not place humidifier near a heat source.
2. Never leave the humidifier unattended while connected to the electrical
outlet.
3. To avoid any accidents, never cover the mist lid while the humidifier is in
operation.
4. Use the humidifier on a smooth, flat, lint-free, non-metallic, waterproof, level
and stable surface away from water.
5. Do not unplug the humidifier by pulling on the power supply cord, grasp the
plug.
6. The humidifier must be unplugged:
A. Before any cleaning or maintenance.
B. Before either filling or emptying.
C. After use.
D. If it appears to be faulty.
THIS PRODUCT IS INTENDED FOR HOUSEHOLD USE ONLY.
SAVE THESE INSTRUCTIONS
(maybe

User instructions
10
User instructions
Before first use
Check to make sure all parts are included and that there is no damage to the unit
or its parts. Place the humidifier on a non-metallic, lint free, waterproof, level
surface for best performance. This is to help disperse the mist in the air and
prevent it from being knocked or tipped over.
•Be sure the humidifier is turned OFF and the humidifier is unplugged from the
electrical outlet.
•Select a location for your humidifier on a flat surface approximately 4 inches
away from a wall. DO NOT place humidifier on a wood surface.
•DO NOT place the humidifier on a finished floor or near furniture which can be
damaged by moisture or water. Place on a waterproof surface.
•DO NOT place humidifier on top of a towel, or a carpeted surface. This may
cause the humidifier to overheat.
•DO NOT move the humidifier while a full water tank is on the base. Water may
leak into the base causing a malfunction.
How to operate
1. Be sure the humidifier is off and is unplugged from the electrical outlet.
2. Lift the water tank off the humidifier base holding the bottom of the tank with
both hands.
3. Turn over the water tank and unscrew the water tank cap at the bottom of
the tank by turning it counterclockwise.
4. Fill water tank with cool tap water; do not fill all the way to the rim.
IMPORTANT: NEVER add medication, additives, salt or vapor pad to the water
tank. ONLY essential oils can be added directly into the water tank.
5. Replace the water tank cap, aligning the threads on the tank with the threads
on the cap, and turn it clockwise.
6. Turn the tank over, holding one hand by the top handle and another hand
under the water tank.
7. Place the water tank onto the base. Make sure it is laying flush into the base.
There should not be a space between the tank and base.
NOTE: Do not move the humidifier while a full water tank is on the base.
Water may leak into the base causing a malfunction.

User instructions
11
8. Place mist lid on top of water tank and turn mist lid to face desired direction
of the mist.
9. Plug the power supply cord into a wall outlet. The power indicator light will
illuminate in green indicating that there is enough water in the humidifier
base and mist will begin emitting through the mist lid.
Note: After 10 seconds, the indicator light will turn off, but the humidifier will
continue to run.
•Press the on/off button to start the unit (at LOW Mist)
•Press again to change to MEDIUM Mist
•Press again to change to HIGH Mist
•Press and hold the on/off button (About 2 –3 seconds) to turn on the LED
light (Light will rotate colors).
•Press and hold the on/off button (About 2 –3 seconds) again to choose
the color of LED light you desire.
•Press and hold the on/off button (About 2 –3 seconds) again to turn off
LED light.
10. Adjust the mist output so the mist rises up to be absorbed by the room air. If
mist drops quickly, use the lower output setting so the mist is rising up.
this #10)
NOTE: As a safety feature, when the humidifier runs out of water, the power
indicator light will turn red and the mist output will stop. This is preventing the
humidifier from possibly overheating and damaging the nebulizer. Turn the
humidifier off and unplug the unit before removing and refilling the water tank.
When emptying the base, be sure to pour away from the fan outlet.
How to use the vapor tray and essential oils
•Remove the water tank. Place a vapor pad into
the vapor tray. Replace the water tank before
running the humidifier.
•Essential oils may be added to the water tank.
After filling the tank, use the desired number of
drops to obtain the desired amount of scent.
Note: Essential oils vary by brand
IMPORTANT: NEVER add medication, additives, salt or vapor pad to the water
tank. ONLY essential oils can be added directly into the water tank.

Helpful hints
12
Helpful hints
•It is best to keep the humidity level at about 30-50 percent of relative
humidity.
•The comfort level of humidity will vary from room to room and with changing
weather conditions.
•In cold weather, windows and even some walls may fog or develop frost from
excessive indoor humidity. If this occurs, reduce the mist intensity setting to
avoid damage from condensed water dripping on windowsills.
•Too much humidity in the room may allow moisture to accumulate on
surfaces where bacteria and fungi can grow. Moisture that gathers may also
damage furniture and walls, especially wallpaper.
•To eliminate excessive humidity, especially in small rooms, leave the room
door open and adjust the mist intensity control setting.
•To avoid possible white dust due to hard water, it is recommended to use
filtered or distilled water.
•Adjust the mist control so that the mist rises up and gets absorbed by the
room air. If the mist falls instead of rising up, choose a lower mist output as
the mist cannot be absorbed by the air and could accumulate on the surface
around the humidifier and potentially cause damage to the surface. If the
humidifier is placed near a fan or air conditioning outlet, the mist may be
forced down by the air stream. Change the location of the humidifier or
reduce the output of the other room conditioning appliances.
•NEVER add any medication, vapor pads, salt, other additives to the water.
ONLY essential oils can be added directly to the water in the tank.
•Do not pour water into mist channel or mist lid.
•Do not attempt to move humidifier while water tank is placed on the water
basin. Doing so may cause leakage of water. Also, do not place humidifier on
the floor. Place humidifier on an elevated surface.

Troubleshooting
13
Troubleshooting
CAUTION: DO NOT attempt to repair the motor or nebulizer yourself. If the
humidifier continues to not operate, please call customer service.
Problem
Solution
Indicator light is
staying red:
•Ensure the water tank cap is secured properly to the
tank allowing water to pass through the base
•Clean the water level sensor: Pull off the plastic cap
from the peg. Remove the water level sensor float and
clean with warm soapy water. Replace parts by first
putting the float onto the peg, then replacing the plastic
cap on the peg. (Page 4 –Fig. 4)
•If the indicator light is still red, contact customer service
Humidifier does
not have any
power:
•Ensure unit is properly plugged into a power outlet / try
another power outlet.
•Check the power is turned to the ON position.
•If the power indicator light does not come on, contact
customer service
There is a
strange odor:
•Clean the water tank with water and white vinegar
solution and rinse with clean water. See cleaning &
maintenance
•Leave the empty water tank open in a cool place for 12
hours without the water tank cap attached
Indicator light is
green, but there
is no mist
•Complete the weekly maintenance. See cleaning and
maintenance
•Humidifier should be placed on a hard, flat surface and
fan vent should not be blocked.
•The base might be overfilled: Remove the tank, empty
the base and replace the filled tank on the empty base.
•Try turning the power up to HIGH and let it run for 10
minutes
White dust
settles outside
the humidifier
•Area tap water may have too many minerals. Change to
filtered or distilled water if can’t be tolerated
Humidifier is
leaking
•From mist lid: turn mist down
•From tank: check for possible cracks in the tank or
around the seam of the tank
•From base: call customer service

Cleaning and maintenance
14
Cleaning and maintenance
Portable humidifiers require regular cleaning in order to reduce the risk of bacterial
growth, and to remove any scale residue to maintain good operational performance.
Follow the procedures below for healthy maintenance of your Fox or Unicorn
Humidifier.
CAUTION:
Always be sure that the humidifier is unplugged and switched OFF before cleaning or
attempting to store the humidifier. NEVER PLUG OR UNPLUG HUMIDIFIER WITH WET
HANDS.
DO NOT leave water in water tank or water basin when unit is not in use as it may
result in the buildup of mineral deposits and bacteria that can inhibit the output
efficiency of the humidifier. PLEASE NOTE that if water remains in the water tank for
more than a day or two, bacterial growth is possible.
NOTE: When removing water tank, water may accumulate under vapor lid and on the
bottom of the water tank. It is recommended to have a dry cloth ready to dry wet
surfaces
Daily maintenance
1. Turn switch to off and unplug from the wall outlet.
2. Lift the water tank from base and place in sink or tub.
3. Carry the humidifier base to the sink and drain any remaining water. Wipe clean
and dry with a clean cloth.
4. Drain water from the water tank. Wipe clean, and dry with a clean cloth. Let the
water tank air dry, with the cap off, when not in use.
Weekly maintenance
1. Turn switch to off and unplug from the wall outlet.
2. Fill water tank with halfway with warm water and add 2 tablespoons of white
vinegar. Replace the cap and shake vigorously and let it sit for 30 minutes.
3. Carefully empty the tank after 30 minutes, and rinse with warm water until you
can no longer detect a vinegar smell.
4. Fill the base with warm water, add 1 tablespoon of white vinegar and let it sit for
30 minutes.
5. Carefully empty the base and rinse with plain water. Make sure to pour water
away from the fan outlet when emptying.
6. If needed, clean the nebulizer and other crevices in the base with a damp cloth or
cotton swap.

Cleaning and maintenance
15
7. Allow tank & base to air dry with the tank cap off until the next use.
8. DO NOT IMMERSE THE BASE IN WATER OR ANY OTHER LIQUID. An electric shock
may result, or the humidifier may be damaged.
9. Wipe all exterior surfaces of the base with a soft, dry cloth.
NOTE: We recommend cleaning the humidifier WEEKLY or more often if you have
hard water or notice a build-up of impurities or detect unpleasant odors.
End of season maintenance and storing
1. Follow above weekly cleaning procedure at the end of the humidification season,
or when the humidifier will not be used for several days, being sure to dry all
parts.
2. Allow the water tank to thoroughly air dry before storage. DO NOT store with
water inside any part of the humidifier.
3. Leave tank cap partially loosened during storage to prevent tank cap and gasket
from sticking together. This will prolong the life of the gasket.
4. Save original box for easy storage. Store humidifier in a cool, dry location.
5. Do not place any heavy items on top of humidifier during storage as this may
result in possible damage of humidifier.
IMPORTANT: Failure to keep this humidifier clean from mineral deposits normally
contained in any water supply will affect the efficiency of the operation. Customer
failure to follow these instructions may void the warranty.

Other useful information
16
Other useful information
Technical specifications
Model Number 809A Fox and 809B Unicorn
Rating Voltage 24 VDC, 1.0A (using adaptor)
Rated Wattage 24W
Adaptor Model YLB0026A-T240100
Input 100-240V, 50/60Hz
Output 24 VDC, 1.0A
Storing
Allow the humidifier to dry completely before storing. Store the humidifier in a
dry location. Do not place any heavy items on top of humidifier during storage as
this may result in possible damage of the appliance. Always check the plug before
use to assure metal items have not become attached.
•Save the box for off-season storage.
•Make sure the tank, water basin and water tank cap are dried thoroughly
before storing.
•If water is left in the unit during storage, it may evaporate completely and
leave deposits that can prevent the unit from operating properly.
•Leave the water tank cap loose to prevent the water cap and gasket from
sticking together. This will prolong the life of the gasket.
Service center
If you have any questions in regard to the operation of this humidifier, please
contact our service center at:
Tel: 1-888-367-7373
Business Hours: Mon-Fri 10:00am –5:00pm EST
Email: help@myproduct.care
Environmental protection
If the humidifier should no longer work at all, please make sure that it is disposed
of in an environmentally friendly way.

Índice
17
Índice
Lista de piezas...........................................................................18
Contenido............................................................................18
Piezas principales desmontadas .........................................19
Instrucciones importantes de seguridad.................................20
Instrucciones para el usuario...................................................25
Consejos útiles ....................................................................27
Solución de problemas........................................................28
Limpieza y mantenimiento ......................................................29
Otra información útil................................................................30
Especificaciones técnicas....................................................30
Almacenamiento.................................................................30

Lista de piezas
18
2
3
1
4
Piezas principales
1. Tapa de vapor
2. Depósito de agua
3. Base del humidificador
4. Panel de control para niebla y luz nocturna.
Contenido del paquete
•Base del humidificador
•Depósito de agua
•Tapa de vapor
•Adaptador
•1 almohadilla de vapor (mentol relajante)
•Manual de instrucciones

Piezas principales desmontadas
19
3
2
1
11
9
8
7
10
6
5
4
Piezas principales desmontadas
Figura 1 –Tapa del depósito de
agua para hacer la niebla
1. Salida de vapor
Figura 2 –Parte superior del
depósito de agua
2. Canal de salida del vapor
3. Agarradera del depósito de
agua
Figura 3 –Parte inferior del
depósito de agua
4. Válvula del depósito de agua
5. Tapa del depósito de agua
6. Canal de salida del vapor
Figura 4 –Parte superior de la
base
7. Nebulizador
8. Abridor de la válvula
9. Flotador del sensor de nivel
de agua
10. Abertura del ventilador
11. Bandeja de la almohadilla
de vapor
Figura 5 –Frente de la base
12. Panel de control para niebla
y luz nocturna que cambia
de color
13. Bajo, medio, alto
12
13

Instrucciones importantes de seguridad
20
INSTRUCCIONES IMPORTANTES DE
SEGURIDAD
Al usar aparatos eléctricos, siempre se deben seguir precauciones básicas de seguridad.
LEA Y GUARDE TODAS LAS
INSTRUCCIONES ANTES DE UTILIZAR EL
HUMIDIFICADOR CON FORMA DE ZORRO
O DE UNICORNIO.
¡MANTÉNGALO ALEJADO DEL AGUA!
1. Lea todas las instrucciones. Para protegerse contra una descarga eléctrica, no sumerja
el cable de alimentación o el enchufe en agua u otro líquido. Este aparato es un
electrodoméstico. Para evitar el riesgo de descarga eléctrica o lesiones graves,
siempre debe usarlo con las manos secas.
2. ¡El humidificador no es un juguete! Es necesaria una atenta supervisión cuando el
aparato es usado por niños o cerca de estos. Este humidificador no está diseñado para
ser utilizado por personas (incluidos niños) con disminución en sus capacidades
físicas, sensoriales o mentales; o con falta de experiencia y conocimiento, a menos de
que hayan recibido supervisión o instrucciones relativas al uso del humidificador por
una persona responsable de su seguridad.
3. NO transporte el depósito lleno de agua usando la agarradera. Se recomienda tomar
el depósito lleno de agua con las dos manos.
4. NO utilice este aparato al aire libre. El humidificador está diseñado solo para uso en
interiores.
5. No toque las superficies calientes.
6. NO quite el depósito de agua durante el funcionamiento o hasta 15 minutos después
de apagar y desenchufar el humidificador. Podría causar lesiones graves.
7. NO utilizar sin agua. Siempre debe haber agua en el depósito cuando utilice el
humidificador.
8. Use solo agua limpia y fría del grifo para llenar el depósito (se recomienda agua
filtrada o destilada para evitar la formación de capas de polvo blanco si el agua del
grifo es demasiado dura). NO use agua caliente.
9. No vierta agua por ninguna abertura excepto la del depósito de agua.
10. Asegúrese de que la tapa del depósito de agua esté bien cerrada.
11. Siempre tenga la tapa de la niebla en su lugar mientras la unidad está funcionando.
NO apunte el vapor hacia niños, paredes, muebles o electrodomésticos.
This manual suits for next models
1
Table of contents
Languages:
Other Easy@Home Humidifier manuals

Easy@Home
Easy@Home HF3102A-UL User manual

Easy@Home
Easy@Home HTJ-2060B User manual

Easy@Home
Easy@Home EE-5200 W User manual

Easy@Home
Easy@Home 1058-2021-W User manual

Easy@Home
Easy@Home EE-3186A User manual

Easy@Home
Easy@Home EE-3186A User manual

Easy@Home
Easy@Home HTJ-2060 User manual

Easy@Home
Easy@Home MD19143 User manual

Easy@Home
Easy@Home HF3102A-UL User manual

Easy@Home
Easy@Home EE-3186A User manual