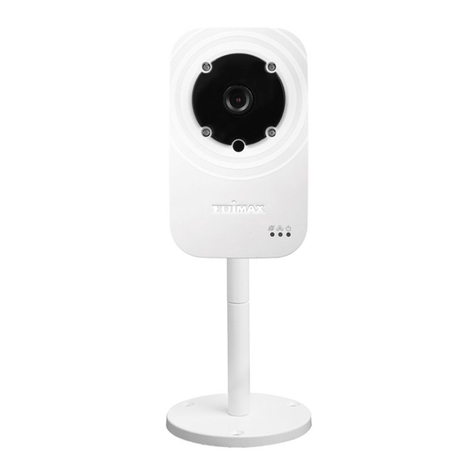
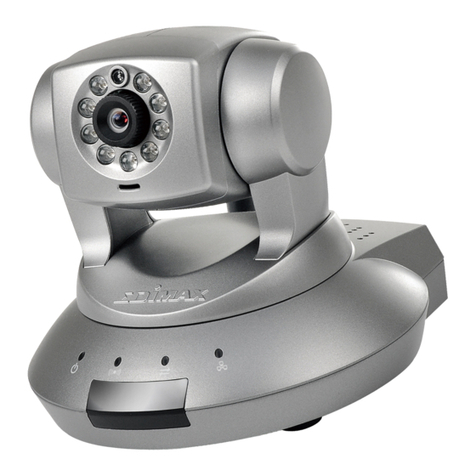
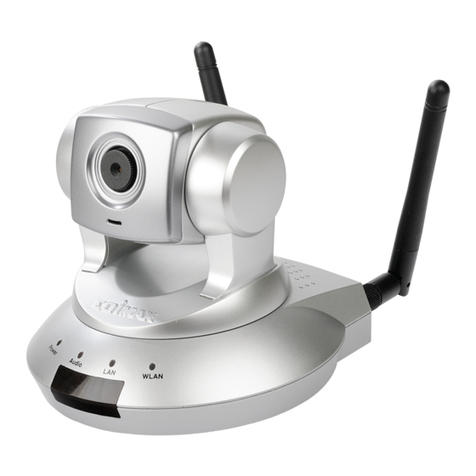
Edimax IC-3040IWT User manual

IC-3040IWT
User Manual
V1.0
2013-11

2
I. Product Information.............................................................................. 4
I-1. Package Contents................................................................................................................4
I-2. System Requirements.........................................................................................................5
I-3. Back Panel ..........................................................................................................................6
I-4. LED Status ..........................................................................................................................6
I-5. Reset ..................................................................................................................................7
II. Hardware Installation............................................................................ 8
III. Camera Setup & IP CAM Finder ............................................................10
III-1. IP CAM Finder Network Camera Setup .............................................................................10
Windows.........................................................................................................................................10
III-3. WPS (Wi-Fi Protected Setup) ............................................................................................15
IV. Web-Based Management Interface ......................................................17
IV-1. Basic.................................................................................................................................21
IV-1-1. Network ...........................................................................................................................21
IV-1-2. Wireless............................................................................................................................24
IV-1-2-1. Computer................................................................................................................25
IV-1-2-3. WPS ........................................................................................................................26
IV-1-3. Dynamic DNS....................................................................................................................27
IV-1-4. RTSP .................................................................................................................................28
IV-1-5. Date & Time .....................................................................................................................29
IV-1-6. Users ................................................................................................................................30
IV-1-7. UPnP ................................................................................................................................32
IV-1-8. Bonjour ............................................................................................................................33
IV-2. Video................................................................................................................................34
IV-2-1. Video Settings...................................................................................................................34
IV-2-2. Image Appearance............................................................................................................36
IV-2-3. Night Vision ......................................................................................................................37
IV-3. Events...............................................................................................................................38
IV-3-1. Motion Detection .............................................................................................................38
IV-3-2. Detection Region ..............................................................................................................40
IV-3-3. Schedule Settings .............................................................................................................42
IV-3-4. SMTP................................................................................................................................44
IV-3-5. FTP ...................................................................................................................................46
IV-4. Storage Settings................................................................................................................47


3
The “Storage Settings” menu consists of five categories, “Storage Directory”, “Schedule Settings”,
“NAS Settings”, “SD Card Settings” and “File Management”. Select a category and follow the
appropriate chapter for more information......................................................................................47
IV-4-1. Storage Directory..............................................................................................................47
IV-4-2. Schedule Settings .............................................................................................................47
IV-4-3. NAS Settings .....................................................................................................................48
IV-4-4. SD card Settings................................................................................................................49
IV-4-5. File Management..............................................................................................................49
IV-5. System..............................................................................................................................50
IV-5-1. Basic.................................................................................................................................50
IV-5-2. Advanced .........................................................................................................................51
IV-6. Status ...............................................................................................................................52
IV-6-1. System Information ..........................................................................................................52
IV-6-2. System Log .......................................................................................................................54
-End- .....................................................................................................55

4
I. Product Information
I-1. Package Contents
IC-3040IWT
QIG
CD-ROM
Power Adapter Ethernet Cable

5
I-2. System Requirements
-Intel Pentium 4 2.4GHz (above or similar)
-VGA card (1024*768 or above)
-CD-ROM Drive
-At least 128MB hard disk space (256 MB recommended)
-Windows 2000, XP, Vista, 7 or 8
-Web browser (Internet Explorer 7.0, Firefox 3.6, Chrome 10, Opera 11,
Safari 5 or above)

6
I-3. Back Panel
I-4. LED Status
LED ICON
LED Status
Description
(Power)
ON
Power On
Slow Flashing
During Power Up Stage
OFF
No Power Input
(LAN/Wi-Fi)
ON
Connected to LAN and/or Wi-Fi
Flashing
During data transmitting and
receiving
OFF
Neither LAN nor Wi-Fi connected
(Internet)
ON
Connected to Internet
Flashing
During Internet connection
OFF
Not connected to Internet

7
I-5. Reset
If you experience problems with your network camera, you can reset the
camera back to its factory default settings. This resets all settings back to
default.
1. Press and hold the WPS button found on the back panel for at least 10
seconds
2. Release the button when the orange LED is flashing quickly.
3. Wait for the network camera to restart. The camera is ready when the
green LED is on or flashing.
After reset, the LED will display off If there is no Ethernet
connection to the network camera from a router/access
point/switch.

8
II. Hardware Installation
Follow the instructions below to ensure your camera is properly connected
and ready for setup.
1. Use an Ethernet cable to connect the network camera’s LAN port to a
router/switch/access point’s LAN port, as shown below.
2. Connect the power adapter to the network camera’s power port and to a
power supply, as shown below.

9
3. Wait a moment for the camera to power on. The camera is ready when
the Power LED of the camera displays on or flashing. Please refer to III.
Camera Setup to setup your network camera.

10
III. Camera Setup & IP CAM Finder
Your network camera can be up and running in just a few minutes. First,
please follow the instructions below for Windows in III-1. Installing & Using IP
CAM Finder to install the IP CAM Finder software and connect your camera to
your wireless network.
Or you can follow III-3. WPS as an alternative method to connect your
network camera to your wireless network.
Then, you can use the web based management interface to watch a live
stream and further configure the camera if you need (see IV.).
Additionally, you can view the camera’s live image using either the cloud ID
(see V.), the 16 channel viewer software (see VI.), or the IP CAM smartphone
app (see VII).
III-1. IP CAM Finder Network Camera Setup
Ensure your computer is connected to the same router as the
network camera.
Windows
1. Insert the included CD into your CD-ROM drive
2. Find the “Internet Camera Admin Software”filename
“Setup_Admin_3.0.35_GLP.exe”and execute it
3. Find the IP CAM IP Address from the “Internet Camera Admin Software”
detail as the figure in below

11
4. Select the IP CAM found

12
5. (1) Click the “Configure Camera”ICON and (2)key in the password then
“OK”

13
6. Press the “OK”button as the figure in below

14
7. Select the “Browse Camera via Web”ICON to access the IP CAM

15
III-3. WPS (Wi-Fi Protected Setup)
The WPS button is a quick and easy method to establish a secure wireless
connection between your network camera and your wireless router/access
point.
1. Press and hold the WPS button on your wireless router/access point for
the correct length of time to activate its WPS.
Please check the instructions for your
wireless router/access point for how long
you need to hold down its WPS button to
activate WPS.
2. Within two minutes, press the WPS/Reset button on the network camera
for 2 –5 seconds to activate WPS. The LAN/Wi-Fi LED will flash slowly to
indicate that WPS is active.
Take care not to hold the WPS button too long and reset your
network camera (see I-5.)

16
3. The devices will establish a connection. The LAN/Wi-Fi LED will display on
or flashing to indicate a successful connection.

17
IV. Web-Based Management Interface
When you are using the same local network as your camera, you can use the
web-based management interface to view or configure the camera.
You can access the web-based management interface with a web browser on
a smartphone or computer. For smartphone users, the appearance of the
interface will vary slightly to that which is displayed here, though the menu
functions which are described later from IV-1. Basic onwards are essentially
the same.
1. Enter the network camera’s IP address into the URL bar of a web browser.
The camera’s IP address can be found by opening IP CAM Finder, as
displayed below:
Internet Explorer is recommended.

18
2. You may be prompted to allow ActiveX add-on to run. Please follow the
instruction to execute AciveX.
3. Enter the username and password for your network camera (default
username: admin default password: 1234). The network camera’s web-
based management interface will then be displayed in your browser.
4. For computer users, the “Live View” screen will be displayed, as shown
below. On the live view screen you can see a live stream from your camera
and utilize various camera controls using the icons down the left side.

19
Local Storage
Use your PC to storage the Picture or Video
image
NAS/SD Card
Storage
Setting the Picture or Video image into
NAS/SD Card
Image
To Full Screen Display or Zoom In/Zoom Out
the Image
Volume
Click the icon to mute the playback volume,
or adjust the playback volume level according
to your preference using the drop down
menu.
Two-Way Audio
Click the icon to disable two-way audio from
the camera, or adjust the volume level
according to your preference using the drop
down menu.
5. Select “Setup” in the top right corner and use the menu down the left side
to navigate to the network camera’s various settings. Each menu item is
described in the following chapters.

20
6. After making any changes, click “Save Settings” to save the settings and
bring the changes into effect.
Table of contents
Other Edimax IP Camera manuals

Edimax
Edimax IC-7010PT User manual

Edimax
Edimax IC-3010 User manual

Edimax
Edimax NC-220 User manual

Edimax
Edimax IR-210B User manual

Edimax
Edimax NC-213 Series User manual

Edimax
Edimax IC-1500 series User manual

Edimax
Edimax IC-1000 User manual

Edimax
Edimax IC-3005Wn User manual

Edimax
Edimax IC-3030 User manual

Edimax
Edimax VD-233ED User manual

Edimax
Edimax IC-7000PT User manual

Edimax
Edimax IR-112E User manual

Edimax
Edimax ND-323 User manual

Edimax
Edimax 10-2011 User manual

Edimax
Edimax IC-3030 User manual

Edimax
Edimax IC-3116W User manual

Edimax
Edimax IC-3030 User manual

Edimax
Edimax 802.11g Wireless LAN Cardbus Adapter User manual

Edimax
Edimax IC-7000PT V2 User manual

Edimax
Edimax IC-7000PTn User manual