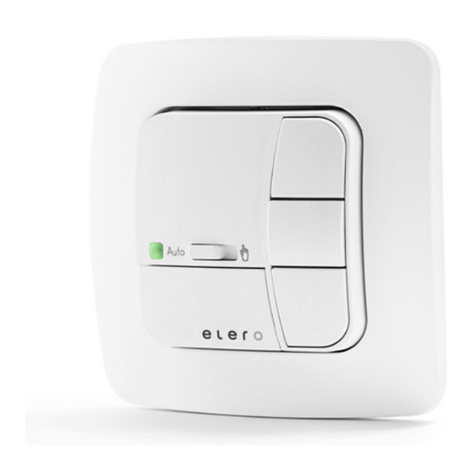
elero BoxControl Compact User manual

BoxControl compact
Simple drive control for rolling
and sectional doors
For the safety of persons it is important to follow these instructions!
Keep these instructions!
Caution!
Motor and
control cable
148014801_EN_1213
BoxControl-compact_148014801_EN+FR+FR+IT_1213.indb 1 24.03.2015 10:24:49

Technical data
Safety instructions
2 | EN
Technical data:
Version 3~230 V 3~400 V
Rated voltage 3~230 V/PE (1~230 V/PE) 3~400 V/PE
Frequency: 50/60 Hz
On-site fuse protection: 10 A
Breaking capacity: 3 kW 4 kW
Contactor: mech. locked
Protection class: IP 65
Motor and control cable: 1 m long
Housing dimensions: H 180 x B 182 x T 85
Important safety instructions!
Observe the following instructions.
Risk of injury due to electrocution.
• The connections to the 230/400 V mains must be made by authorised specialist personnel.
• The controller must be unplugged from the mains during connection work.
• Connect controller in clockwise rotating field.
• Swap 2 phases of the mains cable in case of incorrect rotation.
• Check the system regularly for wear or damage.
• The mains isolation unit must be secured against any unintentional and unauthorised reconnection and
must always be accessible.
• Keep people away from the system until it is at standstill.
• When working on the system (e.g. maintenance) always disconnect the system from the mains.
• Externally connected components must as a minimum fulfil the basic insulation requirements for 230 volts.
• Do not use motor and control cables outdoors!
Warning!
BoxControl-compact_148014801_EN+FR+FR+IT_1213.indb 2 24.03.2015 10:24:49

EN | 3
Fastening dimensions
Assembly
182
Notes for safe installation
1. Check the nominal voltage before making the electrical connections (3 x 400 V; 3 x 230 V or 1 x 230 V)
2. Install compact BoxControl close to the drive. Keep the controller free from dirt.
3. Connect the mains with the power off. Check that there is no power.
4. Connect the operating units.
5. Plug in motor and limit switch cable on the drive.
6. Close the housing cover on the drive.
7. Turn on the main switch.
8. Check direction of rotation with the up button. The drive has to turn in the UP direction.
9. If this is not the case, disconnect the controller from the mains and change over phases L1 and L2.
10. Reconnect the controller with the mains and check the direction of rotation once again.
11. Install the door.
12. Set the limit switch. See „Operating instructions for door drives“.
13. Close the covers on the drive and controller properly.
14. Make sure that there is no dirt or damage on the sealing surfaces.
85
165
167
Housing fastening
below the cover screws
Hole diameter = 5 mm
180
BoxControl-compact_148014801_EN+FR+FR+IT_1213.indb 3 24.03.2015 10:24:49

Insert the necessary
bridge when working
in pulse mode
(27-28, 29-30)
ALcompact400V 15.11 .07 Rei.
Insert the necessary
bridge when working
in pulse mode
(27-28, 29-30)
UVW PEPE L1 L3
L2 34
56
162930 28 26
27 25 21
23
24 22 18 17 1315 14 12 10
11 978
123
3~400V/AC max. 10A
W1 blue
U1 white
V1 red
3~
M
22
NHK
23
TH
13
1
1
15
14
16
2
2
4
3
18
17
+
~
L1
5
3
10
6
6
20
400
~
-
230
19
1211
7
7
4
8
5
green/yellow13 67 45
1
1
2
2
3
3
4
4
6
5
57
6
654321
SH SH
TH/NHK
Limit switch unit
Drive
Mains connection
green/yellow2
L3
green/yellow
UVW
Mains connection
green/yellow
PEPE L1
132
L2
24
SH
30 27
SH
2829 26 25
-
400V
24V/DC
17
23 22 18
21 14
16 15 13
34
6
5
TH/NHK
56897
1112 10 9
4
78
3~400V/AC max. 10A
Open/close
Safety limit
switch
12
Limit operating s
witch
Open
Closed
34 67
18
58L1 L2 L3NPE
M
3~
19
20
21
22
23
TH
NHK
gr/ye 12 3456789
Emergency crank handle
Winding
thermostat
213
+
24V/DC
+
400V
2930 27
28 2526 24 23 2122 1518 17 16 14 13 18 16
17 15 13
14
Safety devices
2930 27
28
Door-edge
security system
17
18
Three-way button Up-Stop-Down
232526 24 22 21 15
17 16 14 13 18 14
16 15 13
Momentary contact
switch Up/Down
–
b
v
v
b
Wind-up
protection
EMERGENCY
STOP switch
Safety
switch
Safety devices
Door-edge
security system
Three-way button Up-Stop-Down
Momentary contact
switch Up/Down
Wind-up
protection
EMERGENCY
STOP switch
Safety
switch
Insert the necessary
bridge when working
in pulse mode
(27-28, 29-30)
ALcompact400V 15.11 .07 Rei.
Insert the necessary
bridge when working
in pulse mode
(27-28, 29-30)
UVW PEPE L1 L3
L2 34
56
162930 28 26
27 25 21
23
24 22 18 17 1315 14 12 10
11 978
123
3~400V/AC max. 10 A
W1 blue
U1 white
V1 red
3~
M
22
NHK
23
TH
13
1
1
15
14
16
2
2
4
3
18
17
+
~
L1
5
3
10
6
6
20
400
~
-
230
19
1211
7
7
4
8
5
green/yellow13 67 45
1
1
2
2
3
3
4
4
6
5
57
6
654321
SH SH
TH/NHK
Limit switch unit
Drive
Mains connection
green/yellow2
L3
green/yellow
UVW
Mains connection
green/yellow
PEPE L1
132
L2
24
SH
30 27
SH
2829 26 25
-
400V
24V/DC
17
23 22 18
21 14
16 15 13
34
6
5
TH/NHK
56897
1112 10 9
4
78
3~400V/AC max. 10 A
Open/close
Safety limit
switch
12
Limit operating s
witch
Open
Closed
34 67
18
58L1 L2 L3NPE
M
3~
19
20
21
22
23
TH
NHK
gr/ye 12 3456789
Emergency crank handle
Winding
thermostat
213
+
24V/DC
+
400V
2930 27
28 2526 24 23 2122 1518 17 16 14 13 18 16
17 15 13
14
Safety devices
2930 27
28
Door-edge
security system
17
18
Three-way button Up-Stop-Down
232526 24 22 21 15
17 16 14 13 18 14
16 15 13
Momentary contact
switch Up/Down
–
b
v
v
b
Wind-up
protection
EMERGENCY
STOP switch
Safety
switch
Safety devices
Door-edge
security system
Three-way button Up-Stop-Down
Momentary contact
switch Up/Down
Wind-up
protection
EMERGENCY
STOP switch
Safety
switch
Connection example
DFM/DKM-Antriebe 3 x 400 V
4 | EN
BoxControl-compact_148014801_EN+FR+FR+IT_1213.indb 4 24.03.2015 10:24:49

b
v
v
b
Drive
Insert the necessary
bridge when working
in pulse mode
(27-28, 29-30)
UVW PEPE L1 L3
L2 34
56
162930 28 26
27 25 21
23
24 22 18 17 1315 14 12 10
11 978
SH SH
TH/NHK
24V/DC
+
230V
2930 27
28 17
18232526 24 22 21 15
17 16 14 13 18 14
16 15 13
–
123456
3~230V/AC max. 10 A
Mains connection
Important! Change over the black brake connection wire sw7 from terminal 12 to 11 (230V)
Delivery is with „Control without maintained mode“ (dead-man's safety system)
7
W2 blue
Drive
V2 red
U1 white
V1 red
U2 white
W1 blue
M
3~
1
12
~
+
22
-
~
23
TH
4
Limit switch unit
1
8
NHK
5
5
4
3
21
324
7
6
5
L1
PE L2 L3
green/yellowgreen/yellow
1327645
Connection example
N
L3
L
L1L2 N
NHK
22
M
1~
23
TH
L1
10
+
13 15
21
1
3
2
17 18
45
3
6
6
400
~~
-
230
19
11
7
12 7
4
20
8
5
Change over the brake connection lead 7
from terminal 12 to 11 .
Important!
N
12345
23
6
6
10 11
6
1~230V/N/PE
Safety devices
Door-edge
security system
Three-way button Up-Stop-Down
Wind-up
protection
EMERGENCY
STOP switch
Safety
switch
Momentary contact
switch Up/Down
Connection example for
DFM/DKM drives 3 x 230 V and
WFM/WKM-170 1 x 230 V
EN | 5
WFM/WKM 170
1 x 230 V
BoxControl-compact_148014801_EN+FR+FR+IT_1213.indb 5 24.03.2015 10:24:49

Insert the necessary
bridge when working
in pulse mode
(27-28, 29-30)
ALcompact400V 15.11 .07 Rei.
Insert the necessary
bridge when working
in pulse mode
(27-28, 29-30)
UVW PEPE L1 L3
L2 34
56
162930 28 26
27 25 21
23
24 22 18 17 1315 14 12 10
11 978
123
3~400V/AC max. 10A
W1 blue
U1 white
V1 red
3~
M
22
NHK
23
TH
13
1
1
15
14
16
2
2
4
3
18
17
+
~
L1
5
3
10
6
6
20
400
~
-
230
19
1211
7
7
4
8
5
green/yellow13 67 45
1
1
2
2
3
3
4
4
6
5
57
6
654321
SH SH
TH/NHK
Limit switch unit
Drive
Mains connection
green/yellow2
L3
green/yellow
UVW
Mains connection
green/yellow
PEPE L1
132
L2
24
SH
30 27
SH
2829 26 25
-
400V
24V/DC
17
23 22 18
21 14
16 15 13
34
6
5
TH/NHK
56897
1112 10 9
4
78
3~400V/AC max. 10A
Open/close
Safety limit
switch
12
Limit operating s
witch
Open
Closed
34 67
18
58L1 L2 L3NPE
M
3~
19
20
21
22
23
TH
NHK
gr/ye 12 3456789
Emergency crank handle
Winding
thermostat
213
+
24V/DC
+
400V
2930 27
28 2526 24 23 2122 1518 17 16 14 13 18 16
17 15 13
14
Safety devices
2930 27
28
Door-edge
security system
17
18
Three-way button Up-Stop-Down
232526 24 22 21 15
17 16 14 13 18 14
16 15 13
Momentary contact
switch Up/Down
–
b
v
v
b
Wind-up
protection
EMERGENCY
STOP switch
Safety
switch
Safety devices
Door-edge
security system
Three-way button Up-Stop-Down
Momentary contact
switch Up/Down
Wind-up
protection
EMERGENCY
STOP switch
Safety
switch
Insert the necessary
bridge when working
in pulse mode
(27-28, 29-30)
ALcompact400V 15.11 .07 Rei.
Insert the necessary
bridge when working
in pulse mode
(27-28, 29-30)
UVW PEPE L1 L3
L2 34
56
162930 28 26
27 25 21
23
24 22 18 17 1315 14 12 10
11 978
123
3~400V/AC max. 10 A
W1 blue
U1 white
V1 red
3~
M
22
NHK
23
TH
13
1
1
15
14
16
2
2
4
3
18
17
+
~
L1
5
3
10
6
6
20
400
~
-
230
19
1211
7
7
4
8
5
green/yellow13 67 45
1
1
2
2
3
3
4
4
6
5
57
6
654321
SH SH
TH/NHK
Limit switch unit
Drive
Mains connection
green/yellow2
L3
green/yellow
UVW
Mains connection
green/yellow
PEPE L1
132
L2
24
SH
30 27
SH
2829 26 25
-
400V
24V/DC
17
23 22 18
21 14
16 15 13
34
6
5
TH/NHK
56897
1112 10 9
4
78
3~400V/AC max. 10 A
Open/close
Safety limit
switch
12
Limit operating s
witch
Open
Closed
34 67
18
58L1 L2 L3NPE
M
3~
19
20
21
22
23
TH
NHK
gr/ye 12 3456789
Emergency crank handle
Winding
thermostat
213
+
24V/DC
+
400V
2930 27
28 2526 24 23 2122 1518 17 16 14 13 18 16
17 15 13
14
Safety devices
2930 27
28
Door-edge
security system
17
18
Three-way button Up-Stop-Down
232526 24 22 21 15
17 16 14 13 18 14
16 15 13
Momentary contact
switch Up/Down
–
b
v
v
b
Wind-up
protection
EMERGENCY
STOP switch
Safety
switch
Safety devices
Door-edge
security system
Three-way button Up-Stop-Down
Momentary contact
switch Up/Down
Wind-up
protection
EMERGENCY
STOP switch
Safety
switch
6 | EN
Connection example for
BoxLine DSM; DRM; DCM 3 x 400 V
BoxControl-compact_148014801_EN+FR+FR+IT_1213.indb 6 24.03.2015 10:24:50

Drive
Insert the necessary
bridge when working
in pulse mode
(27-28, 29-30)
L3
green/yellow
U V W
Mains connection
green/yellow
PEPE L1
1 32
L2
24
SH
30 27
SH
2829 26 25
–
230V
24V/DC
17
23 22 18
21 14
16 15 13
3 4
6
5
TH/NHK
5689 7
1112 10 9
4
78
3~230V/AC max. 10A
Open/close
Safety limit
switch
1 2
Limit operating
switch
Open
Closed
3 4 6 7
18
5 8L1 L2 L3N PE
19
20
21
22
23
TH
NHK
gr/ye 1 2 3 4 5 6 78 9
Emergency crank handle
Winding
thermostat
21 3
+
2930 27
28 2526 24 23 1722 21 18 1516 14 13 1618 17 14
15 13
Drive in delta configuration
U2 white
U1 white
3~
M
W2 blue
V1 red
V2 red
W1 blue
M
1~
1
N
356
12 3
Connection example
N
L1
L3 L2
L
N
1~230V/N/PE
Safety devices
Door-edge
security system
Three-way button Up-Stop-Down
Momentary contact
switch Up/Down
Wind-up
protection
EMERGENCY
STOP switch
Safety
switch
BoxLine
WSM; WRM;
WCM
1 x 230 V
EN | 7
Connection example for
BoxLine DSM; DRM; DCM 3 x 230 V and
BoxLine WSM; WRM; WCM 1 x 230 V
BoxControl-compact_148014801_EN+FR+FR+IT_1213.indb 7 24.03.2015 10:24:50

Manufacturer’s declaration
We reserve the right to make technical changes
elero GmbH
Antriebstechnik Linsenhofer Straße 65
D-72660 Beuren Fon: +49 7025 13-01
Fax: +49 7025 13-212 [email protected]
www.elero.com
Manufacturer‘s declaration
elero GmbH herebly declares that BoxControl comapact complies with the basic prerequisites and the other relevant provisi-
ons of the EC directives. The complete manufacturer‘s declaration can be found in the download area of our website.
BoxControl-compact_148014801_EN+FR+FR+IT_1213.indb 8 24.03.2015 10:24:50
Table of contents
Other elero Controllers manuals

elero
elero Patio User manual

elero
elero AstroTec 28 060.0001 User manual

elero
elero InDrive M30/1.6 RH Product guide

elero
elero Combio-915 JA User manual

elero
elero Vario 1 User manual

elero
elero ExitSafe 28 388.0001 User manual
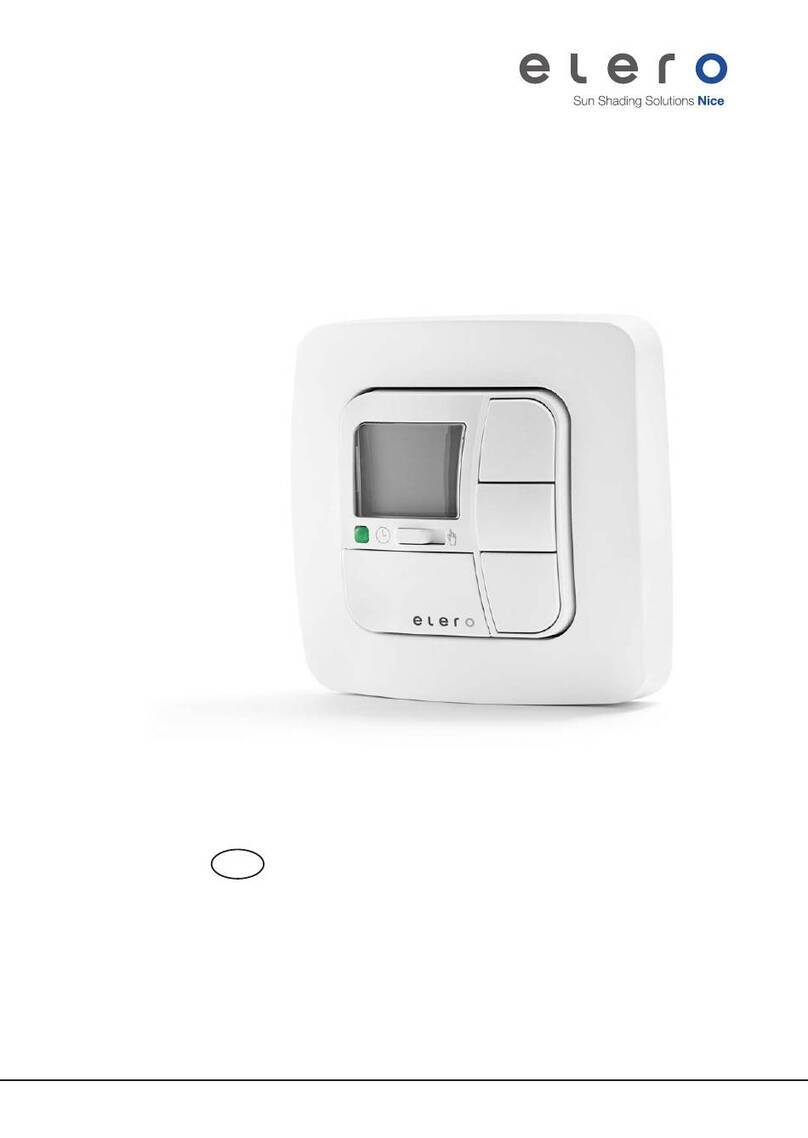
elero
elero MemoTec-868 User manual
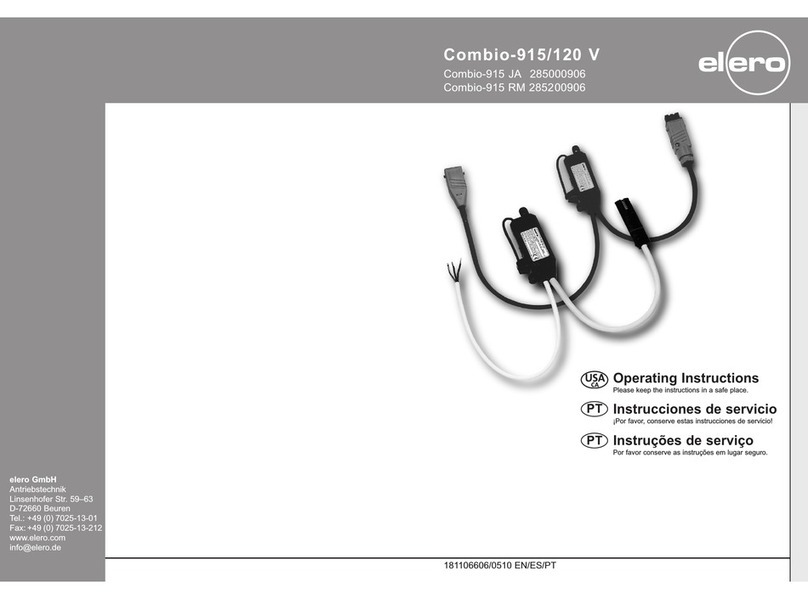
elero
elero Compakt User manual

elero
elero VarioTec-868 DC User manual

elero
elero Insolis 4 User manual
Popular Controllers manuals by other brands
Macurco
Macurco TracXP TXP-C20 instruction manual

meitav-tec
meitav-tec PYROBOX3/19 Installation and operating manual

OptoSigma
OptoSigma SHOT-102 user manual

HydroPoint
HydroPoint WeatherTRAK ET Pro3 Bidding Specifications

SMC Networks
SMC Networks LET-X11 Series Operation manual

Nordson
Nordson ValveMate 7197PCP-2K quick start guide