manuals.online logo
Brands
  1. Home
  2. •
  3. Brands
  4. •
  5. Elkron
  6. •
  7. Smoke Alarm
  8. •
  9. Elkron FO31WL User manual

Elkron FO31WL User manual

ITALIANO
SENSORE OTTICO DI FUMO VIA RADIO BIDIREZIONALE FO31WL
WIRELESS BIDIRECTIONAL SMOKE DETECTOR FO31WL
DETECTEUR FUME RADIO BIDIRECTIONELLE FO31WL








Fig. 1
Fig. 2
CARATTERISTICHE TECNICHE
Alimentazione........................... 2 pile Lithium/Manganese Dioxide da 3V
tipo CR123A - Formati: CR17345 (IEC),
5018LC (ANSI)
Portata radio............................. Fino a 400 m in aria libera
Copertura.................................. 40 m2
Pressione acustica buzzer........ 85 dB (A) @ 3 m
Autonomia della pila................. 2 anni, in normali condizioni d’impiego
Temp. di funzionamento........... 0 °C ÷ +40 °C
Umidità relativa......................... 10 ÷ 85 %
Materiale involucro ................... ABS colore RAL9003
Grado di protezione involucro... IP40 / IK02
Dimensioni (Ø x h).................... 136 x 68
INSTALLAZIONE
1) Aprire il sensore ruotando la calotta in senso antiorario, ed inserire la
pila (esclusivamente al momento dell’acquisizione) rispettando le
polarità (fig. 1). Per l’acquisizione e la configurazione del sensore, fare
riferimento al Manuale di Installazione del Sistema WL31.
2) Fissate la base del sensore a soffitto utilizzando le predisposizioni “A”
(fig. 2), posizionandola in modo che la freccia “B” (fig. 2) sia in direzione
della centrale.
3) Chiudete il sensore allineando la tacca presente sul fondo con quella
sul sensore e ruotando la calotta in senso orario.
SOSTITUZIONE PILE
Per sostituire le pile, aprire il sensore e rimuovere le pile, quindi sostituirle
e consegnare quelle scariche presso smaltitori autorizzati. La
programmazione effettuata viene mantenuta anche dopo la sostituzione
delle pile.
!!! ATTENZIONE !!! PERICOLO D’ESPLOSIONE SE LA PILA E’
SOSTITUITA CON ALTRA DI TIPO SCORRETTO. ELIMINARE LE PILE
USATE SEGUENDO LE ISTRUZIONI. Si ricorda che le pile al litio
sono a tutti gli effetti dei rifiuti speciali con codice di classificazione
CER 160605 (E.W.C. 160605) e che il loro smaltimento, a fine ciclo di
vita, è regolamentato da precise disposizioni di legge.
ENGLISH FRANCAIS
TECHNICAL CHARACTERISTICS
Powering................................... 2 3V Lithium/Manganese Dioxide batteries
type: CR123A - Formats: CR17345 (IEC),
5018LC (ANSI)
Radio range.............................. Up to 400 m in open air
Covering range......................... 40 m2
Buzzer acoustic pressure......... 85 dB (A) @ 3 m
Battery's life.............................. 2 years under normal conditions of use
Working temperature................ 0 °C ÷ +40 °C
Relative humidity ...................... 10 ÷ 85 %
Casing material......................... ABS color RAL9003
Casing protection degree ......... IP40 / IK02
Dimensions (Ø x h)................... 136 x 68
INSTALLATION
1) Open the detector by turning the cover counterclockwise, insert the
battery (at the time of acquisition only) according to the proper pole
positions (fig. 1). For detector acquisition and configuration refer to WL31
System Installation Manual.
2) Secure the detector base to the ceiling using presetting “A” (fig. 2), and
position it by directing arrow “B” (fig. 2) towards the central unit.
3) Close the detector by aligning the notch on the bottom with the notch on
the detector and turn the cover clockwise.
BATTERY REPLACEMENT
To replace the batteries, open the detector and remove the batteries.
Replace them and hand over the dead ones to authorized disposal
centers. Programming performed will be kept unvaried although batteries
have been replaced.
!!! WARNING !!! RISK OF EXPLOSION IF YOU REPLACE THE
BATTERY WITH AN INCORRECT BATTERY TYPE. DISPOSE OF
DEAD BATTERIES ACCORDING TO THE INSTRUCTIONS. Please
remember that lithium batteries are classified as special wastes
under CER 160605 classification code (E.W.C. 160605) and that dead
batteries disposal is governed by precise law regulations.
CARACTÉRISTIQUES TECHNIQUES
Alimentation …………………………………..2 piles au lithium / dioxyde de
manganèse de 3 V, type
CR123A - formats : CR17345
(IEC), 5046LC (ANSI)
Portée radio………………………………….. Jusqu’à 400 m en plein air
Couverture……………………………………. 40 m2
Pression acoust. de l’avertisseur son……… 85 dB(A) @ 3 m
Autonomie de la pile…………………………. 2 ans, dans des conditions
d’emploi normales
Temp. de fonctionnement…………………... 0 °C ÷ +40 °C
Humidité relative………………………………10 ÷ 85 %
Matériel du boîtier…………………………….ABS couleur RAL9003
Degré de protection du boîtier……………….IP40 / IK02
Dimensions (Ø x h)…………………………...136 x 68 mm
INSTALLATION
1) Ouvrez le détecteur en tournant la calotte dans le sens anti-horaire et
introduire la pile (exclusivement lors de l’acquisition) en respectant les
polarités (fig. 1). Pour acquérir et configurer le détecteur, consultez le
manuel d’installation du système WL31.
2) Fixez la base du détecteur au plafond en utilisant les emplacements
prévus « A » (fig. 2), et en la positionnant de façon à ce que la flèche
« B » (fig. 2) soit orientée vers la centrale.
3) Fermez le détecteur en alignant l’encoche présente sur le fond avec
celle du détecteur et en tournant la calotte dans le sens horaire.
REMPLACEMENT DES PILES
Pour remplacer les piles, ouvrez le détecteur et en retirez les piles
épuisées, puis remplacez-les et remettez-les aux centres d'élimination
autorisés. La programmation effectuée est maintenue même après le
remplacement des piles.
ATTENTION !!! RISQUE D’EXPLOSION SI LA PILE EST REMPLACÉE
PAR UNE AUTRE DE TYPE INCORRECT. ÉLIMINER LES PILES
USÉES SELON LES INSTRUCTIONS. Il est à rappeler que les piles au
lithium sont dans tous les cas des déchets spéciaux avec code de
classification CER 160605 (E.W.C. 160605) et que leur élimination, à
la fin de leur durée de vie, est réglementée par des dispositions
légales précises.
ELKRON S.p.A.
Via Carducci, 3 – 10092 Beinasco (TO) – ITALY
Tel. +39(0)113986711 – FAX +39(0)113499434
www.elkron.it mailto: [email protected]
IS3115-
A
A
068
2
A
B
DEUTSCH
RAUCHSENSOR BIDIREKTIONALEFUNKÜBERTRAGUNG FO31WL
SENSOR DE HUMO VÍA RADIO BIDIRECCIONAL FO31WL
SENSOR DE HUMO VÍA RADIO BIDIRECIONAL FO31WL








Fig. 1
Fig. 2
TECHNISCHE EIGENSCHAFTEN
Versorgung............................... 2 Lithium/Mangandioxyd Batterien zu 3V
Typ CR123A - Format: CR17345 (IEC),
5018LC (ANSI)
Funkweite................................. bis zu 400 m im freien Raum
Abdeckung................................ 40 m2
Schalldruck Buzzer................... 85 dB (A) @ 3 m
Batteriedauer............................ 2 Jahre bei normaler Benutzung
Betriebstemperatur................... 0 °C ÷ +40 °C
Relative Luftfeuchtigkeit ........... 10 ÷ 85 %
Gehäusematerial ...................... ABS, Farbe RAL9003
Schutzgrad des Gehäuses ...... IP40 / IK02
Abmessungen (Ø x h)............... 136 x 68
INSTALLATION
1) Den Sensor durch Drehen des Deckels gegen den Uhrzeigersinn
öffnen und die Batterie unter Beachtung der Polarität einlegen (Abb. 1)
(nur bei der Erfassungsphase). Für die Erfassung und Konfiguration
des Sensors siehe das Installationshandbuch für das System WL31.
2) Das Basisteil des Sensors mit der Vorausrüstung “A” (Abb. 2) an der
Decke befestigen und so positionieren, dass der Pfeil “B” (Abb. 2) in
Richtung der Zentrale zeigt.
3) Den Sensor unter Ausrichtung des Einschnittes am Boden mit dem auf
dem Sensor schließen und den Deckel im Uhrzeigersinn drehen.
ERSATZ DER BATTERIEN
Für Ersatz der Batterien öffnen Sie den Sensor, ersetzen die Batterien
durch neue und entsorgen die verbrauchten in der vorgeschriebenen
Weise. Die ausgeführte Programmierung bleibt auch nach
Batteriewechsel bestehen.
!!! ACHTUNG !!! EXPLOSIONSGEFAHR, WENN EIN UNKORREKTER
BATTERIETYP VERWANDT WIRD. BEI BATTERIEWECHSEL
BEACHTEN SIE BITTE UNBEDINGT DIE ANWEISUNGEN. Wir weisen
darauf hin, dass Lithiumbatterien in jeder Hinsicht zum Sondermüll
mit Klassifizierungscode CER 160605 (E.W.C. 160605) gehören und
dass ihre Entsorgung nach Verbrauch genauen gesetzlichen
Vorschriften unterliegt.
ESPANOL PORTUGUES
ESPECIFICACIONES TÉCNICAS
Alimentación............................. 2 pilas de litio/dióxido de manganeso de
3 V tipo CR123A - Formatos: CR17345
(IEC), 5018LC (ANSI)
Alcance radio............................ Hasta 400 m al aire libre
Cobertura.................................. 40 m2
Presión sonora del zumbador... 85 dB (A) @ 3 m
Autonomía de la pila................. 2 años, en condiciones de empleo
normales
Temp. de funcionamiento......... 0°C ÷ +40 °C
Humedad relativa ..................... 10 ÷ 85 %
Material de la carcasa .............. ABS color RAL9003
Grado de protec. de la carcasa.IP40 / IK02
Dimensiones (Ø x h)................. 136 x 68 mm
INSTALACIÓN
1) Abrir el sensor girando la tapa en sentido antihorario e introducir la pila
(exclusivamente en el momento de la adquisición) respetando las
polaridades (fig. 1). Con respecto a la adquisición y la configuración del
sensor, remitirse al Manual de Instalación del Sistema WL31.
2) Fijar la base del sensor al techo utilizando las predisposiciones “A” (fig.
2), posicionándola de manera que la flecha “B” (fig. 2) quede en dirección
a la central.
3) Cerrar el sensor alineando la muesca que se encuentra en el fondo con
la que se encuentra sobre el sensor y girar la tapa en sentido horario.
REEMPLAZO DE LAS PILAS
Para reemplazar las pilas, abrir el sensor y retirar las pilas, luego
reemplazarlas y entregar las pilas descargadas en centros de eliminación
autorizados. La programación efectuada se mantiene incluso después de
reemplazar las pilas.
¡¡¡ATENCIÓN!!! PELIGRO DE EXPLOSIÓN SI LA PILA SE
REEMPLAZA POR OTRA DE TIPO INCORRECTO. ELIMINAR LAS
PILAS USADAS SIGUIENDO LAS INSTRUCCIONES. Se recuerda que
las pilas de litio son en todos los casos residuos especiales con
código de clasificación CER 160605 (E.W.C. 160605) y que su
eliminación, al final de su vida útil, está reglamentada por precisas
disposiciones de ley.
CARACTERÍSTICAS TÉCNICAS
Alimentação.............................. 2pilhasLithium/Manganese Dioxide da 3V
tipo CR123A - Formatos: CR17345 (IEC),
5018LC (ANSI)
Alcance rádio............................ Até a 400 m ao ar livre
Cobertura.................................. 40 m2
Pressão acústica buzzer .......... 85 dB (A) @ 3 m
Autonomia da pilha................... 2 anos, em condições normais de uso
Temp. de funcionamento.......... 0 °C ÷ +40 °C
Umidade relativa....................... 10 ÷ 85 %
Material invólucro ..................... ABS cor RAL9003
Grau de proteção invólucro...... IP40 / IK02
Dimensões (Ø x h).................... 136 x 68
INSTALAÇÃO
1) Abra o sensor rodando a tampa em sentido anti-horário, e introduza a
pilha (exclusivamente ao momento da aquisição) respeitando as
polaridades (fig. 1). Para a aquisição e a configuração do sensor, faça
referência ao Manual de Instalação do Sistema WL31.
2) Fixar a base do sensor de teto utilizando as predisposições “A” (fig. 2),
posicionando-a de modo que a seta “B” (fig. 2) esteja na direção da
central.
3) Feche o sensor alinhando a marca presente no fundo com aquela no
sensor e rodando a tampa em sentido horário.
SUBSTITUIÇÃO DAS PILHAS
Para substituir as pilhas, abra o sensor e remova as pilhas, em seguida,
substituí-las e entregue as pilhas descarregadas nas sedes autorizadas
para a eliminação. A programação efetuada é conservada mesmo depois
da substituição das pilhas.
!!! ATENÇÃO !!! PERIGO DE EXPLOSÃO SE A PILHA É
SUBSTITUÍDA COM OUTRA DE TIPO INCORRETO. ELIMINE AS
PILHAS USADAS SEGUINDO AS INSTRUÇÕES. Lembra-se que as
pilhas ao lítio são para todos os efeitos refugos especiais com
código de classificação CER 160605 (E.W.C. 160605) e que a sua
eliminação, no fim do ciclo de vida, é regulamentada por precisas
disposições de lei.
ELKRON S.p.A.
Via Carducci, 3 – 10092 Beinasco (TO) – ITALY
Tel. +39(0)113986711 – FAX +39(0)113499434
www.elkron.it mailto: [email protected]
IS3115-
A
A
068
2
A
B

Other Elkron Smoke Alarm manuals

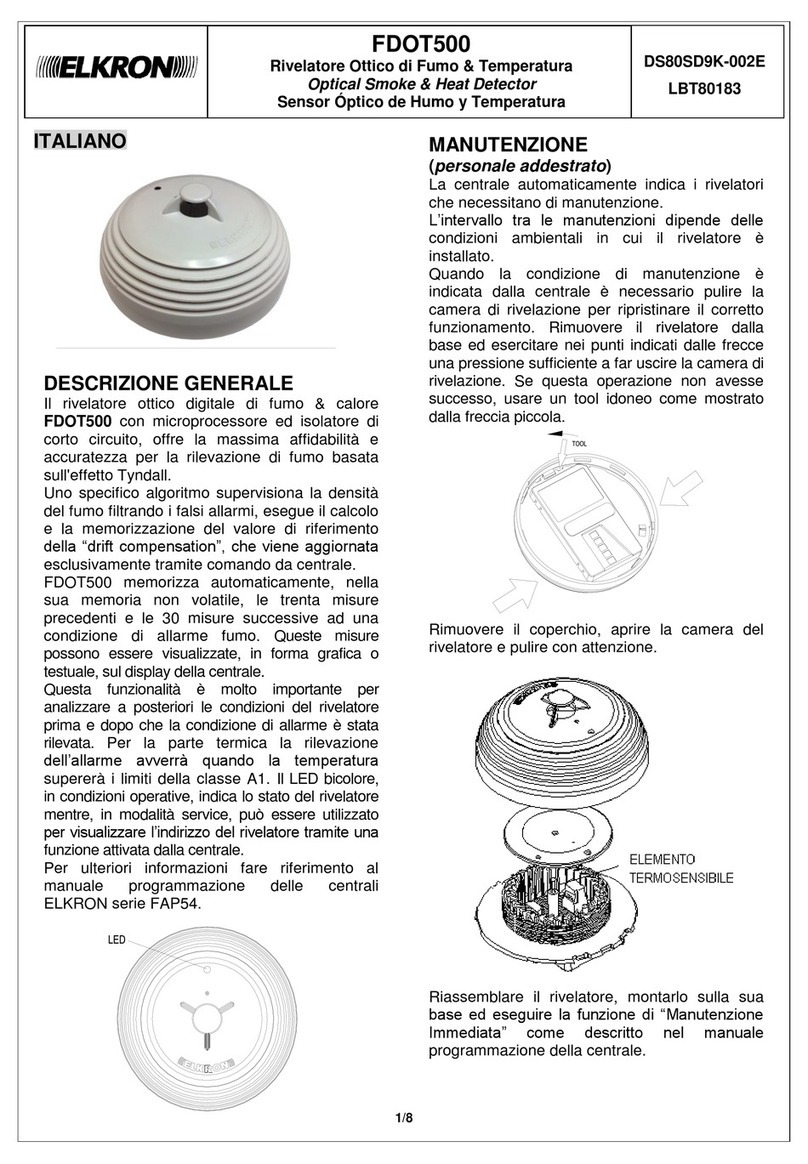
Elkron FDOT500 User manual

Elkron

Elkron FDOT500 User manual

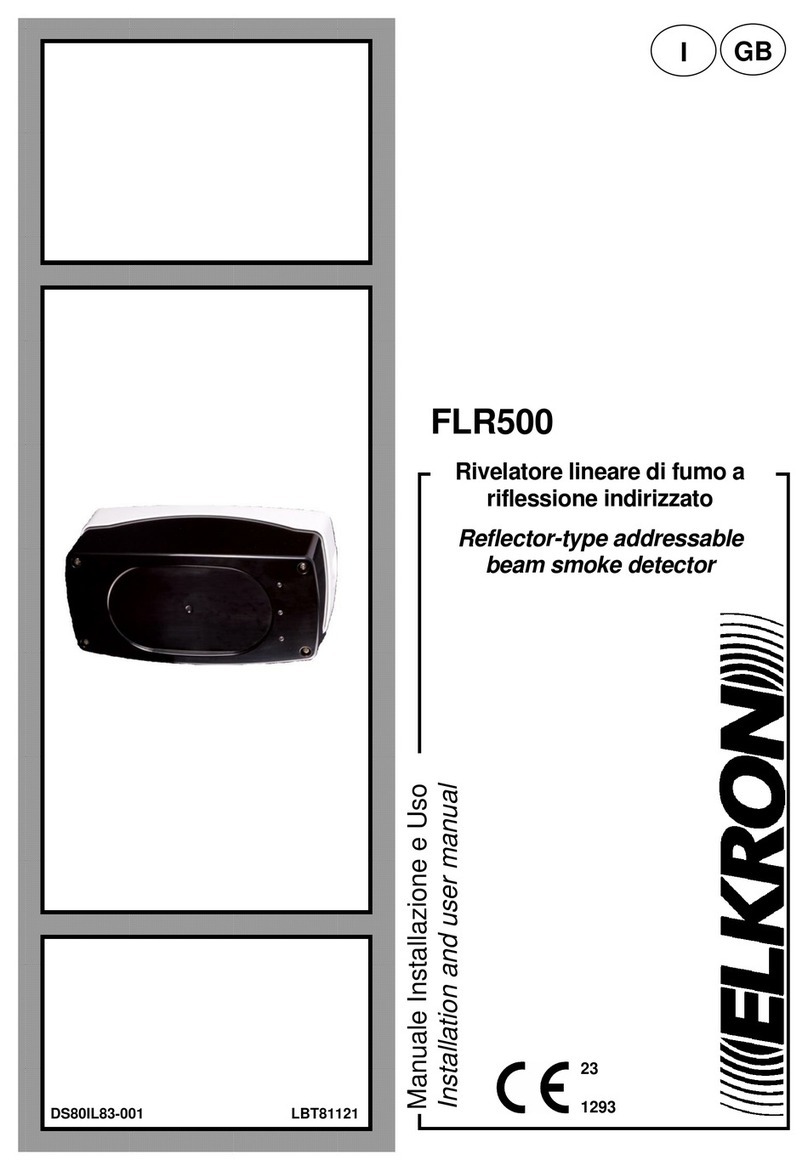
Elkron FLR500 User manual

Elkron

Elkron FLR500 User manual

Elkron FO31WL User manual

Elkron

Elkron FO31WL User manual

Elkron FAP54 User manual

Elkron

Elkron FAP54 User manual

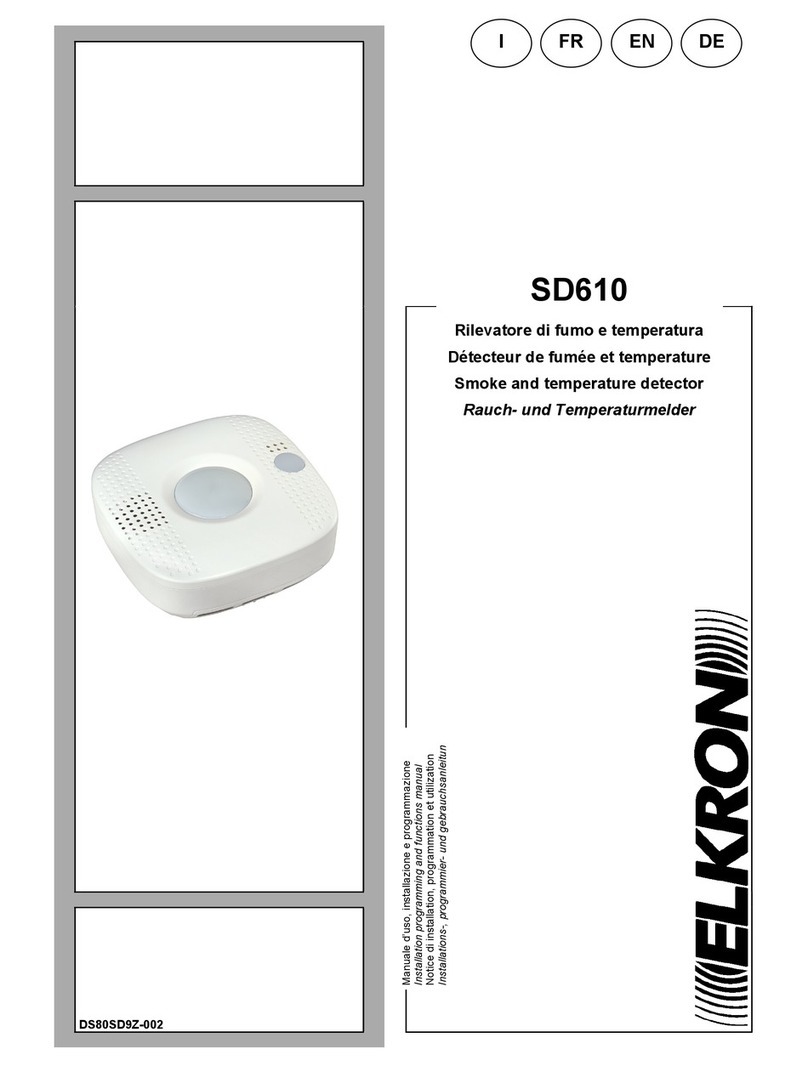
Elkron SD610 Assembly instructions

Elkron

Elkron SD610 Assembly instructions

Elkron FDO500 User manual

Elkron

Elkron FDO500 User manual

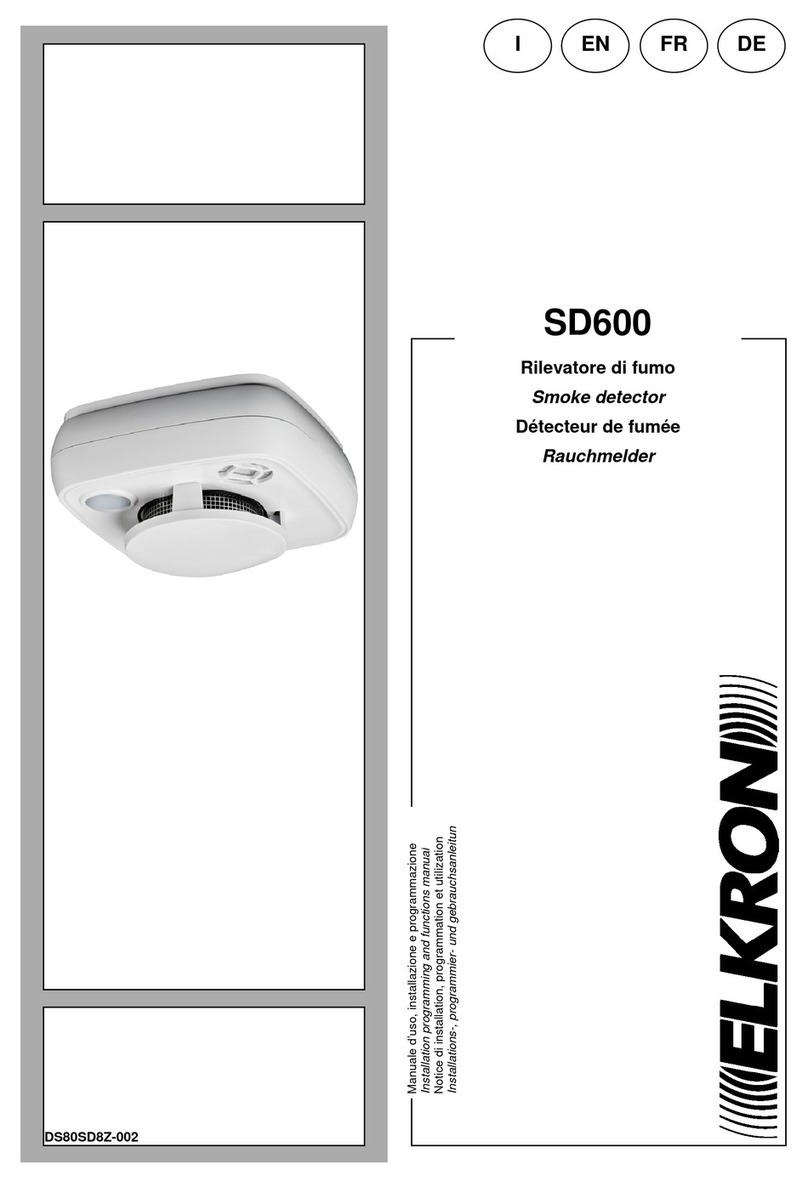
Elkron SD600 Assembly instructions

Elkron

Elkron SD600 Assembly instructions

Elkron SD600 User manual

Elkron

Elkron SD600 User manual

Elkron FL100 User manual

Elkron

Elkron FL100 User manual

Elkron SD200 User manual

Elkron

Elkron SD200 User manual

Popular Smoke Alarm manuals by other brands

Radal Technology Cig-Arrete Master user guide

Radal Technology

Radal Technology Cig-Arrete Master user guide

Honeywell DFO800M quick start guide

Honeywell

Honeywell DFO800M quick start guide

SETRONIC VERONA BOOMERANG 5P70 quick start guide

SETRONIC VERONA

SETRONIC VERONA BOOMERANG 5P70 quick start guide

SEBSON GS558 manual

SEBSON

SEBSON GS558 manual

Honeywell SS4-AS Installation guide and operating manual

Honeywell

Honeywell SS4-AS Installation guide and operating manual

Brooks Firetracker FT1-SB System manual

Brooks

Brooks Firetracker FT1-SB System manual

Gentek 9000 SERIES installation instructions

Gentek

Gentek 9000 SERIES installation instructions

System Sensor DH100 Series Installation and maintenance instructions

System Sensor

System Sensor DH100 Series Installation and maintenance instructions

Orno OR-DC-616 Operating and installation instructions

Orno

Orno OR-DC-616 Operating and installation instructions

Holtek BA45F56 Series Function description

Holtek

Holtek BA45F56 Series Function description

olympia electronics BSR-6055 quick start guide

olympia electronics

olympia electronics BSR-6055 quick start guide

Bosch DRA 12/24 manual

Bosch

Bosch DRA 12/24 manual

Vision ZS 6101 EU Installation & operation manual

Vision

Vision ZS 6101 EU Installation & operation manual

jablotron JA-65ST manual

jablotron

jablotron JA-65ST manual

Hark HK0528 Cooking guide

Hark

Hark HK0528 Cooking guide

EMS FireCell FCX-174-001 installation guide

EMS

EMS FireCell FCX-174-001 installation guide

Sunmatic Housegard PEBBLE MINI user manual

Sunmatic

Sunmatic Housegard PEBBLE MINI user manual

Siterwell GS401 user manual

Siterwell

Siterwell GS401 user manual

manuals.online logo
manuals.online logoBrands
  • About & Mission
  • Contact us
  • Privacy Policy
  • Terms and Conditions

Copyright 2025 Manuals.Online. All Rights Reserved.