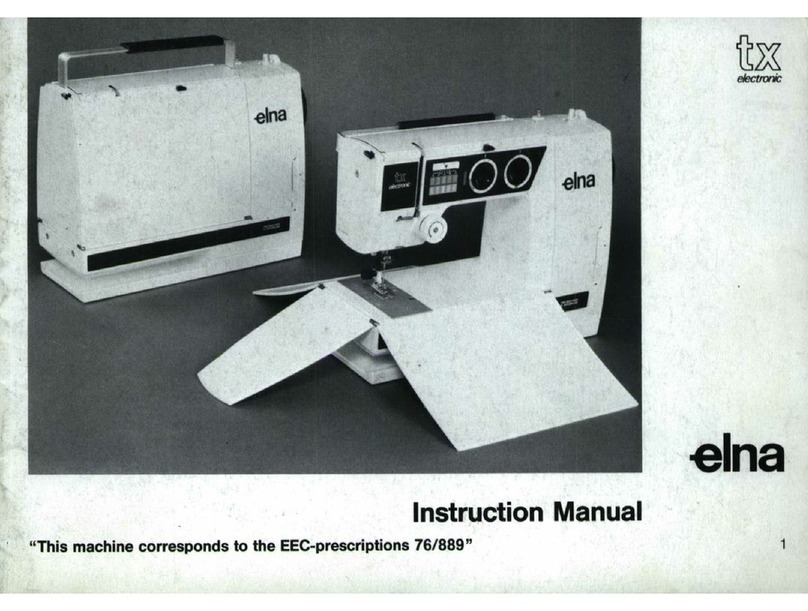
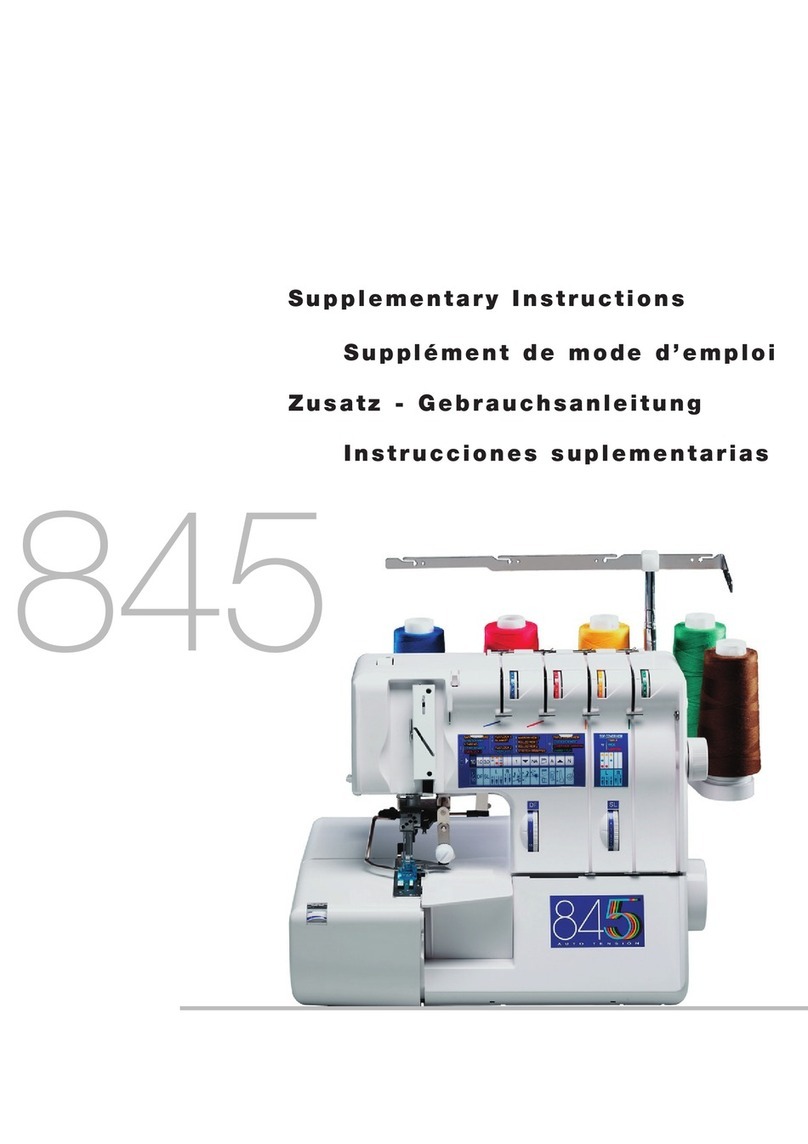
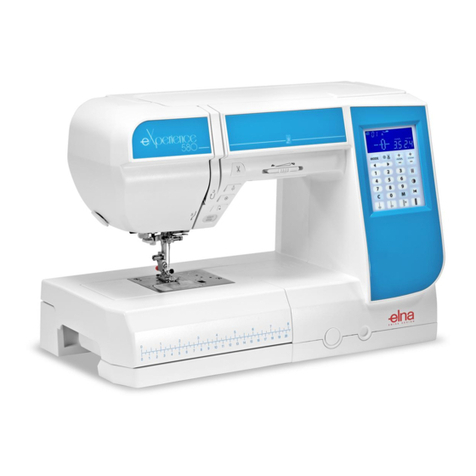
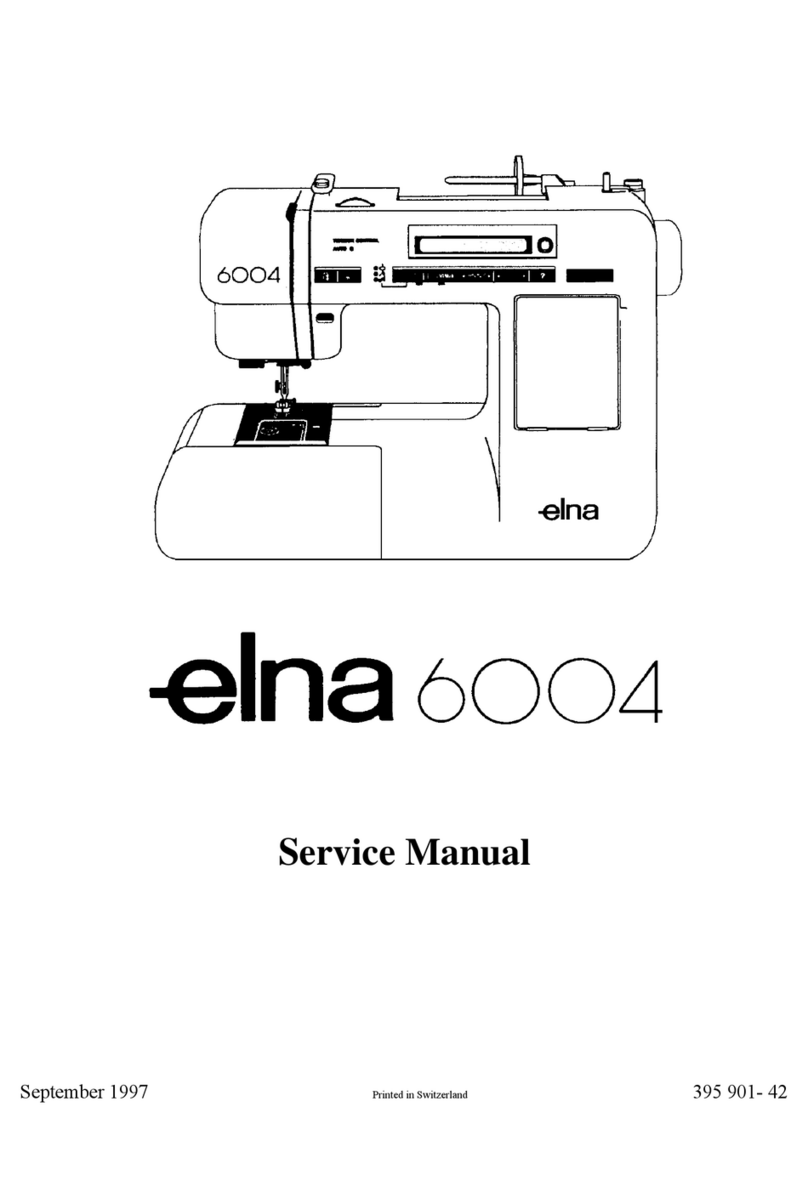
ELNA 450 User manual

io://www.qoppa.com/pdfstud
.
httpsinux. For EvaluationPDF Studio
-
PDF Editor for Mac, Windows, L
PDF Studio - PDF Editor for Mac, Windows, Linux. For Evaluation. https://www.qoppa.com/pdfstudio

PDF Studio
-
PDF Editor for Mac, Windows, Linux. For Evaluation. https://www.qoppa.com/pdfstudio
ELNA SEWING MACHIN E
Record in space provided below the Serial No.
and Model No. of this appliance.
The Serial No. is located Rear of
arm.
The Model No. is located Rear of
arm.
Serial No.
Model No.
Retain these numbers for future reference.
PDF Studio - PDF Editor for Mac, Windows, Linux. For Evaluation. https://www.qoppa.com/pdfstudio

PDF Studio
-
PDF Editor for Mac, Windows, Linux. For Evaluation. https://www.qoppa.com/pdfstudio
PDF Studio - PDF Editor for Mac, Windows, Linux. For Evaluation. https://www.qoppa.com/pdfstudio

PDF Studio
-
PDF Editor for Mac, Windows, Linux. For Evaluation. https://www.qoppaLcom/pdfstudio
Instruction Manual
Your
new
Sewing Machine
The Instruction Manual
enables
you
to
become acquainted
with
your
machine,
to
familiarize yourself
with
its operation, manipulation and certain
basic
seams.
This is the first part
of
this booklet.
The Sewing Guide
forms the second part. Without claiming
to
be exhaustive, it
gives you nevertheless
a
good idea
of
the wide range
of
possi-
bilites
for
practical and decorative sewing offered by
your
machine and its standard equipment
or
with
an
additional
accessory.
Part ∣Pages
Descriptionandmainparts
.
.
.
.
.
.
.
. .
.
.
.
.
.
.
.
.1to
5
Preparationofthemachine
.
.
. . . .
.
. .
.
.
.
. .
.
.
.
6to11
Adjustmentsand sewing
.
.
.
.
.
.
.
.
. . . .
. . .
.
.12to
32
Part II
SewingGuide Pages
and
use
of the various automatic stitches
.
..
. .
.
.
.
.33
to
59
Extraaccessories.......................60to62
Maintenance.............................63
Toremedyminordisorders
.
.
.
. .
.
. .
.
.....
.
.
.64to65
Alphabeticalindex......................66to67
Service: Should
you
require
any
further
information, please
don't
hesitate
to
ask
your
sewing machine dealer. His qualified
staff
will
be glad
to
answer
your
questions. In accordance
with
the
terms
of
the guarantee, he is also the only
person
authorized
to
attend
to
any mechanical adjustments
on
your
machine.
These machines correspond
to
the EEC regulations 76/889.
PDF Studio - PDF Editor for Mac, Windows, Linux. For Evaluation. https://www.qoppa.com/pdfstudio

1
PDF Stgglioi-__ ∣⊃⋅⊏⊃∣⋝⋅∶ ⋅∣⋅≡↕⋮⊳≺∙⋅⋮⋅⊴≒⋅≊∏≖⊏∙∘⊲↾⋮⋮↿≂∘↾ ∣⋁∣≣∁ ⋁∨⋁∨⋅⋮⊽≺∶∣∘⇂⊃ ∂⋅∁∘↾∩∠∣∅≺⊐∣↿⇇⊖≖⊏⇂⊒⋅≤∃∐⊊⊃⋮⋅≟⋅↼↴⇀≉⋮
⋅
⋅∙⋮⋮⋅∶⋮↿⇀−∼∙⋅∼⋎⇃↾≘≯⋅⊱
PDF Studio - PDF Editor for Mac, Windows, Linux. For Evaluation. https://www.qoppa.com/pdfstudio

PDF Studio
-
PDF Editor for Mac, Windows,:;Linux. For Evaluation. https://www.qoppa.com/pdfstudio
Main Parts
1Free
arm.
21 Main switch.
2Sewing table/Accessory
case.
22 Specification plate. Make
sure
that
the voltage (volts) is the
3Shuttle
race
cover.
same
as
that
indicated
on
the light bulbs in
your
home.
4Needle plate. 23 Mains lead.
5All-purpose
foot.
24 Foot
control.
Specifications depend
on
country.
6Needle. 25 Drop-feed
button.
7Needle clamp
screw.
26 Thread
cutter.
8Built—in sewing light. Input 15
watts
maximum.
Presser
foot
|eVer_
9
Built-in
foot
pressure
control.
10 Thread take-up lever.
11 Top thread guide. Safety:
12 Universal
upper
thread tension. in accordance
with
the recommendations
of
specialized safety,
13 Carrying handle. standards and electrical
control
authorities, the sewing machine
14 Stitch width wheel.
must
be disconnected from the main supply by removing the
15 Bobbin
winder
plug
from
the
socket-outlet
whenever:
16 Retractable spool ∣⊃∣∩≤⋅
−
the machine is left unattended
17 Fl»/Wheel,
with
C0UD|in9 knob.
—
the machine is being serviced
18 Stitch selector.
——
mechanical parts
are
changed
19 Stitch length di8l-
—
accessories
are
changed
20 Instant
reverse
button.
See also page 63.
PDF Studio - PDF Editor for Mac, Windows, Linux. For Evaluation. https://www.qoppa.com/pdfstudio

CD"
PDF Stu_dio PDF(5ditor f&§Mac, ⋮
⋅
orE
@i
C
Q)
⊏∙⋅⋅
∘∩⋅
https://www.qopa.co
PDF Studio - PDF Editor for Mac, Windows, Linux. For Evaluation. https://www.qoppa.com/pdfstudio

PDF Studio
-
PDF Editor for Mac, Windows, Linux. For Evaluation. https://www.qoppa.com/pdfstudio
Accessories
are
kept in the accessory case, in acompartment in the front
of
the sewing table.
−⇀
⊂⊃≏∘∞∖∣∘∎≱⋃⋅↿⋅⊳∞↾∖≯⇀
↿↿
12
13
14
15
All-purpose
foot
(already in place
on
the machine)
Straight
stitch
foot
Embroidery
foot
Buttonhole
foot
Zipper
foot
Blind hem
foot
4Bobbins (plus
one
already in the
shuttle
hook)
Assortment of needles and aneedle threader
Small screwdriver
Buttonhole
knife
and
seam
ripper
Quilting guide
Cloth guide and
screw
Tube
of
oil
Should
you
have
to
change the needle
Hold the needle
with
its
flat
part
against the index finger
and push
it
as far
as
it
will
go
into
the needle clamp.
Tighten the
screw
firmly. Use needles
of
the system
130/705 H(15
x
1).
Should
you
have
to
change the
foot
Raise the presser bar and push the release
button
at
the
back
of
the
shank
to
remove
the
foot.
Place the
other
foot
under the shank and lower the presser
bar
to
lock the
foot
on
the
foot
shank automatically.
Operation
16
17
18
19
20
The
foot
control
regulates
motor
and sewing speeds. The
greater the pressure
on
the
control, the higher the speed.
Press preferably
with
the sole
of
the
foot
(and
not
with
the
toes). Get used
to
the speeds by running the machine
for
a
few
turns
(without thread and
with
the
presser
foot
raised).
Plug the mains lead into the machine and
a
wall outlet.
The sewing light is situated in the head of the machine.
The input
of
the light (15
w
maximum) is marked
on
the
machine.
-
The main switch
turns
the light
on
or
off,
as
well
as
the
supply
of
electric
current
to
the
motor.
Switch
it
on
to
run
the machine and
off
when
you
are
not
sewing.
The sewing table/accessory
case
can
be used
as
aconvenient
flat
sewing surface by leaving
it
in place
on
the machine
base. To
remove
it, just slide it
to
the left,
to
reveal the
free
arm
which makes
it
easy
to
sew
the
openings
of
trousers, the waistbands
of
skirts, aprons, patches
on
the
seats of trousers, pockets,
etc.
PDF Studio - PDF Editor for Mac, Windows, Linux. For Evaluation. https://www.qoppa.com/pdfstudio

PDF Studio
-
PDF Editor
r
Mac, Winhd9@®1
⊂⋛⊃
−∖↿−↝⋅∙⋅
⊽⋅
⇁
PDF Studio - PDF Editor for Mac, Windows, Linux. For Evaluation. https://www.qoppa.com/pdfstudio

PDF Studio
-
PDF Editor for Mac, Windows, Linux. For Evaluation. https://www.qoppa.com/pdfstudio
If
you
are
using
your
machine
1For the
first
time
or
have
not
used it
for
some
time,
put
a
drop
of
oil
in
the
shuttle
race,
on
the point indicated.
Wind the Bobbin
For the usual sewing jobs,
it
is best
to
use
amedium sized
thread.
2
3
Disengage the flywheel by unscrewing the coupling knob
as
far
as
it
will
go.
Place the bobbin
on
the bobbin winder, and push the
bobbin winder
to
the
right.
Pull
out
one
of
the spool pins and place
the
spool of thread
on
it.
Pass
the
thread through the
bobbin
winder
tension
discs,
as
indicated.
Wind the end
of
the thread around the bobbin by hand, in
the
direction
indicated.
Wind
the
bobbin,
at
a
medium
speed by pressing the
foot
control
lightly, pressing lightly
with
afinger
on
the
spool
so
as
to
stretch the
thread
better
and thus
fill
the bobbin
to
a
maximum.
The
full
bobbin. stops automatically.
Re-engage the flywheel by tightening the coupling knob.
Cut the thread and
remove
the bobbin from the bobbin
winder by pushing the
latter
to
the left.
Threading the Bobbin Case and Placing the
Bobbin Case in the Shuttle Hook
10
11
12
13
14
Hold the bobbin
case
between the
thumb
and index finger
of
the
left
hand,
so
that
the slot (A) in the edge of the
bobbin
case
is
on
top.
Take the bobbin between the
thumb
and index finger of the right hand
so
that the thread
on
top
leads from left
to
right.
Insert the bobbin into the bobbin case, pull the thread
into
the slot
of
the
bobbin
case.
Draw
it
under the tension spring (B) and
into
the
fork-
shaped opening
of
the spring.
Raise the needle bar
to
its highest position, and swing open
the shuttle
race
cover, downwards.
Hold the bobbin
case
latch (C) between the thumb and
index finger
of
the
left
hand,
with
about 10
cm
(4")
of
thread running from the
top
of the bobbin
case
to
the
right.
Insert and
centre
the bobbin
case
on
the stud of the
shuttle
body (D). Make
sure
that
the bobbin
case
finger (E) is
opposite the shuttle
race
notch (F).
Press the bobbin
case
(G) into
the
shuttle
as
far
as
possible
until
the latch catches
on
the
centre
post
of
the shuttle.
Then release the bobbin
case
latch (C).
Press the bobbin
case
again after the latch has been released
to
make
sure
that
the bobbin
case
is locked securely in
place. Close the shuttle
race
cover.
PDF Studio - PDF Editor for Mac, Windows, Linux. For Evaluation. https://www.qoppa.com/pdfstudio
$
.
mm’
⊏↳⊐
PDF Studio - PDF Editor for Mac, Windows, Linux. For Evaluation. https://www.qoppa.com/pdfstudio
PDF Studio
-
PDF Editor for Mac, Windows, Linux. For Evaluation". https://www.doppa.com/pdfstudio
Threading the Upper Thread
Make
sure
that
the thread take-up lever and the presser
foot
are
in
their
highest positions.
1
(.0
Pull
out
the spool pin and place the spool
of
thread
on
it.
Hold back the spool
with
the tip of
your
finger and pass the
thread through in the following order: (all the thread guides
are
open, including the thread take-up lever)
Top thread guide.
Universal
upper
thread tension, marked betwen 4‘/2 and 5‘/2.
Important
to
ensure
good sewing results:
Give the thread asharp tug downwards
so
that
it is properly
engaged in the tension device.
4
5
∞∖∣⊚
Check spring (from right
to
left).
Thread take-up lever
—
pass the thread through the
rear
of
the notch in
cover
(from right
to
left). The thread
will
slip
into
the opening
of
the thread take-up lever.
Front thread guide.
Needle clamp.
Needle. It is threaded from the
front
to
the back. (If the
needle threader is used,
it
must
therefore be inserted into the
eye
of
the needle from the back.)
Pull forward about 15
cm
(6'')
of
thread
to
the
front.
PDF Studio - PDF Editor for Mac, Windows, Linux. For Evaluation. https://www.qoppa.com/pdfstudio

⇀⊙
PDF Studio - PDF Editor for Mac, Windows, Linux. For Evaluation. https://www.qoppa.com/pdfstudio

PDF Studio
-
PDF Editor for Mac, Windows, Linux. For Evaluation. https://www.qoppa.com/pdfstudio
Drawing up the Lower Thread If, however,
an
adjustment is required:
↿Leave
about
15 ∁⊓∙↿ ≼∊⋝⊓⋡ of
upper
thread ⋮⊓
front
of
the
Turn the tension knob
to
between 5 and 9
to
increase the
needle and hold it
with
your
index finger against the edge
of
↧≘⊓≘⋮∘∏∙
the heed|e plate Turn the tension knob
to
between 5and 1
to
reduce the
2
Turn
the
flywheel
one
full
turn
(towards you), by hand. ↕≘⊓≤⋮∘∏⋅
3This makes the thread take-up lever descend and
return
to
its
Lower
Thread:
highest position and
will
draw up the lower thread.
4Free the loop
of
thread by hand.
5Leave
about
15
cm
(6")
of
each thread
to
the side, passing
them
under
the
presser
foot.
7The lower thread tension is
set
at
the factory and should
not
be changed unless absolutely necessary. To check the
correct
lower thread tension, gently
lift
the filled bobbin in the
_
bobbin
case
by the thread hanging from
it.
The tension
⋎∘⋃
are
⊓∘⋁⋁
↾⊖∂⊔⋁
to
start
⋝⊖⋁⋎∣⊓⊊⋅ should be just tight enough
to
hold its weight. Next, holding
the bobbin case, give
the
thread asharp tug. The thread
Umversal
⊺⊖∏⊱∣∘∏
should then
come
out
of
the bobbin
case
smoothly, the
Upper Thread:
amount
of
thread depending
on
how hard the thread has
6The Universal Tension position is
delimited
by the frame been tugged-
around the figure 5and makes
it
possible
to
do
most
sewing The Sewing Guide gives
more
detailed information and advice
on
jobs
without
changing the tension of the upper thread. ≔tension settings—see part II, page 35.
PDF Studio - PDF Editor for Mac, Windows, Linux. For Evaluation. https://www.qoppa.com/pdfstudio
∣↘↙∖ ∣⋀∣⋅⋏∣⋊∧⇃↖
⊚
PDF Studio - PDF Editor for Mac, Windows, Linux. For Evaluation. https://www.qoppa.com/pdfstudio

PDF Studio
-
PDF Editor for Mac, Windows, Linux. For Evaluation. https://www.qoppa.com/pdfstudio
Selection and Adjustment of the Stitches
All stitches
are
set,
on
principle,
with
the stitch
width
wheel (a)
turned
to
the
far
right (clockwise), though
any
width
between
maximum 5
mm
and
minimum
1.5
mm
(for
other
than the
straight stitch)
can
be selected by changing the position
of
the
stitch
width
wheel. The various positions
on
the stitch
width
wheel correspond
to
the following
widths:
—
1.5
mm
at
right end (narrowest line) mark 1,5
—
2
mm
at
yellow line
—
3
mm
with
the
centre
line aligned
with
the guide mark, mark3
—
5
mm
at
left
end (widest line) mark 5
1
Automatic
utility
stitches, shown
on
a
green background
on
the stitch selection chart.
Model
410:
(A) zigzag sewing
(B) straight sewing
(C) elastic
blind
stitch
(D) three—step zigzag
(E) shell edging
stitch
Model
450:
(A) three—step zigzag
(B)
interlock
stitch
(C) lshecker stitch
(D) shell edging
stitch
(E)
domino
stitch
(F) scallop
(G) elastic
blind
stitch
(H) Wind stitch
(l)
zigzag sewing
(v) straight sewing (centre,
left
and right needle positions)
Turn the
stitch
selector (b)
to
the corresponding code letter,
and the length dial (c) between the buttonhole symbol and
2.
Superautomatic stitches, shown
on
ared background
on
the
stitch selection chart.
Model 410:
(A) triple zigzag
(B) elastic triple
seam
(C) elastic edging stitch
(D)
tricot
stitch
(E) stitch—and-overcast
Model 450:
(A)
tricot
stitch
(B)
overlock
(C)
cross
stitch
(D) stitch
-a
nd—overcast
(E)
crown
stitch
(F) decorative stitch
(G) elastic edging stitch
(H) stretch overlock
(I) triple zigzag
(V) elastic triple
seam
Turn
the stitch selector (b)
to
the
corresponding code letter
and the length dial (c)
to
marked in red.
13
PDF Studio - PDF Editor for Mac, Windows, Linux. For Evaluation. https://www.qoppa.com/pdfstudio

⋅∙
Vac,%W;ii.
PDF Studio
PDF Studio - PDF Editor for Mac, Windows, Linux. For Evaluation. https://www.qoppa.com/pdfstudio

PDF Studio
-
PDF Editor for Mac, Windows, Linux. For Evaluation. https://www.qoppa.com'/pdfstudio
Sewing Foot Pressure Adjustment
1For
normal
sewing, make
sure
that
the
foot
pressure
control
lever (a) is
at
the
"1
normal"
position.
2When sewing
on
very heavy, bulky fabrics,
set
the pressure
control
lever
at
"2
maxi”.
Feed Dog Height
3Make
sure
that
the lower end
of
the drop—feed
button
lb)
marked
∥
ans"
is pressed in when doing ordinary sewing.
4When sewing
on
buttons, darning
or
moving the fabric by
hand, push in the
upper
end
of
the drop-feed button, marked
15
PDF Studio - PDF Editor for Mac, Windows, Linux. For Evaluation. https://www.qoppa.com/pdfstudio
∎∎∎∎∎∎∎∎
∎∎∎∎∎∣↽∎∣⊣
∎∎⋅∎∎∎↽∎⇂∎⊓∣⊓
∂↻⊗↾⊓
⋯∣∶⋅⋅∘↾ Evaluation. https://www.qoppPDF st@o
—
PDF Edfgqfior Mac
V‘
6
∙∣
PDF Studio - PDF Editor for Mac, Windows, Linux. For Evaluation. https://www.qoppa.com/pdfstudio
PDF Studio
-
PDF Editor for Mac, Windows, Linux. For Evaluation. https://www.qoppa.com/pdfstudio
Elementary Sewing
Make
sure
that
the
coupling knob has been tightened firmly.
∙
Use the straight
stitch
or
a||—purpose
foot.
To‘
change the
foot,
see
page 5.
∙
Always place material under the
foot
and
lower
the
foot
before running athreaded machine.
Straight Sewing forwards
1Set the stitch selector
as
indicated.
2Set the
stitch
length
dial
at
between 1and 2, depending
on
the length required (up
to
2).
To start sewing, lower
the
needle into the material and hold
back the
two
threads by hand
while
sewing the
first
two
or
three stitches.
3You
will
then sew astraight
seam
with
stitches 1
to
2
mm
long,
but
you
can
also
sew
stitches between 2and 4
mm
long
by turning the
dial
to
the corresponding figures
—
and
depending
on
the
work
and
on
the fabric.
To
sew
4Guide the material only
with
your
fingers, along the side
of
the
foot,
without
holding
it
back (Do
not
pull the
material
from
the rear).
At
the
same
time, carefully observe
the
seam.
You
can
thus
keep
an
eye
on
your
sewing and avoid
the
risk
of
pricking
your
fingers accidentally.
Keeping the Seam Straight
5To keep the
seam
straight,
use
one
of the guidelines marked
at
intervals of 5
mm
on
the needle plate. The numbers
indicate the distances in
millimetres
from
the straight
seam
at
the
centre
needle position. For
even
better
control
of
the
fabric,
it
is advisable
to
fit
the
cloth
guide with the
thumb
screw
on
the
machine,
as
illustrated.
Straight Sewing backwards
6For sewing backwards, push the
reverse
button
as
far
as
it
will
go. This is often used
at
the
beginning and end
of
a
seam, when doing ordinary sewing,
to
fasten the ends
of
the
seam.
Removing the Work
7To
remove
the work,
first
turn
the flywheel by hand,
towards
you,
to
raise
the
thread take—up lever
to
its highest position.
This is essential
to
complete the stitch pattern. It is also
important because
it
ensures
that
the
next
seam
can
be
started easily. Raise
the
presser bar lever (foot). Pull the
material
out
towards the
rear
and
cut
the threads
with
the
thread
cutter
on
the presser bar.
Model 450 Only
—
Changing The Needle Posi-
tion
for
Straight Sewing
8With the
stitch
selector
at
"1",
the straight
seam
is in the
centre (al.
With
the
stitch selector
at
"_!", the
seam
is decentred
to
the
right lb), and,
with
the
stitch
selector
at
"V_",
the
seam
is
decentred
to
the
left (cl. The
exact
distance
to
the
left
or
right
of
the
centre
can
be adjusted by turning the stitch
width
wheel. When the stitch
width
wheel is turned
to
the
widest position, the
seam
is
at
the furthest distance from the
centre.
This distance is reduced gradually by turning the
stitch width
to
the
narrowest
P%sition.
N.B. Use the all-purpose foot.
17
PDF Studio - PDF Editor for Mac, Windows, Linux. For Evaluation. https://www.qoppa.com/pdfstudio
Other manuals for 450
1
This manual suits for next models
1
Table of contents
Other ELNA Sewing Machine manuals
Popular Sewing Machine manuals by other brands

Singer
Singer 71-30 Instructions for using and adjusting

DURKOPP ADLER
DURKOPP ADLER 559 - Operating, installation and servicing instructions

Singer
Singer 175-40 parts list

UnionSpecial
UnionSpecial BC200 ORIGINAL INSTRUCTIONS ENGINEERS, AND ILLUSTRATED PARTS MANUAL

JUKI
JUKI DDL-8700-7 instruction manual

Singer
Singer 177-2 instructions