manuals.online logo
Brands
  1. Home
  2. •
  3. Brands
  4. •
  5. Emerson
  6. •
  7. Controllers
  8. •
  9. Emerson iPro NextGen Datasheet

Emerson iPro NextGen Datasheet

026-1700 Emerson is a trademark of Emerson Electric Co. ©2018 Emerson
Climate Technologies Retail Solutions, Inc. All rights reserved.
WM NextGen
Case Controller
Installation & Quick Start Guide
INSTALLATION GUIDE
Carefully follow the steps below (REM and CAPX
Installation as well as new stores)
1. Mount and power up the new E2E panels.
2. Connect the new Ethernet data cables to each E2E.
3. Call Emerson Walmart Tech Support 24hrs prior to
schedule E2E onboarding to the Walmart Network.
a. Emerson Walmart Tech Support 479-845-3430
b. Have switch and port information available.
c. Ask Emerson Tech Support for Addressing
worksheet
4. Emerson Tech Support will load the programs onto the new
E2E controllers.
5. Contractor will install walk-in panels where needed for walk-
ins and old cases to be retrofitted.
a. See location of panels per the blueprints.
6. New cases will come with the case controller factory-
installed in each case.
7. Install new wires for the BACnet communications loop to
each case controller in a daisy chain format.
a. Follow the diagram in the BACNET DAISY
CHAIN WIRING section.
8. New cases will need the MODBUS communication installed
from case controller to case controller on the same circuit.
a. Follow the diagram in the MODBUS NETWORK
WIRING section of this instruction card.
9. Once the communications loops are installed, unplug the
loop from the case controller and power up the device.
10. The Visograph display will then need to be updated.
a. Press the UPDATE button on the display after
booting it up. If not visible, move to the next step
11. Each case controller will need the BacNET MAC Address
and BacNET Device ID set at each Visograph.
a. Follow the steps for addressing in the
ADDRESSING section of this instruction card.
12. Once the Address is set, do not reboot the case controller;
it will reboot on its own in 7 minutes. Wait for the case
controller to reboot before moving forward.
13. Now plug in the comm. loop and go to the E2E to
commission the case controller in the E2E.
a. Refer to the COMMISSIONING section for
instructions.
14. Once the case controller communicates with the E2E, wait
5 mins for the initial sync to take place.
15. At this point the cases should be running.
16. Verify that the XEV20 is communicating with the case
controller and is addressed 2 and 3 if there are two
XEV20Ds.
a. EEPR control will always be on the (A) master
case.
17. Once the case has been running for 10 to 15 minutes, the
EEPR and EEV valves will need to be calibrated for the first
time.
a. Follow the steps in the EEPR AND EEV
CALIBRATION SECTION.
BACNET DAISY CHAIN WIRING WITH THE E2
MODBUS NETWORK WIRING
MODBUS MASTER-SLAVE ADDRESSING
1. On the master case controller main status screen, enter the
main menu.
2. Press the 2nd button from the left for system configuration
and then the first button at the next menu to select system.
3. Make sure that the Standalone option is set to NO for
controllers included in a master-slave lineup.
4. Press the 5th button from the left to arrow over to the
Modbus parameters
5. Configure the Modbus address of the controller. For master
controllers, set the Modbus address to 1 and the addresses
of the slave controllers to 0. For a slave controller, use
addresses 2-6 and leave the other addresses S1-S5 to 0.
Set the Modbus baud rate to 19200.
6. After changes are made, wait for five minutes then reboot
the case controller.
iPro NexGen Quick Start Guide v1.7
ADDRESSING THE WM NEXTGEN CASE CONTROLLER
1. Press any button to wake the Visograph.
2. Press and Hold the 4th button from the left for about 5 seconds
3. Press the 2nd button from the left to select System
Configuration
4. Press the 1st button from the left to select System
5. Press ↓until MSTP ADDR is highlighted.
6. Press the button and the MSTP ADDR will start
blinking.
7. Use the ↑ ↓arrows to select the desired address.
8. Press the button to lock in the desired address.
9. Right Arrow until you see Rack ID
10. Press when Rack ID is highlighted and the arrow up or
down to select the rack then press again
11. Arrow down to Circuit # and press then use ↑↓arrows
to select Circuit # then press
12. Arrow down to CASE ID and press set then use the ↑↓arrows
to select Case Identifier then press . (Ex. a, b, c, d)
13. Press the button until back to the home screen.
14. Do not reboot the case controller, it will reboot on its own in 7
mins. Wait for the case controller to reboot before moving
forward
SETTING UP THE E2E COMM PORTS
1. From the E2 home screen, press Menu-7-3-1 to go to the
general controller info setup screen.
2. Press F2 twice to move to the C3: Serial tab.
3. Highlight the COM connection to be used for NextGen case
controller communications.
4. Press F4 then select BacNET MSTP-1 or the next available
BacNET MSTP port to setup the port for NextGen
communications.
5. Use the down arrow key and highlight the com baud rate.
Press the F4 button and make sure it is set to 19.2 kbaud.
6. Press the F2 button to go to the C8: BACnet tab
7. Verify that the Max Master is set to 40 or the highest possible
Master MSTP address.
8. APDU timeout should be set to 30 seconds
9. APDU retries should be set to 3
10. Press the )button to save the settings.
COMMISSIONING THE I-PRO CC WITH THE E2E
1. Login as follows:
1. UserName: USER
2. Password: PASS
2. From the Network Summary screen, highlight the first Case
Controller device and press F4 for commissioning.
3. E2E will scan the comm. loop for all available case
controllers.
4. Refer to the address sheet for the MAC ID #
5. Scroll down and highlight the corresponding MAC ID # and
press Enter.
6. Once the device is commissioned, addressed and wired
properly, the device should come online on the E2 Network
summary screen. XEV20D SETUP
1. XEV20Ds should always be addressed 2 (XEV20D_1) and
3 (XEV20D_2).
2. See wiring detail below for Sporlan Valve connection.
COMMON WIRING PRACTICES
1. Shield wire should be soldered and heat shrank together
at each device.
a. Do not terminate at the device in the middle of the
communications loop.
2. Verify the Remote Display is wired correctly on both ends.
3. Do not leave bare wire exposed when terminating
connectors.
4. Shield wires should be soldered and heat shrank.
5. 22/2 wire is supplied by Emerson with part number
135-0600
6. 18/4 wire is supplied by Emerson with part number
135-2832
EEPR AND EEV CALIBRATION
1. Once the XEV20D is online with the case controller and
the case controller is online with the E2E, the EEPR valve
needs to be Calibrated
2. Go to the ‘Command’ selection from the ‘Main Menu’,
use the ↓arrow and highlight ‘Calibrate EEPR or
Calibrate EEV’ command
3. Use the ↑↓ arrows to change the value to ON
4. Press again to begin calibration
5. Use the ↑↓ arrows to change the value back to OFF.
6. Once you turn the value to ON and press set you can
change the value back to OFF
OVERRIDING OUTPUTS
1. Press any key to light up the Visograph screen
2. Press and Hold the 4th button from the left for 3 seconds to
enter main menu
3. Press the same key to select COMMAND. All case controller
overrides are performed from the command menu
4. Highlight the override you wish to perform and press
a. To override the fans, highlight FanOver
b. To override the lights, highlight LightOver
c. To override the refrigeration output, highlight RefOver
d. To override the defrost output, highlight DefOver
5. Use to change to enable and press
6. Use to highlight the override status you wish to
change and press
a. To turn on the fans, highlight FanOn
b. To turn on the lights, highlight LightOn
c. To turn on the refrigeration output, highlight RefOn
d. To turn on the defrost output, highlight DefOn
7. Use the arrows to change to ON
8. Use the same steps in reverse to set back to DISABLE and
OFF EEPR OVERRIDE
1. Highlight EEPROver and press
2. Use the ↑ ↓ to change to desired value
3. After testing is complete, highlight EEPROver and press
4. Set value back to - 1
5. Press

This manual suits for next models

2

Other Emerson Controllers manuals

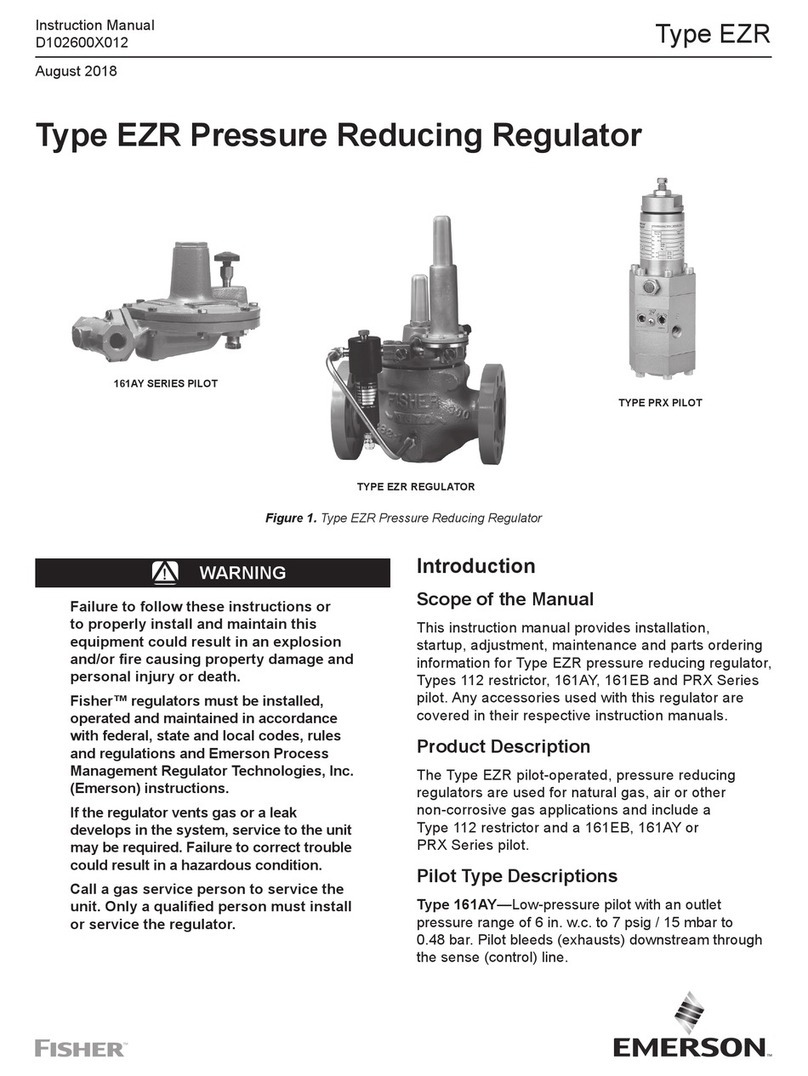
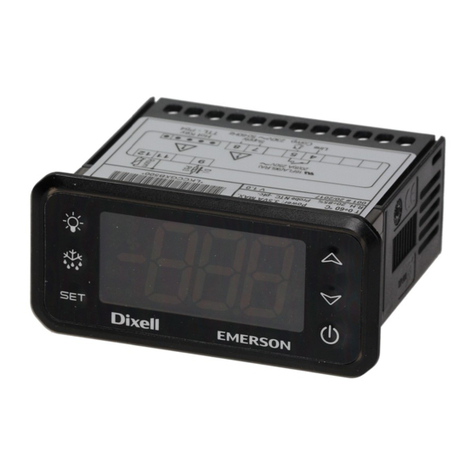
Emerson Dixell XM660K Wiring diagram

Emerson

Emerson Dixell XM660K Wiring diagram

Emerson Fisher 299H User manual

Emerson

Emerson Fisher 299H User manual

Emerson E2 User manual

Emerson

Emerson E2 User manual

Emerson Aventics 617 Series User manual

Emerson

Emerson Aventics 617 Series User manual

Emerson CASH VALVE B-95 Manual

Emerson

Emerson CASH VALVE B-95 Manual

Emerson E2 User manual

Emerson

Emerson E2 User manual

Emerson Fisher Y692 User manual

Emerson

Emerson Fisher Y692 User manual

Emerson Fisher 3025 User manual

Emerson

Emerson Fisher 3025 User manual

Emerson Fisher 1052 User manual

Emerson

Emerson Fisher 1052 User manual

Emerson EC3-X32 User manual

Emerson

Emerson EC3-X32 User manual

Emerson AS1-FRE Series Installation instructions

Emerson

Emerson AS1-FRE Series Installation instructions

Emerson Fisher FIELDVUE DVC2000 Configuration guide

Emerson

Emerson Fisher FIELDVUE DVC2000 Configuration guide

Emerson Branson 2000X User manual

Emerson

Emerson Branson 2000X User manual

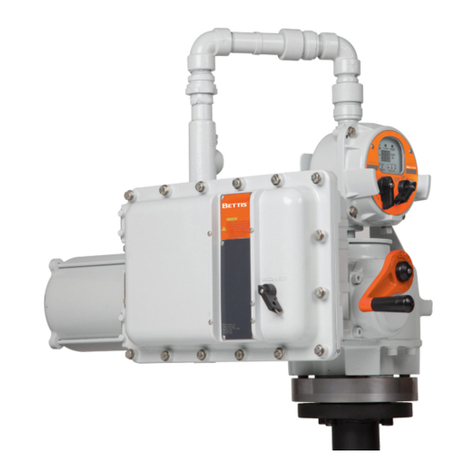
Emerson Bettis RPE Series User manual

Emerson

Emerson Bettis RPE Series User manual

Emerson AXIMA 2000 User manual

Emerson

Emerson AXIMA 2000 User manual

Emerson Advantage 2.1 User manual

Emerson

Emerson Advantage 2.1 User manual

Emerson Dixell XRB06CH Wiring diagram

Emerson

Emerson Dixell XRB06CH Wiring diagram

Emerson Dixell Wing XW570K Wiring diagram

Emerson

Emerson Dixell Wing XW570K Wiring diagram

Emerson Fisher L2 User manual

Emerson

Emerson Fisher L2 User manual

Emerson Unidrive SPM User manual

Emerson

Emerson Unidrive SPM User manual

Emerson Bettis G Series User manual

Emerson

Emerson Bettis G Series User manual

Emerson EZH Series User manual

Emerson

Emerson EZH Series User manual

Emerson El-O-Matic E Series Instruction manual

Emerson

Emerson El-O-Matic E Series Instruction manual

Emerson Site Supervisor User manual

Emerson

Emerson Site Supervisor User manual

Popular Controllers manuals by other brands

Ubiquiti UA-Hub quick start guide

Ubiquiti

Ubiquiti UA-Hub quick start guide

Krüger & Matz KM0771 owner's manual

Krüger & Matz

Krüger & Matz KM0771 owner's manual

Orca PGD TOUCH MONO Quick manual

Orca

Orca PGD TOUCH MONO Quick manual

Bosch PVA-4CR12 Operation manual

Bosch

Bosch PVA-4CR12 Operation manual

Festo CMMO-ST-C5-1-DIOP instructions

Festo

Festo CMMO-ST-C5-1-DIOP instructions

Regin Regio Eddo Instruction

Regin

Regin Regio Eddo Instruction

Mvotem Optics MPA-5S-4C Technical instructions

Mvotem Optics

Mvotem Optics MPA-5S-4C Technical instructions

Samson 3271 Mounting and operating instructions

Samson

Samson 3271 Mounting and operating instructions

Beuchat VS3 user guide

Beuchat

Beuchat VS3 user guide

Black Stone BL 982411-0 instruction manual

Black Stone

Black Stone BL 982411-0 instruction manual

ACT ACTsmart2 1070 Operating and installation

ACT

ACT ACTsmart2 1070 Operating and installation

Honeywell Home DB7110U installation instructions

Honeywell Home

Honeywell Home DB7110U installation instructions

Schischek ExMax quick start guide

Schischek

Schischek ExMax quick start guide

Full Gauge Controls TC-900i power Operation instructions

Full Gauge Controls

Full Gauge Controls TC-900i power Operation instructions

Dell Networking W-7010 installation guide

Dell Networking

Dell Networking W-7010 installation guide

DH Instruments PPC2 PLUS manual

DH Instruments

DH Instruments PPC2 PLUS manual

GF EA25 instruction manual

GF

GF EA25 instruction manual

Pioneer “Serato DJ” DDJ-ERGO Setup guide

Pioneer

Pioneer “Serato DJ” DDJ-ERGO Setup guide

manuals.online logo
manuals.online logoBrands
  • About & Mission
  • Contact us
  • Privacy Policy
  • Terms and Conditions

Copyright 2025 Manuals.Online. All Rights Reserved.