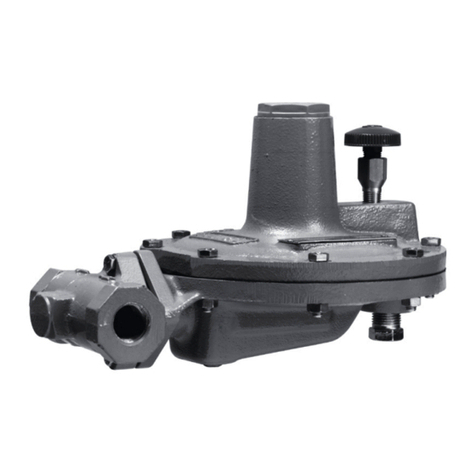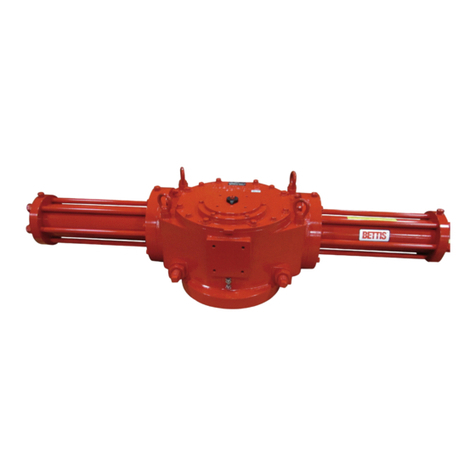
Type OS/66
4
!
Before starting maintenance, disconnect
impulse connection (A) to make sure there is
no gas under pressure in the pilot.
When maintenance operations are nished
check the tightness with suds.
General Maintenance
Do not bend or otherwise damage stem (S)
when disassembling and reassembling.
a. Remove impulse line (A) and make sure that controller
is not latched by exerting a slight pressure on stem unit
(key 41).
b. Loosen screws (key 29) and slide out the controller.
c. Remove cap (key 1), adjusting screw (key 2), ring nut
(key 4), spring (key 5), spring holder (key 3) and spring
(key 6).
d. Remove screws (key 27) nuts (key 25) and washers
(key 26), take o cover (key 7).
e. Slide out diaphragm unit and remove spring (key 23).
f. In order to replace diaphragm (key 36), unscrew nuts
(key 39 and 40) and disassemble the components.
Check O-ring (key 34) and replace it if worn.
g. Check that plate unit (key 8) and lever (key 24) can move
freely and are not worn, otherwise replace them together
with pins (key 22 and 9).
h. Loosen balls holder (key 12) using the appropriate tool
and check O-ring (key 11).
i. Remove the balls (key 12), the spring holder (key 13) and
the spring (key 14). Clean with petrol and check surfaces
if worn or scored, replace.
j. Unscrew guide (key 20) and check O-rings
(key 18 and 19), replace if necessary.
Reassembling
Reassemble by reversing the above steps.
As you proceed, make sure that parts move freely and
without friction.
In addition:
a.
Lubricate all seals with Molykote 55 M or equivalent and be
very careful not to damage them when reassembling.
b. Place the balls holder (key 10) on the special tool, grease
it thoroughly to prevent balls from falling out and lodge
the balls (key 12) in their seats. Hold the special tool in a
vertical position and tighten the balls holder.
c. Adjust the position of balls holder (key 10) so that, with
lever (key 24) held down at travel end, plate unit (key 8)
moves freely and has a clearance of 0,2 to 0,3 mm.
d. Place the adjusting nut (key 40) back in its original
position as shown in Figure 4.
e. Hold stem unit (key 41) slightly pressed to ensure proper
tting of diaphragm (key 36). Mount cover (key 7) and
check that stem unit (key 41) is duly centered.
f. Tighten cover screws (key 27) nuts (key 25) and washers
(key 26) to ensure proper sealing.
g. Check that all movements are smooth and friction free.
h. Fit the mounting stem in order to prevent balls from falling
out and to facilitate remounting of the controller on the
sam-shut valve.
i. Remount the controller and secure it by means of screws
(key 29).
Setting
a. Use ring nut (key 4) to completely load maximum
pressure spring (key 5). Loosen adjusting screw (key 2) to
completely relieve minimum pressure spring (key 6).
b. Disconnect impulse line (A).
c. Use a small pump or other appropriate means to raise
pressure to normal operating level.
d. Relatch controller and allow pressure to drop to minimum
pressure triggering level.
e. Using adjusting screw (key 2), slowly load minimum
pressure spring (key 6) until actuator triggers.
f. Repeat steps c. and d. above, making any necessary
adjustments in setting.
g. Bring pressure back to normal values.
h. Relatch controller and raise pressure until it reaches
maximum pressure triggering level.
i. Using ring nut (key 4), slowly unload spring (key 5) until
actuator triggers.
j Repeat steps g. and h. above, making any necessary
adjustments in setting.
Whenever minimum or maximum
pressure triggering is not required, omit
corresponding steps.
It should be borne in mind that minimum
pressure triggering can be eliminated by
simply removing spring (key 6) and that
maximum pressure triggering can be
eliminated by fully loading spring (key 5).
SPARE PARTS
Spare parts storage shall be done by proper procedures
according to national standard/rules to avoid over aging or
any damage.
CAUTION
WARNING
