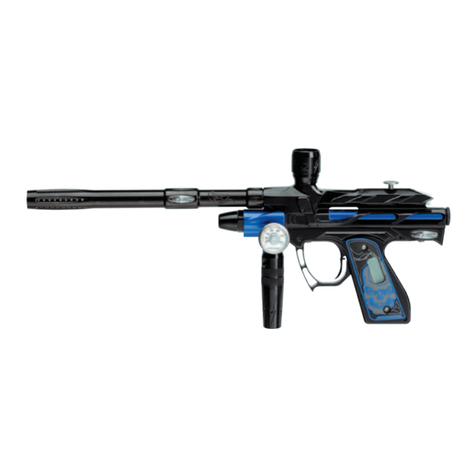
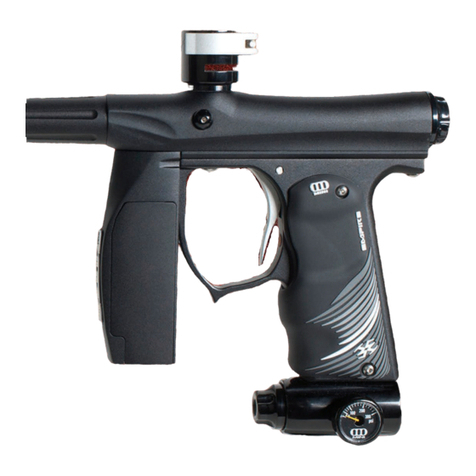
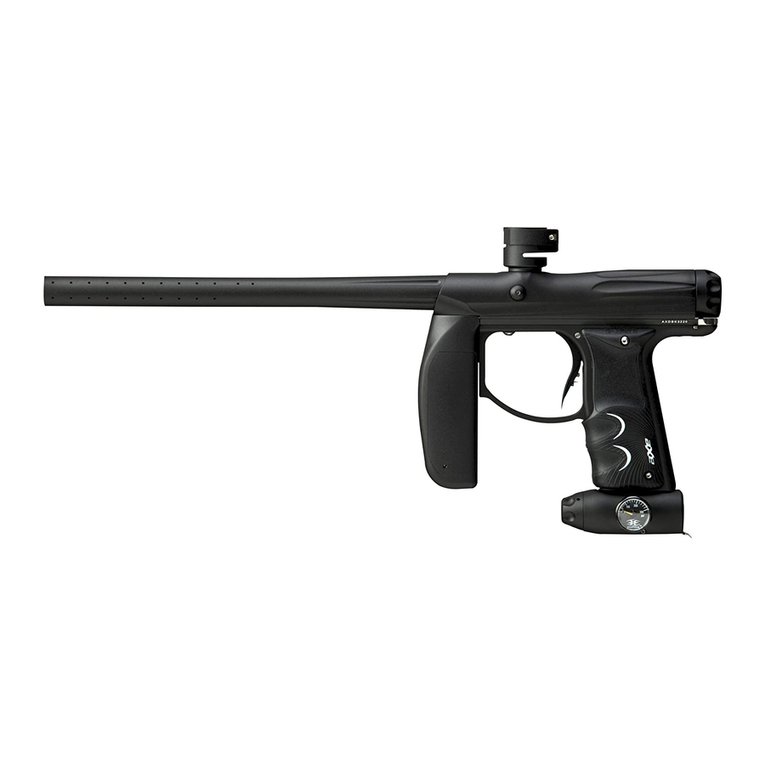
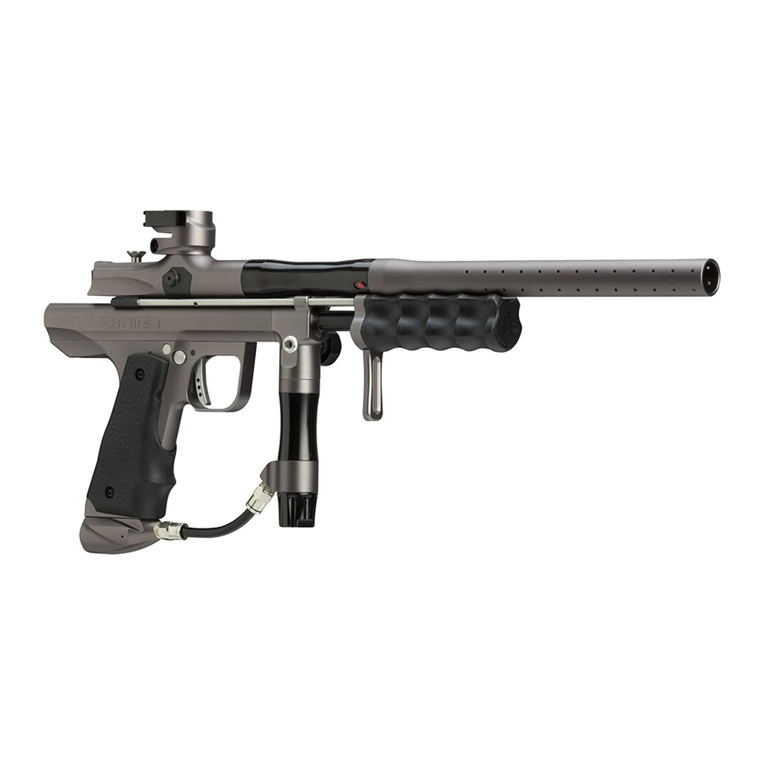
Empire Trracer User manual

OWNER’S MANUAL
EMPIREPAINTBALL.COM

EMPIREPAINTBALL.COM
CONTENTS Page
1. SAFE MARKER HANDLING 1
2. INTRODUCTION 1
3. GETTING STARTED 1-3
4. FIRING YOUR MARKER 3
5. VELOCITY ADJUSTMENT 4
6. UNLOADING YOUR MARKER 4
7. MAINTENANCE AND LUBRICATION 4
8. DISASSEMBLY 5
9. STORAGE AND TRANSPORTATION 5
10. PARTS LIST & DIAGRAMS 6
For manuals and warranty details, go to:
paintballsolutions.com
For manuals in other languages,
(where applicable), go to:
paintballsolutions.com
©2010 Empire Paintball, Inc. The
Empire logo, “Battle Tested” and
“Trracer” are trademarks of Empire
Paintball, Inc. All rights reserved.
Empire Paintball is a brand of KEE
Action Sports, LLC.

EMPIREPAINTBALL.COM 1
1. Safe Marker Handling
IMPORTANT: Never carry your marker uncased when not on a
playing field. The non-playing public and law enforcement person-
nel may not be able to distinguish between a paintball marker and
firearm. For your own safety and to protect the image of the sport,
always carry your marker in a suitable marker case or in the box in
which it was shipped.
• Treat every marker as if it were loaded.
• Never look down the barrel of a paintball marker.
• Keep the marker in “safe mode” until ready to shoot, safety on,
and barrel-blocking device installed in/on the marker’s barrel.
• Keep your finger off the trigger until ready to shoot.
• Never point the marker at anything you don’t wish to shoot.
• Keep the barrel-blocking device in/on the marker’s barrel when
not shooting.
• Always remove paintballs and the air source before disassembly.
• After removing the air source, point marker in safe direction and
discharge until marker is degassed.
• Store the marker unloaded and degassed in a secure place.
• Follow warnings listed on the air source for handling and stor-
age.
• Do not shoot at fragile objects such as windows.
• Every person within range must wear eye, face, and ear protec-
tion designed specifically to stop paintballs and meeting ASTM
standard F1776.
• Always measure your marker’s velocity before playing paintball
and never shoot at velocities in excess of 300 feet-per-second
(91.44 meters-per-second).
Read this entire manual before loading, or attaching a propellant
source, or in any way attempting to operate the Empire Trracer
marker.
2. Introduction
Congratulations on your selection of the Empire Trracer paintball
marker. The Trracer marker is made to provide you with many
years of reliable performance. We are honored that you have cho-
sen the Trracer as your marker of choice and hope you enjoy using
this high-quality product.
The Trracer is precision engineered from aircraft-grade aluminum
and composite materials. We expect you to play hard and play fre-
quently and the Trracer was built with this in mind.
Empire Trracer markers come with a removable auto-cocker
threaded barrel and accept any CO2 or high-pressure compressed
air tanks with standard threads
.
MMaarrkkeerrSSppeecciiffiiccaattiioonnss
Model . . . . . . . . . . . . . . . . . . . . . . . . . . . . . . . . . . . . . . . . . . . . .Trracer
Caliber . . . . . . . . . . . . . . . . . . . . . . . . . . . . . . . . . . . . . . . . . . . . . . ..68
Mechanical Action . . . . . . . . . . . . . . . . . . . .Pump with Auto Trigger
Air Source . . . . . . . . .CO2 or High Pressure Compressed Air Tanks
Main Body Material . . . . . . . . . . . . . . . . . . . . . . . . . . . . . .Aluminum
IInncclluuddeeddIItteemmss
• 14" Barrel (.688” bore)
• 5/64", 3/32", 1/16", 1/8" Allen Wrenches
• Velocity Adjustment Wrench
• Spare Parts Kit
• barrel-blocking Device
• Clamping Feed Elbow
• Instruction Manual

EMPIREPAINTBALL.COM
2
3. Getting Started
Safety and safe marker handling are the most important aspects
of paintball sports. Please practice each of the following steps with
an unloaded marker before attempting to operate your marker
with an air source and paintballs.
• Do not install an air source or load paintballs into your marker until
you have completely read and understood this manual and feel
completely confident with your ability to handle your marker safely.
• Always use ASTM-approved paintball-specific eye protection.
Always wear eye protection
when handling a paintball
marker and in any areas
where paintball markers
may be discharged.
• Keep your finger out of the
trigger guard and away
from the trigger; point the
muzzle of the marker in a
safe direction at all times.
Keep the marker in safe
mode.
• Always keep your marker
pointed in a safe direction
and use a barrel-blocking
device.
• Remember that the ulti-
mate safety device is you,
the operator.
Safety and Safe Mode
The safety is a small mechanical slide on the left side of the mark-
er above the trigger. When the safety is “Off”, a red dot is visible
on the marker (Fig. 3.1). When the Safety is “On”, no red dot will be
visible and the marker will not fire (Fig. 3.2).
In this manual, you will see the term “safe mode”. In “safe mode”,
the safety should be set to “safe” (red marking on safety will not be
visible) and a barrel-blocking device should be installed. Make sure
your marker is in “safe mode” when the marker is not being fired
or when indicated to do so.
Feed Elbow Installation
• Install the feed elbow before installing the barrel.
• Press and hold the retention button located on the side of the
feed elbow.
• Slide the elbow onto the front of the Picatinny rail.
• Line up the elbow with the feed hole on the right side of the
body.
• Check that the elbow is locked in place, properly aligned, and
that the spring-loaded retention button is lined up with a gap
on the Picatinny rail.
Barrel Installation
• Make sure marker is degassed, loader removed, no paintballs in
the feed port or breech, and the marker is in “safe mode”.
• While pointing marker in a safe direction, slide the barrel
through the pump handle and thread into the front opening of
the marker body.
• Turn the barrel clockwise until it stops (do not over tighten).
• Install a barrel-blocking device. This can be a barrel plug or
other such device that prevents the accidental discharge of a
paintball.
Fig. 3.1
Fig. 3.2

EMPIREPAINTBALL.COM 3
Loader Installation
• To install a loader check the feed elbow and loader to make sure
they are free from debris and obstructions.
• Press the loader into the opening of the feed elbow until it stops.
• Align the loader so that the lid is pointing to the rear and the
loader is parallel with the marker.
• Clamp the loader in place by tightening the clamp arm; it may
be necessary to adjust the clamp. Do not over tighten the loader.
Feed Elbow Clamp Adjustment
The feed elbow clamp may need adjustment for different
types/brands of loaders. Adjust the clamp using a 3/32" Allen
wrench; turning the screw clockwise will increase the clamping
force, while turning in counter-clockwise will decrease the clamp-
ing force.
Before Pressurizing your Marker
Consult the place where you purchased your Empire marker, or a
recognized and competent air smith, for instruction in the safe
handling of compressed-air cylinders before purchasing or con-
necting one to your Empire marker.
• Check to make sure that you and anyone within range are wear-
ing eye protection designed specifically for paintball.
• Double check that all screws are tightened and no parts are
loose before installing your tank.
• Ensure you have a barrel plug, barrel sock, or other specifically
designed barrel-blocking device in place.
• Make sure there are no paintballs in the marker.
• Set marker to “safe mode”.
Pressurizing your Marker
• While pointing the marker in a safe direction, locate the ASA (air
source adapter). The Trracer ASA is located at the back of the body.
• Insert the threaded
end of the air cylinder
into the ASA.
• Without pushing the
cylinder, twist the
cylinder clockwise
and allow the threads
to draw the cylinder
into the marker’s ASA
until it stops. Your
marker is now
charged (Fig. 3.3).
Warning:
• Remember compressed air, nitrogen systems, and CO2 cylin-
ders can be extremely dangerous if misused or improperly han-
dled. Use only cylinders meeting D.O.T. or regionally defined
specifications.
• Never disassemble your tank or tank regulator. Only a qualified
and trained technician should perform work on your tank and
tank regulator.
• Never add any lubricants or greases into the fill adapter on your
tank regulator.
Loading Paintballs
Empire markers use .68 caliber, water-soluble paintballs, readily
available at paintball pro-shops, commercial playing fields, and
many sporting goods stores. The paintballs are fed through the
feed elbow into the breech of the marker.
• Make sure the marker is set to “safe mode”, safety on, and bar-
rel-blocking device on.
• Put on an eye protective device designed specifically for paint-
ball and make sure that anyone within range of the marker does
the same.
Fig. 3.3
Table of contents
Other Empire Paintball Equipment manuals