manuals.online logo
Brands
  1. Home
  2. •
  3. Brands
  4. •
  5. Energetic Lighting
  6. •
  7. Lighting Equipment
  8. •
  9. Energetic Lighting E1PL Series User manual

Energetic Lighting E1PL Series User manual

1
LED Flat Panel Fixture
Installation Instructions
Model # E1PL series
Questions, problems, missing parts? Before returning to your retailer, call our customer
service department at 1-866-492-6566.
Item Number Purchase Date
ATTACH YOUR RECEIPT HERE
www.energeticlighting.com
NOTICE
This device complies with Part 15 of the FCC Rules. Operation is subject to the following
two conditions: (1) This device may not cause harmful interference, and (2) this device
must accept any interference received, including interference that may cause undesired
operation.
This equipment has been tested and found to comply with the limits for a Class B digital
device, pursuant to part 15 of the FCC Rules. These limits are designed to provide
reasonable protection against harmful interference in a residential installation. This
equipment generates, uses and can radiate radio frequency energy and, if not installed and
used in accordance with the instructions, may cause harmful interference to radio or
television reception, which can be determined by turning the equipment off and on. The
user is encouraged to try to correct the interference by one or more of the following
measures:
Reorient or relocate the receiving antenna.
Increase the separation between the equipment and the receiver.
Connect the equipment into an outlet on a circuit different from that to which the receiver is
connected.
Consult the dealer or an experienced radio/TV technician for help.
This Class B digital apparatus complies with Canadian ICES-003.
32
•
•
-
-
-
-
•
Please read and understand this entire manual before attempting to assemble, operate or
install the product. Failure to do so could lead to electric shock, fire or other injuries that
could be hazardous or even fatal.
Be sure the electricity to the wires you are working on is shut off. Either remove the fuse or
turn off the circuit breaker.
Changes or modifications not expressly approved by the party responsible for compliance
could void the user’s authority to operate the equipment.
CAUTION:
The fixture body is one piece. Do not disassemble it.
This downlight can be used with most dimmers that operate on a 0-10v system.
Before beginning assembly of product, make sure all parts are present. Compare parts with
package contents list and hardware contents list. If any part is missing or damaged, do not
attempt to assemble the product.
Estimated Assembly Time: 15 minutes
•
•
•
•
1. Locate the Driver Compartment access panel (B) and
remove the screw to open the access panel, set
screw aside.
1
www.energeticlighting.com www.energeticlighting.com
AFixture 1
BDriver Compartment Access Panel 1
CSafety Anchor Points 4
Part Item Name Qty.
PACKAGE CONTENTS
HARDWARE
SAFETY INFORMATIONSAFETY INFORMATION
SAFETY INFORMATION
PREPARATION
INSTALLATION INSTRUCTIONS
A
A
B
AA
Wire Nut
Qty. 5
C
B
(Rear side of xture)
4 5
This fixture is warranted to perform free from defects for three years. If it fails to do so, you may
return it with proof of purchase to 13445 12th St., Chino, CA 91710 for replacement.
3. Pass the entire fixture above the suspended ceiling
grid and align the fixture so that the perimeter of the
front lens sits flush and secure on the T-grid lip. Fold
out each of the 4 safety anchor points (C) and loop
safety wires through each anchor and secure to
building structure.
3
Clean with a mild, non-abrasive glass cleaner and soft cloth. Do NOT use solvents or
cleaners containing abrasive agents. When cleaning the fixture, make sure the power is
turned off, and any liquid spray should be applied to the cleaning cloth and not sprayed
directly onto the fixture itself.
www.energeticlighting.com
Printed in China
www.energeticlighting.com
INSTALLATION INSTRUCTIONS CARE AND MAINTENANCE
TROUBLESHOOTING
WARRANTY
Problem Possible Solution Corrective Action
Fixture does not light.
Circuit breaker trips
when light is turned on.
1. Power is off.
2. Incorrect wire connection.
3. Defective wall switch.
Crossed wires or power
wire is grounded out.
Verify wires are correctly
connected.
1. Check circuit breaker
or wall switch.
2. Check wire splices.
3. Replace switch.
A
C
4. Connect the fixture wires to the supply wires - black
to black (Line), white to white (Neutral), and green to
green (Ground).
If dimming will be enabled, connect the gray and
purple wires to the supply dimming leads as well.
Once wire connections are made, secure each with a
wire nut (AA). Replace the Driver Compartment
access panel and secure the panel with screw.
4
A
AA
2. Route building supply wires through access panel (B)
knock out and secure conduit to access panel with
adapter (not supplied).
2
B

Other Energetic Lighting Lighting Equipment manuals

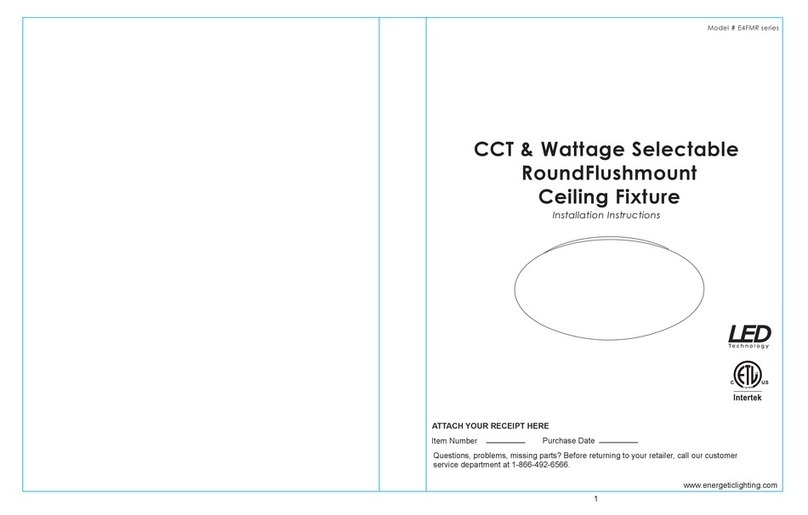
Energetic Lighting E4FMR Series User manual

Energetic Lighting

Energetic Lighting E4FMR Series User manual

Energetic Lighting E2FMA Series User manual

Energetic Lighting

Energetic Lighting E2FMA Series User manual

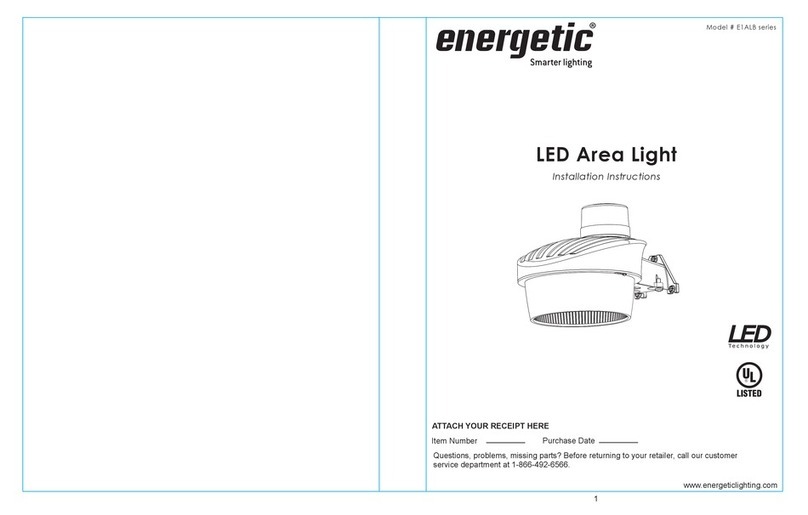
Energetic Lighting E1ALB30 User manual

Energetic Lighting

Energetic Lighting E1ALB30 User manual

Energetic Lighting E1WPA Series User manual

Energetic Lighting

Energetic Lighting E1WPA Series User manual

Energetic Lighting ELYRTD Series User manual

Energetic Lighting

Energetic Lighting ELYRTD Series User manual

Energetic Lighting E1ALB Series User manual

Energetic Lighting

Energetic Lighting E1ALB Series User manual

Energetic Lighting E1WPM Series User manual

Energetic Lighting

Energetic Lighting E1WPM Series User manual

Energetic Lighting E2WPC Series User manual

Energetic Lighting

Energetic Lighting E2WPC Series User manual

Energetic Lighting E1WPB Series User manual

Energetic Lighting

Energetic Lighting E1WPB Series User manual

Energetic Lighting E2WPA Series User manual

Energetic Lighting

Energetic Lighting E2WPA Series User manual

Energetic Lighting ZDL1132 User manual

Energetic Lighting

Energetic Lighting ZDL1132 User manual

Popular Lighting Equipment manuals by other brands

Uplus Lighting 3010 IP PAR user manual

Uplus Lighting

Uplus Lighting 3010 IP PAR user manual

Lucci CONNECT 259988 installation instructions

Lucci CONNECT

Lucci CONNECT 259988 installation instructions

FLOS F0303000 manual

FLOS

FLOS F0303000 manual

Beseler Dichro 45S instruction manual

Beseler

Beseler Dichro 45S instruction manual

JONATHAN Y JYL2038A quick start guide

JONATHAN Y

JONATHAN Y JYL2038A quick start guide

MPOWERD LUCI instruction manual

MPOWERD

MPOWERD LUCI instruction manual

Richter ART-4 user manual

Richter

Richter ART-4 user manual

Good Earth Lighting SE1293-WH3-02LF0-G instructions

Good Earth Lighting

Good Earth Lighting SE1293-WH3-02LF0-G instructions

Philips SP160P LED40S 840 W60L60 PSU SI Mounting instruction

Philips

Philips SP160P LED40S 840 W60L60 PSU SI Mounting instruction

Kudux Hot Mix 15R user manual

Kudux

Kudux Hot Mix 15R user manual

Mr. Beams MB10023 user manual

Mr. Beams

Mr. Beams MB10023 user manual

Vision & Control R-CLR-38x 20-IR860-SL Installation and operating instructions

Vision & Control

Vision & Control R-CLR-38x 20-IR860-SL Installation and operating instructions

ADJ Flat Par CWWW9 User instructions

ADJ

ADJ Flat Par CWWW9 User instructions

Equinox Systems PIXELpoint Batten user manual

Equinox Systems

Equinox Systems PIXELpoint Batten user manual

Broan 710 Use and care

Broan

Broan 710 Use and care

LIGMAN STEAMER 1 installation manual

LIGMAN

LIGMAN STEAMER 1 installation manual

VERTUO 44001336 Assembly guide

VERTUO

VERTUO 44001336 Assembly guide

JONATHAN Y JYL6113A quick start guide

JONATHAN Y

JONATHAN Y JYL6113A quick start guide

manuals.online logo
manuals.online logoBrands
  • About & Mission
  • Contact us
  • Privacy Policy
  • Terms and Conditions

Copyright 2025 Manuals.Online. All Rights Reserved.