manuals.online logo
Brands
  1. Home
  2. •
  3. Brands
  4. •
  5. EnerSys
  6. •
  7. Batteries Pack
  8. •
  9. EnerSys OutBack Power SkyBox User manual

EnerSys OutBack Power SkyBox User manual

Quick Start Guide
IMPORTANT:
Not intended for use with
life support equipment.
Warranty
The warranty for this product can be downloaded from
https://www.outbackpower.com/resources/warranty/procedures
A copy is available by sending a self-addressed envelope to this address:
Contact Information
Mailing 3767 Alpha Way
Address: Bellingham, WA 98226 USA
Web Site: www.outbackpower.com
NOTE: Additional information on
this product is available at
www.outbackpower.com. For
screen navigation, operation, and
troubleshooting, see the SkyBox
Overview Guide. For programming
and applications, see the SkyBox
Programming Guide.
Date and Revision
February 2022, Revision C
Listings:
oUL1778 5th Edition, 6/13/2016
oUL1741 2nd Edition, 1/28/2010 with supplement SA
oCSA22.2, No. 107.1-01 Ed:3 (R2006)
Certifications:
oHECO Rule 14 SRD
oCalifornia Rule 21 SRD
oIEEE 1547-2003
oIEEE 1547.1-2005
System Grounding and Bonding:
In this product, the PV, AC, and battery circuits are
isolated from the enclosure. This product has been
evaluated, listed and identified by UL to meet the
requirements of 690.41 and 250.4(A) of the NEC.
oThe PV system ground reference and protection
is provided internal to the SkyBox, in accordance with
NFPA 70 690.41(A)(6).
oThe AC connections are not bonded to ground.
The usual location for a neutral-ground bond is
at the main AC service panel. Make sure to establish
a neutral-ground bond when installing
in an off-grid application.
oThe battery connection is not bonded to ground.
Make sure to establish a negative-ground bond for
each battery system. An 8½” AWG #4 green wire is
included with the hardware kit for this purpose.
Equipment grounding is required by Section 250 of the
National Electric Code (ANSI/NFPA 70) and Canadian
Electrical Code (C22.1).
Overcurrent Protection
oThe battery disconnect device in the BOS does not
provide overcurrent protection. The installer must
provide protection for the battery circuit according to
the following parameters.
 Maximum 175 Adc
 Minimum 10 kA AIC
oAC overcurrent protection is provided in the BOS.
Electrical Specifications
oMaximum continuous output: 5000 VA @ 45°C
oNominal input and output voltage: 120/240 Vac
oNominal frequency: 60 Hz
oMaximum continuous output current: 24 Aac
oMaximum grid input current: 48 Aac
oMaximum generator input current: 48 Aac
oMaximum PV source voltage: 600 Vdc
oOperating PV source voltage range: 200 to 600 Vdc
oMaximum PV input current: 20 Adc
oMaximum PV short-circuit current: 32 Adc
oMPPT range: 250 to 600 Vdc
oAUX output: 0.6 A @ 12 Vdc
oAUX relay: 10 A @ 240 Vac, 5 A @ 30 Vdc
oNominal battery voltage: 48 Vdc
oMaximum battery input current: 140 Adc
oBattery input voltage range: 42 to 60 Vdc
oCharging output voltage range: 42 to 60 Vdc
oMaximum battery charging current: 100 Adc
Supported Batteries
oLead-acid
oSpecific lithium-ion batteries; see hyperlink for list
Environmental Ratings:
oEnvironmental Category: Type 3R
oMaximum Altitude Rating: 10,000 feet
oMaximum Ambient Temperature: 60°C
Dimensions:
oHeight 47.2" (119.9 cm)
oWidth 21.0" (53.3 cm)
oDepth 9.4" (23.9 cm)
Weights:
oSkyBox: 87.7 lb (39.8 kg)
oBOS: 23.6 lb (10.7 kg)
oMounting Bracket: 4.6 lb (2.1 kg)
Mounting Bracket
Ensure the mounting surface is strong enough to handle
three times the unit weight. (See the Specifications section.)
Add plywood or other material as necessary to strengthen the surface.
ALocate this horizontal slat at about eye level for easier display viewing.
BDo not place the top of the mounting bracket more than 6' (183 cm) above
the floor. This ensures that the SkyBox can be easily lifted onto the bracket.
Mark the placement of the bracket according to Aand B, keeping in mind the
dimensions in the second drawing. These dimensions (see above*) show the SkyBox
overlap (beyond the bracket) as well as the vertical measurements with respect to A.
They also add the required minimum clearances of 6" (15.2 cm) to SkyBox top and sides.
(This clearance includes the requirements for SkyBoxes in parallel. See Commissioning.)
IMPORTANT:
No lower clearance is shown. In outdoor installations a 36" minimum clearance above the
ground or floor is required. The lower vertical measurement becomes 60.6” (153.9 cm) from A.
™ True Hybrid Energy System
Place the bracket so
that rails Cand Dare
flush with the surface.
Conduit Knockouts
(Underside of BOS)
SkyBox
BOS
(Balance of
System)
Left Right
1½" ¾” ¾” ¾” ¾” ¾” ¾”
6.0"
(15.2 cm)
Hole
spacing
B
A
16"
(40.5 cm)
Hole spacing
WARNING: Burn Hazard
The heat sink (at the top rear of the product) may
reach temperatures greater than 70°C. Install this
product so that casual contact does not occur.
WARNING: Fire/Explosion Hazard
Do not place combustible or flammable materials
within 12 feet (3.7 m) of the equipment. This unit
employs mechanical relays and is not ignition-
protected. Fumes or spills from flammable materials
could be ignited by sparks.
WARNING: Personal Injury
Use safe lifting techniques and standard safety
equipment when working with this equipment.
IMPORTANT:
 This document is for use by qualified personnel familiar with photovoltaic
(PV) systems and maximum power point tracking (MPPT) technology as
well as basic inverter functionality. Users of this document should meet
all local and governmental code requirements for licensing and training
for the installation of electrical power systems with AC and DC voltage
up to 600 volts. This product is only serviceable by qualified personnel.
 Clearance and access requirements may vary by location. A 36” (91.4 cm)
clear space in front of the system for access is recommended. Consult
local electric code to confirm clearance and access requirements for the
specific location. If this product is installed or used in a manner other than
specified, the protection it provides may be impaired.
 Fuses are not to exceed maximum output rating.
 When installed outdoors, use only UL514B-compliant wet location or
rain-tight conduit hubs for entry into the enclosure.
 See Specifications for instructions on system grounding and bonding.
28.6"
(72.6 cm)
A
24.6"
(62.5 cm)
9.4"
(23.9 cm)
32" *
(81.3 cm)
C
D
This image does not
depict the SkyBox on
the bracket, but the air
envelope around the
whole installation
(including clearances).
Tools Needed:
o13 mm socket (torque) wrench
o#2 Phillips (torque) driver
oFlat blade (torque) driver
o6 mm Allen wrench
oDigital multimeter (DMM)
Included in Box:
oSkyBox literature
oBattery conductors
oGround bond conductor
oSkyBox labels
oRemote temperature sensor
oHardware kit
900-0195-01-00 REV C©2018 OutBack Power.
All Rights Reserved. Do not copy or distribute without permission.
Specifications
Trademarks and logos are the property of Alpha Technologies Services, Inc., EnerSys, and its affiliates
unless otherwise noted. Subject to revisions without prior notice. E. & O.E. UL® is the registered
trademark of UL LLC. IEEE® is the registered trademark of The Institute of Electrical and Electronics
Engineers, Inc. NFPA® is the registered trademark of National Fire Protection Association, Inc.
CAUTION:
To reduce the risk of fire, connect only to a circuit provided
with a 60 amperes maximum branch-circuit protection in
accordance with the National Electric Code, ANSI/NFPA 70.
!
NOTE:
The QR codes above
lead to the SkyBox
product page and a list
of lithium-ion batteries
specified for OutBack
Power products.
l l
D
D
Mounting
43
Mounting
21
5 6 7
J
J
NOTE: The QR codes
above lead to videos with
instructions for unboxing
and mounting the SkyBox.
Attach the wall bracket.
Center the mounting holes
on wall studs. Six ¼ - 20 ×
1½” lag screws and washers
are provided. Any of the
mounting holes can be
used. Observe all mounting
considerations (page 1),
including the display
location (A).
Place the rear brackets on the BOS studs (B). Attach
the rear brackets to the BOS assembly using the four
M6 nuts provided (C). Ensure that the pegs on each
bracket (D) face inward (toward the opposite bracket).
Place the BOS assembly
on the wall bracket by
seating the pegs (D) in
the slots (E).
The wall bracket has securing holes for the
BOS (F). Secure the BOS by inserting an
M6 × 40 mm screw on each side.
Install the SkyBox onto the wall bracket by lifting
it into position. The SkyBox is equipped with
rear brackets which are already attached (G).
NOTE: Two holes are available at the top of
the SkyBox (H). A metal pipe, rod, or bar can
be inserted across the top to assist with
handling and lifting.
Insert the rear
brackets into the
designated slots
(I) on the wall
bracket. Once the
SkyBox is seated,
the lifting bar can
be removed.
The wall bracket has
securing holes for the
SkyBox (J). Secure the
SkyBox in place by
inserting an M6 × 40 mm
screw on each side.
Mounting is complete.
See the
Commissioning
section.
Wiring Access
A
I
J
F
F
E
B
C
D
D
G
H
H
Two areas house the system wiring. The BOS compartment opens with a latch. It connects
to external wiring (battery, AC, PV, etc.) and conduit. These connections extend from the
BOS into the SkyBox compartment, which opens with two Allen screws (K). If the SkyBox
must be removed for service, the BOS and its wiring can remain. Some connections, such
as communications, pass through the BOS to be made directly in the SkyBox.
I
BOS
Compartment
SkyBox
Compartment
K
K
Battery Cable Connections
Nut 3/8" Spring
Lock
Washer
Battery
Positive
(+) Lug
DC
Positive (+)
Plate
Spring
Lock
Washer
DC
Negative (–)
Plate
Nut 3/8"
DO NOT MOVE
Nut 3/8"
Battery
Negative
(–) Lug
Inverter
Negative
(–) Lug
2a 2b
or 1a
NOTE: The spring lock washer used in these connections must be
installed with the rounded (convex) side facing outward. Installing in
any other orientation will result in inadequate compression which
may be hazardous. See the CAUTION to the far right.
CAUTION:
Equipment Damage
!
CAUTION:
Fire Hazard
Before energizing, confirm that
all battery terminal hardware is
installed as shown below.
Stacking the terminal hardware
in any other order can overheat
the terminals.
!
Battery
AC
PV
AUX
Permitted Sizes Torque Requirements
AWG
2/0 to 4/0
#8 to #3
#18 to #4
#24 to #16
#14 to #10
#8
#6 to #3
#2
#1 to 1/0
mm2
70 to 120
6 to 25
1.5 to 25
0.25 to 1.5
2.5 to 4
6 to 10
16 to 25
35
50
In-lb
65 to 75 in-lb
18 to 22 in-lb
11 to 16 in-lb
N/A
20
25
35
40
50
Nm
7.3 to 8.5 Nm
2.0 to 2.5 Nm
1.2 to 1.8 Nm
N/A
2.3
2.8
4.0
4.5
5.7
Neutral,
Ground, and
PV Ground
Table 1: Wires and Conductors
When connecting to the
battery terminals, make sure to
observe the proper polarity.
Connecting the cables
incorrectly can damage or
destroy the equipment and
void the product warranty.
IMPORTANT
All PV, AC, and battery conductors must be copper-only and rated at 75°C.
900-0195-01-00 REV C©2018 OutBack Power.
All Rights Reserved. Do not copy or distribute without permission.
L1 L2
NEU
GROUND
AC Subpanel
Loads
L1
L2 NEU
GROUND
Utility
Grid
AC Distribution Panel
N
AC Generator
Generator
Start
L1 L2
L1 L2 N
Photovoltaic
(PV) Array
Neutral
HOT L1
Ground
AC LEGEND
N
L1
HOT L2 L2
RTS
BMS
Wiring
and : Connect ground wires for battery, AC, PV, and additional PV equipment.
: Connect to SkyBox negative (–) , then connect to battery negative (–).
and : Connect PV array negative (–) and positive (+) wires.
Use terminals and for a second PV string, if present.
: Connect all AC neutral wires.
: Connect SkyBox ground wire to in BOS.
: Connect AFCI cable assembly to SkyBox socket .
: Ensure the rapid shutdown jumper or device is installed into Auxiliary Terminal Block (AUX) terminals 4and 12.
Remove the factory jumper before installing an external device. Route the wires through channel .
and : Connect to the matching sockets in the wiring compartment.
: Connect SkyBox PV negative (–) wire to . Do not remove the jumper cap.
NOTE: is placed on the opposite side of the switch from and .
: Connect SkyBox PV positive (+) wire to . Ensure that all four screws at this location are tight.
: Connect to battery positive (+).
: Connect to SkyBox positive (+) .
and : Connect to load subpanel L1 and L2 respectively.
and : Connect to utility grid L1 and L2 respectively.
and : Connect to generator L1 and L2 respectively.
: If current transducers (CTs) are in use, they are installed at the main AC panel.
Route the L1 and L2 wires through channel and install into AUX terminals.
(White wires use terminals 10 and 11; black wires use terminals 2and 3.)
NOTE: A CT is labeled as oriented toward the “source”. “Source” is defined as
the SkyBox, NOT the utility grid. (A separate labeled arrow shows the location
of the utility grid.) Orient each CT accordingly for correct current readings.
: Connect internet or router cable to WALL port . Route through channel .
NOTE: Do not connect this cable to the other ports on the display.
: For batteries with a separate battery management system (BMS):
The BMS (CAN bus) adapter cable converts the RJ45 cable end to RJ11.
It connects to the BAT MON port . Do not insert the RTS or any other
RJ11 cable into the BAT MON port.
: If a BMS is not present: Connect the remote temperature sensor
(RTS). Attach it on a battery sidewall near the center of the bank.
: Connect generator start wires into AUX terminals . (See the
key to the right.) Route through channel .
: To connect multiple SkyBoxes in parallel, connect the leader to
the WALL on the next (follower) unit. The last SkyBox in
sequence has nothing in port . This marks it as the end unit.
(See the Commissioning section of this sheet and the NETWORK
tab in the SkyBox Programming Guide for additional steps.)
1a
NOTES
 Make connections in the order indicated. If steps or connections are not applicable, they can be skipped.
 Tighten the applicable connections to the torque values specified in Table 1. (See opposite sheet.)
 Do not connect the PV positive (+) or negative (–) conductors to ground.
 Perform all wiring in accordance with Article 690 of the National Electric Code.
 An AC source (grid or generator) must be active on the SkyBox before firmware upgrades can be performed.
Negative
Positive
Ground
DC LEGEND
7a
7b
6
3c 4c 5c
7c 7d
99a
2a
2b 2c
5a 5b
3a 3b
4a 4b
14
16
18
13
13
7d
12 19
15
12
17
16
1b
7a 7b
13
18
2a
1a
3a
3b
4a
4b
5a
5b
6
7a
11
17
9
2c
1b
2b
3c 4c 5c
14
15
9a
8a
7b 8b
String #1
String #2
CT (L1)
Internet
Rapid
Shutdown
Initiator
Gen Start (AUX)
COMMUNICATIONS LEGEND
Rapid ShutdownRJ45
RTS
AFCI CT
BMS
Next SkyBox
PV Cable
12
13
17
Current transducer connections on L1 and L2 AC inputs.
NOTE: Only L1 is shown in the wiring image, but both
must be connected. 10 and 11 are for hot wires; 2and
3are ground. See the SkyBox Programming Guide.
Rapid shutdown inputs (4 and 12).
These terminals connect to normally-
closed dry contact terminals on the
RSI (Rapid Shutdown Initiator).
See the SkyBox Overview Guide
(Troubleshooting section) for more
information. See IMPORTANT note
to the left.
Rapid shutdown outputs
(5and 13). These are used to
duplicate the RSD connection
and function for an additional
SkyBox. They should be wired
to terminals 4and 12 on the
next SkyBox.
AUX dry contacts (7and 15) or 12-volt contacts (8
and 16, up to 0.6 Adc) can serve as a switch for
Advanced Generator Start. (See the SkyBox
Programming Guide.)
Unused 1
XCT L2 GND 2
XCT L1 GND 3
RSD INPUT 1 4
RSD OUTPUT 1 5
Unused 6
AUX RELAY 1 7
AUX 12V GND 8
9Unused
10 XCT L2 HIGH
11 XCT L1 HIGH
12 RSD INPUT 2
13 RSD OUTPUT 2
14 Unused
15 AUX RELAY 2
16 AUX 12V
NOTES:
 To install a wire, simply push it firmly
into the appropriate hole.
 To remove a wire, push on the release
next to it (the orange area) with a tool.
 Wire may be installed more easily by
pushing on the release with a tool while
inserting the wire.
 The entire terminal block can be unplugged
from the SkyBox to make this task easier.
Hole Release
IMPORTANT: Failure to Operate
 Inverter operations cannot start unless the jumper or device is installed on the Aux terminals 4and 12 .
It will show a Rapid Shutdown fault unless there is continuity across these terminals.
 The SkyBox will not function unless the AFCI cable is connected. This must be done even if the surrounding PV
connections are not used. The screen will indicate an arc fault if not installed.
19 12
Battery Bank
NOTE: Ensure the neutral and ground
conductors are mechanically bonded
at one point in the installation. DO NOT
establish more than one bond.
900-0195-01-00 REV C©2018 OutBack Power.
All Rights Reserved. Do not copy or distribute without permission.
Auxiliary (Aux)
Terminal Block
NOTE:
The QR code above leads to a video with
instructions for wiring the SkyBox.
Wiring
Commissioning
PV LED Legend
1a
2a
2
1c
3a 3b 4a 4b 5a 5b
6
11
900-0195-01-00 REV C©2018 OutBack Power.
All Rights Reserved. Do not copy or distribute without permission.
5c 5d
1c
543
5c 5d
19. On the Home screen, check the SOLAR tile (as shown below) and
ensure it is operating normally. The SkyBox will connect to the PV source
if the voltage is above 250 Vdc. (See the SkyBox Overview Guide for more
information.)
20. If a generator is present: Turn off (open) the GRID
circuit breaker .
21. Start the generator. Do not turn on (close) the GEN
circuit breaker . Repeat steps 12 and 13 using ,
, and .
22. Turn on (close) the GEN circuit breaker . Repeat step
14. The LOAD circuit breaker may remain on (closed).
23. Stop the generator.
24. Turn on (close) the GRID circuit breaker .
Wait for the programmed connection delay to elapse.
Test any grid-interactive functions.
To de-energize or shut down the system:
There is no required shutdown order. It is common to de-energize circuits
in the reverse order from which they were energized.
65b
5a 5b
6
4a
4b
11
65a
CAUTION: Equipment Damage
Incorrect PV polarity will damage the equipment.
!
8. Verify 120 Vac on LOAD L1 by measuring with a DMM from to .
Verify L2 by measuring from to .
9. Verify 240 Vac across the LOAD terminals by measuring from to .
10. Connect and test loads at the protected load panel.
11. If grid is present: Turn on the grid connection to the BOS at the source.
12. Verify 120 Vac on GRID L1 by measuring with a DMM from to .
Verify L2 by measuring from to .
13. Verify 240 Vac across the GRID terminals by measuring from to .
14. Turn on (close) the GRID circuit breaker . The Wizard will appear
for the first time if no batteries are installed. (Perform steps 3 through 10
if this is the case.) The SkyBox transfer relay should click and the LOAD
tile should read PASS THROUGH.
15. Using a DMM, test the pass-through (transferred) L1 output voltage
at and . Test the L2 voltage at and .
16. If PV is present: Verify that the input is in the correct range of open-circuit
voltage. Confirm polarity by measuring with a DMM from to (referred to
as PV1 in the legend above). Confirm polarity from to (PV2, if present).
17. Check the green LED indicators and . If a single PV input is installed,
one indicator should light. If two strings are installed, both should light. Any
other behavior means the polarity may be reversed. Do NOT turn on the
switch. Review all PV connections.
18. Turn on (close) the PV switch . Check indicators and again. Both
indicators should light. Any other behavior means the polarity at the top of
the PV switch may be reversed.
7a8a
5
3
4
4
63a
63b
3a 3b
3
5c
5d 6
6




66
5c 5d
PRODUCING
KW
0 6
BEFORE CLOSING PV DISCONNECT
ENSURE LED INDICATION IS CORRECT:
TERMINALS ON PV BOARD CORRECT
ONLY PV1 TERMINALS
ONLY PV2 TERMINALS
PV1 + PV2 TERMINALS
NOTE: PV VOLTAGE > 100 VDC
REQUIRED TO LIGHT LEDS
3
NOTES
 The QR code above leads to a video with instructions for commissioning the SkyBox.
 If any onscreen faults or other problems occur during commissioning, see the Troubleshooting section of
the SkyBox Overview Guide.
 If installing multiple SkyBoxes in parallel, see the SkyBox Programming Guide for additional instructions.
See the CAUTION below for equipment requirements.
Setup Wizard
(entry screen)
Setup Wizard
(final screen)
Home Screen
!
7a 8a 8b7b
Caution
CAUTION: Reverse
polarity in negative
grounded system
Keep breaker in the OFF
position and check polarity
!
Pre-startup Procedures:
1. Double-check all wiring connections. Using a digital multimeter (DMM), test for continuity between
and . Ensure a neutral-ground bond is installed in the system.
2. Inspect the enclosure. Ensure no debris or tools were left inside.
3. Ensure all AC loads at the backup (or protected) load panel are disconnected.
4. Ensure all AC input feeds to the BOS are disconnected at each source.
5. Using a Phillips screwdriver, remove the clear plastic (dead front) panel (not depicted). The four
required screws are marked with in the image to the right.
6. Energize the system as below. Follow the procedures which are applicable
to the system. If any elements are not present (including batteries, PV, or
a generator), ignore those procedures.
6
5. Using a DMM, verify the inverted L1 output 120 Vac on the upper LOAD
terminals from to . Verify L2 by measuring from to .
6. Verify 240 Vac across the LOAD terminals by measuring from to .
7. Turn on (close) the LOAD circuit breaker . Do not connect loads at the
protected load panel.
NOTES
 Do not close the LOAD circuit breaker at this stage.
 If the SkyBox is installed in a parallel-stacked system, read the Stacking
section of the SkyBox Programming Guide before proceeding.
5
3. On the first power-up, a welcome message is shown. The right arrow 
proceeds to the Setup Wizard. This steps through language, region, and
similar changes, then PV, battery, and AC settings. On the last screen,
the Save key proceeds to the Home screen. (The Home screen appears
after every subsequent power reset.)
4. From the Home screen, turn on the SkyBox with the ON/OFF key .
To energize the Skybox:
1. If batteries are present: Verify input 48 Vdc using a DMM by measuring from
to .
If batteries are not used in this system, skip to step 11.
Confirm the correct battery voltage and polarity. If the red LED indicator
is lit, the polarity is reversed. Do NOT turn on the circuit breaker.
2. Once proper voltage and polarity are confirmed, turn on (close) the main
battery circuit breaker . Power-up may require up to 1 minute.
1c
1a 2a
2
CAUTION: Equipment Damage
 All SkyBoxes require separate batteries, as each controls its own battery monitoring program. Using a
single, common battery bank will result in damage.
 All SkyBoxes must use the same AC output bus. If they are connected to independent outputs, damage
will occur. Take the appropriate safety precautions when connecting the devices to the AC output.
 All SkyBoxes must use the same AC input source. This may require the use of a bus bar. Take all
appropriate safety precautions when connecting to the AC input.
IMPORTANT
Enter BATTERY DETAILS under BATTERYtile programming.
Press the Reset button. This will reset the battery state of charge (SoC)
to 100% and begin a new charge cycle.
WARNING: Shock Hazard
Before performing maintenance, all sources (battery, PV, and AC) must be
completely de-energized for at least five minutes.
CAUTION: Equipment Damage
Incorrect battery polarity will damage the equipment.
!

Other manuals for OutBack Power SkyBox

1

Other EnerSys Batteries Pack manuals

EnerSys Nexsys 12NXS26 User manual

EnerSys

EnerSys Nexsys 12NXS26 User manual

EnerSys SuperSafe OPzV User manual

EnerSys

EnerSys SuperSafe OPzV User manual

EnerSys Hawker Perfect Plus User manual

EnerSys

EnerSys Hawker Perfect Plus User manual

EnerSys Data Safe MX Manual

EnerSys

EnerSys Data Safe MX Manual

EnerSys PowerSafe SBS B14 User manual

EnerSys

EnerSys PowerSafe SBS B14 User manual

EnerSys PowerSafe DDmP Setup guide

EnerSys

EnerSys PowerSafe DDmP Setup guide

EnerSys PowerSafe SBS XC+ User manual

EnerSys

EnerSys PowerSafe SBS XC+ User manual

EnerSys PowerSafe SBS XC+ User manual

EnerSys

EnerSys PowerSafe SBS XC+ User manual

EnerSys SuperSafe SBS XC User manual

EnerSys

EnerSys SuperSafe SBS XC User manual

EnerSys NexSys iON User manual

EnerSys

EnerSys NexSys iON User manual

EnerSys GAZ lomain KGM P User manual

EnerSys

EnerSys GAZ lomain KGM P User manual

EnerSys PowerSafe OPzV Guide

EnerSys

EnerSys PowerSafe OPzV Guide

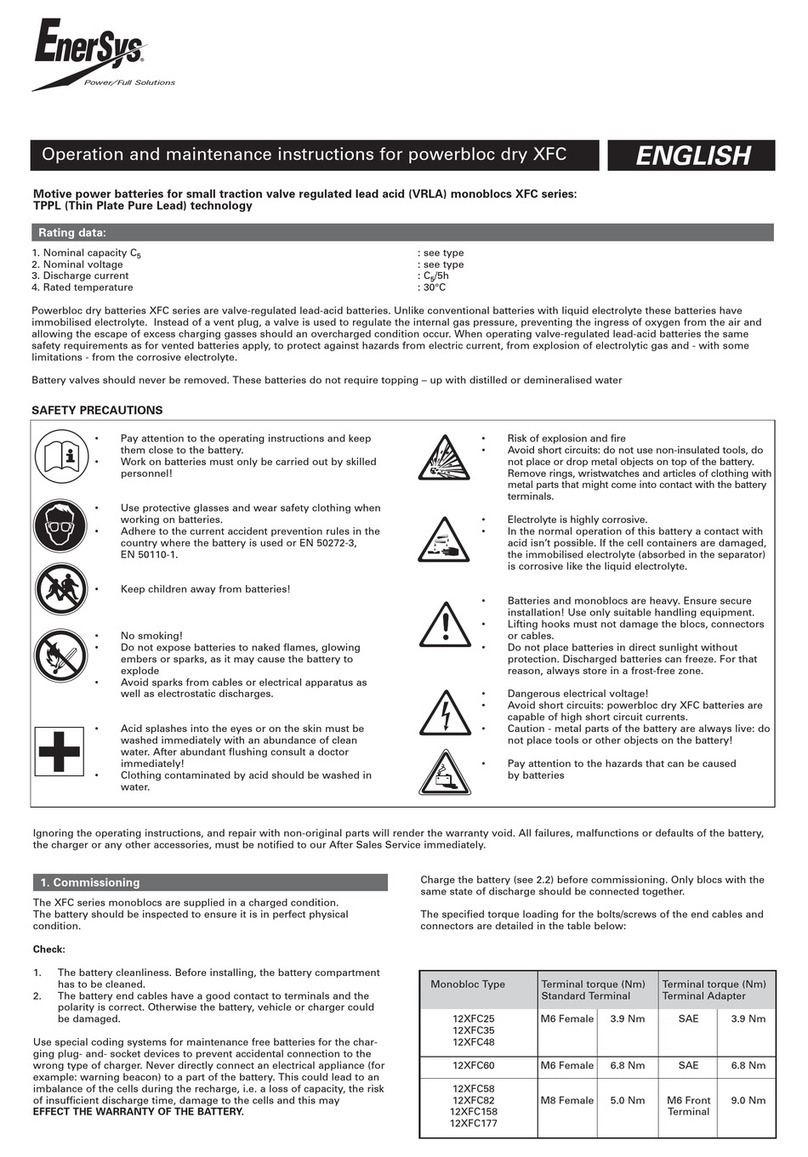
EnerSys powerbloc dry XFC Series Manual

EnerSys

EnerSys powerbloc dry XFC Series Manual

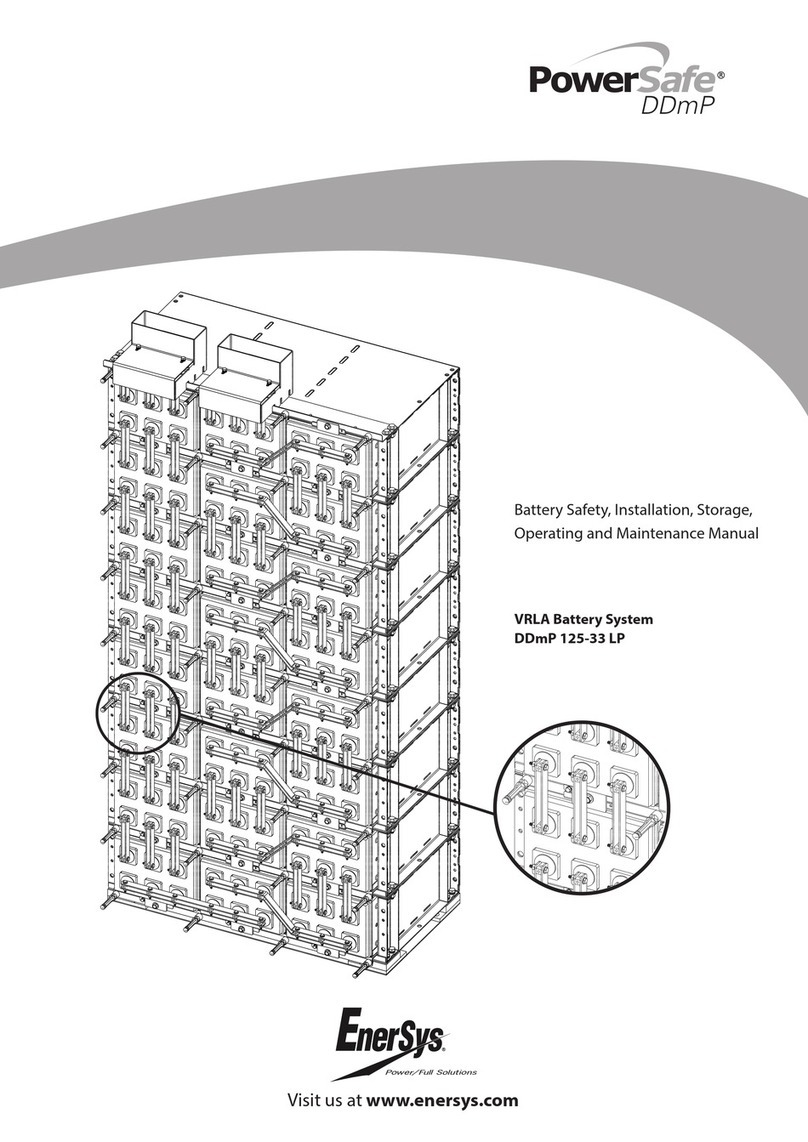
EnerSys PowerSafe DDmP125-33 LP Operating instructions

EnerSys

EnerSys PowerSafe DDmP125-33 LP Operating instructions

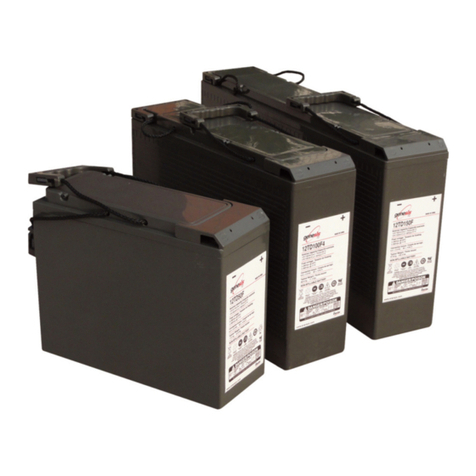
EnerSys Genesis TD Installation and operating instructions

EnerSys

EnerSys Genesis TD Installation and operating instructions

EnerSys PerfectRail DS Troubleshooting guide

EnerSys

EnerSys PerfectRail DS Troubleshooting guide

EnerSys PowerSafe SBS 8 User manual

EnerSys

EnerSys PowerSafe SBS 8 User manual

EnerSys datasafe HX Manual

EnerSys

EnerSys datasafe HX Manual

EnerSys FRONT TERMINAL Series User manual

EnerSys

EnerSys FRONT TERMINAL Series User manual

Popular Batteries Pack manuals by other brands

Fluke LIQ-Battery instructions

Fluke

Fluke LIQ-Battery instructions

Sony InfoLITHIUM NP-QM91D user guide

Sony

Sony InfoLITHIUM NP-QM91D user guide

Nikon MB-D80 instruction manual

Nikon

Nikon MB-D80 instruction manual

Nikon EN-4 instruction manual

Nikon

Nikon EN-4 instruction manual

dji BS65 user guide

dji

dji BS65 user guide

Redarc LBAT12150-SB manual

Redarc

Redarc LBAT12150-SB manual

Caratec CEB150B Installation & operating instructions

Caratec

Caratec CEB150B Installation & operating instructions

Parkside PAPK 12 A4 Translation of the original instructions

Parkside

Parkside PAPK 12 A4 Translation of the original instructions

Solio BOLT quick start guide

Solio

Solio BOLT quick start guide

DNIPRO M BP-122 Safety and operating instructions

DNIPRO M

DNIPRO M BP-122 Safety and operating instructions

IOGear GMP8K quick start guide

IOGear

IOGear GMP8K quick start guide

xtorm FS5451 manual

xtorm

xtorm FS5451 manual

David Clark XL-9V instructions

David Clark

David Clark XL-9V instructions

X10 ZB11A operating instructions

X10

X10 ZB11A operating instructions

Friwo 14S12P manual

Friwo

Friwo 14S12P manual

PNY PowerPack 4400 user manual

PNY

PNY PowerPack 4400 user manual

V-TAC VT-48200B instruction manual

V-TAC

V-TAC VT-48200B instruction manual

AmpleNess S5265 user manual

AmpleNess

AmpleNess S5265 user manual

manuals.online logo
manuals.online logoBrands
  • About & Mission
  • Contact us
  • Privacy Policy
  • Terms and Conditions

Copyright 2025 Manuals.Online. All Rights Reserved.