manuals.online logo
Brands
  1. Home
  2. •
  3. Brands
  4. •
  5. EnerSys
  6. •
  7. Batteries Pack
  8. •
  9. EnerSys Hawker Perfect Plus User manual

EnerSys Hawker Perfect Plus User manual

Instructions for use
Hawker®
Perfect Plus™/
Water Less®
ATEX certied batteries
3
Instructions for use Hawker®Perfect Plus™/ Water Less®ATEX
ENGLISH
Motive power batteries Ex certied increased safety“e”
Operation and Instruction Manual
Introduction
These Hawker®ATEX certied batteries are certied for use in areas with risks of explosion due to gas or dust.
• Explosion group I Category M2/Mb mining
• Explosion group II Category 2 and 3 [Zone 1 2G/Gb, Zone 2 3G/Gc (Gas)]
• Explosion group III Category 2 and 3 [Zone 21 2D/Db, Zone 22 3D/Dc (Dust)]
They should be in perfect condition and free from any damage. If any damage is noted or accessories missing please contact your supplier within
the rst 24 hours of receiving this product. Ex traction batteries are designed for use in battery powered applications within hazardous areas : such
as electric counter balance, reach and pallet trucks also oor sweepers and other cleaning equipment. The cells and connectors comply with IP
(ingress protection) 65, the crates with IP23.
The patented ventilation design makes it possible for these traction batteries to t within existing DIN and British standard crate sizes, oering the
same capacity, as specied, by the truck manufacturer.
Standard
Motive power Hawker Atex certied batteries comply with the ATEX Directive 2014/34/EU.
Conformity has been demonstrated with reference to the following documentation :
EC type-examination certicates:
ATEX
• SIRA 01ATEX3016U
• SIRA 01ATEX3019U
• SIRA 01ATEX3022X
• SIRA 01ATEX3025X
IECEx
• SIRA IECEx 07.0061U
• SIRA IECEx 07.0062U
• SIRA IECEx 07.0065X
• SIRA IECEx 07.0066X
Description
• Flooded BS cell
• Flooded DIN cell
• Batteries up to 68.8 kWh
• Batteries above 68.8 up to 153.6 kWh
ATEX certicates apply to the EEx and IECEx certicates apply to the rest of the world except North America (USA and Canada).
Quality Assurance Notication:
Sira 01 ATEX M103
Condition of use
Do not charge in a hazardous Area
Example of battery labelling
Rating Data
1. Nominal capacity C5: See type plate
2. Nominal voltage : 2.0 V x No of cells
3. Nominal discharge current : C5/5h
4. Nominal S.G. of electrolyte* : 1.29 kg/l
5. Rated temperature : 30°C
6. Nominal electrolyte level : up to electrolyte level mark ”max.”
*Will be reached within the rst 10 cycles
4
1. Safety
Always remember that the battery is a source of power, even when
fully discharged there remains sucient energy in the battery to cause
serious damage.
Follow these safety codes
• Never charge a Ex battery in the zoned controlled area.
•Never disconnect the battery in a zoned area. Isolate circuits before
disconnecting the battery outside a zoned area.
• Never open the battery cover in a zoned area.
• Always use certied DC plugs for connection to the battery.
• Never use the battery if damaged or bare cables are evident.
• Never use the battery if the DC plugs are damaged.
•Never attempt to repair the battery: Call your recommended
authorised service centre.
•Close vent plugs lids rmly when topping the batteries electrolyte
has been completed.
2. Service
Your local authorised service engineer provides local help and support.
This handbook gives guidelines of a general nature; our engineer will
help you to interpret your needs in relationship to your particular
requirements.
Your authorised engineer can answer the questions that are beyond
the scope of this manual and obtain specialist help should it be
required.Your battery is an expensive investment and designed for use
in a zoned area, it is our aim to help you obtain the best possible results
from it. Please do not hesitate to call your local service centre if you
have any questions relating to the battery.
3. Handling
Lead acid Ex batteries are very heavy. Always use approved moving
equipment when attempting to change batteries. When lifting and
handling the Ex batteries use the correct approved lifting equipment
and keep the battery in an up right position. Due to the wide variation
in types of electric vehicles, designs of battery containers, equipment
used and methods of battery changing, it is not possible to give
detailed instructions on the procedures to be followed when changing
the batteries on an electric vehicle. The manufacturer of the vehicle or
the battery changing equipment must supply the correct method and
procedure.
4. Taking delivery of your battery
Do not carry out any of the following procedures in a zoned area. The
possibility of the battery being connected in the wrong polarity is
prevented by visibly marking the polarities adjacent to the connection
plug with an identication colour (Positive Red and Negative Blue). The
possibility of the insulation on the overall battery voltage leads being
cut to expose the conductor is prevented by sleeving the insulation
with cable retention (i.e. spiral wrap).
Please ensure that the battery containers are always upright so that
the electrolyte is not spilled. Remove all packing material and carefully
examine the containers, etc. to ensure that there is no physical damage.
If the battery is not used at receipt, please refer to (17) storage.
5. Commissioning
For commissioning of unlled batteries, see separate instructions. The
level of the electrolyte must be checked.
If it is below the anti-surge bae or the top of the separator it must rst
be topped up to this height with puried water (IEC 62877-1:2016).The
charger cables must be connected to ensure a good contact, taking
care that the polarity is correct. Otherwise battery, vehicle or charger
could be damaged. Wipe over the tops and sides of the cells and
container with a damp cloth to remove dust, water or spilt sulphuric
acid. Cell cleanliness can not be too highly stressed. Check that all
connections are tight.
The specied torque loading for the pole screws is 25 + 2Nm (screw
M10). Make sure that the cells are readily accessible for testing and
topping up if the automatic watering facility is not tted.This will make
regular maintenance hassle free.
Check that the battery compartment is well drained and ventilated
and that there is no risk of metal objects dropping through the top
ventilation of the battery. Check that the battery sits quite rmly and
securely in its housing, use suitable packing to prevent any movement
when the vehicle is in motion. The cables should be exible and of
sucient length to prevent any strain being imposed either on the
cable or the certied terminals to which the cables are connected.
Smear any steel runners or supports, which support the battery
container with petroleum jelly. This will keep down the possibility of
rust and acid corrosion and extend the life of these components.
If a new Ex battery is to be used in an application where there is
uncertainty about the zoned area please contact your local factory
inspector.
Never directly connect an electrical appliance (for example: warning
beacon) to some cells of the battery. This could lead to an imbalance
of the cells during the recharge, i.e. a loss of capacity, the risk of
insucient discharge time, damage to the cells and this may EFFECT
THE WARRANTY OF THE BATTERY.
The battery is then charged as in item (8). The electrolyte should be
topped up to the specied level with puried water (item 6.).
• Pay attention to the operating instructions and
keep them close to the battery.
• Work on batteries must only be carried out by
skilled personnel!
• Use protective glasses and wear safety
clothing when working on batteries.
• Adhere to the current accident prevention
rules in the country where the battery is used or
EN 62485-3, EN 50110-1.
• No smoking!
•Do not expose batteries to naked ames,
glowing embers or sparks, as it may cause the
battery to explode.
•Acid splashes in the eyes or on the skin must be
washed with water. In case of accident consult a
doctor immediately!
• Clothing contaminated by acid should be
washed in water.
• Risk of explosion and re, avoid short circuits!
• Caution: Metal parts of the battery are always live. Do not
place tools or other metal objects on the battery!
• Electrolyte is highly corrosive.
• Batteries and cells are heavy. Ensure secure installation!
• Use only suitable handling equipment e.g. lifting gear
in accordance with VDI 3616.
• Dangerous electrical voltage!
•Pay attention to the hazards that can be
caused by batteries.
Ignoring the operation instructions, repair with non-original parts or using additives for the electrolyte will render the warranty void. All the
failures,malfunctions or defects of the battery, charger any other accessories, must be notied to our After Sales Service.
5
6. Recommended maintenance
1. Every day:
Recharge the battery after discharge.
• Remember never charge an Ex battery in a zoned area
even if approved charging equipment is available.
Always check that the charger is operating correctly.
•Check the electrolyte levels at the end of charge and top up if
necessary ( respect max level). The correct level is to the top of the
level indicator.
Hawker®Perfect Plus™
If too much water is added, the expansion during recharge will cause
the electrolyte to overow, therefore weakening the strength of the
electrolyte. If insucient water is added the top of the plates will be
come exposed, reducing the performance and life of the battery.
Use approved distilled or demineralised water only.
The ‘Standard’ of purity of water required for topping up is given in IEC
62877-1:2016.
Suppliers of topping up water, topping up devices or automatic water
lling systems can be obtained from your local supplier or service
depot. Note that topping up water must only be held in and dispensed
from non-metallic containers.
Never top up with acid. Should it be felt that an acid adjustment is
required, please consult your local service depot.
2. Weekly:
2.1. Please note any cells that are taking too much or too
little water, if this occurs please contact your local
service depot.
2.2. Check all connections and take o leads for any frayed or
worn insulation. If frayed wires or worn insulation is
noted take the battery out of service immediately and
place in a safe area that is outside the zoned area. Do not
attempt to repair a Ex battery. Call your local service
depot.
2.3. Check that all insulators and vent plugs are in place and
that the battery plugs are of sound condition.
Ensure that the top of the battery is clean and dry. Dirt and moisture
can provide tracking paths for the electricity and potentially cause
a spark in a zoned area. Should there be any corrosion of the metal
container, scrape this o and neutralise the area with a solution of
water and baking soda, or diluted ammonia, and protect the part from
further corrosion by painting it with acid proof paint.
3. Monthly:
At the end of the charge the voltages of all cells should be measured
with the charger switched on, and recorded.
After charging has been completed, the electrolyte density, electrolyte
temperature as well as the lling level of all cells are to be measured
and recorded. If signicant changes from earlier measurements
or dierences between the cells are found further testing and
maintenance by the service department should be requested. This
should be done following a complete charge and minimum of 2 hours
rest time.
Measure and record:
• total voltage
• voltage per cell
• if the voltage readings are irregular, also check the S.G. of each cell
If signicant changes from earlier measurements or dierences
between the cells or bloc batteries are found, please contact EnerSys
Service.
• If the discharge time of the battery is not sucient, check:
• That the work required is compatible with the battery capacity
• The settings of the charger
• The settings of the discharge limiter.
Hawker®Perfect Plus and Water Less®
Water LessPerfect Plus
Min
Max
Larger electrolyte
capacity
Reduced prism
height
Check the electrolyte level and top up if necessary
(respect maximum level according to drawing above).
Water Less topping up intervals
PzM Variant Water topping up intervals*
1 shift operation 3 shift operation**
4 Weeks PzM/PzMB plus 50Hz 20 Cycles (4 weeks) 20 Cycles (2 weeks)
8 Weeks PzM/PzMB plus HF 40 Cycles (8 weeks) 40 Cycles (5 weeks)
13 Weeks PzM/PzMB plus EC*** & HF 65 Cycles (13 weeks) 65 Cycles (8 weeks)
80% DOD, 5 operating days per week, and average battery temperatures of 20°C
* +/- 1 week in the most common applications at 20°C
** this number of cycles can be reduced if operating 3 shift and with high battery temperatures!
*** Electrolyte Circulation
4. Annually
In accordance with EN 1175-1 at least once per year, the insulation
resistance of the truck and the battery must be checked by an electrical
specialist. The tests on the insulation resistance of the battery must be
conducted in accordance with EN 1987 part1. The insulation resistance
of the battery thus determined must not be below a value of 50Ωper
Volt of nominal voltage, in compliance with EN 62485-3. For batteries
up to 120V nominal voltage the minimum value is 1000Ω.
Proceed to the maintenance, including the measurement of electrolyte
S.G. at the end of charge. The lter of the air pump has to be checked
during the annual maintenance and eventually to be cleaned or
replaced. Earlier replacement of the lter is necessary if, for undened
reasons (no leaks in the air pipes) the defect signal of the air mixing
system on the charger or on the battery (on DC air pump or remote
signal) is illuminated. During the annual maintenance, check the
correct operation of. the air pump.
6
7. Discharge
Be sure that all ventilation holes are not sealed or covered. Electrical
connections (e.g. plugs) must only be made or broken in the open
circuit condition. To achieve the optimum life for the battery, operating
discharges of more than 80% of the rated capacity should be avoided
(deep discharge). This corresponds to an electrolyte specic gravity of
1.14 kg/l at 30°C at the end of the discharge.
Discharged batteries must be recharged immediately and must not be
left discharged. This also applies to partially discharged batteries.
It is recommended that the battery is discharged evenly and the use of
tappings across a part of the battery is discouraged. To overcome this
problem a D.C.- D.C. converter must be used to allow auxiliary loads to
be supplied from the whole battery. Note:The D.C.-D.C. converter must
be certied for use in a zoned area as well as the auxiliary equipment.
Battery performance is directly related to temperature. Batteries are
rated at 30ºC. Where the battery temperature is lower than this, the
available performance is reduced. Additional capacity is therefore
required when the batteries are to be used in areas of low ambient
temperatures (e.g. cold stores).
8. Recharge
Note: Never recharge an Ex battery in a zoned area.
Only direct current must be used for charging.
All charging procedures in accordance with DIN 41773-1 and DIN
41774 are permitted. Only connect the battery assigned to a charger,
suitable for the size of battery, in order to avoid overloading of the
electric cables and contacts, unacceptable gassing and the escape of
electrolyte from the cells. In the gassing stage the current limits given
in EN 62485-3 must not be exceeded. If the charger was not purchased
together with the battery it is best to have its suitability checked by the
manufacturers service department. When charging, proper provision
must be made for venting of the charging gases. Doors, battery
container lids and the covers of battery compartments must be opened
or removed. During the charge the battery must be removed from the
closed battery compartment on the truck.The ventilation must comply
to EN 62485-3 standard. The vent plugs should stay on the cells and
remain closed. With the charger switched o connect up the battery,
ensuring that the polarity is correct. (positive to positive, negative to
negative). Now switch on the charger. When charging the temperature
of the electrolyte rises by about 10°C, so charging should only begin if
the electrolyte temperature is below 43°C.
The electrolyte temperature of batteries should be at least +10°C before
charging otherwise a full charge will not be achieved. The charge is
considered as nished when the specic gravity of the electrolyte and
the battery voltage have remained constant for two hours.
Batteries tted with electrolyte mixing (option): If the warning light on
the pump controller is illuminated or if a defect signal on the electrolyte
circulation system appears, check that the piping system is connected
and examine the piping circuit for leaks or defects. (see 6. Maintenance)
The air pipe should never be removed during charge. Excessive
charging reduces battery life, increases water loss from the battery and
wastes electricity. It is important to ensure that charger gassing times
are not extended without prior consultation from your supplier.
The length of the D.C. cable between the charger and battery aects
the voltage drop back to the control unit of the charger. The cable
should not be extended without prior consultation with the charger
manufacturer and supplier of your Ex battery.
In situations where the battery is generally only very lightly discharged,
it may be an option to recharge the battery at less frequent intervals,
perhaps every second day. In such circumstances please seek the
advice or your local service engineer.
Do not disconnect battery until the charger has been switched o.
Your local area service centre must approve any managing charging
system otherwise the warranty may be invalidated.
Equalizing
Some chargers have an equalising facility; either a manual operation
or an automatic control.
For full operational procedures for the charger see manufactures
instruction. But remember never charge an Ex battery in a zoned area
at any time.
Equalising charges are used to safeguard the life of the battery and
to maintain its capacity. They are necessary after deep discharges,
repeated incomplete recharges and charges to an IU characteristic
curve. Equalising charges are carried out following normal charging.
The charging current must not exceed 5 A/100 Ah of rated capacity
(end of charge).
Watch the temperature!
9. Measurement of specic gravity
To take a hydrometer reading the bulb is squeezed, the end of the
rubber tube is dipped into the electrolyte and the bulb is gently
released so as to draw up sucient liquid so that the oat moves freely.
The hydrometer must be held in a vertical position and there should
be no pressure on the rubber bulb. When reading the hydrometer to
measure the specic gravity, the liquid level shows the value on the
scale, which is printed on the oat. After reading, the rubber bulb
should be squeezed to return the electrolyte to the cell.
The rated specic gravity (S. G.) of the electrolyte is related to a
temperature of 30°C and the nominal electrolyte level in the cell in fully
charged condition. Higher temperatures reduce the specied gravity
of the electrolyte, lower temperatures increase it. The temperature
correction factor is -0.0007 kg/l per °C, e.g. an electrolyte specic
gravity of 1.28 kg/l at 45°C corresponds to an S.G. of 1.29 kg/l at 30°C.
The electrolyte must conform to the purity regulations in IEC 62877-
2:2016.
10. Temperature
An electrolyte temperature of 30°C is specied as the rated
temperature. Higher temperatures shorten the life of the battery,
lower temperatures reduce the capacity available. 55°C is the upper
temperature limit and is not acceptable as an operating temperature.
The temperature on surface must never exceed 80°C in explosive area.
Charging should only begin if the electrolyte temperature is below
43°C. If electrolyte temperature reaches 55°C during the charge, wait
for the cooling before to use the battery in the explosive area. If a hot
battery is detected it should be taken out of the controlled zoned area
and allowed to cool to ambient temperature.
An investigation should be carried out into why the battery is getting
hot before it is placed back into service. Possible reasons why the
battery might be getting hot is that there might be a fault in the
equipment that the battery is powering or a fault could have occurred
within the cells of the battery. In the case of a suspected battery
problem contact your local service centre.
11. Surrounding area conditions
The apparatus is designed to cope with the intended surrounding area
conditions.
12. Eect of explosive atmosphere on materials
The materials selected are not known to react with any explosive
atmospheres to which the apparatus may be subjected.
13. Protection against other hazards
The apparatus does not cause injury or harm when used as specied in
the installation and operation manual.
14. Hazards arising from dierent ignition sources
The apparatus does not produce ignition capable electrical sparks or
arcs. The apparatus has also been designed not to produce potential
ignition sources from electromagnetic, acoustic, optical or other such
external energy sources.
15. Withstanding attack by aggressive substances
The individual cells contains sulphuric acid: These cells and enclosure
which make up the apparatus are constructed from materials that are
resistant to acid attack see manufactures data sheet.
16. Care of the battery
The battery should always be kept clean and dry to prevent tracking
currents. Any liquid in the battery tray must be extracted and disposed
of in the prescribed manner.
Damage to the insulation of the tray should be repaired after cleaning,
to ensure that the insulation value complies with EN 62485-3. and to
prevent tray corrosion. If it is necessary to remove cells it is best to call
in our service department for this.
17. Storage
If batteries are taken out of service for a lengthy period they should be
stored in the fully charged condition in a dry, frost-free room. To ensure
the battery is always ready for use a choice of charging methods can
be made:
1. a monthly equalising charge as in point 8, or
2. oat charging at a charging voltage of 2.27 V x the number of cells.
The storage time should be taken into account when considering the
life of the battery.
18. Malfunctions
If malfunctions are found on the battery or the charger our service
department should be called in without delay. The measurements
taken in point 6.3. will facilitate fault nding and their elimination. A
service contract with us will make it easier to detect and correct faults
in good time.
7
Aquamatic water relling system (optional accessory)
1. Application
The water relling system is used to automatically maintain the
nominal electrolyte levels. The charging gasses escape through the
vent on each cell.
2. Function
A valve and a oat together control the topping up process and
maintain the correct water level in each dell. The valve allows the ow
of water into each cell and the oat closes the valve when the correct
water level has been reached. For fault-free operation of the water
relling system, please note the instructions below:
2.1. Manual or automatic connection
The battery should be topped up shortly before completion of a full
charge, as at this point the battery has reached a dened operational
state resulting in satisfactory electrolyte circulation. Filling takes place
when the connector (7) from the tank is connected to the coupling (6)
on the battery.
2.1.1. If manual connection is used the battery should only be
connected to the lling system once a week.
2.1.2 If automatic coupling is used (with a magnetic valve
controlled by the charging apparatus) the charger
main switch selects the correct moment for lling.
Note: In this case we recommend a water relling at least once
a week to ensure the right level of the electrolyte.
2.1.3 In multiple shift and warm ambient temperature operations, it
may be necessary to have shorter topping up intervals.
2.2. Filling time
Filling time depends on the utilisation rate and the corresponding
battery temperature. Generally speaking, the top up process takes a
few minutes and can vary according to the battery range; after this, if
manual lling is being used, the water supply to the battery should be
turned o.
2.3. Working pressure
The water relling system should be installed in such a way that a
water pressure of 0.2 to 0.6 bar is obtained (with at least 2 m height
dierence between the upper edge of the battery and the lower edge
of the tank). Any deviation from this means that the system will not
function properly.
2.4. Purity
The topping up water must be puried. The water used to rell the
batteries must have a conductance of not more than 30 µS/ cm. The
tank and pipes must be cleaned before operating the system.
2.5. Pipe system on the battery
The pipe system to the individual battery cells must follow the battery’s
electrical circuit. This reduces the risk of current leakage in the presence
of electrolytic gas causing an explosion (EN 62485-3). A maximum of 10
cells may be connected in a series. The system should not be modied
in any way.
2.6. Working temperature
In winter, batteries tted with Aquamatic should only be charged or
relled in a room temperature above 0 °C.
2.7. Flow control
A ow indicator built into the water supply pipe to the battery monitors
the lling process. During lling the water ow causes the built-in disc
in the ow indicator to turn. When all the plugs are closed the disc
stops, indicating that the lling process is complete.
1. tank
2. outow connector with ball valve
3. plug with magnetic valve
4. plug with ball valve
5. ow control
6. coupling
7. connector
8. battery charger
9. charger main switch
perfect
1
2
3
9
8
7
6
5
4
8
Electrolyte circulation system (optional accessory)
1. Application
The electrolyte circulation system is based on the principle of pumping
air into the individual battery cells. This system prevents electrolyte
stratication and the battery charge is optimised using a charge factor
of 1.07. The electrolyte circulation is particularly benecial for heavy
duty use, short charge times, boost or opportunity charging and in
high ambient temperatures.
2. Function
The electrolyte circulation consists of a pipe system tted in the cells.
An Aeromatic diaphragm pump is tted in the charger or separately
mounted on the battery or vehicle. This diaphragm pump sends a
low rate airow into each cell which creates a circulating air stream
inside the cell box. The air stream is continuous or pulsed depending
on the battery voltage and pump type. The air supply is adjusted in
accordance to the number of cells in the battery.
The pipe system to the individual battery cells must follow the existing
electrical circuit. This reduces the risk of current leakage in the
presence of electrolytic gas causing an explosion (EN 62485-3).
3. Maintenance of air lter
Depending on the working conditions, the pump air lter should be
changed at least once a year. In work areas with high levels of air-
pollution, the lter should be checked and replaced more frequently.
4. Repair and maintenance
The system must be checked for leakage. The Hawker charger will
display an error message to indicate leakage. Sometimes in the case
of leakage the characteristic charging curve is switched over to the
characteristic standard curve (without electrolyte circulation).
In case of faulty parts, contact EnerSys service. Only EnerSys original
spare parts may be used, as these are designed for the pump air supply
and will ensure correct functioning of the pump.
Disposal and back to the manufacturer!
Always dispose of the battery container and cells through your local service depot. Do not attempt to dismantle the battery
or the cells in any way. Once the product has failed and is no longer repairable store outside the Zoned area until removed for
reclaim.
Batteries with this sign must be recycled.
Batteries which are not returned for the recycling process must be disposed of as hazardous waste!
When using motive power batteries and chargers, the operator must comply with the current standards, laws,rules, and
regulations in force in the country of use!
Please refer to the website address for details of your nearest EnerSys oce: www.enersys.com
© 2022 EnerSys. All rights reserved. Trademarks and logos are the property of EnerSys and its aliates unless otherwise noted.
Subject to revisions without prior notice. E.&O.E.
EMEA-EN-IU-HAW-PPAT-WLAT-0522
EnerSys EMEA
EH Europe GmbH
Baarerstrasse 18
6300 Zug
Switzerland
ABOUT ENERSYS®
EnerSys, the global leader in stored energy solutions for industrial applica-
tions, manufactures and distributes energy systems solutions and motive
power batteries, specialty batteries, battery chargers, power equipment,
battery accessories and outdoor equipment enclosure solutions to custo-
mers worldwide.
Energy Systems, which combine enclosures, power conversion, power dis-
tribution and energy storage, are used in the telecommunication, broad-
band and utility industries, uninterruptible power supplies, and numerous
applications.
Motive Power batteries and chargers are utilized in electric forklift trucks
and other industrial electric powered vehicles requiring stored energy so-
lutions. Specialty batteries are used in aerospace and defense applications,
large over-the-road trucks, premium automotive, medical and security sys-
tems applications.
EnerSys also provides aftermarket and customer support services to its cus-
tomers in over 100 countries through its sales and manufacturing locations
around the world. With the recent NorthStar acquisition, EnerSys has soli-
died its position as the market leader for premium Thin Plate Pure Lead
batteries which are sold across all three lines of business.
More information regarding EnerSys can be found at www.enersys.com.

Other manuals for Hawker Perfect Plus

2

This manual suits for next models

1

Other EnerSys Batteries Pack manuals

EnerSys Nexsys 12NXS26 User manual

EnerSys

EnerSys Nexsys 12NXS26 User manual

EnerSys SuperSafe SBS XC User manual

EnerSys

EnerSys SuperSafe SBS XC User manual

EnerSys PowerSafe DDmP Setup guide

EnerSys

EnerSys PowerSafe DDmP Setup guide

EnerSys PerfectRail DS Troubleshooting guide

EnerSys

EnerSys PerfectRail DS Troubleshooting guide

EnerSys GAZ lomain KGM P User manual

EnerSys

EnerSys GAZ lomain KGM P User manual

EnerSys PowerSafe SBS B14 User manual

EnerSys

EnerSys PowerSafe SBS B14 User manual

EnerSys Genesis TD Installation and operating instructions

EnerSys

EnerSys Genesis TD Installation and operating instructions

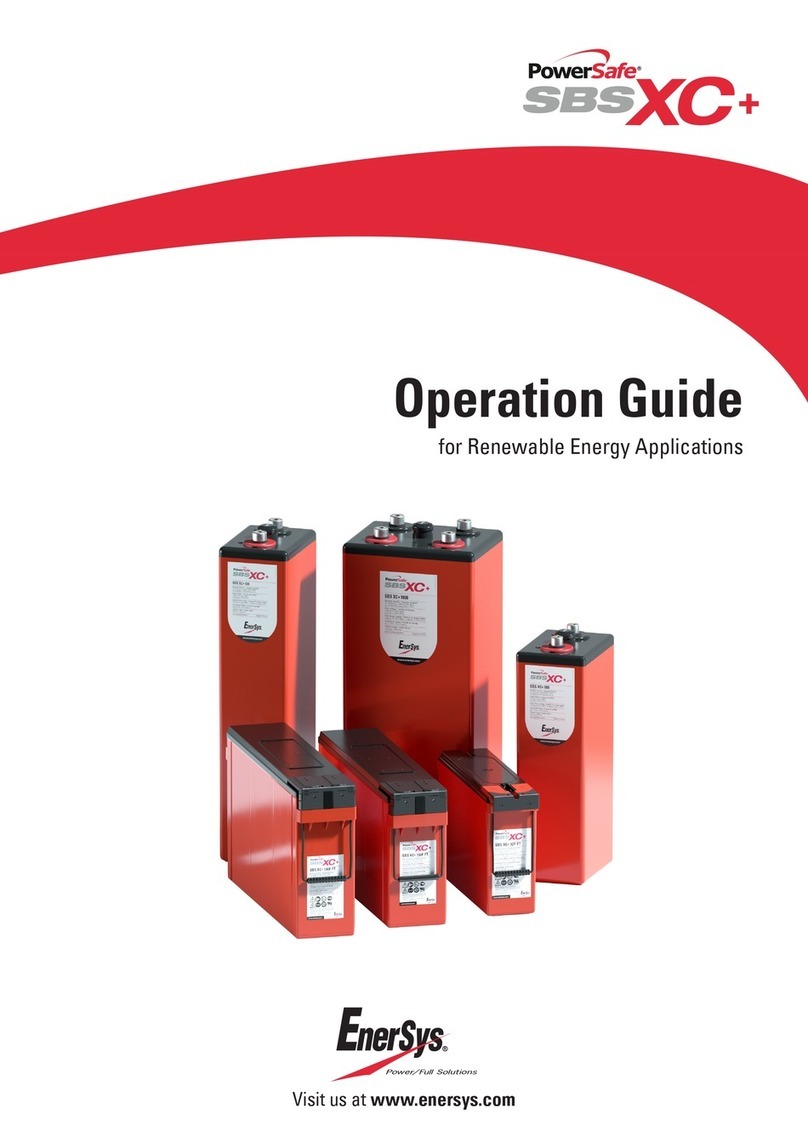
EnerSys PowerSafe SBS XC+ User manual

EnerSys

EnerSys PowerSafe SBS XC+ User manual

EnerSys Data Safe MX Manual

EnerSys

EnerSys Data Safe MX Manual

EnerSys powerbloc dry XFC Series Manual

EnerSys

EnerSys powerbloc dry XFC Series Manual

EnerSys SuperSafe OPzV User manual

EnerSys

EnerSys SuperSafe OPzV User manual

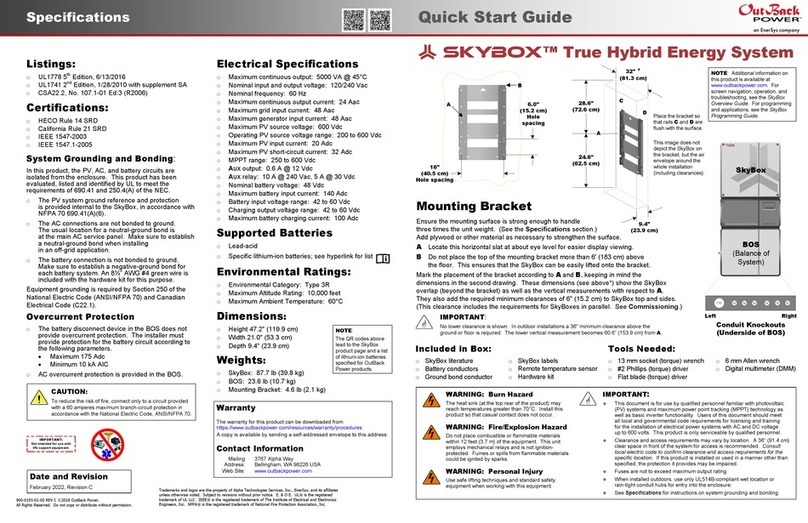
EnerSys OutBack Power SkyBox User manual

EnerSys

EnerSys OutBack Power SkyBox User manual

EnerSys PowerSafe SBS 8 User manual

EnerSys

EnerSys PowerSafe SBS 8 User manual

EnerSys PowerSafe DDmP125-33 LP Operating instructions

EnerSys

EnerSys PowerSafe DDmP125-33 LP Operating instructions

EnerSys datasafe HX Manual

EnerSys

EnerSys datasafe HX Manual

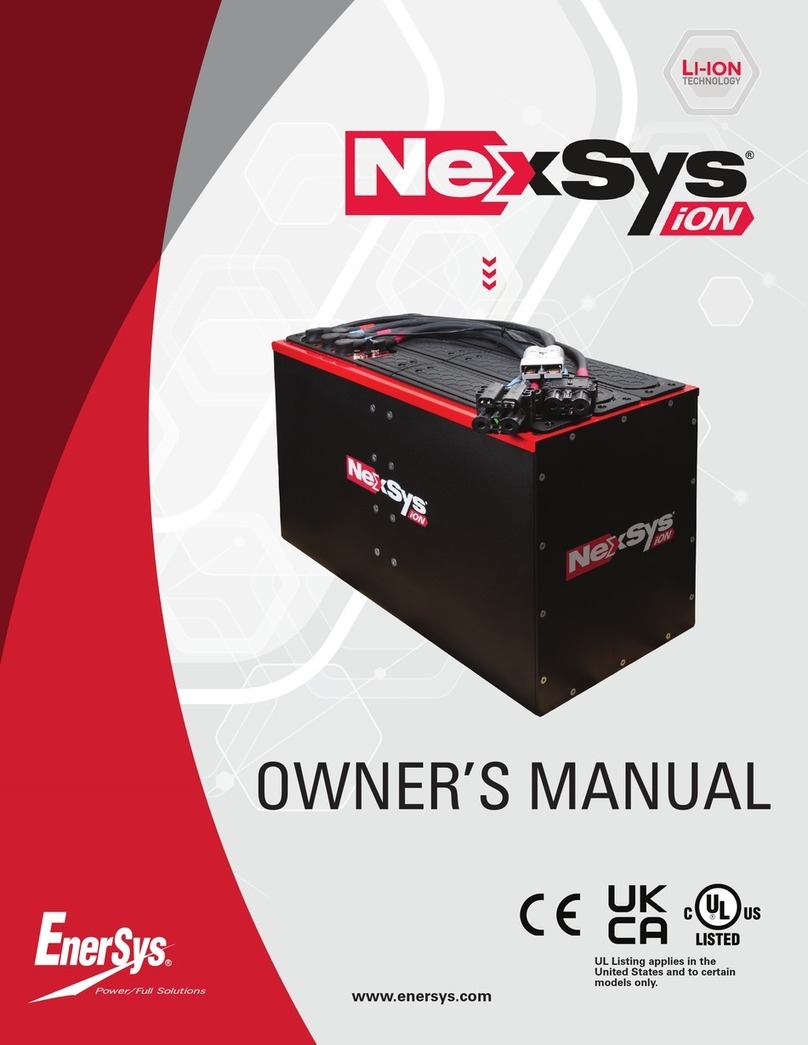
EnerSys NexSys iON User manual

EnerSys

EnerSys NexSys iON User manual

EnerSys PowerSafe SBS XC+ User manual

EnerSys

EnerSys PowerSafe SBS XC+ User manual

EnerSys FRONT TERMINAL Series User manual

EnerSys

EnerSys FRONT TERMINAL Series User manual

EnerSys PowerSafe OPzV Guide

EnerSys

EnerSys PowerSafe OPzV Guide

Popular Batteries Pack manuals by other brands

Clas Ohlson PW-290A quick start guide

Clas Ohlson

Clas Ohlson PW-290A quick start guide

BYD Battery-Box Premium LVL 15.4 quick start guide

BYD

BYD Battery-Box Premium LVL 15.4 quick start guide

Cactus EP-1 user manual

Cactus

Cactus EP-1 user manual

Zebronics ZEB-MB10000S12 user manual

Zebronics

Zebronics ZEB-MB10000S12 user manual

VENOM VS2850 User instructions

VENOM

VENOM VS2850 User instructions

Ozito PXC PXUBP-580 instruction manual

Ozito

Ozito PXC PXUBP-580 instruction manual

CPAP Freedom user manual

CPAP

CPAP Freedom user manual

Sungrow SBR192 Installation quick guide

Sungrow

Sungrow SBR192 Installation quick guide

GreenWorks 29652/BAF735 Operator's manual

GreenWorks

GreenWorks 29652/BAF735 Operator's manual

Teze 12V50AH product manual

Teze

Teze 12V50AH product manual

FES GEN2 14S manual

FES

FES GEN2 14S manual

Aegis ALF-012025A user manual

Aegis

Aegis ALF-012025A user manual

SEPLOS PUSUNG-S user manual

SEPLOS

SEPLOS PUSUNG-S user manual

ZOLL Propaq MD Battery Pack Guide

ZOLL

ZOLL Propaq MD Battery Pack Guide

JYC Power Group MeriTech Meritsun LFP50-48 user manual

JYC Power Group

JYC Power Group MeriTech Meritsun LFP50-48 user manual

Festool BP 18 Li Original operating instructions

Festool

Festool BP 18 Li Original operating instructions

Dragonfly Energy Battle Born Batteries BB10012H Instruction guide

Dragonfly Energy

Dragonfly Energy Battle Born Batteries BB10012H Instruction guide

Ryobi PBP007 Operator's manual

Ryobi

Ryobi PBP007 Operator's manual

manuals.online logo
manuals.online logoBrands
  • About & Mission
  • Contact us
  • Privacy Policy
  • Terms and Conditions

Copyright 2025 Manuals.Online. All Rights Reserved.