manuals.online logo
Brands
  1. Home
  2. •
  3. Brands
  4. •
  5. Epoch Design
  6. •
  7. Indoor Furnishing
  8. •
  9. Epoch Design Kenai 5142 User manual

Epoch Design Kenai 5142 User manual

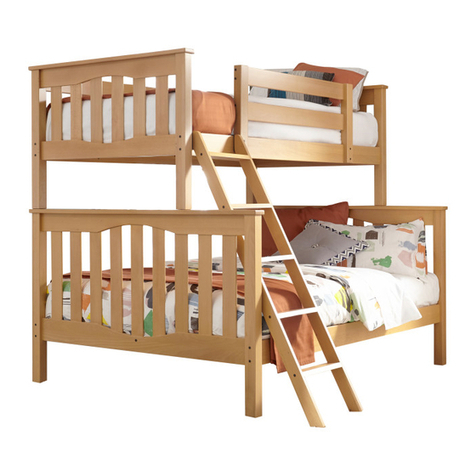
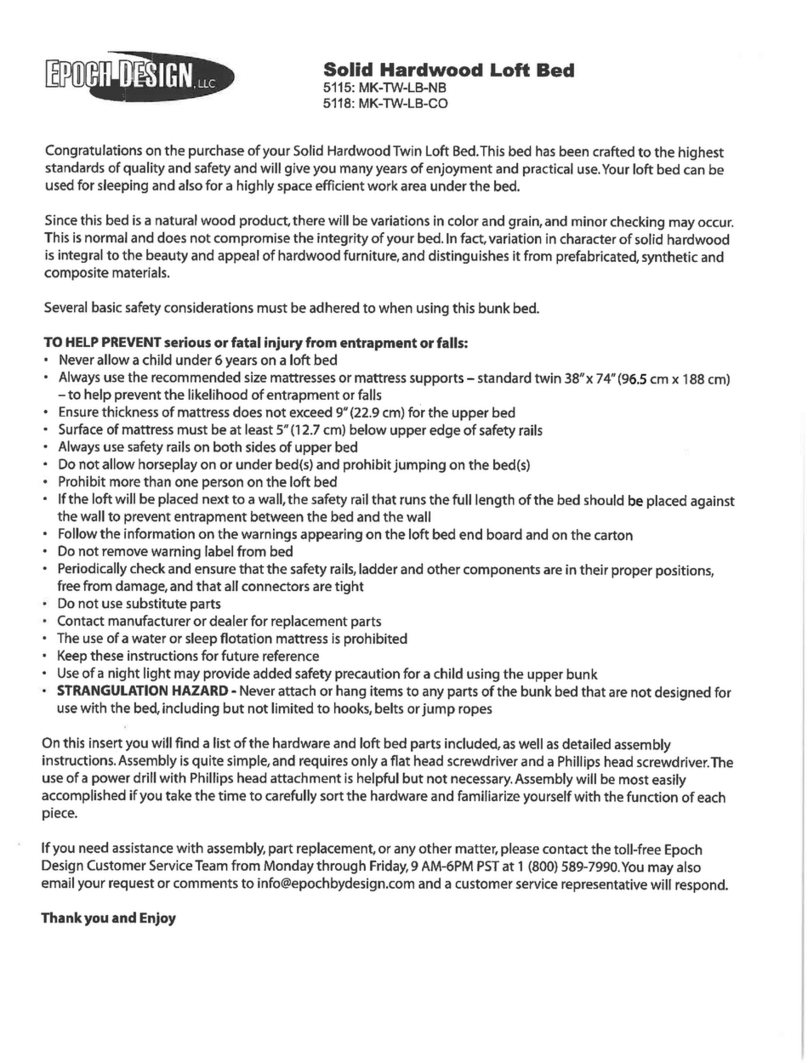
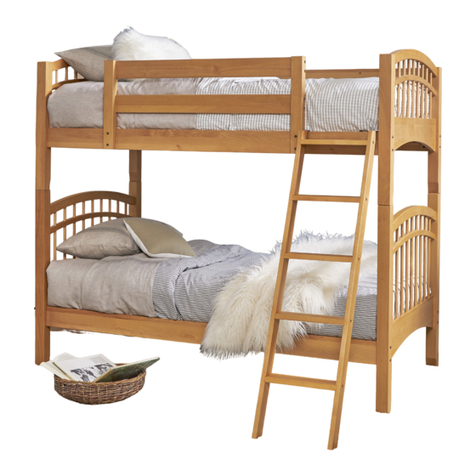
Congratulations on the purchase of your Kenai Twin Loft Bed. This bed has been crafted to the highest
standards of quality and safety and will give you many years of enjoyment and practical use.
Since this bed is a natural wood product, there will be variations in color and grain, and minor checking
may occur. This is normal and does not compromise the integrity of your bed. In fact, variation in
character of solid hardwood is integral to the beauty and appeal of hardwood furniture, and
distinguishes it from prefabricated, synthetic and composite materials.
Several basic safety considerations must be adhered to when using this Loft bed.
• Never allow a child under 6 years on upper bunk
• Always use the recommended size mattresses or mattress supports
– standard twin 38"x 74" (96.5 cm x 188 cm) – to help reduce the likelihood of entrapment or falls
• Ensure thickness of mattress does not exceed 9” (22.9 cm) for the upper bed
• Surface of mattress must be at least 5”(12.7 cm) below upper edge of safety rails
• Always use safety rails on both sides of upper bunk
• Do not allow horseplay on or under bed(s) and prohibit jumping on the bed(s)
• Prohibit more than one person on upper bed
• If the bunk will be placed next to a wall, the safety rail that runs the full length of the bed should be placed
against the wall to prevent entrapment between the bed and the wall
• Follow the information on the warning labels appearing on the upper bunk end board and on the carton
• Do not remove warning label from bed
• Periodically check and ensure that the safety rails, ladder and other components are in their proper
positions, free from damage, and that all connectors are tight
• Do not use substitute parts
• Contact manufacturer or dealer for replacement parts
• The use of a water or sleep otation mattress is prohibited
• Keep these instructions for future reference
• Use of a night light may provide added safety for a child using the upper bunk
• STRANGULATION HAZARD- Never attach or hang items to any parts of the bunk bed that are not designed
for use with the bed, including but not limited to hooks, belts or jump ropes
On this insert you will nd a list of the hardware and bunk bed parts, as well as detailed assembly
instructions. Assembly is quite simple, and requires only a at head screwdriver and a Phillips
head screwdriver. The use of a power drill with a clutch and a Phillips head attachment is helpful
but not necessary. Assembly will be most easily accomplished if you take the time to carefully sort
the hardware and familiarize yourself with the function of each piece.
If you need assistance with assembly, part replacement, or any other matter, please contact the
toll-free Epoch Design Customer Service Team from Monday - Friday, 9 AM-5 PM PST at
1 (800) 589-7990. You may also email your request or comments to info@epochbydesign.com
and a customer service representative will respond.
Thank you and Enjoy
TO HELP PREVENT SERIOUS OR FATAL INJURY FROM ENTRAPMENT OR FALLS:
Kenai Loft Bed with Dresser
5142: KE-TW-LB-CO
5121: KE-TW-LB-NB
HAVE QUESTIONS OR CONCERNS? CALL US FIRST: 1-800-589-7990
Copyright © 2018 Epoch Design™ All rights reserved
29-Oct-20181/4
HARDWARE LIST
LOFT BED PARTS
ACCESSORIES
8x 110mm bolts
To connect headboard,
footboard and front safety rails
16x 40mm bolts
To secure safety rails
4x 20mm bolts
To secure rails to
dresser and end board
8x 40mm JC screws
To secure desk
28x 30mm slat screws
to secure slats
8x Barrel nuts
To secure 110mm bolts
2x 15mm round head screws
To attach ladder hooks to side rail
4x Connector pins
To connect upper and
lower headboards
1x Hex key
To tighten bolts
1x Headboard
For upper loft
A
1x Footboard
For dresser side
of upper loft
B
1x Upper side rail (front)
Connects headboards
on uppper loft
D
2x Long safety rails
Attach to upright on
wall side of loft
E
2x Upright supports
For attachment of long
safety rail to loft
1x Short safety rail
Safety rail for ladder side
of upper loft
F
G
Groove
Slot
1x Upper back rail
Connect dresser, end board
and desk on lower unit
H
1x Lower back rail
Connect dresser and
end board on lower unit
I
1x Dresser
For lower loft to support
upper loft and desktop
J
1x Bottom end board
For lower loft to support
upper loft and desktop
K
1x Wire le holder
M
1x Wire shelf
N
1x Pegboard
P
1x Slat bundle
Rest on side rails
(strap side down) 1x Ladder
For access to upper loft
RQ
PLEASE NOTE: The Kenai Loft Bed directions are for a right dresser set-up
RIGHT LEFT
LEFT SIDE CONFIGURATION
The Kenai Loft Bed can be assembled as a left side dresser conguration
with a few alterations in assembly:
• Parts C& Dare switched to opposite sides
• Step 4 the long safety rail is always attached to part C
• Parts H& Iare attached to the opposite side of the dresser and
endboard than shown in STEP 6
• The Desk top is nished on both sides so it can be ipped for a left
side conguration
**NOTE: The larger notch on desktop corner goes toward end board K
CD
H
K
1x Desktop
For lower loft
L
Large Notch
Small Notch
1x Upper side rail (rear)
Connects headboards
on uppper loft
C
Groove
Ledge
Groove
Hook Hook
1x Wire basket
O
Have a question? Need a part ASAP? Call 1-800-589-7990 or email info@epochbydesign.com.
mm 10 20 30 40 50 60 70 80 90 100 110
29-Oct-20182/4
A
C
Groove
Ledge
B
To assemble the Kenai loft bed, arrange rails
Cand D (with pre-drilled holes on the side of
each rail for safety rail attachment) ledge side
in, between headboard Aand footboard B.
Tighten 110mm bolts with hex key provided.
Side rail Cshould have it’s groove side down
on the back wall side of the loft bed. Insert
barrel nuts into side rails Cand Dand rotate
the screw slots in the barrel nuts so they are
parallel with the ground.
D
Unroll the slat bundle Q and lay it out strap side down on the upper bunk.
Using a Phillips head screwdriver and 30mm slat screws secure
the rst slat on one end, then the nal slat on the other
end making sure the slats have been distributed evenly.
Then secure the remaining slats to the rails.
**NOTE: A power screwdriver comes in handy here with clutch settings on low.
Q
**NOTE: The head of the threaded inserts face
away from the 40mm bolts as shown.
Attach the two long safety rails Eto the unassembled
upright supports F using eight 40mm bolts. Notice that
the two long safety rails have threaded inserts to connect
to the 40mm bolts. Tighten with hex key.
(See Diagram I)
E
E
F
IEF
Attach the upright
supports F and long
safety rails Eto the
rear side of the
upper loft bunk
using 40mm bolts.
F
C
C
The long rail will be on the side of the loft that is
opposite the ladder and nearest to the wall.
To assemble lower unit,
attach the upper back
rail Hand lower back rail
I hook ends rst into end
board K. Slide hooks in
and down, then secure
with 20mm bolts
through bottom hole
and tighten with hex key.
(Diagram II)
F
Tighten bolts
with hex key.
Attach short safety rail Gto bed rail Dusing
four 40mm bolts.
D
G
III
I
H
K
J
I
K
II
Now attach the other end Hand Ito the back of dresser J
and secure with 20mm bolts. When tightening the bolts with
the hex key, leave the bolts semi-loose (about 3-5 turns from
tight) so you can easily install the desktop. (Diagram III)
Lightly tapping the top of rail with a rubber mallet will help seat hooks if needed.
**CAUTION: Be careful
when working with dresser,
product is very heavy**
Have a question? Need a part ASAP? Call 1-800-589-7990 or email info@epochbydesign.com.
1
23
45
6
FRONT
FRONT
BACK
BACK
1
2
29-Oct-20183/4
K
Large Notch
Small Notch
To attach desk top L, push the outside leg of bottom end board K
out about two inches.
Slide desk top Linto the slot of end board Kand the slot in the back
of the dresser Jand slide back into the slot on the back rail H.
K
J
The larger notch in the
desktop corner goes
toward end board K.
K
78
9
10 11
12 13
K
With the desk top fully seated in grooves,
return the front leg of the footboard to its
original position.
To secure the desk top insert six
40mm JC screws in the pre-drilled holes around
the outside of the footboard and back rail. Tighten
the JC screws and 20mm bolts from step 6 with
the hex key.
J
L
HOLD LEFT TAB DOWN
HOLD RIGHT TAB UP
Predrilled Holes
in Back Dresser
Once you have removed the drawer,
insert two 40mm JC screws into the pre-drilled
holes located in the support brace in the back
of the dresser. Then replace drawer.
**NOTE: Each drawer is made only for its original location, if you remove more than one make sure they are returned to the same location.
L
L
L
Remove the third drawer from the dresser by sliding the drawer out
and holding black plastic tabs located on both sides of the drawer in
their proper position (left side down Right side up) at the same time.
Insert a bunk connector
pin into each of the four
corner posts of the lower
unit. Then place the loft
bed assembly on top of
the lower unit.
Push the pins ush to the top of
pegboard Pand insert the pegboard
into the grooved rails on upper back
board Hof the assembled loft.
P
H
Attach the three wire organizer
baskets to the pegboard by
tilting the basket and inserting
the prongs into the holes then
push the basket down to a
level position to secure it to
the pegboard.
Attach ladder Qto the side
rail of the upper bunk.
You can permanently ax
the ladder by using two
15mm round head screws.
Now use hex key to retighten all bolts
so that the loft bed assembly is rigid.
It may be neccessary to retighten bunk
after wood has acclimated to your
weather region.
O
M
N
Q
Have a question? Need a part ASAP? Call 1-800-589-7990 or email info@epochbydesign.com
29-Oct-20184/4

This manual suits for next models

1

Other Epoch Design Indoor Furnishing manuals
Epoch Design Ashton 5174 User manual

Epoch Design

Epoch Design Ashton 5174 User manual

Epoch Design McKenzie MK-TT-BB-NB User manual

Epoch Design

Epoch Design McKenzie MK-TT-BB-NB User manual

Epoch Design 5119 User manual

Epoch Design

Epoch Design 5119 User manual

Epoch Design ParkrosePK-QU-PB-ES User manual

Epoch Design

Epoch Design ParkrosePK-QU-PB-ES User manual

Epoch Design Gabriel 5169 User manual

Epoch Design

Epoch Design Gabriel 5169 User manual
Epoch Design Astoria 5190 User manual

Epoch Design

Epoch Design Astoria 5190 User manual

Epoch Design AMORE 5402-6D-DR-BA User manual

Epoch Design

Epoch Design AMORE 5402-6D-DR-BA User manual

Epoch Design Pacifica 5472 User manual

Epoch Design

Epoch Design Pacifica 5472 User manual

Epoch Design Dakota Twin 5103 User manual

Epoch Design

Epoch Design Dakota Twin 5103 User manual

Epoch Design Ashton 5308 User manual

Epoch Design

Epoch Design Ashton 5308 User manual

Epoch Design NIKO 5480 User manual

Epoch Design

Epoch Design NIKO 5480 User manual

Epoch Design DAKOTA 5375 User manual

Epoch Design

Epoch Design DAKOTA 5375 User manual

Epoch Design McKenzie 5115 User manual

Epoch Design

Epoch Design McKenzie 5115 User manual

Epoch Design Dakota 5104 DA-TT-BB-WH User manual

Epoch Design

Epoch Design Dakota 5104 DA-TT-BB-WH User manual

Epoch Design Radia 5119 User manual

Epoch Design

Epoch Design Radia 5119 User manual

Epoch Design GA-OS-MC-NB User manual

Epoch Design

Epoch Design GA-OS-MC-NB User manual

Epoch Design Peyton PN-FU-XB-ES User manual

Epoch Design

Epoch Design Peyton PN-FU-XB-ES User manual

Epoch Design Seneca Twin over Full User manual

Epoch Design

Epoch Design Seneca Twin over Full User manual

Epoch Design Pacifica User manual

Epoch Design

Epoch Design Pacifica User manual

Epoch Design 5401 AM-QU-PB-BA User manual

Epoch Design

Epoch Design 5401 AM-QU-PB-BA User manual

Epoch Design Pacifica User manual

Epoch Design

Epoch Design Pacifica User manual

Epoch Design Jenny Lee 5131 User manual
Epoch Design

Epoch Design Jenny Lee 5131 User manual

Epoch Design Peyton 5149 User manual

Epoch Design

Epoch Design Peyton 5149 User manual
Epoch Design 5350 User manual

Epoch Design

Epoch Design 5350 User manual

Popular Indoor Furnishing manuals by other brands
Coopers of Stortford G407 Instructions for use

Coopers of Stortford

Coopers of Stortford G407 Instructions for use

SAFAVIEH COUTURE Chrissie CPT1034A manual

SAFAVIEH COUTURE

SAFAVIEH COUTURE Chrissie CPT1034A manual

LDI Spaces SAFCO Tuvi 5070 Assembly instructions

LDI Spaces

LDI Spaces SAFCO Tuvi 5070 Assembly instructions

Barco BC1275 instructions

Barco

Barco BC1275 instructions

Argos Puerto Rico 641/8720 Assembly instructions

Argos

Argos Puerto Rico 641/8720 Assembly instructions

modway EEI-2544 manual

modway

modway EEI-2544 manual

BOPITA BELLE 430055.11 Assembly instruction

BOPITA

BOPITA BELLE 430055.11 Assembly instruction

VIPACK WILLIAM WIKL1240 Assembly instructions

VIPACK

VIPACK WILLIAM WIKL1240 Assembly instructions

Habitat Hana II manual

Habitat

Habitat Hana II manual

Mocka Owen Assembly instructions

Mocka

Mocka Owen Assembly instructions

Pyramat Sound Rocker S 2000 owner's manual

Pyramat

Pyramat Sound Rocker S 2000 owner's manual

Home Decorators Collection STANHOPE SNOVT4922D Use and care guide

Home Decorators Collection

Home Decorators Collection STANHOPE SNOVT4922D Use and care guide

Politorno BANCADA JAU Assembly instruction

Politorno

Politorno BANCADA JAU Assembly instruction

Next AMELIA  145641 Assembly instructions

Next

Next AMELIA 145641 Assembly instructions

BLACK RED WHITE ONTARIO BIU/170 Assembly manual

BLACK RED WHITE

BLACK RED WHITE ONTARIO BIU/170 Assembly manual

Ameriwood HOME 5206026PCOM manual

Ameriwood HOME

Ameriwood HOME 5206026PCOM manual

TUHOME Furniture HMS CZB7666 Assembly instructions

TUHOME Furniture

TUHOME Furniture HMS CZB7666 Assembly instructions

Dynamic VICTOR KC0160 manual

Dynamic

Dynamic VICTOR KC0160 manual

manuals.online logo
manuals.online logoBrands
  • About & Mission
  • Contact us
  • Privacy Policy
  • Terms and Conditions

Copyright 2025 Manuals.Online. All Rights Reserved.