manuals.online logo
Brands
  1. Home
  2. •
  3. Brands
  4. •
  5. Epoch Design
  6. •
  7. Indoor Furnishing
  8. •
  9. Epoch Design 5174: QU-TF-BB-WH User manual

Epoch Design 5174: QU-TF-BB-WH User manual

Congratulations on the purchase of your Quinn Twin over Full Bunk Bed. This bed has been crafted to
the highest standards of quality and safety and will give you many years of enjoyment and practical use.
Your bunk bed can be separated into two individual twin beds if the need arises for alternate
sleeping congurations.
Since this bed is a natural wood product, there will be variations in color and grain, and minor checking
may occur. This is normal and does not compromise the integrity of your bed. In fact, variation in
character of solid hardwood is integral to the beauty and appeal of hardwood furniture, and
distinguishes it from prefabricated, synthetic and composite materials.
Several basic safety considerations must be adhered to when using this bunk bed.
• Never allow a child under 6 years on upper bunk
• Always use the recommended size mattress or mattress support:
Standard twin 37.5" - 38.5" x 74"-75"(95.3cm - 97.8 x 187.9 cm - 190.5 cm) on upper bed and
53" - 54" x 74 " - 75" (134.6 cm - 137.2 cm x 187.9 cm - 190.5 cm) on lower bed to help reduce
the possibility of entrapment or falls.
• Ensure thickness of mattress does not exceed 9” (22.9 cm) for the upper bed
• Surface of mattress must be at least 5”(12.7 cm) below upper edge of safety rails
• Always use safety rails on both sides of upper bunk
• Do not allow horseplay on or under bed(s) and prohibit jumping on the bed(s)
• Prohibit more than one person on upper bed
• If the bunk will be placed next to a wall, the safety rail that runs the full length of the bed should be placed directly
against the wall to prevent entrapment between the bed and the wall
• Follow the information on the warning labels appearing on the upper bunk end board and on the carton
• Do not remove warning label from bed
• Periodically check and ensure that the safety rails, ladder and other components are in their proper positions,
free from damage, and that all connectors are tight
• Do not use substitute parts
• Contact manufacturer or dealer for replacement parts
• The use of a water or sleep otation mattresses is prohibited
• Keep these instructions for future reference
• Use of a night light may provide added safety for a child using the upper bunk
• STRANGULATION HAZARD- Never attach or hang items to any parts of the bunk bed that are not designed
for use with the bed, including but not limited to hooks, belts or jump ropes
On this insert you will nd a list of the hardware and bunk bed parts, as well as detailed assembly
instructions. Assembly is quite simple, and requires only a at head screwdriver and a Phillips head
screwdriver. The use of a power drill with the clutch set to low and a Phillips head attachment is helpful,
but not necessary. Assembly will be most easily accomplished if you take the time to carefully sort
through the hardware and familiarize yourself with the function of each piece.
If you need assistance with assembly, part replacement, or any other matter, please contact the toll-free
Epoch Design Customer Service Team from Monday through Friday, 9 AM-5PM PST at 1 (800) 589-7990.
You may also email your request or comments to info@epochbydesign.com and a customer service
representative will respond. Thank you and Enjoy
TO HELP PREVENT serious or fatal injury from entrapment or falls:
Quinn Twin over Full BunkBed
5174: QU-TF-BB-WH
5175: QU-TF-BB-ES
2-Aug-20181/4
HAVE QUESTIONS OR CONCERNS? CALL US FIRST: 1-800-589-7990
Copyright 2018 Epoch Design™ All rights reserved
©
Have a question? Need a part ASAP? Call 1-800-589-7990 or email info@epochbydesign.com
WRONG
1x Ladder
For access to upper loft
1x Center support
To support slats on
bottom bunk.
2x Long safety rails
For attachment to
upright supports on
wall side of loft
2x Side rails
Connects
headboards
on upper bunk
1x Twin size slat bundle
Rest on side rails
(strap side down)
1x Full size slat bundle
Rest on side rails
(strap side down)
2x Upper bunk side rails
Connects headboards on upper bunk
predrilled holes
2x Upright supports
for attachment to
long safety rails
1x Short safety rail
Safety rail for ladder
side of upper loft
2x Lower end board
For lower bunk
2x Upper end board
For upper bunk
BUNK BED PARTS
HARDWARE LIST
2x 15 mm round head screws
Used to attached ladder hook
to side rails
4x Connector pins
Used to connect
upper to lower bunk
2x Hex key
Used to tighten Hardware
18x Barrel nuts
Used to secure bolts
70x 30 mm slat screws
Used to secure slats to rail
2x 80mm bolts
Used to secure center support
16x 40mm bolts
Used to secure safety rails
16x 100mm bolts
Used to connect headboards &
footboards to side rails
Top
Bottom
mm 10 20 30 40 50 60 70 80 90 100 110
2-Aug-20182/4
Have a question?? Need a part ASAP?? Call 1 -800-589-7990 9AM - 5PM PST
To assemble upper bed, attach short end board to upper bed side rails.
The side rails used on upper bed
have threaded pre-drilled holes
for safety rail attachment.
**NOTE: Insert 100mm bolts through
end boards into barrel nuts.
Pre-drilled holes
Insert barrel nuts
into side rails.
Make sure the
slat ledge is
facing in.
1
3
5
4
6
2
Unroll slat bundle
(strap side down) onto
side rail ledges evenly
from end to end.
Attach slats to side rail ledge
with slat screws using a
Phillips Head screwdriver or a
power drill with the clutch set on low.
Attach the long safety rails
to the upright supports
using eight 40mm bolts.
Tighten with hex key.
**Note: Propel nuts are pre-installed into the bed rails
and face away from the 40 mm bolts as shown.
WRONG
The short side rail is
attached to the side of the
bed accessed by the ladder
using four 40mm bolts.
Attach the long safety rail to the wall side of the
upper bed opposite the ladder using four 40mm bolts.
The propel nuts are pre-drilled into the bed rails.
To assemble bottom bed, be sure the connector pin holes are
positioned onto the same side of the bed.
Attach the lower bed rails as shown
below. Make sure the slat ledge is
oriented inward as shown in gure I.
Tighten 100mm bolts
to barrel nuts with hex key.
Leave the bolts slightly loose and tighten them after next step.
Install the center support wood side
up, insert 80mm bolts through the end
boards into the barrel nuts in the
center support. Tighten the two 80mm
bolts and the
bolts from the
previous step
with hex key.
I.
WRONG
I.
2-Aug-20183/4
Have a question?? Need a part ASAP?? Call 1 -800-589-7990 9AM - 5PM PST
Ladder may now be attached to
either side of the bunk. If desired,
you may permanently ax the ladder to
either side of the bunk by using two 15mm
round head screws.
**NOTE: Do not ax ladder if you have
purchased under bunk drawer.
Now use the hex key to retighten all bolts
so that bunk bed assembly is rigid.
Keep your hex key in a safe place, as you
may need to occasionally retighten all the
bunk hardware.
Insert a connector pin into each of the four holes on the bottom
end board. Get assistance to place the upper bunk on top of the
lower bunk.
2-Aug-20184/4
Attach slats to side rail ledge
and center support rail with
slat screws using a Phillips Head screwdriver
or a power drill with the clutch set on low.
Unroll slat bundle (strap side down)
onto side rail ledges evenly from end to end.
7
9
8

This manual suits for next models

1

Other Epoch Design Indoor Furnishing manuals
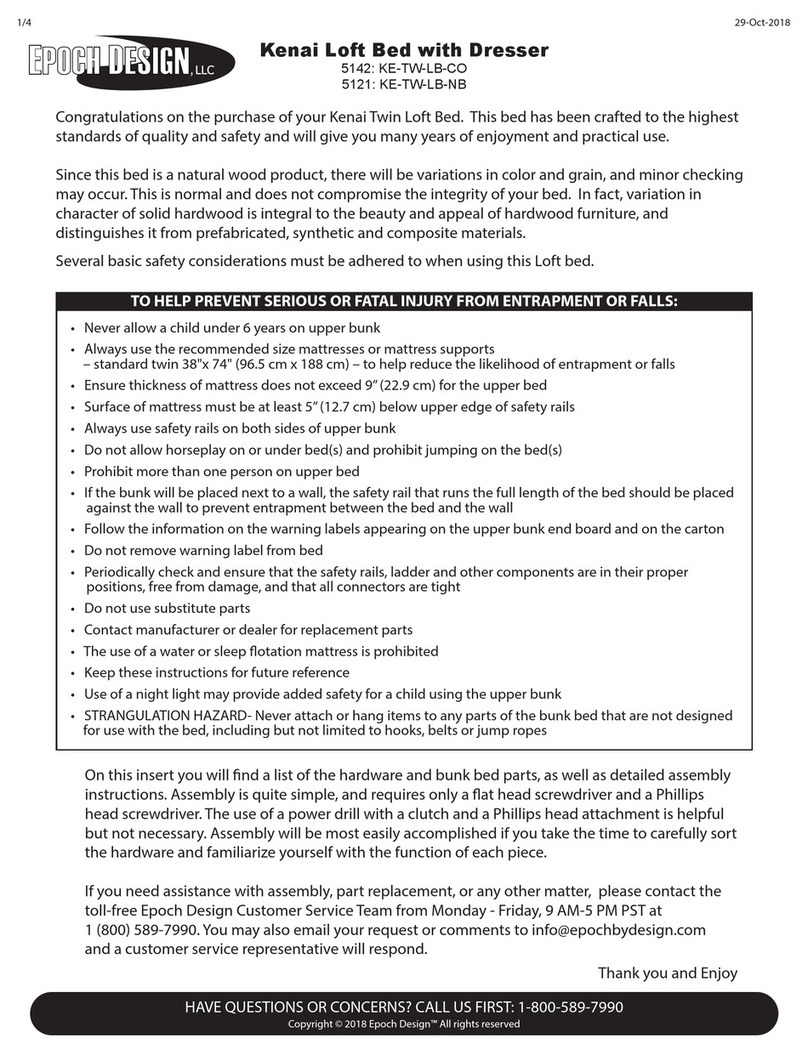
Epoch Design Kenai 5142 User manual

Epoch Design

Epoch Design Kenai 5142 User manual
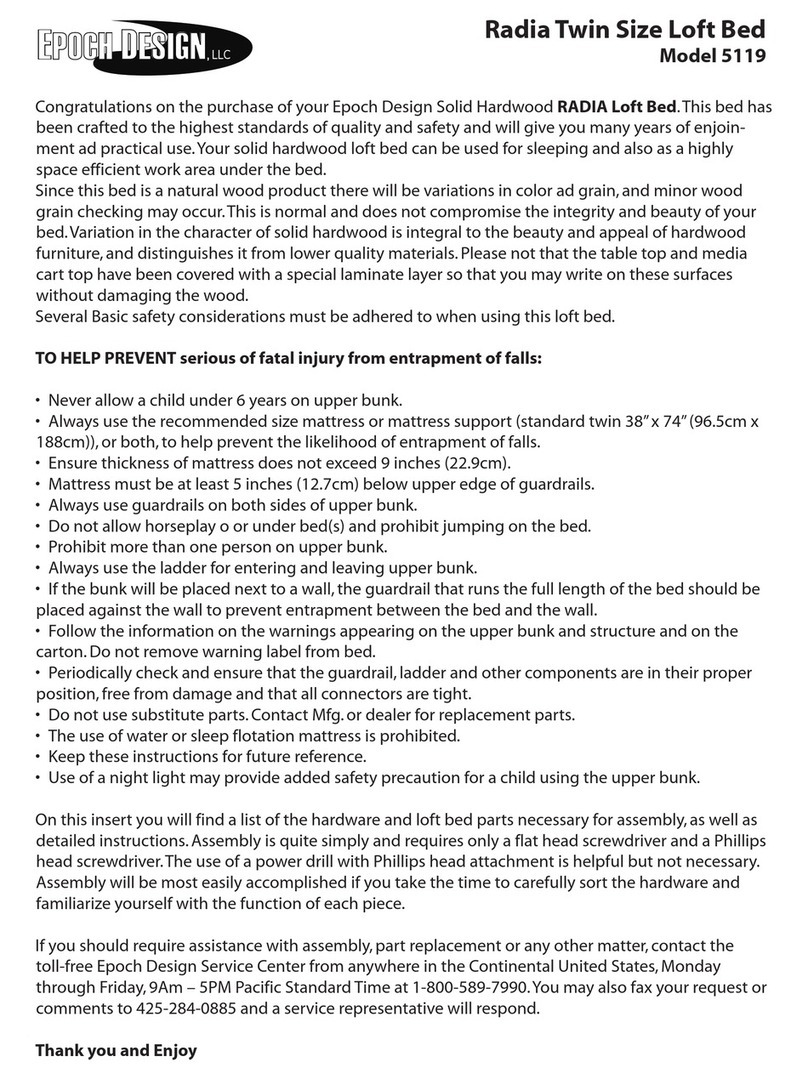
Epoch Design 5119 User manual

Epoch Design

Epoch Design 5119 User manual
Epoch Design DAKOTA 5375 User manual

Epoch Design

Epoch Design DAKOTA 5375 User manual
Epoch Design Pacifica 5472 User manual

Epoch Design

Epoch Design Pacifica 5472 User manual

Epoch Design Astoria 5190 User manual

Epoch Design

Epoch Design Astoria 5190 User manual

Epoch Design Nara Bamboo User manual

Epoch Design

Epoch Design Nara Bamboo User manual

Epoch Design Jenny Lee 5131 User manual
Epoch Design

Epoch Design Jenny Lee 5131 User manual

Epoch Design VERONA 5415 User manual

Epoch Design

Epoch Design VERONA 5415 User manual
Epoch Design AM-5D-DR-BA User manual

Epoch Design

Epoch Design AM-5D-DR-BA User manual
Epoch Design Gabriel 5169 User manual

Epoch Design

Epoch Design Gabriel 5169 User manual

Epoch Design Pacifica User manual

Epoch Design

Epoch Design Pacifica User manual
Epoch Design Pacifica User manual

Epoch Design

Epoch Design Pacifica User manual
Epoch Design McKenzie MK-TT-BB-NB User manual
Epoch Design

Epoch Design McKenzie MK-TT-BB-NB User manual

Epoch Design GA-OS-MC-NB User manual

Epoch Design

Epoch Design GA-OS-MC-NB User manual
Epoch Design Dakota Twin 5103 User manual

Epoch Design

Epoch Design Dakota Twin 5103 User manual

Epoch Design NIKO 5480 User manual

Epoch Design

Epoch Design NIKO 5480 User manual
Epoch Design ParkrosePK-QU-PB-ES User manual
Epoch Design

Epoch Design ParkrosePK-QU-PB-ES User manual

Epoch Design Seneca Twin over Full User manual
Epoch Design

Epoch Design Seneca Twin over Full User manual

Epoch Design Peyton PN-FU-XB-ES User manual
Epoch Design

Epoch Design Peyton PN-FU-XB-ES User manual

Epoch Design Ashton 5174 User manual

Epoch Design

Epoch Design Ashton 5174 User manual

Epoch Design McKenzie 5115 User manual

Epoch Design

Epoch Design McKenzie 5115 User manual

Epoch Design Gabriel Twin Size Study Loft Bed User manual

Epoch Design

Epoch Design Gabriel Twin Size Study Loft Bed User manual

Epoch Design 5401 AM-QU-PB-BA User manual

Epoch Design

Epoch Design 5401 AM-QU-PB-BA User manual

Epoch Design Ashton 5308 User manual

Epoch Design

Epoch Design Ashton 5308 User manual

Popular Indoor Furnishing manuals by other brands

CONFORAMA IRENE 304145 Assembly instructions
CONFORAMA

CONFORAMA IRENE 304145 Assembly instructions

J.Burrows TORO TOR18BKCKT Assembly instructions
J.Burrows

J.Burrows TORO TOR18BKCKT Assembly instructions

Walker Edison TW60S Assembly instructions
Walker Edison

Walker Edison TW60S Assembly instructions

Songmics VASAGLE KDT076 manual

Songmics

Songmics VASAGLE KDT076 manual
VIPACK PIHSZG14 Instructions for use

VIPACK

VIPACK PIHSZG14 Instructions for use

Whittier Wood McKenzie Alder 1614a Assembly instructions
Whittier Wood

Whittier Wood McKenzie Alder 1614a Assembly instructions

AFG M668 Assembly instructions

AFG

AFG M668 Assembly instructions
Blanco BLANCOTERRA 157-137 Specification sheet
Blanco

Blanco BLANCOTERRA 157-137 Specification sheet

Galipette ANATOLE P3B 800 Assembly instructions

Galipette

Galipette ANATOLE P3B 800 Assembly instructions

Atlantic Furniture Mission Printer Stand With Shelf AH10224 Assembly instructions

Atlantic Furniture

Atlantic Furniture Mission Printer Stand With Shelf AH10224 Assembly instructions
Argos Austen 804/3416 manual

Argos

Argos Austen 804/3416 manual

Roveconcepts OUTDOOR DRESDEN ARMLESS SOFA Assembly instructions

Roveconcepts

Roveconcepts OUTDOOR DRESDEN ARMLESS SOFA Assembly instructions

Hausmann 7650-751 Installation & operation instructions
Hausmann

Hausmann 7650-751 Installation & operation instructions

Lifestyle Solutions QUEEN SIZE Assembly instructions

Lifestyle Solutions

Lifestyle Solutions QUEEN SIZE Assembly instructions

siena GARDEN Falun 120.549 Assembly instruction

siena GARDEN

siena GARDEN Falun 120.549 Assembly instruction

EXPEDO BRINICA 215103 Assembly instruction

EXPEDO

EXPEDO BRINICA 215103 Assembly instruction

CUGGL FSC WOODEN GATE NATURAL Care & instruction manual

CUGGL

CUGGL FSC WOODEN GATE NATURAL Care & instruction manual

Vivo CHAIR-CL01B instruction manual

Vivo

Vivo CHAIR-CL01B instruction manual

manuals.online logo
manuals.online logoBrands
  • About & Mission
  • Contact us
  • Privacy Policy
  • Terms and Conditions

Copyright 2025 Manuals.Online. All Rights Reserved.