Ergonomic products 32 INWALL COMFORT MEDIA User manual
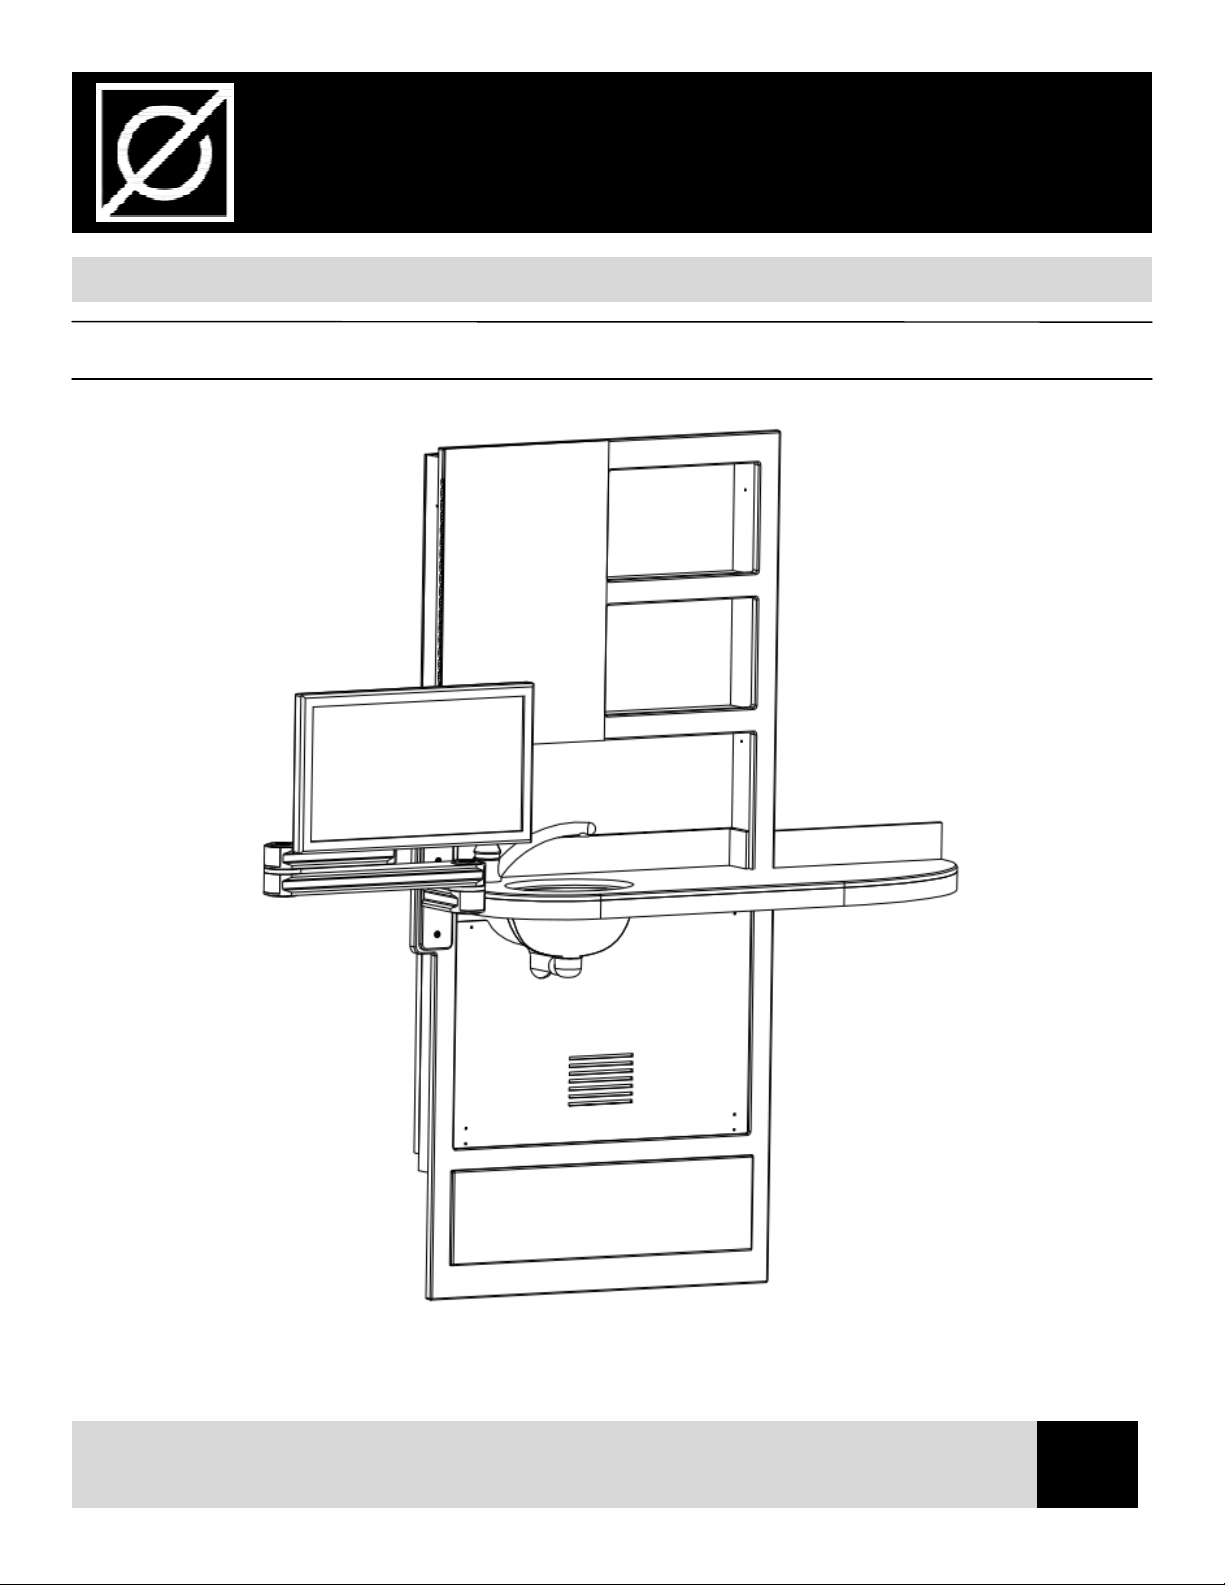
Monitor not included
N9A
2.0
Product
ID:
Manual version:
Ergonomic Products
Performance Without Compromise®
32” INWALL™ COMFORT MEDIA
Specification / Installation and Guide
Left mounted sink.
CORIAN® counter extension to right.
PAGE 2
N9A manual v. 2.0
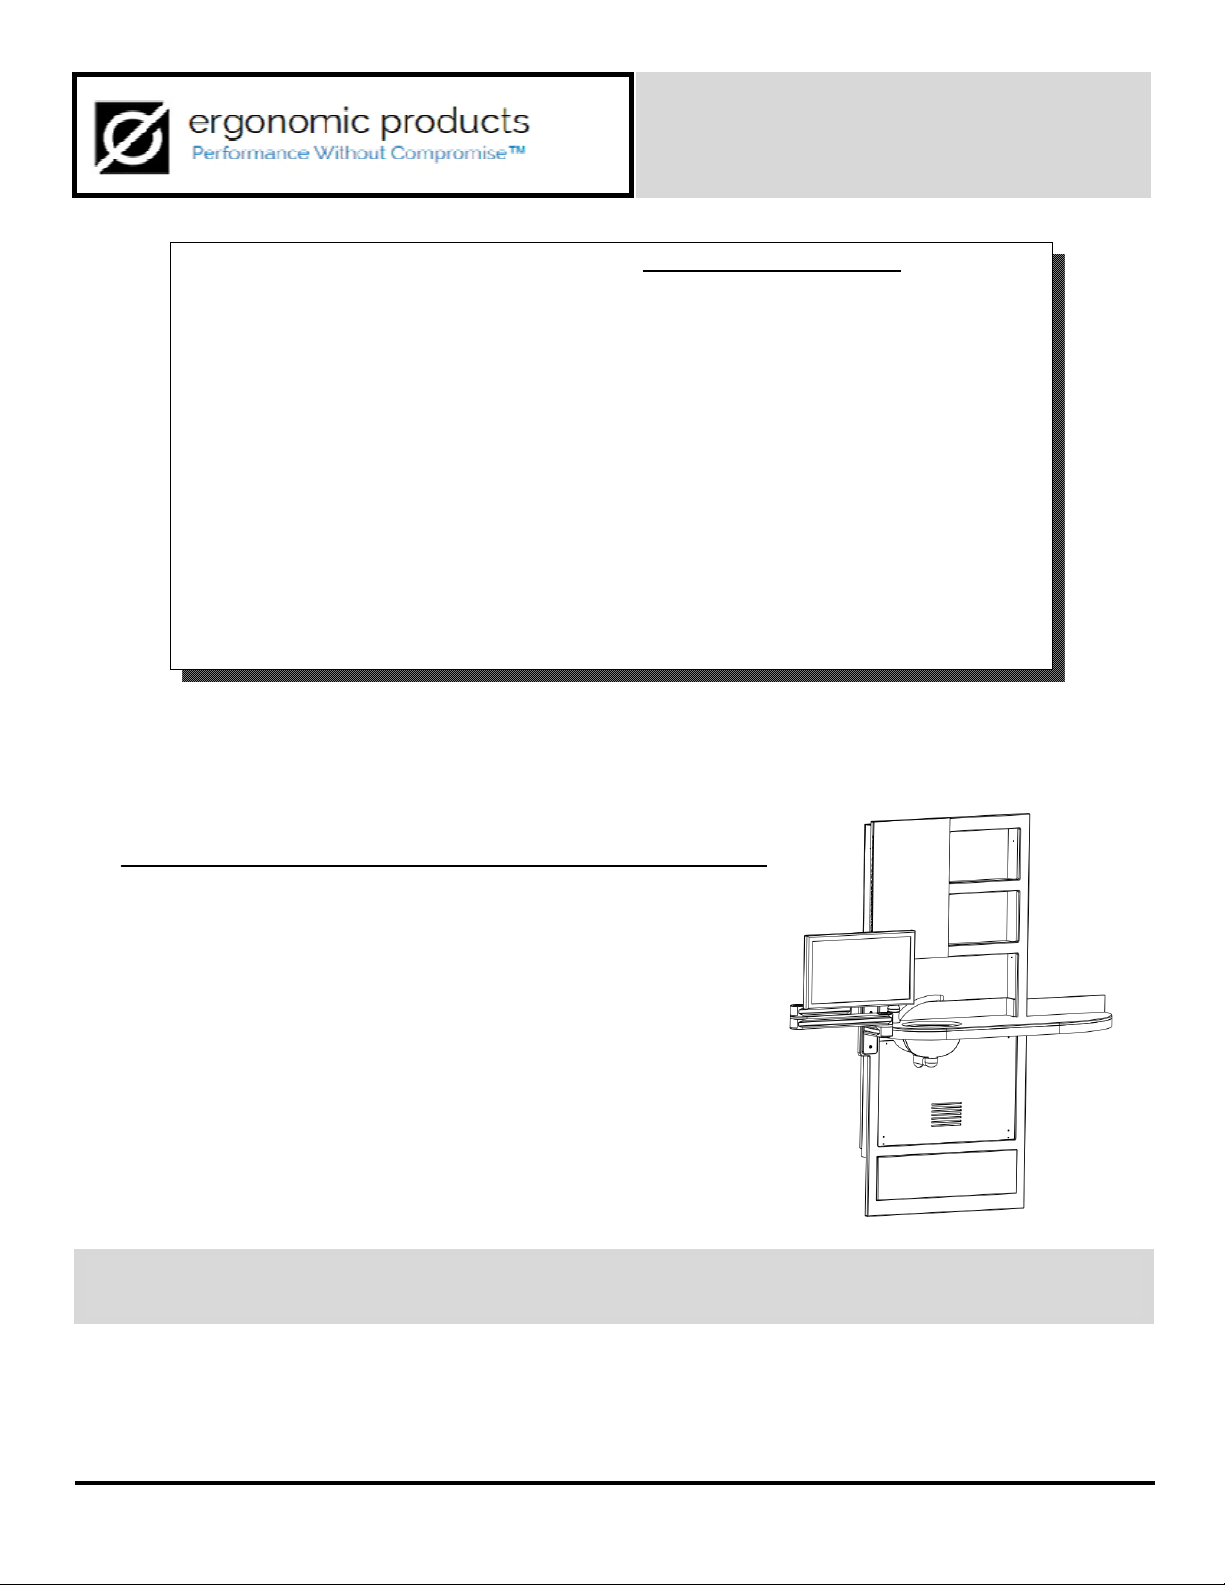
32” INWALL™ COMFORT MEDIA
Model N9A
Thank you
for purchasing the Ergonomic Products
32” Inwall
™
Comfort Media
Years of research by dentists, engineers and designers have made this a uniquely effective
product in the industry. We stand behind our equipment, and genuinely believe it to be the best
available on the market.
Should you have any questions regarding the product’s installation or use, please don’t hesitate
to call our customer service specialists at 1-866-ERGO-4-US. We may also be reached via
email at equip@ergonomic-products.com.
We hope you enjoy the benefits and quality of your new equipment and look forward to handling
your future needs as you and your practice continue to grow!
- The Ergonomic Products Team
Call our Customer Service Specialists at:
1-866-ERGO-4-US
QUESTIONS?
CONTENTS:
1. Specifications and Site Planning.…………………..……………………….3
2. Required Tools / Unpacking and Inspecting…..…….………..………5
3. Installed…………………………………….…….…………………….………………6
4. M aintenance……………………..…………………………………..……….…….
9
5. Service and Warranty Information…………………………………….…10
Ergonomic products • 198 Airport Rd • Fall River, MA 02720 • 866
-
374
-
6487
PAGE 3
N9A manual v. 2.0
1
–
SPECIFICATIONS and SITE PLANNING
32” INWALL™ COMFORT MEDIA
Model N9A
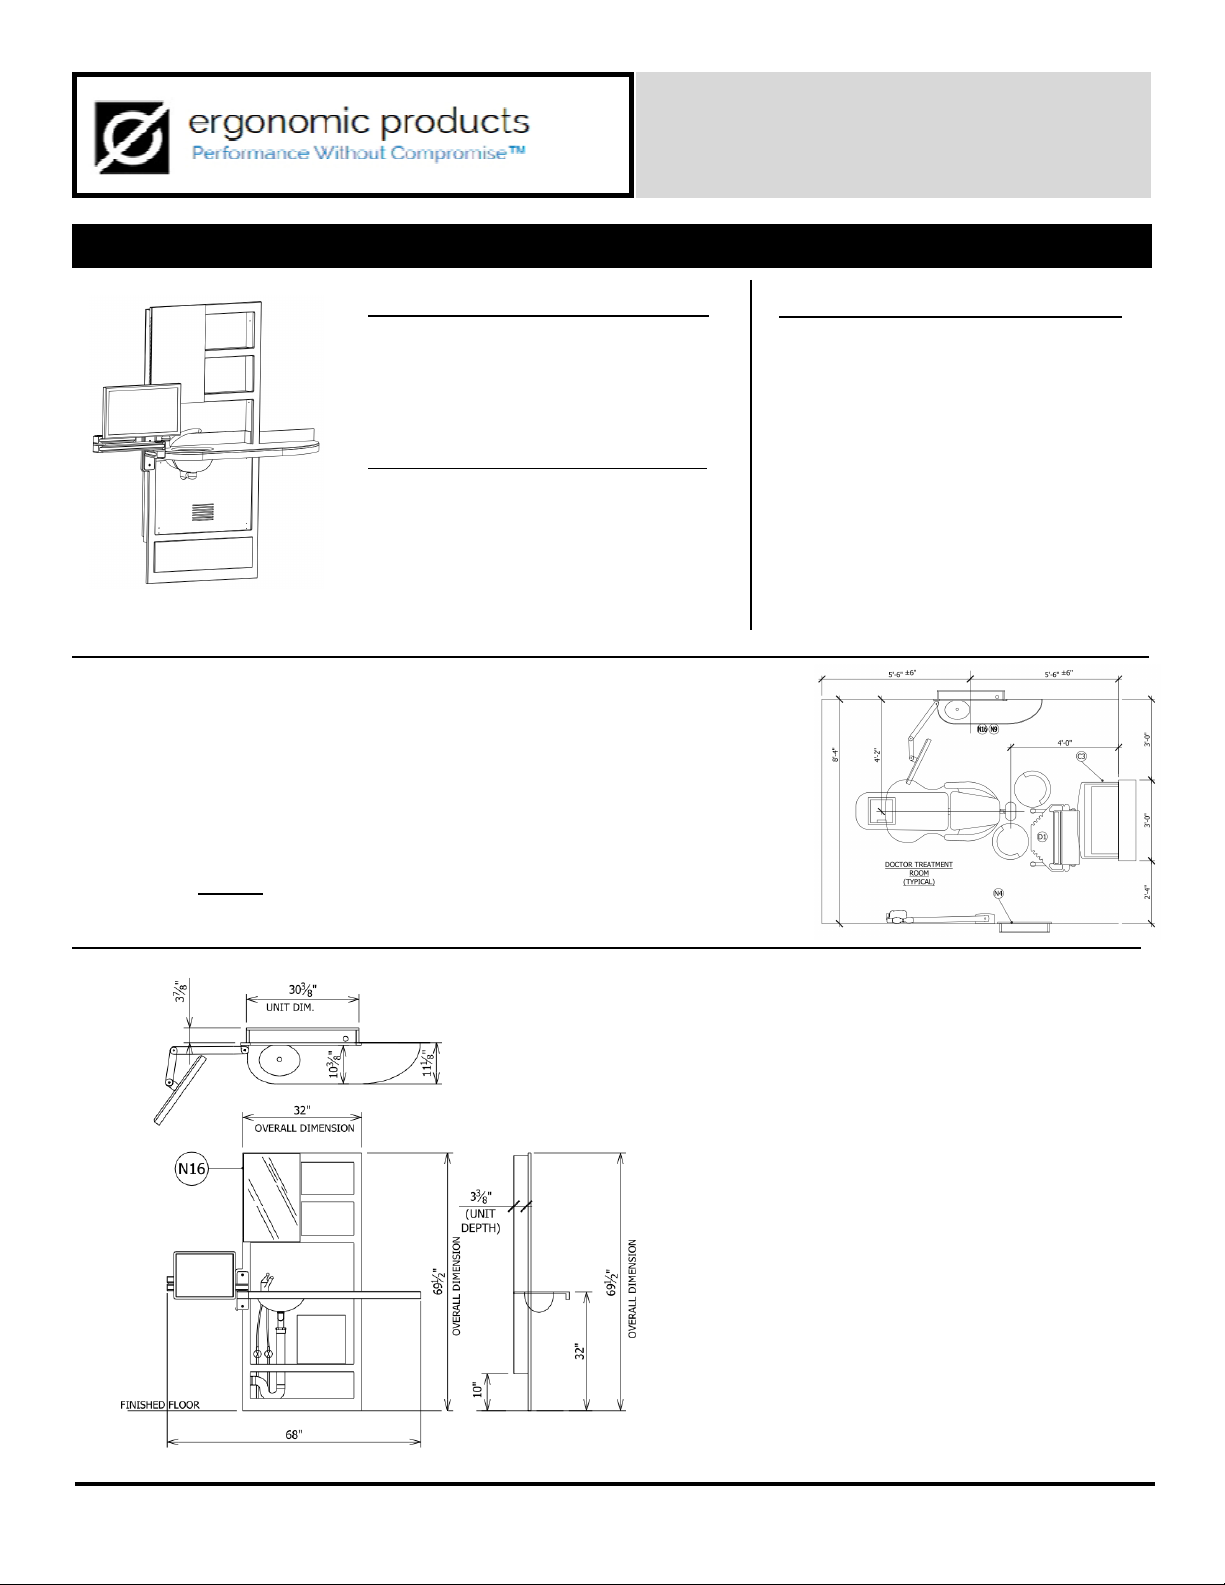
USE & FEATURES_______________
● Inwall storage cabinet
● Counter space
● Digital Media Presentation
● Sink
VARIANT/OPTION NOTATIONS____
Sink mounted LEFT
Counter extension RIGHT
Note: Product also available with
RIGHT mounted sink, or without sink.
Confirm accuracy of product prior to
installation.
BASIC UTILITY REQUIREMENTS___
*Plumbing
- Hot & Cold feed lines
- Drainage & venting
Electrical
- 120v feed (outlet)
- Intra/Inter-net feed (data-port)
*If unit is purchased without sink,
disregard plumbing requirements.
IDEAL LOCATION CONFIGURATION
Left Sink with Right Counter Extension, ideally for Right Handed Doctor rooms.
To maximize monitor arm geometry, the 32” Comfort Media should be placed
roughly 5’ 6” from the headwall (as shown). Dimensional tolerance of 6” will
allow maximum effect for patient presentation and treatment planning.
For alternate room layouts or equipment configurations, position unit so that
right side of cabinet lines up with head of chair when reclined.
DIMENSIONS
NOTE: All Height Dimensions are referenced away
from the FINISHED FLOOR (“AFF”)
When planning the Rough Opneing, it is crtitcal to
measure from the installed Finish Floor, or account
for its eventual depth if it is not yet installed.
Ergonomic products • 198 Airport Rd • Fall River, MA 02720 • 866
-
374
-
6487

PAGE 4
N9A manual v. 2.0
32” INWALL™ COMFORT MEDIA
Model N9A
1
–
SPECIFICATIONS and SITE PLANNING cont’d
ROUGH OPENING
NOTE: All Height Dimensions are referenced away from the FINISHED FLOOR (“AFF”)
When planning the Rough Opening, it is critical to measure from the installed
Finish Floor, or account for its eventual depth if it is not yet installed.
Electrical Specifications
120v Duplex Outlet
(comput er and monitor)
Cat 5 (or better) Data Jack
Electrical
Specifications
Unit is supplied w ith delt a 570
Single Lever Faucet and 1-1/ 4”
90⁰ Tail-Piece.
Plumber t o provide:
- 1/ 2” Hot & Cold domestic
supply lines w ith straight
1/ 4 turn-st op and 3/ 8”
compression.
- 1—1/ 2” DM V wit h P-Trap
as show n.
UTILITY SPECIFICATIONS AND DETAIL
NOTE: All Height Dimensions are referenced
away from the FINISHED FLOOR (“AFF”)
Ergonomic products • 198 Airport Rd • Fall River, MA 02720 • 866
-
374
-
6487

PAGE 5
N9A manual v. 2.0
32” INWALL™ COMFORT MEDIA
Model N9A
2
–
REQUIRED TOOLS / UNPACKING and INSPECTING
PARTS LIST
Check that the configuration/options for your product(s) are correct. If
anything is damaged
or missing, please contact Ergonomic Products customer service at 1-866-ERGO-4-US
REQUIRED
TOOLS
Phillips Head Screw Driver
Electric Drill
3/8” Drill Bit & Counter sink
Level
1. Inspect all shipping containers for visible damage
upon arrival. If transit damage is found photograph
damage, and contact Ergonomic Products immediately.
(This will expedite the corrective process).
2. Use safe lifting procedures to free the product from
the container, and remove all packing material and any
accessory boxes from shipping container.
3. Lay individual components on clean surface to avoid
scratching, and inspect contents. If damage is found,
contact Ergonomic Products immediately.
4. Do not discard accessory boxes without thoroughly
confirming they are empty first.
All claims against the freight carrier must be initiated at the
time the damaged items are received. The claim is the
responsibility of the customer.
The following items come pre
-
installed on the Base Unit:
Hinged M irror
Lower Cover
Utilit y Access Cover
Additional items:
(1) 1-1/4” 90˚ Sink Tail-piece
(not included if unit is
purchased without sink)
(4) #10-32 x 3/4” screws
(4) #10-32 x 1” screws
(1) Extended Counter Backsplash
(2) Side Backsplash
(1) Rear Backsplash
(1) 12” x 1” wooden Counter Support Cleat
(1) 2.8 oz tube of Silicone Adhesive
(2) Support “L” Brackets
(1) Boxed ICW T2 Monitor Mount includes:
• Mounting Bracket & Screws
• Media Arm
• Installation Sheet
Ergonomic products •
198 Airport Rd • Fall River, MA 02720 • 866
-
374
-
6487
Table of contents
Other Ergonomic products Medical Equipment manuals

Ergonomic products
Ergonomic products Safe-T-Shield VacTrac User manual

Ergonomic products
Ergonomic products R3A1 User manual

Ergonomic products
Ergonomic products Safe-T-Shield User manual

Ergonomic products
Ergonomic products D1C Series User manual

Ergonomic products
Ergonomic products R3A1 User manual

Ergonomic products
Ergonomic products C1A1 User manual
Popular Medical Equipment manuals by other brands


Getinge
Getinge Arjohuntleigh Nimbus 3 Professional Instructions for use

Mettler Electronics
Mettler Electronics Sonicator 730 Maintenance manual

Pressalit Care
Pressalit Care R1100 Mounting instruction

Denas MS
Denas MS DENAS-T operating manual

bort medical
bort medical ActiveColor quick guide

AccuVein
AccuVein AV400 user manual


