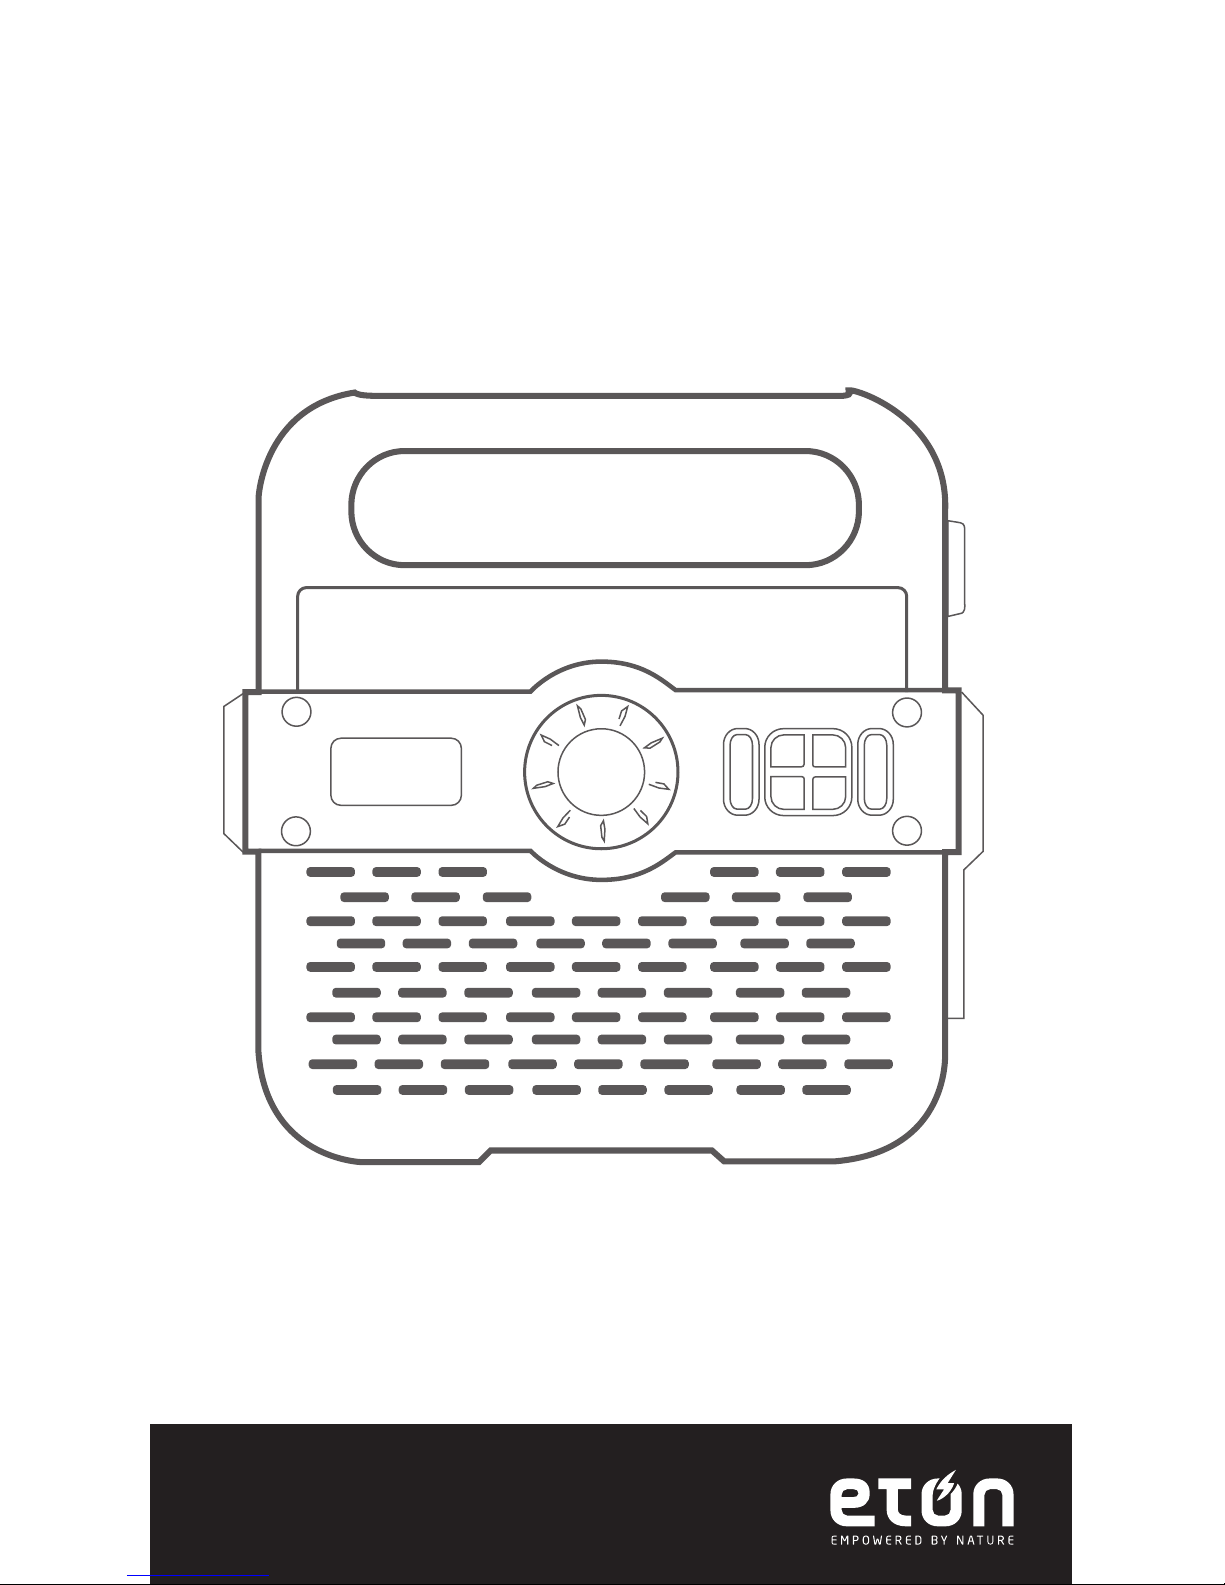
SOLARLINKFR370 OWNER’S MANUAL
7
ANSWERS TO QUESTIONS
REGARDING CHARGING
• How much operating time does 90 seconds of hand cranking provide for
the radio to play? About 5 to 7 minutes, at low volume.
• How long does it take to fully charge the radio’s battery with the AC
adapter? About 5 hours.
• How long will the radio play when charged with the AC adapter?
About 3 to 4 hours, at low volume.
• How long does it take to fully charge the radio’s battery with the solar
panel? About 10 hrs in direct sunlight.
(not through a window or in the shade).
CHARGING CELL PHONES
If your cell phone has a USB charging cord, you can use it. If not, you can
purchase one from www.iGo.com, or call 1-888-205-0093. To purchase a
charging tip and cord for your cell phone, go to www.iGo.com, or call
1-888-205-0093. Purchase USB charging cable model# PS00271-0003
and have the brand and model of your cell phone ready to purchase the tip.
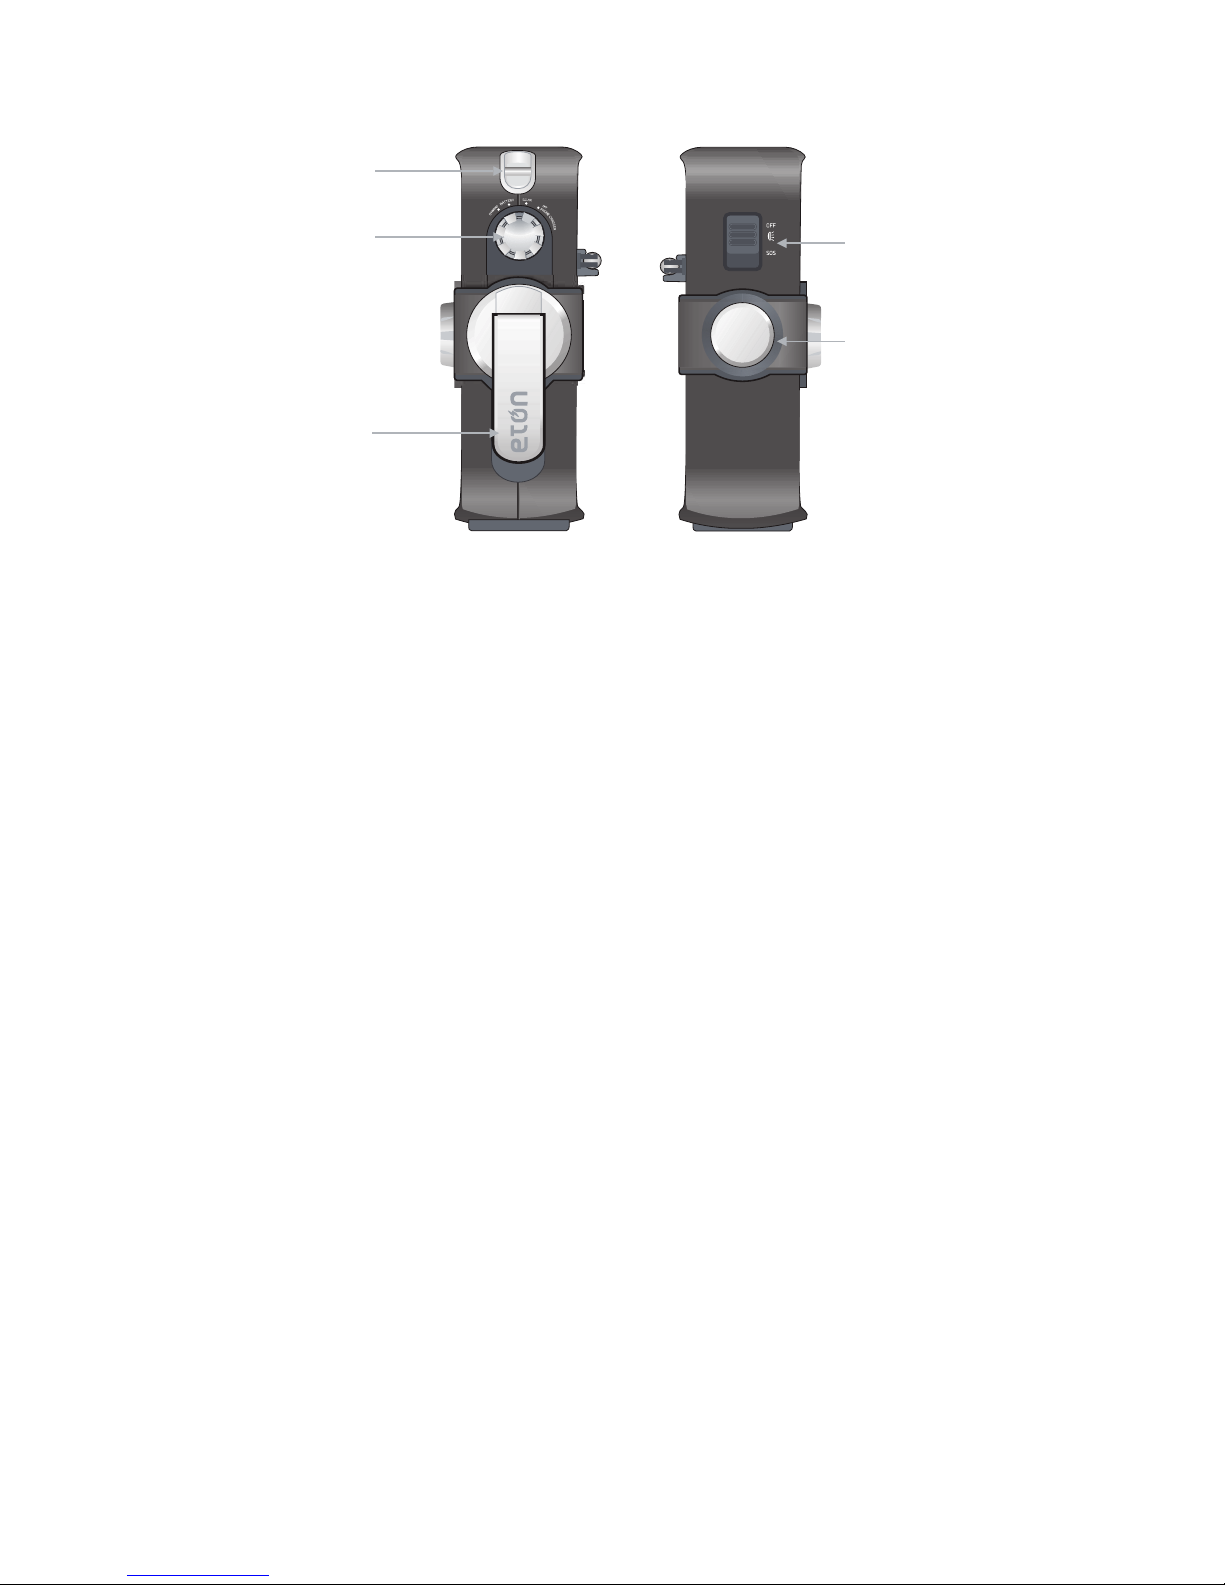
Set the <Power Supply> knob to “PHONE CHARGER.” Plug the USB cell
phone charging cord into the USB PHONE CHARGER jack (located under
the rubber cover on the back of the radio.). Plug the other end of the cord
into the cell phone charging tip and then into the jack of the cell phone.
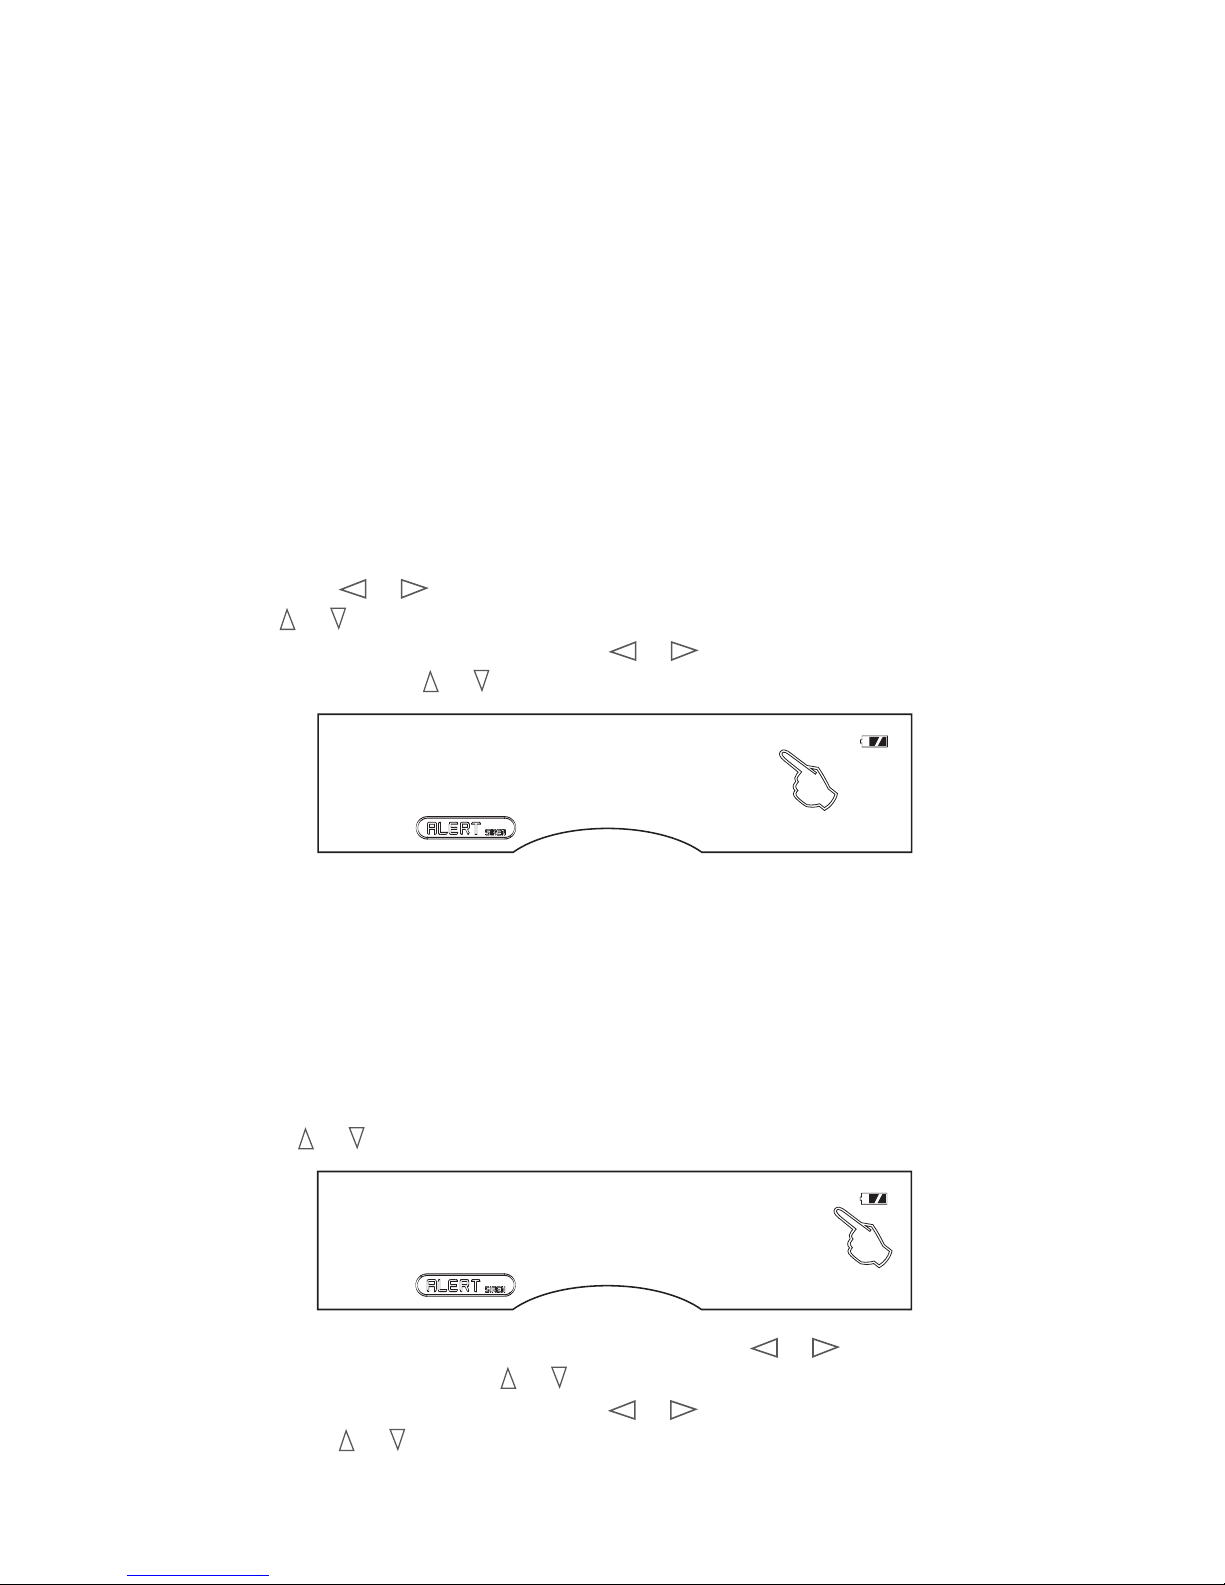
The FR370 will only charge your cell phone if the battery indicator shows
it at full, or two bars. To charge your cell phone with a low battery, turn
the crank for 10 minutes at 130 rpm to charge the cell phone enough to
talk for about 5 minutes.
NOTE: When charging a cell phone via the USB cell phone charger, it is
important to turn the crank at least 2 revolutions per second, or until you
see the green or orange LED above the crank handle turn on. This is an
indication that the phone is receiving enough power from the radio. Con-
tinue to crank at this rate until you are satised that an appropriate level of
charge has been received by your cell phone. If you decide to stop cranking
for whatever reason, please wait at least 5 seconds before beginning to
crank again. Not following these instructions may cause damage to your cell
phone for which Eton disclaims any liability and will not be held liable for
any actual or consequential damages related to this matter.