3
INSTALLATION INSTRUCTIONS
•Please ensure that before installing the rangehood, all power is switched off.
•Installation must be in accordance to the local electrical authority and codes.
•This rangehood must be earthed at all times for the operators’ safety.
•The switched power outlet for the rangehood should be positioned to enable the user to turn the
power off, to enable cleaning and any maintenance required.
•The switched power outlet should be installed within 600mm from the rear of the appliance.
•Ensure that when installing the rangehood, that it is protected from any possible damage from tools
etc.
•Ducting for this appliance must be installed in accordance to the local authority.
•Ensure that the fixings used for this rangehood are suitable.
•Check the area where the rangehood is to be fitted, to ensure that it is structurally sound.
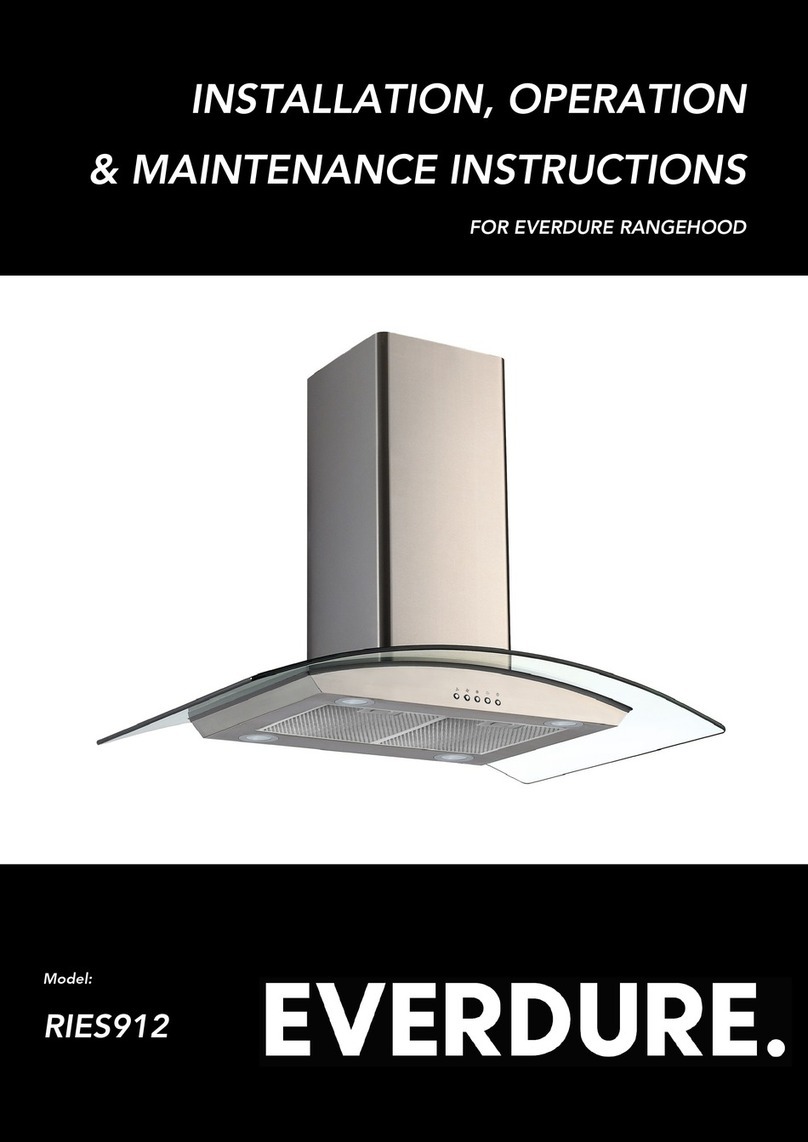
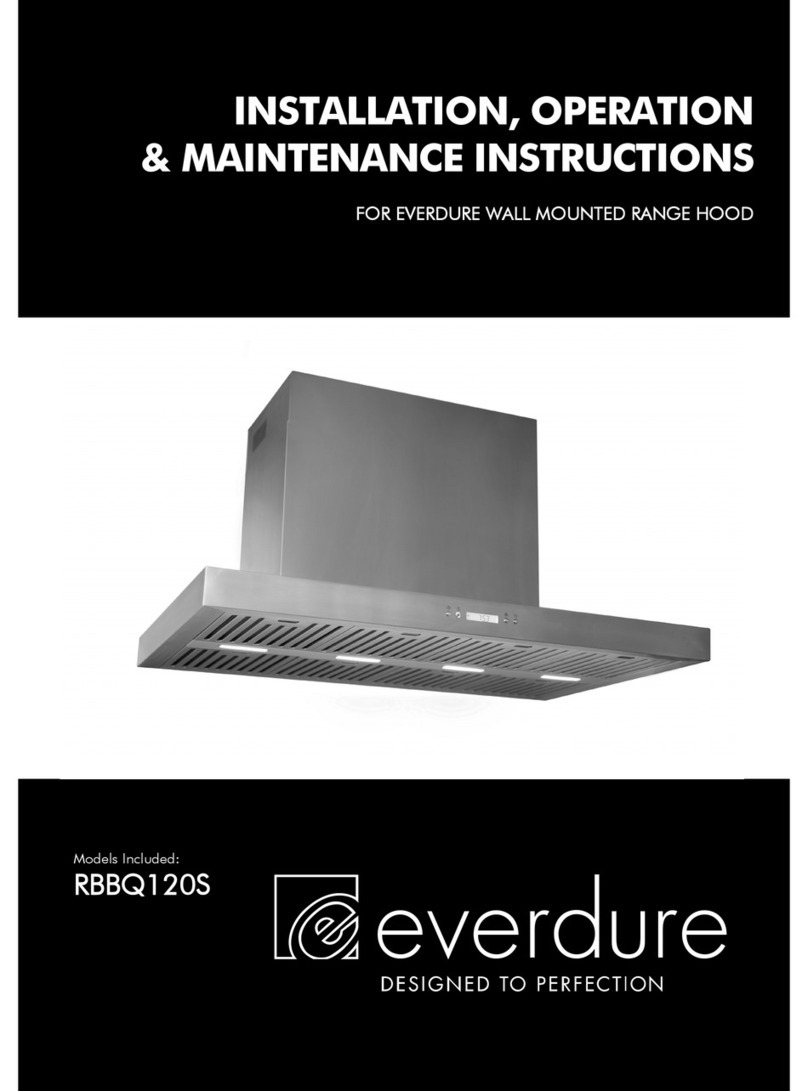
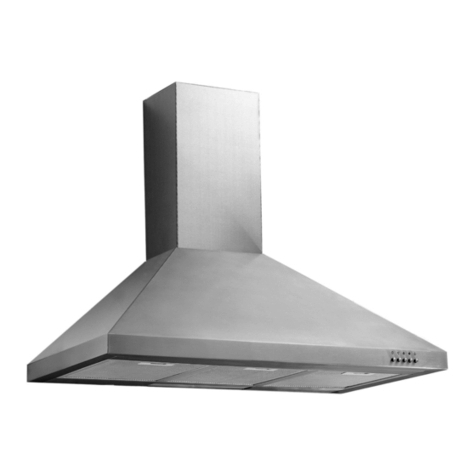
•The Everdure RBES632 & RBES912 rangehoods are intended to be installed directly onto a wall.
INSTALLATION OF THE RBES632 & RBES912 RANGEHOODS DIRECTLY TO A WALL
Ensure that the wall is structurally sound, and is capable of carrying the weight of the rangehood.
The rangehood must be placed at a minimum of 650mm away from the cooking surface of an electric cooktop
or gas cooktop. The cooktop may require a different minimum distance; the greater minimum distance must be
followed. The appliance is held to a wall via 3 brackets (supplied with the appliance):
1) Hook Bracket. 2) Centre Bracket (flat). 3) Top Bracket (U-shaped).
Place the hood main unit (no u-shaped section) against the wall at the correct position and mark off the top
edge of the appliance. Remove the main unit and measure up 22mm to get the top level for the hook bracket.
Place the hook bracket (hooks up) under the mark and mark in the 3 screw holes. Remove the bracket and drill
three (3) Ø8mm holes 100mm apart. Insert plastic plugs into the holes and fix the hook bracket onto the wall
(see figure 1) with three (3) 40mm screws. Place the hood main unit onto the hooks.
If the position is correct, mark out the positions for the safety screw holes (through the back of the appliance),
and remove the hood body. Drill two (2) Ø8mm holes and fit in two (2) plastic plugs.
Screw the one-way valve in position at the top of the body (4 x 8mm bolts) & fit the soot tube to the one-way
valve (see figures 2 & 3).
Fit the u-shaped sections together & screw the centre bracket onto the back of the outer u-shaped section
using the supplied 8mm screws (this helps keep the width at the back even with the front) (see figure 4). Place
the u-shaped section onto the main unit and fix in place with two (2) 8mm screws (see figure 5).
Hook the main unit with the u-shaped sections back onto the wall. Mark the positions of the 2 holes needed to
fix the centre bracket to the wall & remove the assembly. Drill two (2) Ø8mm holes and fit in two (2) plastic
plugs. Place the assembly back on the hooks. Fix the centre bracket to the wall with two (2) 40mm screws and
fix the body to the wall with the 30mm screws (through the back of the main appliance). Run the loose end of
the soot tube outside.
Calculate the final height of the u-shaped section and pull out the inside u-shaped section to a suitable height
(see figure 5) to check. Mark the 2 sides near the top and push the inner section out of the way. Place the top
bracket (slots to the bottom) centred between the 2 marks, mark the 2 screw holes. Remove the bracket and
drill two (2) Ø8mm holes at the marks. Insert plastic plugs into the holes and fix the hook bracket onto the wall
(slightly loose) using 40mm screws.
Pull up the inside u-section to allocate the top bracket correctly, and tighten the screws holding the bracket.
Pull the u-section over the bracket completely and fix into place with 2 screws at the sides (see figure 7). Note:
The top edge of the u-shaped bracket matches the top edge of the u-shaped section – adjust according to your
own needs.
For timber framed houses, special care should be taken that all brackets are attached to areas that will support
the weight of the rangehood.
NOTE: Remove all protective plastic coatings from the stainless steel surfaces before use.


