10
SECTION 2 KNOW YOUR MACHINE
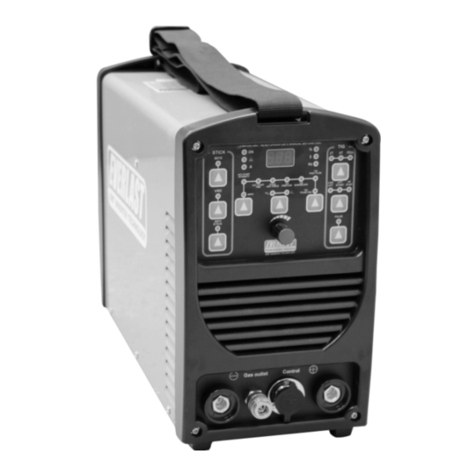
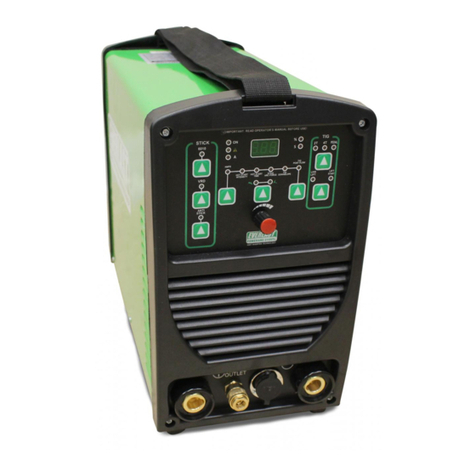
2.0 Connecting your Everlast TIG AC/DC ma-
chine
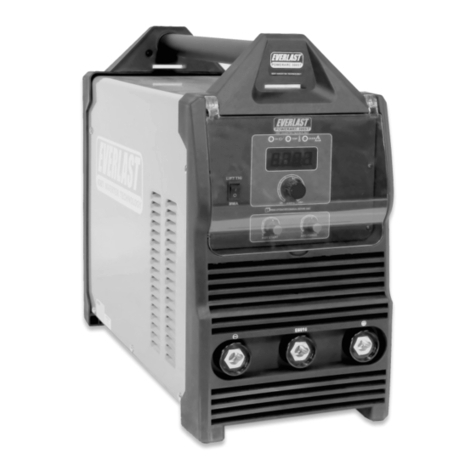
2.1.1 TIG 210EXT This machine is designed to
operate on 240v +/- 15% input single phase AC
outlet. Ensure there is adequate ventilation
around the machine when it is connected to the
main power supply.
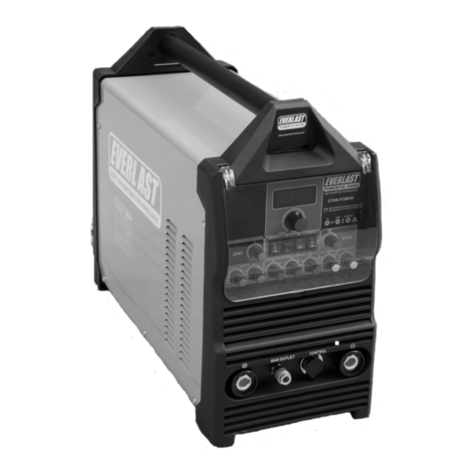
2.1.2 TIG 320EXT This machine depending on
your country is designed to work on a 220v,
380v or 460v (verify the voltage on your ma-
chine) +/- 15% input 3 phase supply. Ensure
that there is adequate ventilation around the
when it is connected to the main power supply.
2.2 Shielding Gas When working the machine
in the TIG mode of welding the process re-
quires a shielding gas. The shielding gas
can be supplied via a pressure regulator to
the machine from either a fixed installation or
single cylinder of gas. If a cylinder of gas is
used, please ensure that the cylinder is secure-
ly fastened before starting any welding opera-
tion. Refer to the application section for the
selection of the correct shielding gas.
2.3 TIG Torch Connection The TIG torch is fit-
ted to the welding machine by means of the
dinse connector. The TIG torch dinse connect-
or is connected to the negative output port lo-
cated on the front bottom panel of the machine.
The gas hose is fitted to the gas fitting (GAS).
The TIG torch switch or the foot pedal is con-
nected using the 5 pin connection on the front
bottom panel of the machine.
2.4 MMA Operation The Everlast AC/DC range
can be used as a MMA welding machine by fit-
ting an electrode holder and a work clamp to
the respective dinse connectors (dependent on
the type of electrodes being used. Please con-
sult the electrode packaging for the correct
polarities.)
2.5.1 For Direct Current (DC) Welding Select
the correct size and type of non-consumable
tungsten and shielding gas for the application
(See selection chart at the end of section 3)
For (DC-) (most commonly used polarity) con-
nect the TIG torch to the negative dinse plug
connector and the work clamp to the positive
dinse plug connector.
For (DC+) applications connect the TIG torch to
the positive dinse plug connector and the work
clamp to the negative dinse plug connector. In
this mode most of the heat is generated within
the non-consumable tungsten and the heat in-
put into the plate is reduced resulting in lower
penetration depths. (larger tungstens are nor-
mally selected for this application.
Ensure that the process selector switch (3) is
switched TIG.
Ensure that the AC/DC selector switch (4) is set
on DC.
Select 4T2T on the trigger selector switch (5).
Depress the contactor switch on the torch and
hold this down for the entire weld.
Selecting the 2T function will disable the Start
current (9) and the process will immediately
rise to the selected welding current.
For 4T operation, depress the contactor switch
on the torch and release it when welding starts.
Depress the contactor switch again at the end
of the weld.
Selecting the 4T function will enable the start
current (9) and the downslope cycle (12). Both
start current and downslope cycle time must be
manually selected.
Using a remote control device (such as a foot
control, or remote pendant). When using a re-
mote device ensure that the device is properly
fitted by connecting it to the remote control out-
let connector (21). The remote operating con-
trol switch (7) must be set in the on position.
7
