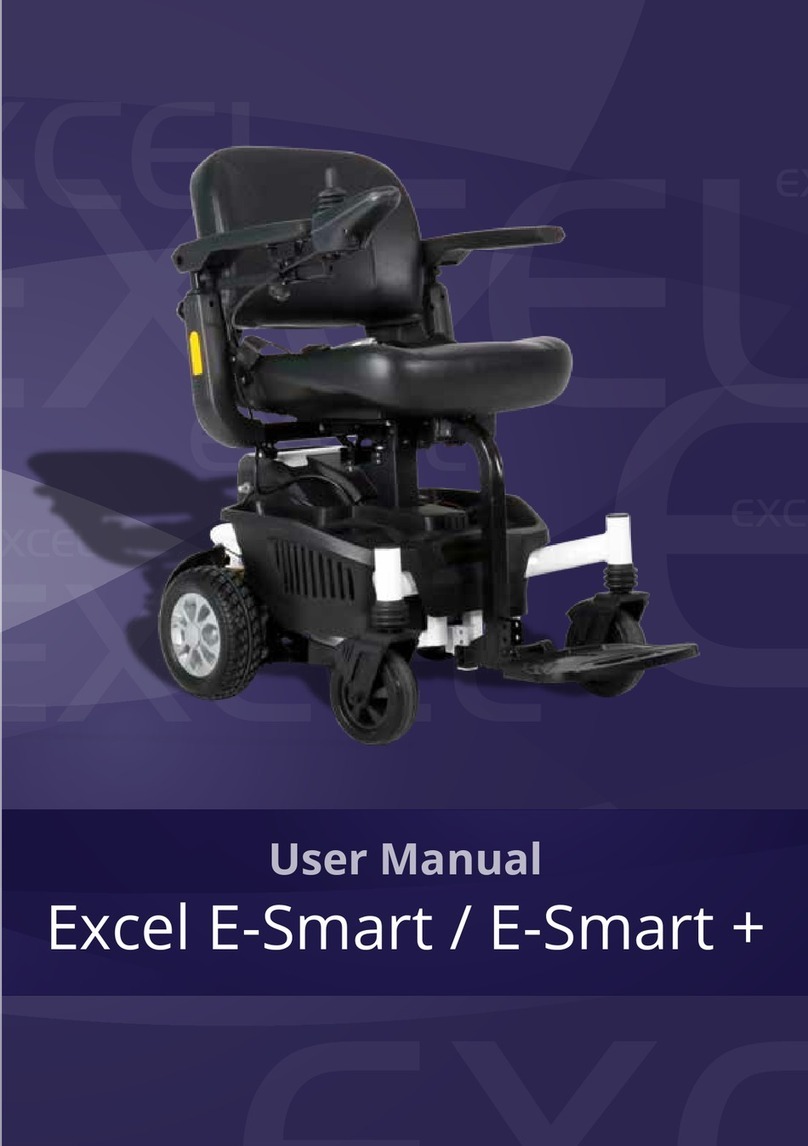
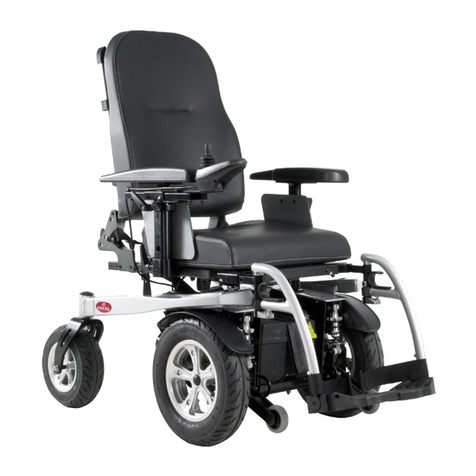
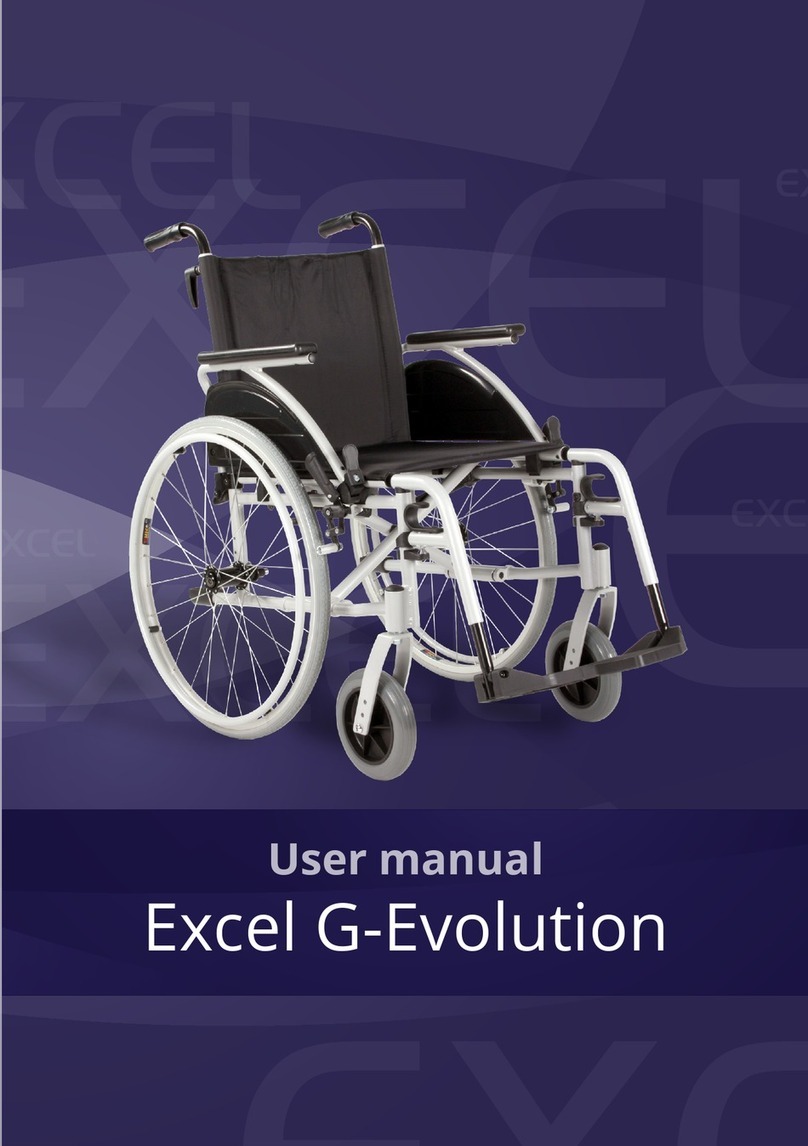
Excel Quest User manual

Owner’s Manual
Excel Quest Power Chair

EXCEL QUEST | USER MANUAL
2
Contents
1. Introduction Page 3
1.1 Dealer Information Page 4
2. Product Information Page 5
3. Operating Instructions and Safety Warnings Page 6
4. Assembly Page 10
5. Disassembly Page 14
6. Comfort Settings Page 16
7. Operation Page 21
8. Fault Diagnosis Page 25
9. Charging the Batteries Page 27
10. Product Maintenance Page 29
11. Specification Page 29
12. Notes Page 31

EXCEL QUEST | USER MANUAL
3
1. Introduction
Before you use your new Excel Quest, you must fully read and understand this user manual. Once you have read
this user manual, you agree to the conditions mentioned in this user manual. We want to thank you for the
confidence in our Excel ® products.
The policy of Excel is focussed on continuously improving the quality and reliability of our products. We therefore
reserve the right without further notice to make any changes to this user manual.
It is important you read this user manual very carefully before you use your power chair. This user manual
contains important information about the safe use and maintenance of your power chair. We recommend you
keep this user manual safe because it is also your proof of warranty.
The safety instructions within this user manual are general guidelines, which must be seen as overall guidelines. It
is possible that you develop your own way to make common movements. However, we always advise you to
consult a professional for assistance in developing safe and effective techniques, regarding your daily activities
within your physical capabilities, for using your product safely.
Your powerchair requires regular general maintenance to keep it in good condition and extend the life of your
Excel product, most of which you can carry out yourself. We advise you to take your power chair to a professional
for a service at least once a year. You will find a maintenance schedule further on in this user manual.
Attention!
The symbols below are used in the owner's manual and/or on the product to identify warnings and
to notify you of important safety information. Make sure you read and understand them
completely.
WARNING!
Indicate(s) a hazardous situation which, if not avoided, could result in death
or serious injury. This icon is represented as a black symbol on a yellow triangle with a
black border.
MANDATORY!
Failure to perform mandatory actions can cause personal injury
and/or equipment damage. This icon is represented as a white symbol on a blue dot
with a white border.
PROHIBITED!
Indicate(s) an action(s) that should not be performed under any
circumstance. Failure to adhere can cause personal injury and/or equipment
damage. This icon is represented as a black symbol with a red circle and red slash.

EXCEL QUEST | USER MANUAL
4
1.1 Enter Your Authorised Dealer Information
Company Name: ................................................................................................
Dealer Address: ................................................................................................
Telephone Number: ................................................................................................
Email Address: ................................................................................................
Website Address: ................................................................................................

EXCEL QUEST | USER MANUAL
5
2. Product Identification
Your powerchair is equipped with a frame label, which is located on the frame of your power chair.
The frame label contains information about your power chair, for example the product name, manufacturer
name, the name of the authorised representative(s), Unique Device Identifier (UDI) and technical data of your
power chair. Below are examples of frame labels for illustration purposes. The information on the frame label of
your power chair scooter corresponds to your specific product.
Van Os Medical UK Limited is the importer of this product for the UK. This product is manufactured by Quality Life
Technologies Co. Limited, who are represented in the United Kingdom by WELKANG UK LTD. The manufacturer
product code is QR0945A.

EXCEL QUEST | USER MANUAL
6
3. Operating Instructions and Safety Warnings
BEFORE getting on your Excel Quest
Check to be certain that the power is turned OFF.
This will eliminate the possibility of accidentally
activating the joystick and causing injury to you or to others.
-
Check to be certain that your ExcelQuestis not in the freewheel mode.
-
Flip up the armrests.
-
Flip up the footrest.
Never stand on the footrest when getting on or off your Excel Quest
. This action can result in a
loss of balance and/or an injury.
Getting ON your Excel Quest
-
Carefully seat yourself comfortably and securely on the seat.
-
Flip down the footrest.
-
Flip down the armrests.
-
Fasten the seat belt if your chair is equipped with one.
Getting OFF your Excel Quest
-
Make certain that the power is turned off.
-
Unfasten the seat belt if your chair is equipped with one.
-
Flip up the armrests.
-
Flip up the footrest.
-
Carefully stand and step away from the chair.
MAXIMUM WEIGHT
Your Excel Quest has been rated to a maximum payload (passenger and anything else being carried on
the power chair) of 135kg (21 stones). Exceeding the maximum weight rating will void your warranty.
Exceeding the maximum weight capacity will void your warranty and may result in injury to yourself
and/or others.

EXCEL QUEST | USER MANUAL
7
DRIVING ON AN INCLINE
•
Drive with
caution
when attempting to negotiate any incline, even access ramps.
•
Try to keep your Excel Quest
moving
when climbing an incline. If you do come to a stop,
restart, and accelerate slowly and carefully.
•
Always
climb or descend a gradient by driving straight up or straight down the face of the
slope.
•
Do not
traverse or drive across the face of a gradient.
•
Do not
attempt to negotiate an incline that is covered with snow, ice, cut or wet grass, leaves,
or any other potentially hazardous material.
•
Do not
backwards down anincline.
•
Do not
try to descend or climb a slope whose gradient is greater than the
recommended maximum incline of
6 degrees
.
If, while you are driving down a slope, your power chair starts to move faster
than you feel is safe, release the joystick lever and allow your Excel Quest to come to a stop. When
you feel that you again have control of your power chair, push the joystick lever forward and
continue safely down the remainder of the slope.
MEDICATION
Always check with your physician to determine if any of the medications you are taking may
affect your judgment and/or yourabilitytooperate your Excel Quest.Also check with your
physician concerning your physical ability to operate a power chair.

EXCEL QUEST | USER MANUAL
8
•
Do not
attempt to use your Excel Quest on an escalator. Always use an elevator.
•
Do not
carry passengers on your power chair.
•
Do not
operate your
Excel Quest
, if it is not functioning properly.
•
Use
caution
when driving on soft or uneven surfaces such as grass, gravel and on
decks where there is no railing.
•
Never
drive on the roadway, except when you must cross the street.
•
Always
cross streets at intersections and use the most direct route, making sure that your
path is clear and that you are visible to motor traffic.
•
It is
not recommended
to drive your
Excel Quest
, up or down a step or curb that is higher than
5cm.
•
Never
back up or down a step or curb.
•
Never
operate your
Excel Quest
, while you are under the influence of alcohol.
•
Do not
operate or store your power chair where it will be exposed to rain, snow, mist, or
below-freezing temperatures.
•
Do not
operate your power chair on slippery, icy, or gritted surfaces.
•
Never
sit on your power chair when it is in freewheel mode and on an incline or
decline.
•
Do not
modify your power chair in any way.
•
Do not
disassemble the tyre. If disassembly is required, contact your dealer.
•
Do not
attempt to inflate the tyres of your
Excel Quest
. Your power chair is equipped with
foam-filled puncture proof tyres that do not require inflation.
•
Never
sit on your
Excel Quest
when it is being transported.
•
Always
fasten down your
Excel Quest
securely whilst transporting your power chair.
•
Use
caution
when operating your
Excel Quest
while wearing long baggie clothing or clothing
with loose belts, which could become entangled in the wheels of the power chair.
•
Always
keep your feet firmly on the footplate surface when operating your
Excel Quest
to
eliminate any potential of your feet becoming entangled in the wheels of the power chair.
•
Do not
smoke while seated in and/or operating your
Excel Quest
.
EXCEL QUEST | USER MANUAL
9
Please be sure to follow these important safety warnings.
Never transfer on or off this power chair using the seat backrest for support
during transfer. The seat back may fold down and may cause you to lose your balance and could
result in personal INJURY.
Do not modify your power chair in any way.
Do not connect or allow anyone except your dealer to connect any electrical
or mechanical device to your Excel Quest.
Please be sure to follow this important warning if you encounter a problem with your Excel
Quest.
Should you encounter a problem with the operation of your Excel Quest such
as a mechanical or electrical problem immediately stop using the product. Disconnect the batteries
then contact your dealer from whom you purchased your Excel Quest for evaluation of the problem
and repair if needed.

EXCEL QUEST | USER MANUAL
10
4. Assembly
Please follow the instructions below to assemble the power chair quickly and easily for
your use.
Tools are not required for assembly. If you do not feel capable of safely
assembling your power chair, please contact your dealer.
Never use your Excel Quest’s wheels or arm assemblies as a handle. The wheels
may rotate and/or the arms may pull out of the seat, which can cause an injury and/or damage to the
power chair.

EXCEL QUEST | USER MANUAL
11
1.
Line up the frame and the drivetrain. See figure 1.
WARNING! WATCH FINGER PLACEMENT! BE CAREFUL NOT TO PINCH YOUR FINGERS!
2.
Lower the frame onto the drivetrain until the drivetrain release lever engages. You should
hear an audible click. See figure 2.
3.
Gently lower the battery pack onto the frame. See figure 3.
Figure 1 Figure 2
For individual component weights, refer
to the “Technical Specifications”
section in this manual.
Please ask for help if you do not
feel capable of safely lifting that
much weight.
Figure 3

EXCEL QUEST | USER MANUAL
12
Seat Installation
1.
Fold the seat backrest down.
2.
Grasp the seat firmly on each side, lift the seat and align the seat pin with the hole in the seat
post receiver. See figure 4.
Refer to the “Technical Specifications” section in this manual for the seat
weight. Removal of arms will reduce the weight of the seat. Please ask for help if you do not feel
capable of safely lifting that much weight.
Figure 4
3.
Insert the seat into the seat post.
4.
Push down on the seat to lock into place. Move the seat from side to side to make sure it is
locked into place.
To rotate your seat, pull up on the seat rotation lever and rotate the seat
to the desired position. Release the handle to lock the seat in position.
Make sure the seat is correctly installed and locked before using your power
chair.
Never pull on the arms or use them as a handle to move the power chair as
they could inadvertently pull out of the receiver bar causing injury.

EXCEL QUEST | USER MANUAL
13
Arm Installation
1.
Loosen the arm width adjustment screw from the arm receiver tube at the bottom rear of
the seat frame. See figure 5.
2.
Insert the arm into the arm receiver tube, so that the arm pad faces toward the front of the
unit.
3.
Adjust the width of the arm.
4.
Tighten the arm width adjustment screw to secure the arm in place.
5.
Repeat steps 1 –4 for the opposite side.
Figure 5
Joystick Installation
1.
Loosen the joystick adjustment screw located under the armrest. See figure 6.
2.
Insert the joystick mounting tube into the joystick bracket under the armrest.
3.
Adjust the position of the joystick to a comfortable spot.
4.
Tighten the joystick adjustment screw to secure the joystick.
5.
Connect the joystick cable and secure it by placing it into the Cable tie on the side of the
arm assembly.

EXCEL QUEST | USER MANUAL
14
The joystick can be installed on the left or right arm according to your
preference.
Make sure that the joystick cable is securely attached to the unit and that the
cable is not able to trail on the ground or become entangled on any
surrounding objects while the unit is in use.
5. Disassembly
To disassemble your Excel Quest, follow the instructions listed below.
Make certain that the controller power is turned off and that the chair is NOT in freewheel
mode before attempting to perform disassembly.
Never use your Excel Quest’s wheels or arm assemblies as a handle. The wheels may rotate
and/or the arms may pull out of the seat, which can cause an injury and/or damage to the
power chair.
Refer to the “Technical Specifications” section in this manual for the battery pack weight.
Please get help if you do not feel capable of safely lifting that much weight.

EXCEL QUEST | USER MANUAL
15
Disassembly
1.
Disconnect the joystick cable from the power module cable.
Note:
The joystick can be
removed to reduce weight.
2.
Fold the seat back down.
Note:
Seat arms can be removed to reduceweight.
3.
Grasp the seat firmly on each side and lift to remove.
4.
Remove the battery pack by pulling up on the handle.
5.
Grasp the frame and locking handle; lift the handle to unlock and lift the frame up and off
the drive train. See figure 7.
Note:
To reassemble the power chair, simply reverse the process.
Figure 7 Excel Quest Shown Disassembled
Battery Replacement
Should your batteries need replacement, please contact your dealer. Battery replacement requires
disassembly of the battery pack and must be performed by a qualified technician.
MANDATORY!
Use only AGM or GEL-cell batteries.

EXCEL QUEST | USER MANUAL
16
6. Comfort Settings
You may be spending a great deal of time on your Excel Quest. To provide you with the maximum
seating comfort, we have designed this power chair to incorporate the following adjustments for
operator comfort: -
COMFORT SETTINGS
1. Seat Height
2. Arm Width
3. Armrest Angle
4. Footrest Angle
5. Joystick Bracket Length
6. Joystick Position
Make certain that the power to your Excel Quest is turned off before
making any adjustments, to eliminate the risk of the joystick being accidentally bumped and
activating the power chair.
Seat Height Adjustment
The seat is a centre post design that is easily adjusted for height. See figure 8.
To adjust the height to a comfortable level:
1.
Remove the seat.
2.
Remove the battery pack.
3.
Loosen and remove the bolt and lock nut, noting their placement.
4.
Set the seat post to one of the two adjustment positions.
5.
Reinsert the bolt and lock nut in the same order you remove them and tighten
securely.
Figure 8
Bolt
Lock Nut

EXCEL QUEST | USER MANUAL
17
Arm Width Adjustment
1.
Loosen one of the adjustment screws at the rear of the seat. See figure 9.
2.
Slide the arm in or out to the desired width.
3.
Tighten the adjustment screw to secure the arm.
4.
Repeat steps 1-3 to adjust the opposite arm.
Note:
The backrest can be folded down to minimise chair height during transport.
Figure 9
Armrest Angle Adjustment
1.
Lift armrest up. See figure 10.
WARNING! WATCH FINGER PLACEMENT! BE CAREFUL NOT TO PINCH YOUR FINGERS!
2.
Turn the adjustment bolt to raise or lower the armrest-angle. Turn until desired angle is
reached. Repeat for opposite armrest.
Figure 10
Arm Width
Adjustment Screws
Adjustment Bolt

EXCEL QUEST | USER MANUAL
18
Footrest Angle Adjustment
1.
Fold the footrest upward for easy access to the angle adjustment bolt. See figure 11.
2.
Use an Allen wrench to turn the adjustment bolt. Turning the adjustment bolt anti-
clockwise will decrease the footrest angle. Turning the adjustment bolt clockwise will
increase the footrest angle. Turn until desired angle is reached.
Figure 11
Joystick Bracket Length Adjustment
1.
Loosen the adjustment screw. See figure 12.
2.
Slide the joystick holder in or out to the desired position.
3.
Tighten the adjustment screw.
Figure 12

EXCEL QUEST | USER MANUAL
19
Joystick Position right to left side
1.
Loosen the joystick adjustment screw. See figure 13.
2.
Slide the joystick mount forward and remove the joystick.
3.
Reposition the joystick and joystick cable to the opposite side of the power chair.
4.
Flip up the armrest.
5.
Use an Allen wrench to remove the two bolts connecting the joystick bracketto the
armrest. See figure 13.
6.
Remove the two bolts in the opposite armrest. See figure 13.
7.
Place the joystick bracket on the opposite armrest; align the two bolts with the two
holes in the armrest, and tighten to secure the bracket to the armrest.
8.
Insert the joystick mount into the joystick bracket and adjust to a comfortable
position.
9.
Tighten the joystick adjustment screw to secure the joystick.
10.
Reinsert the two bolts removed in step 6 and tighten for future use.
If you do not feel capable of safely making any of these adjustments, please
contact your dealer for assistance.
Figure 13
Joystick
Adjustment
Screw

EXCEL QUEST | USER MANUAL
20
Seat Backrest Angle Adjustment
The seat is designed with backrest angle adjustable for 0 degree and 90 to 115 degrees adjustments.
1. The backrest can be folded down to minimise chair height during transport.
2. Lift the lever under the seat on the left-side of the seat to adjust the angle of the seat back.
3. Release the lever when the backrest is adjusted to the desired angle between 90 and 115 degrees.
Lifting the backrest angle will cause the seat back to quickly move forward. Make
sure you are clear of the seat back or hold the seat back with your opposite hand
while making the seat back angle adjustment.
This manual suits for next models
1
Table of contents
Other Excel Wheelchair manuals