manuals.online logo
Brands
  1. Home
  2. •
  3. Brands
  4. •
  5. Exmark
  6. •
  7. Lawn Mower Accessories
  8. •
  9. Exmark LAZER Z S-SERIES Manual

Exmark LAZER Z S-SERIES Manual

Other manuals for LAZER Z S-SERIES

1

Other Exmark Lawn Mower Accessories manuals

Exmark ULTRA VAC UVD60 User manual

Exmark

Exmark ULTRA VAC UVD60 User manual

Exmark Quest 42 User manual

Exmark

Exmark Quest 42 User manual

Exmark LZUV52 Manual

Exmark

Exmark LZUV52 Manual

Exmark QUEST QST24BE522C Manual

Exmark

Exmark QUEST QST24BE522C Manual

Exmark ULTRAVAC LZUVQD7 User manual

Exmark

Exmark ULTRAVAC LZUVQD7 User manual

Exmark 116-1751 User manual

Exmark

Exmark 116-1751 User manual

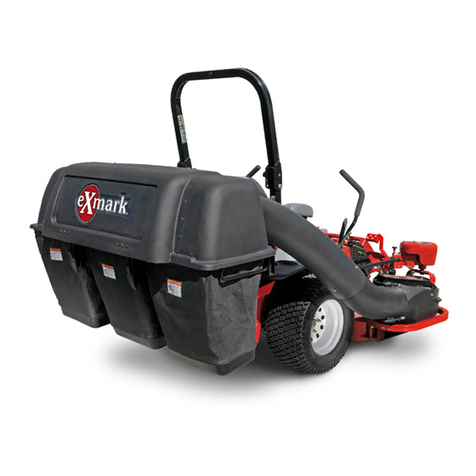
Exmark Quest Bagger Manual

Exmark

Exmark Quest Bagger Manual

Exmark COMMERCIAL 21 EC21KAY Manual

Exmark

Exmark COMMERCIAL 21 EC21KAY Manual

Exmark Turf Tracer TT24KAECA Manual

Exmark

Exmark Turf Tracer TT24KAECA Manual

Exmark 126-3925 User manual

Exmark

Exmark 126-3925 User manual

Exmark TURF TRACER TT23KAEP Manual

Exmark

Exmark TURF TRACER TT23KAEP Manual

Exmark Radius 135-6717 User manual

Exmark

Exmark Radius 135-6717 User manual

Exmark Ultra VAC QDS LAZER Z Manual

Exmark

Exmark Ultra VAC QDS LAZER Z Manual

Exmark 135-2604 User manual

Exmark

Exmark 135-2604 User manual

Exmark OCD01 Programming manual

Exmark

Exmark OCD01 Programming manual

Exmark Ultra Vac QDS Frontrunner User manual

Exmark

Exmark Ultra Vac QDS Frontrunner User manual

Exmark Ultra VAC QDS LAZER Z User manual

Exmark

Exmark Ultra VAC QDS LAZER Z User manual

Exmark ULTRAVAC BAGGER 126-6954 Manual

Exmark

Exmark ULTRAVAC BAGGER 126-6954 Manual

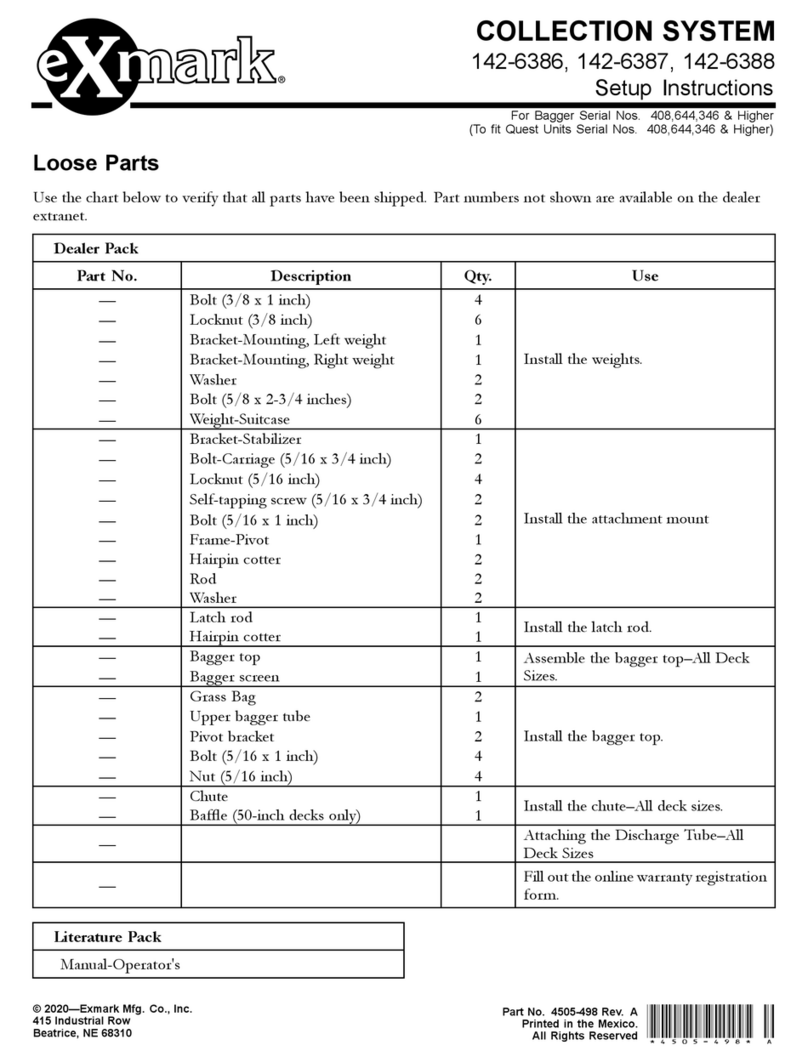
Exmark 142-6386 Manual

Exmark

Exmark 142-6386 Manual

Exmark Phazer PHZ19KA343CA Manual

Exmark

Exmark Phazer PHZ19KA343CA Manual

Exmark sss270csb00000 Manual

Exmark

Exmark sss270csb00000 Manual

Exmark LAZER Z E Series Manual

Exmark

Exmark LAZER Z E Series Manual

Exmark Quest 126-7506 User manual

Exmark

Exmark Quest 126-7506 User manual

Exmark ULTRAVAC E Series Manual

Exmark

Exmark ULTRAVAC E Series Manual

Popular Lawn Mower Accessories manuals by other brands

Toro 147-1660 manual

Toro

Toro 147-1660 manual

Toro 03484 installation instructions

Toro

Toro 03484 installation instructions

Ariens 891008 Operator's manual

Ariens

Ariens 891008 Operator's manual

Rover 108 - 109 owner's manual

Rover

Rover 108 - 109 owner's manual

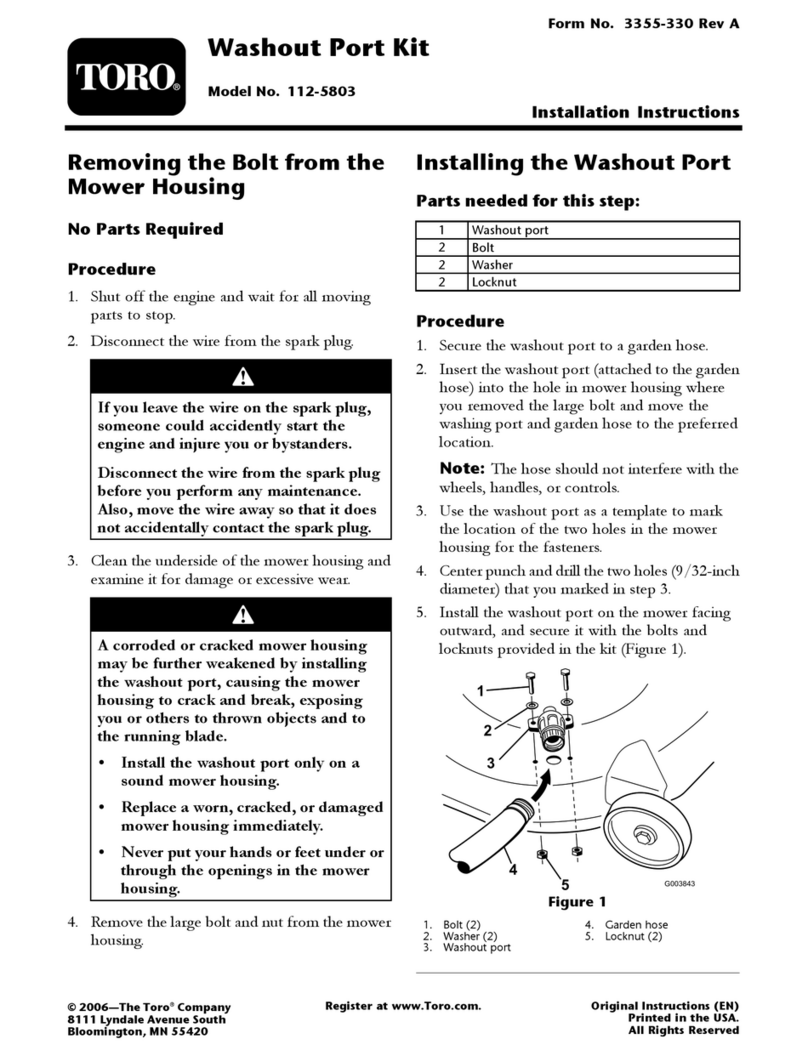
Toro 112-5803 installation instructions

Toro

Toro 112-5803 installation instructions

Snapper 1690047 Operator's manual

Snapper

Snapper 1690047 Operator's manual

RHINO 800 Operator's manual

RHINO

RHINO 800 Operator's manual

Snapper 1685167 installation instructions

Snapper

Snapper 1685167 installation instructions

Cub Cadet 19B70029100 installation manual

Cub Cadet

Cub Cadet 19B70029100 installation manual

Stihl AMK 043.1 instruction manual

Stihl

Stihl AMK 043.1 instruction manual

MTD 753-0873 Service kit manual

MTD

MTD 753-0873 Service kit manual

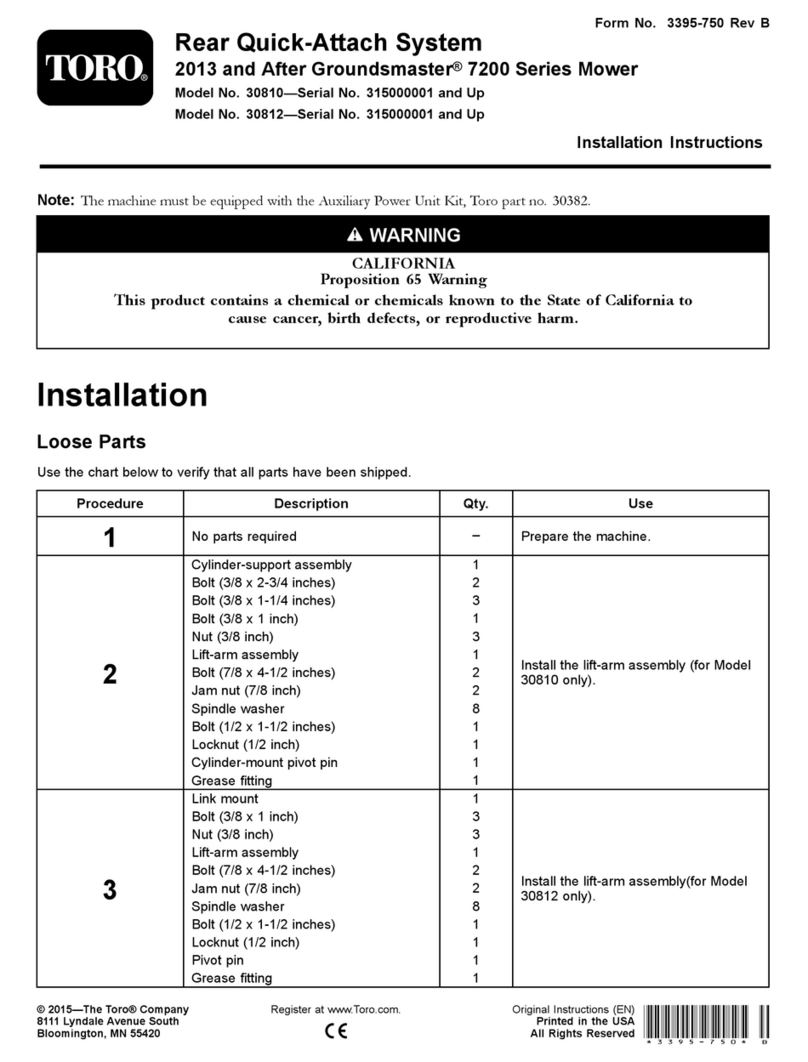
Toro 30810 installation instructions

Toro

Toro 30810 installation instructions

Bush Hog RG60 Operator's manual

Bush Hog

Bush Hog RG60 Operator's manual

Scag Power Equipment GC-F4 Operator's manual

Scag Power Equipment

Scag Power Equipment GC-F4 Operator's manual

Land Pride RCF2760 Operator's manual

Land Pride

Land Pride RCF2760 Operator's manual

Peco SPARTAN RZ Series Operator's manual

Peco

Peco SPARTAN RZ Series Operator's manual

Peco 28621206 Operator's manual

Peco

Peco 28621206 Operator's manual

Toro 31212 installation instructions

Toro

Toro 31212 installation instructions

manuals.online logo
manuals.online logoBrands
  • About & Mission
  • Contact us
  • Privacy Policy
  • Terms and Conditions

Copyright 2025 Manuals.Online. All Rights Reserved.

LAZERZ®S-SERIES
SetupInstructions
ForSerialNos.314,000,000&Higher
WARNING
CALIFORNIA
Proposition65Warning
ThisproductcontainsachemicalorchemicalsknowntotheStateofCaliforniato
causecancer,birthdefects,orreproductiveharm.
TheengineexhaustfromthisproductcontainschemicalsknowntotheStateofCalifornia
tocausecancer,birthdefects,orotherreproductiveharm.
LooseParts
Usethechartbelowtoverifythatallpartshavebeenshipped.Partnumbersnotshownareavailableonthedealer
extranet.
DealerPack
Part#DescriptionQty.Use
104-8301Nut-Nyloc3/8-16Flg3
3231-7Bolt-Carriage3/8-16x21/43
Installingthesidebumpers(Rear
DischargeUnitsOnly).
103-2106Key,ExmarkLogo1
1-603511Key,Standard1
Fillouttheonlinewarrantyregistration
formandplacekeysintoliterature
pack.
LiteraturePack
Manual,Operator's
Manual,EngineOperator's
©2013—ExmarkMfg.Co.,Inc.
P .O.Box808
Beatrice,NE68310
PartNo.4501-743Rev.B
PrintedintheUSA.
AllRightsReserved*4501-743*B
RaisetheRolloverProtection
System(ROPS)
1.Pulltheknobandrotate90°totheunlatched
position(seeFigure1).
Figure1
1.Rollbarupperhoop
2.Knobin“latched”position
3.Pullknobtounlatch
4.Rotate90°toholdunlatched
5.Knobin“unlatched”position
2.Raiseandholdtheupperhoopoftherollbarinthe
uprightposition.
3.Tolocktherollbarintheraised,operateposition,
rotatetheknobs90°sothatthetabsinterlock
partially.Applyforwardpressuretotherollbarhoop
andobservethattheknobsreturntothecompletely
latchedpositionasshowninFigure1.
CheckingTirePressure
1.Checkthetirepressureinthedrivetires.Proper
inationfordrivetiresis13psi(90kPa).
2.Adjustifnecessary.
ServicingtheBattery
WARNING
CALIFORNIA
Proposition65Warning
Batteryposts,terminals,andrelated
accessoriescontainleadandleadcompounds,
chemicalsknowntotheStateofCalifornia
tocausecancerandreproductiveharm.
Washhandsafterhandling.
Important:Themachineisshippedwithalled
leadacidbattery.
DANGER
Chargingorjumpstartingthebatterymayproduce
explosivegases.Batterygasescanexplodecausing
seriousinjury.
•Keepsparks,ames,orcigarettesawayfrom
battery.
•Ventilatewhenchargingorusingbatteryinan
enclosedspace.
•Makesureventingpathofbatteryisalwaysopen
oncebatteryislledwithacid.
•Alwaysshieldeyesandfacefrombattery.
DANGER
Batteryelectrolytecontainssulfuricacid,whichis
poisonousandcancausesevereburns.Swallowing
electrolytecanbefatalorifittouchesskincan
causesevereburns.
•Wearsafetyglassestoshieldeyes,andrubber
glovestoprotectskinandclothingwhen
handlingelectrolyte.
•DoNotswallowelectrolyte.
•Intheeventofanaccident,ushwithwaterand
calladoctorimmediately.
1.Checkthevoltageofthebatterywithadigital
voltmeter.Locatethevoltagereadingofthebattery
inthetablebelowandchargethebatteryforthe
recommendedtimeintervaltobringthechargeup
toafullchargeof12.6voltsorgreater.
Important:Makesurethenegativebattery
cableisdisconnectedandthebatterycharger
usedforchargingthebatteryshouldhave
anoutputof16voltsand7ampsorlessto
avoiddamagingthebattery(seechartfor
recommendedchargersettings).Thisis
especiallyimportantonKohlerEFI(Electronic
FuelInjection)units.Failuretodosomay
damagetheECU(ElectronicControlUnit).
Voltage
Reading
Percent
Charge
Maximum
Charger
Settings
Charging
Interval
12.6or
greater
100%16volts/7
amps
NoCharging
Required
12.4–12.675–100%16volts/7
amps
30Minutes
2
Voltage
Reading
Percent
Charge
Maximum
Charger
Settings
Charging
Interval
12.2–12.450–75%16volts/7
amps
1Hour
12.0–12.225–50%14.4volts/4
amps
2Hours
11.7–12.00–25%14.4volts/4
amps
3Hours
11.7orless0%14.4volts/2
amps
6Hoursor
More
CAUTION
Iftheignitionisinthe“ON”positionthere
ispotentialforsparksandengagementof
components.Sparkscouldcauseanexplosionor
movingpartscouldaccidentallyengagecausing
personalinjury.
Besureignitionswitchisinthe“OFF”position
beforechargingthebattery.
2.Connectthenegativebatterycable.
Note:Ifthepositivecableisalsodisconnected,
connectthepositive(red)cabletothepositive
batteryterminalrst,thenthenegative(black)cable
tothenegativebatteryterminal.Slipinsulatorboot
overthepositiveterminal.
Note:Iftimedoesnotpermitchargingthebattery,
orifchargingequipmentisnotavailable,connect
thenegativebatterycableandrunthevehicle
continuouslyfor20to30minutestosufciently
chargethebattery.
InstallingtheRHSideBumper
(RearDischargeUnitsOnly)
Mountthesidebumpersinthetopholeswhenoperating
inheightofcutshigherthan21/2inches(64mm)and
inthecenterholeswhenoperatinginheightofcuts
lowerthan21/2inches(64mm).
1.Raisethedecktothe51/2inch(14cm)height
position(alsotransportposition).
2.TheRHbumperisziptiedtotheunitforshipping.
Removeanddiscardzipties.
Figure2
1.Carriagebolt
2.Bumper(centerholemountingshown)
3.Nylocnut
3.Moveeachbumpertothedesiredpositionandsecure
withthree3/8–16x21/4inchcarriageboltsand3/8
inchnylocnuts.Torqueto10-12ft-lb(14-16N-m).
PositioningtheDischargeChute
(SideDischargeUnits)
Loosenthetwo3/8inchnylocnutsattachingthe
dischargechute.Lowerthedischargechuteinto
position.Retightenthenylocnutsuntilthechuteissnug
butcanpivotfreely.
ServicingtheEngine
Theengineisshippedwithoil;checkoillevelandif
necessarylltotheappropriatelevel.Exmark4-Cycle
PremiumEngineOilisrecommended.Refertothe
EngineOwner’sManualforanacceptablealternative.
ServicingtheHydraulicOil
Themachineisshippedlledwithhydraulicoilinthe
reservoirs.
1.Checkhydraulicreservoirsandifnecessarylltothe
appropriatelevelwithExmarkPremiumHydroOil.
2.Adjusttheseattothemostforwardpositionto
accessthecapsontheLHandRHhydrodrives.
3.Removethecap,wipethedipstickclean,andre-insert
thecapbackintothehydro.Looselytightenthecap.
4.Removethecapagainandchecktheleveloftheoil
onthedipstick.SeeFigure3foroillevels.
3
Figure3
1.Full2.Add
Note:Theoillevelonthedipstickwillbeincorrect
iftheoilischeckedwhentheunitishot.
5.Ifthedipstickoillevelisatthe“add”markadd
ExmarkPremiumHydrooil.
6.Replacehydraulicreservoircapandtightenuntil
snug.DoNotovertighten.
FillingOuttheProduct
Registration
Fillouttheonlinewarrantyregistrationformandplace
keysintoliteraturepack.
4