USB Server Windows Client Utility
4
2. Windows utility
USBIP Admin utility Setup is an Install Shield based application, which can be used for
installing, uninstalling and upgrading the USBI Client S/W. Please run the self-explanatory
Install shield application to install the USBIP Admin Utility.
Admin utility application enables the USB devices virtualization along with USB Server
Firmware loaded onto USB Server. Any USB device connected to the USB Server can be
made available over the Network, for different Windows hosts to use the device. USB Server
supports monopoly type connection i.e USB device connected to the USB Server can be
accessed by one host at a time. Other Windows host can access this USB device, once first
host relinquishes the connection. Different Windows hosts can access different USB devices
connected to the USB Server.
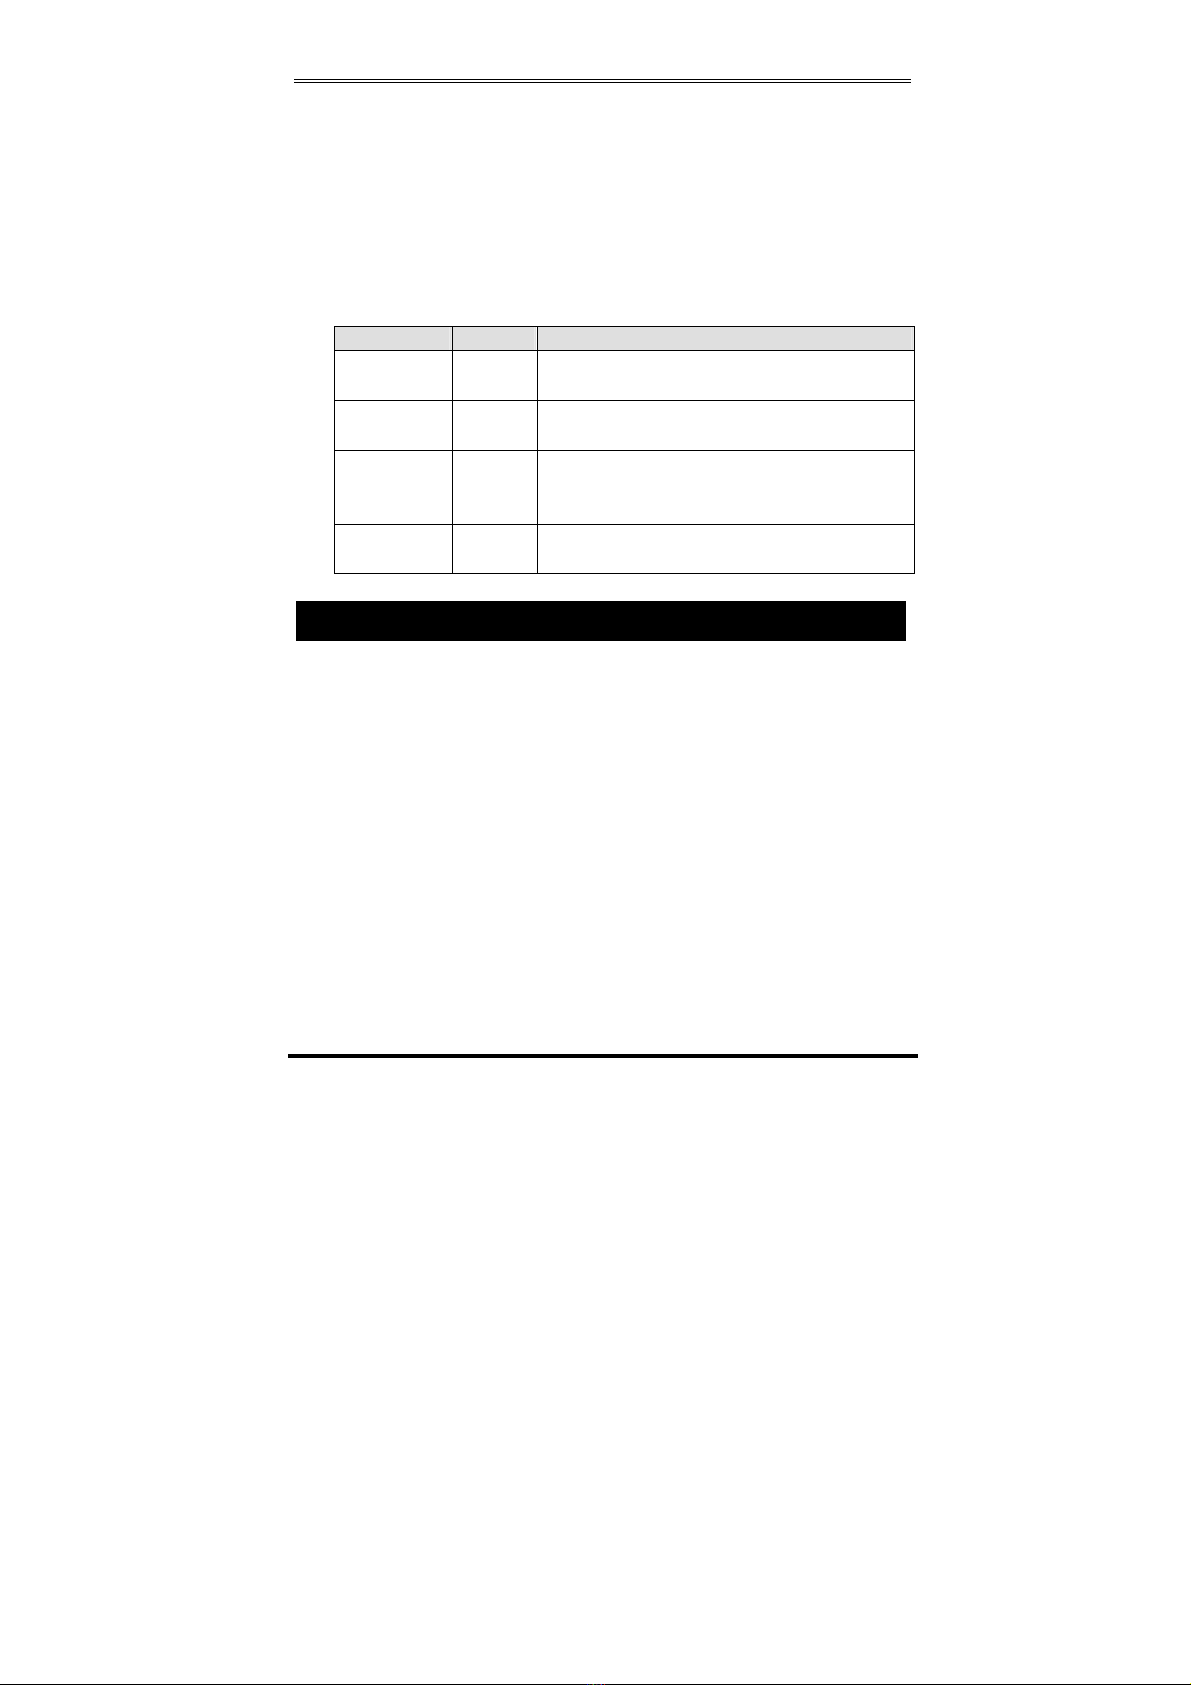
Eg : If USB Pen Drive, USB Audio device, USB 1.1 Web Cam & USB DVD Rom drive are
connected to the USB Server. Then PC1 can access Pen Drive, PC2 can access Audio device,
PC3 can access Web Cam & PC4 can access DVD ROM drive.
Pen Drive can be accessed by PC2 or PC3 or PC4, once PC1 relinquishes the connection.
In-case of Printers, USB Server application’s Auto Reconnect feature enables multiple
Windows hosts to use the Printer simultaneously.
The USB Server & all the Windows Hosts need to be connected to same LAN & under same IP
subnet for above.
2.1 Virtual USB-IP Driver Software
This contains a Virtual Bus Enumerator driver & Virtual Bus driver. These drivers will help in
virtualizing the USB devices attached on the USB-Server.
Virtual Bus driver takes the USB traffic from the USB Client drivers on Windows Host and passes
it to the USB-Server which is sitting remotely on the network.
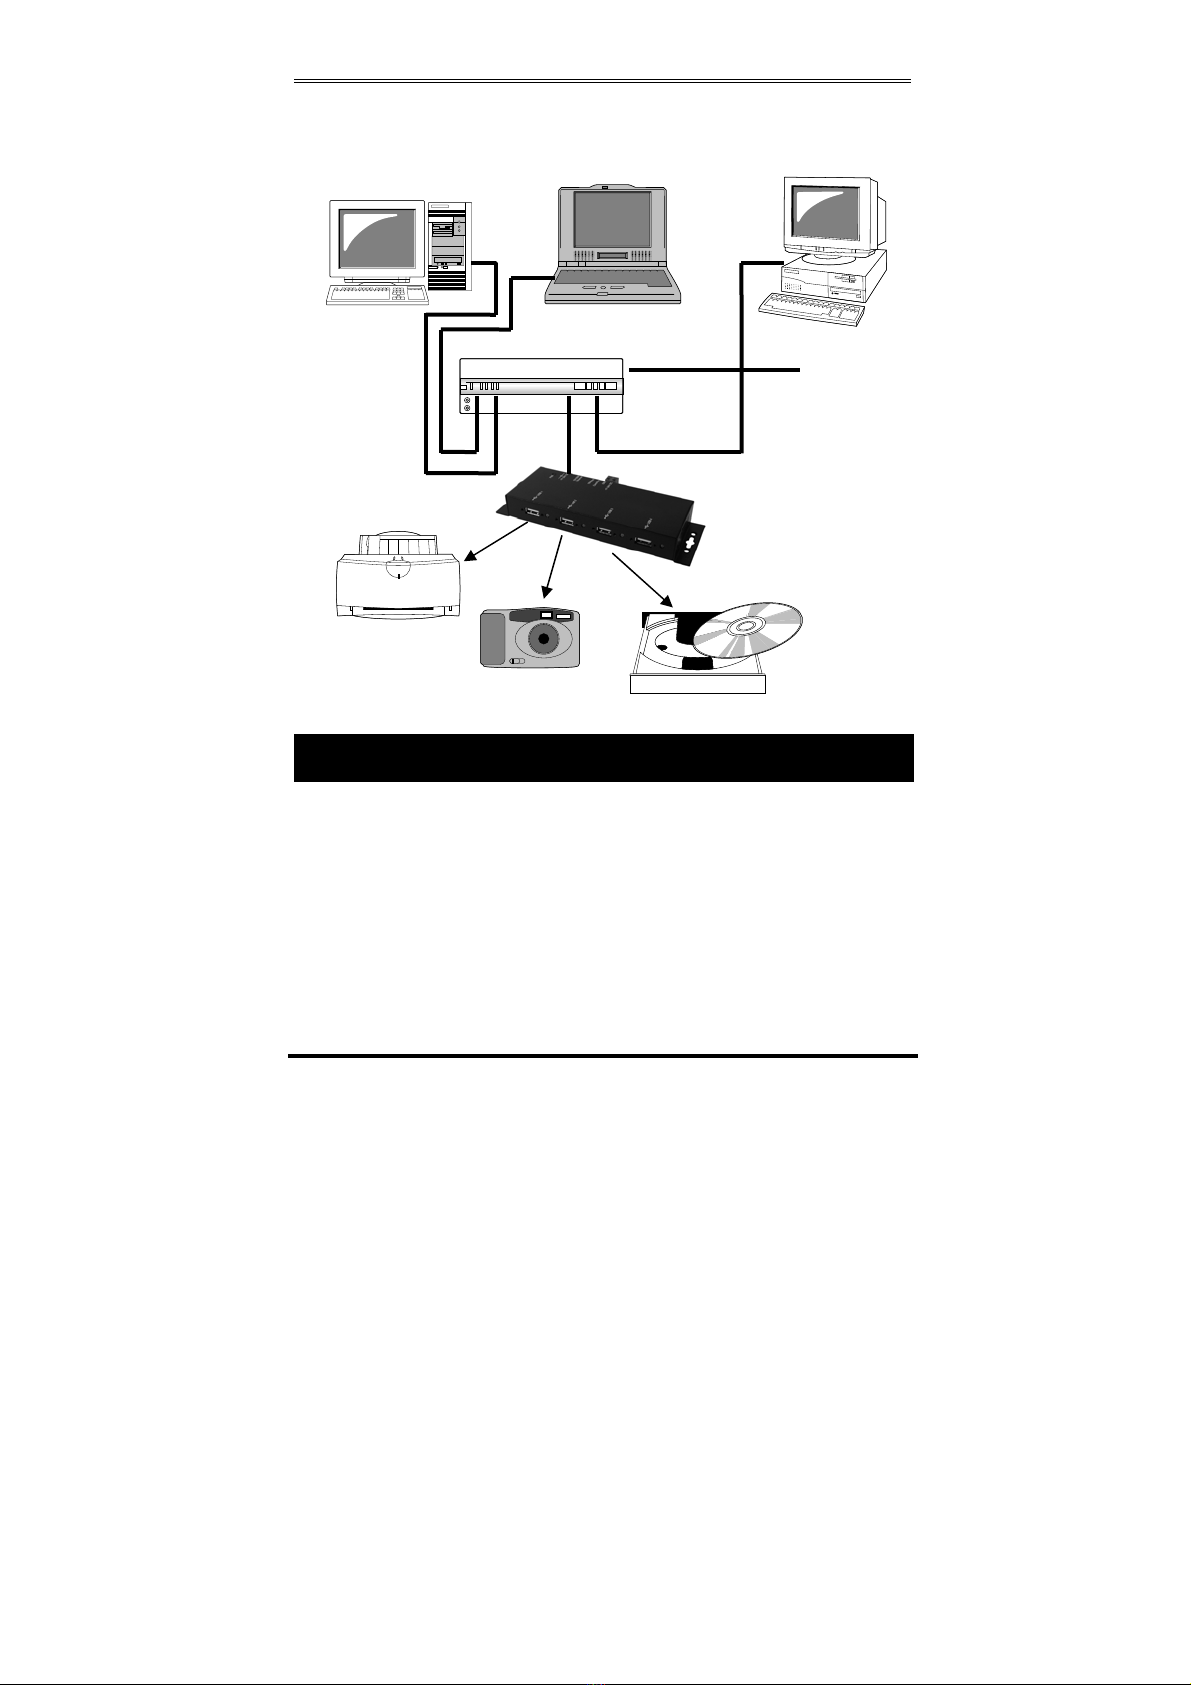
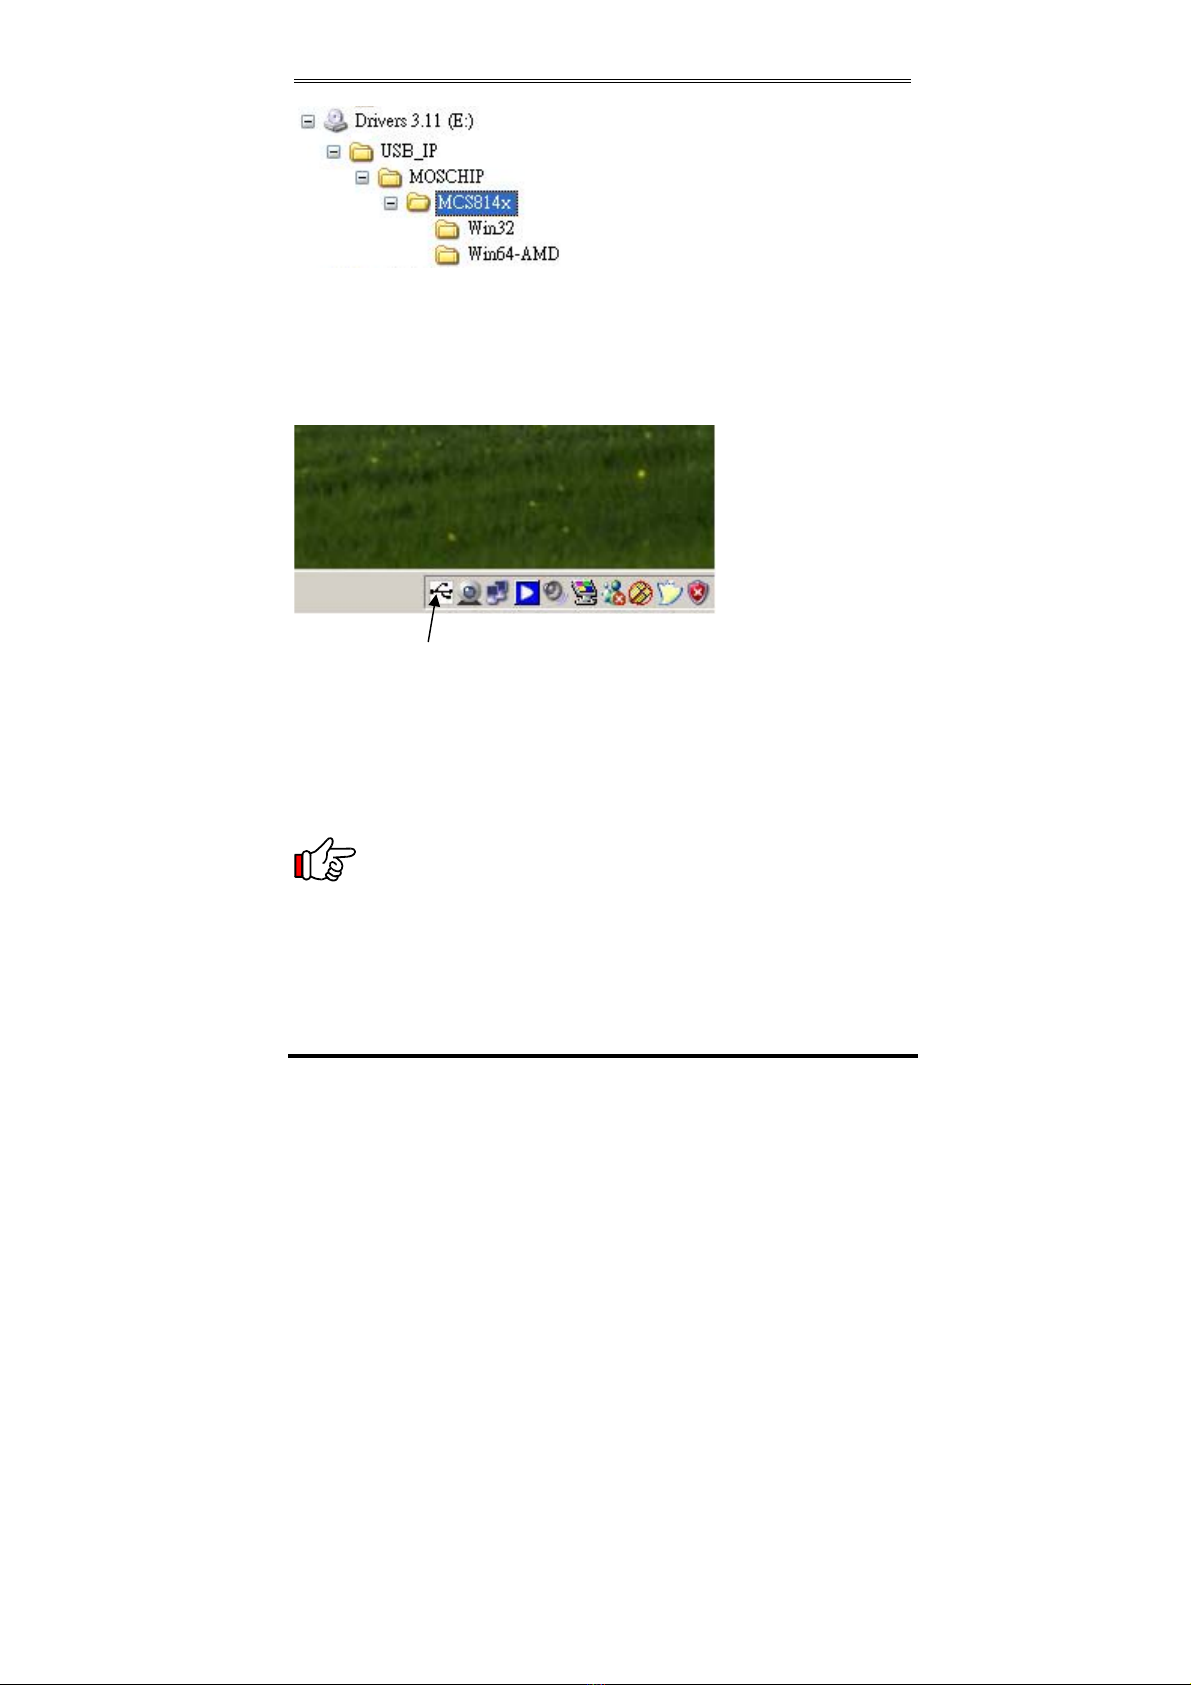
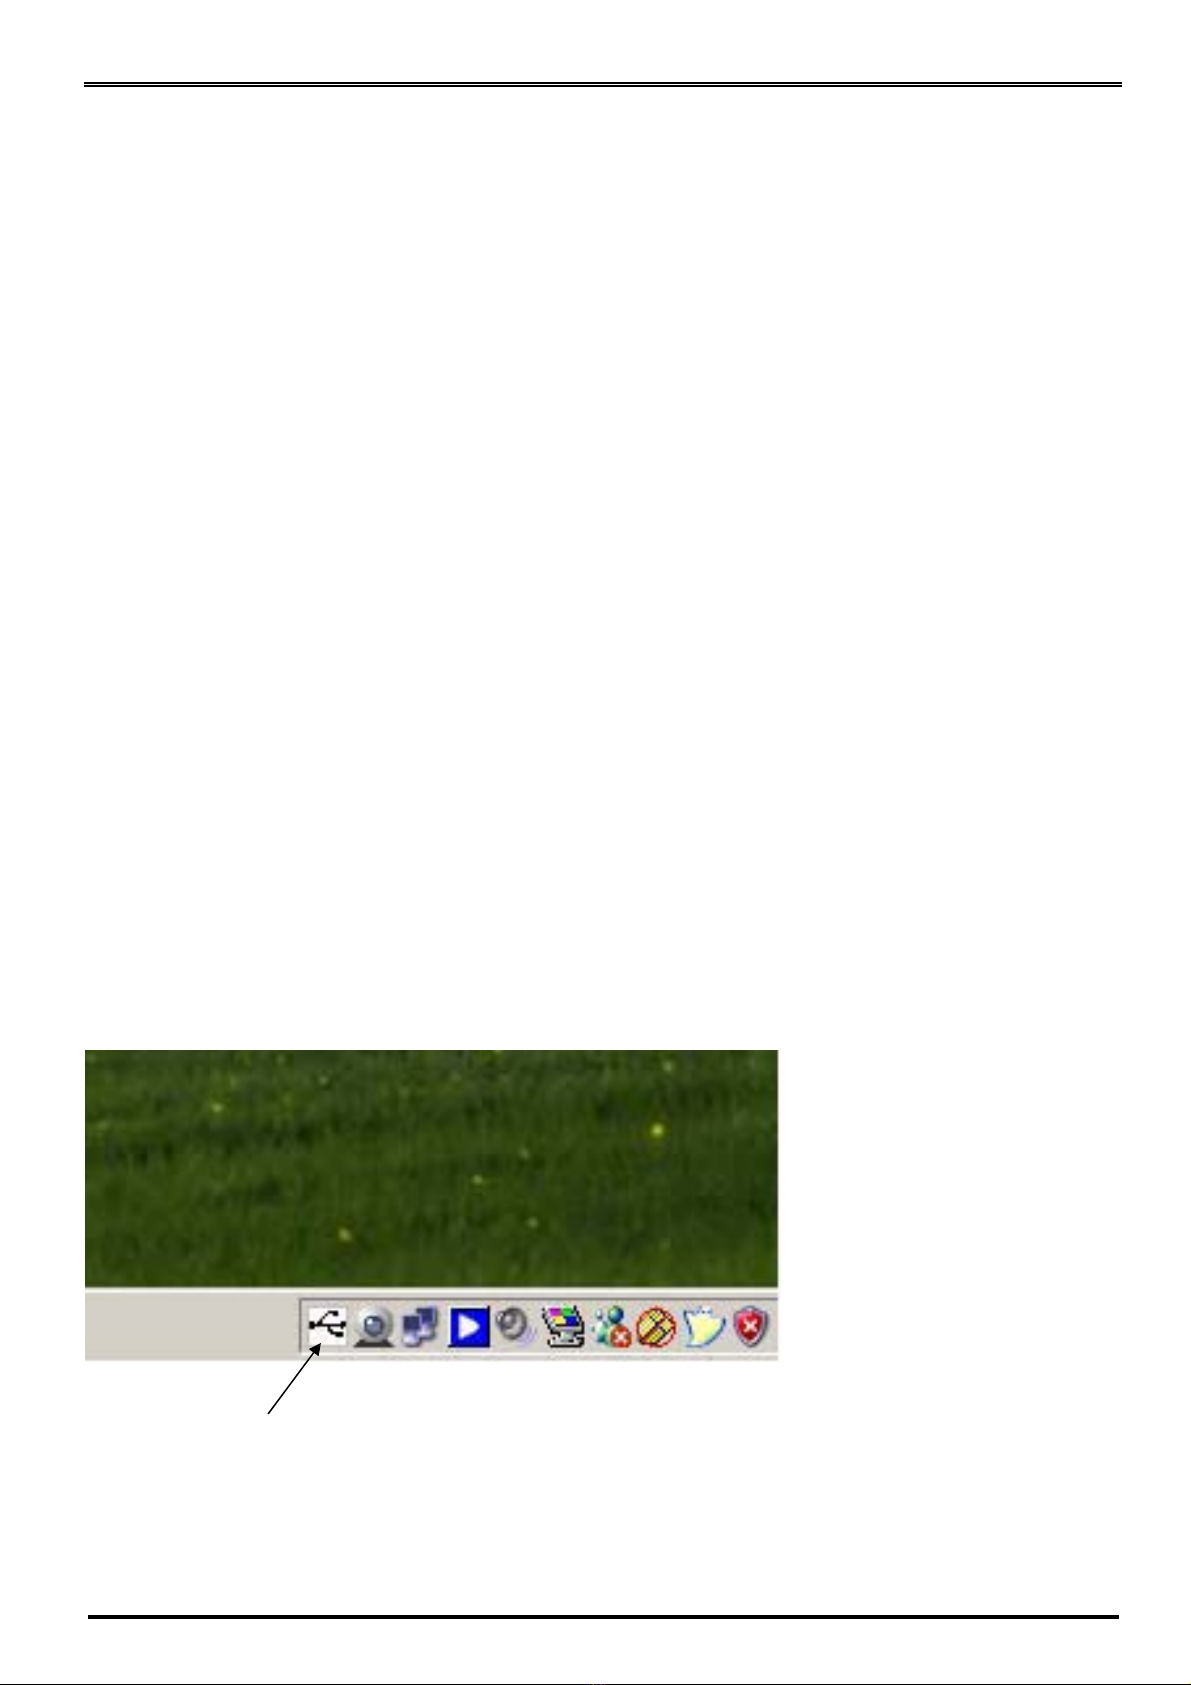
As soon as the utility is installed this application will be placed in the system tray as shown in
the figure below.
Double click the icon on the system tray to view the Full screen mode of the PC client
application as shown below.
USBIP Admin tool