manuals.online logo
Brands
  1. Home
  2. •
  3. Brands
  4. •
  5. Fabtech
  6. •
  7. Automobile Accessories
  8. •
  9. Fabtech FTS22101 User manual

Fabtech FTS22101 User manual

2008-2011 FORD SUPER DUTY 4WD
REAR LIFT FOR 6” F-250 With or Without FACTORY OVER LOAD LEAF
FTS22101
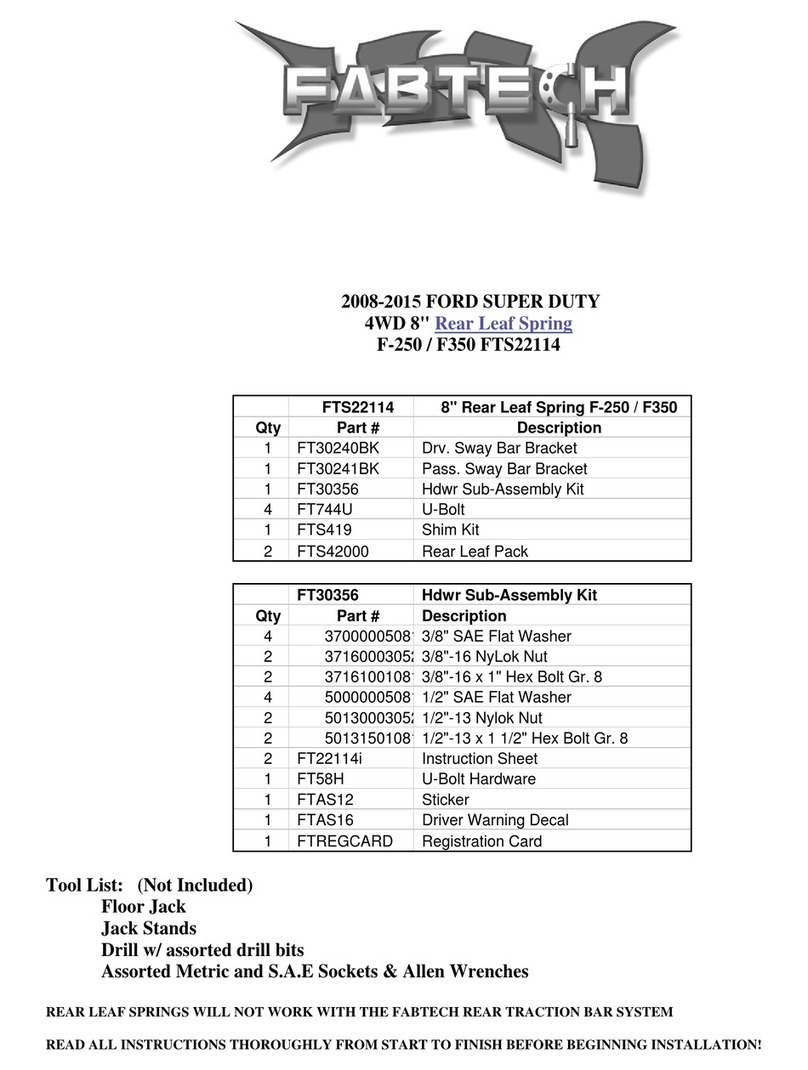
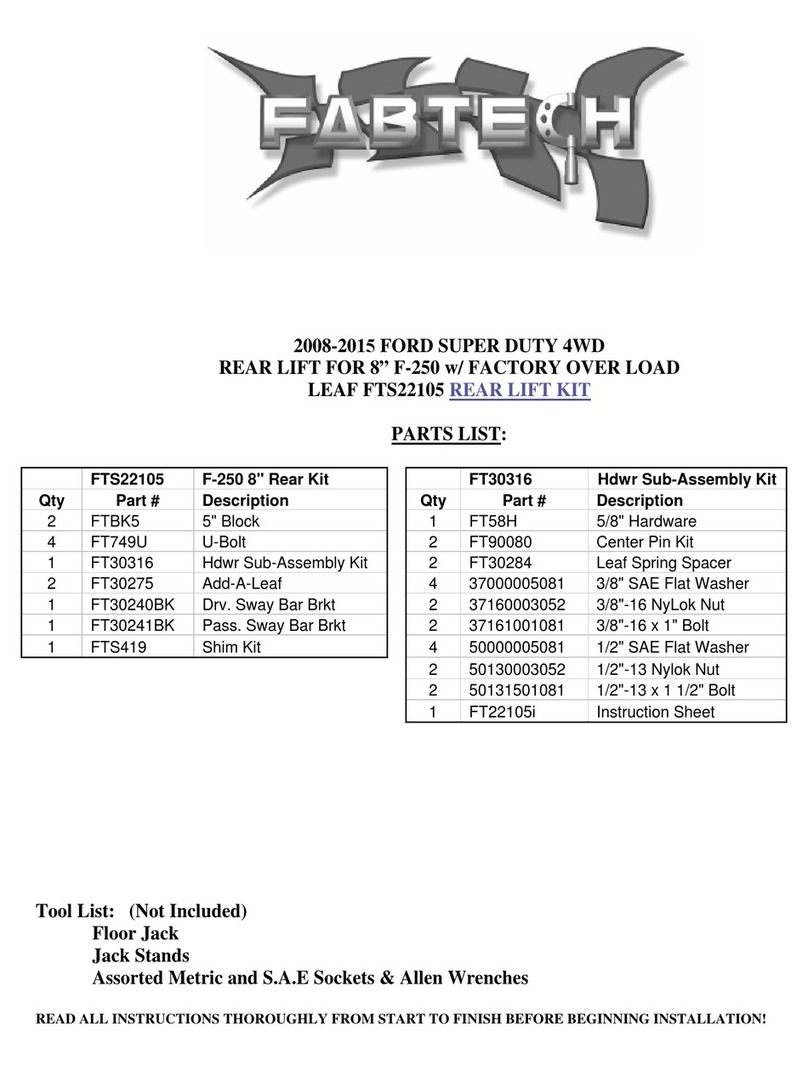
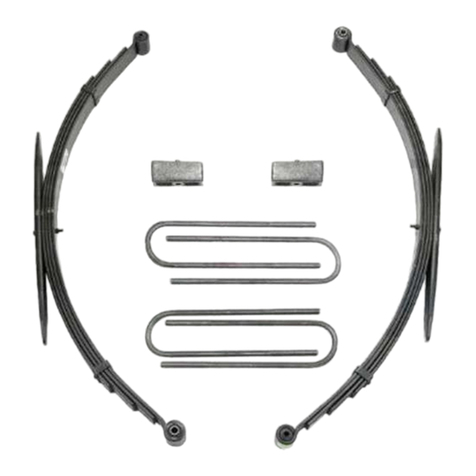
PARTS LIST:
Qua Part
# Description
2 FTBK5 5"
Block
4 FT742U U-Bolt
1 FT58H 5/8" Hardware
1 FTS419 Shim
Kit
1 FT30166 E-Brake Cable Sleeve
1 31182001081 5/16"-18 x 2" Bolt gr.8
1 31000005252 5/16" Split Washer
2 FT22101i Instruction
Sheet
Tool List: (Not Included)
Floor Jack
Jack Stands
Assorted Metric and S.A.E Sockets & Allen Wrenches
READ ALL INSTRUCTIONS THOROUGHLY FROM START TO FINISH BEFORE BEGINNING INSTALLATION!
IF TRUCK IS EQUIPPED WITH REAR SWAY BAR,FTS92010BK REAR SWAY BAR DROP
BRACKET CAN BE PURCHASED.
FOLLOW STEPS ONE – SIX FOR TRUCKS
WITHOUT THE FACTORY OVER LOAD
SPRING SET-UP
3. Locate and install the rear lift blocks, the factory block will
be positioned on top of the new Fabtech block, with the
short center pin of both blocks facing down, to the axle.
The short end of the blocks should face to the front of the
vehicle. Using the supplied u-bolts, nuts, and washers align
axle, lift blocks, and springs and torque to U-Bolts to 90lbs.
SEE PHOTO BELOW
INSTRUCTIONS:
1. Disconnect the negative terminal on the battery. Jack up
the rear end of the vehicle and support the frame rails with
jack stands. Supporting the rear differential remove and
discard the rear shocks and u bolts. Lower the axle down
slowly. Use care not to over extend the brake hose.
NEVER WORK UNDER AN UNSUPPORTED
VEHICLE!
2. Locate the factory emergency brake cable bracket on the
driver’s side rear frame section and remove. Use a die
grinder with a cut-off wheel and cut the bracket ONLY.
Remove the bracket from the cable and discard with the
hardware. SEE PHOTOS BELOW
2011 configuration shown above
4. Install Fabtech shock part number FTS7266 Performance
Shocks or FTS81005 Dirt Logic are not included with the
Factory hardware and torque bolts to 65lbs.
5. Locate the E-Brake Cable mount on the driver side spring
pack perch. Remove the bolt attaching it to the perch and
discard the hardware.
6. Locate FT30166 E-Brake Cable Sleeve and attach between
the spring perch and E-brake Cable bracket using the
supplied 5/16”-18 x 2” bolt and split washer. SEE PHOTO
BELOW
FOLLOW STEPS SEVEN – TEN FOR TRUCKS
WITH THE FACTORY OVER LOAD SPRING
SET-UP
7. Disconnect the negative terminal on the battery. Jack up
the rear end of the vehicle and support the frame rails with
jack stands. Supporting the rear differential, remove and
discard the rear shocks and u bolts. Lower the axle down
slowly. Use care not to over extend the brake hose.
NEVER WORK UNDER AN UNSUPPORTED
VEHICLE!
8. Locate and install the rear lift blocks, the factory block will
be positioned on top of the new Fabtech block, with the
short center pin of both blocks facing down, to the axle.
The short end of the blocks should face to the front of the
vehicle. Using the supplied u-bolts, nuts, and washers align
axle, lift blocks, and springs and torque to U-Bolts to 90ft-
lbs. SEE PHOTO BELOW
9. Install Fabtech shock part number FTS7266 Performance
Shocks or FTS81005 Dirt Logic (not included) with the
factory hardware and torque bolts to 65ftlbs.
10. Rotate the E-Brake cable bracket so that it positions the
cable below the spring plate and attach to the plate with the
factory hardware. Once tightened, bend the bracket forward
towards the front of the truck. Locate the upper E-brake
cable bracket on the frame and bend it outward / down to
give the cable some more slack. SEE PHOTOS IN NEXT
COLUMN
2011 configuration shown above
Bend bracket
forward to
give the cable
more slack
RESUME INSTALLATION ON ALL TRUCKS
11. Install FTS419 shim kit as per the instructions in the
FTS419 box.
12. Recheck all bolts for proper torque. Recheck brake hoses
and lines for proper clearances.
13. 2011 models only .Locate the factory brake line mount on
the driver side of the axle. Remove the vent line from the
bolt and remove bolt, save hardware. Locate the brake line
bracket FT30059 (Note: This part is included in the front
component box kit); attach the side with the sleeve to the
axle using the factory hardware. Using the supplied 3/8” x
2” bolt, nut, and washer attach the brake line to the other
end. Reattach vent line. SEE PHOTO BELOW.
14. Install tires and wheels and torque lug nuts to wheel
manufacturer’s specifications.
15. Readjust headlights.
16. Check the front-end alignment and set to the factory
specifications.
Bend bracket
downward to
give the cable
more slack

Other Fabtech Automobile Accessories manuals
Fabtech FTS22068 User manual

Fabtech

Fabtech FTS22068 User manual

Fabtech FTS22036 User manual

Fabtech

Fabtech FTS22036 User manual

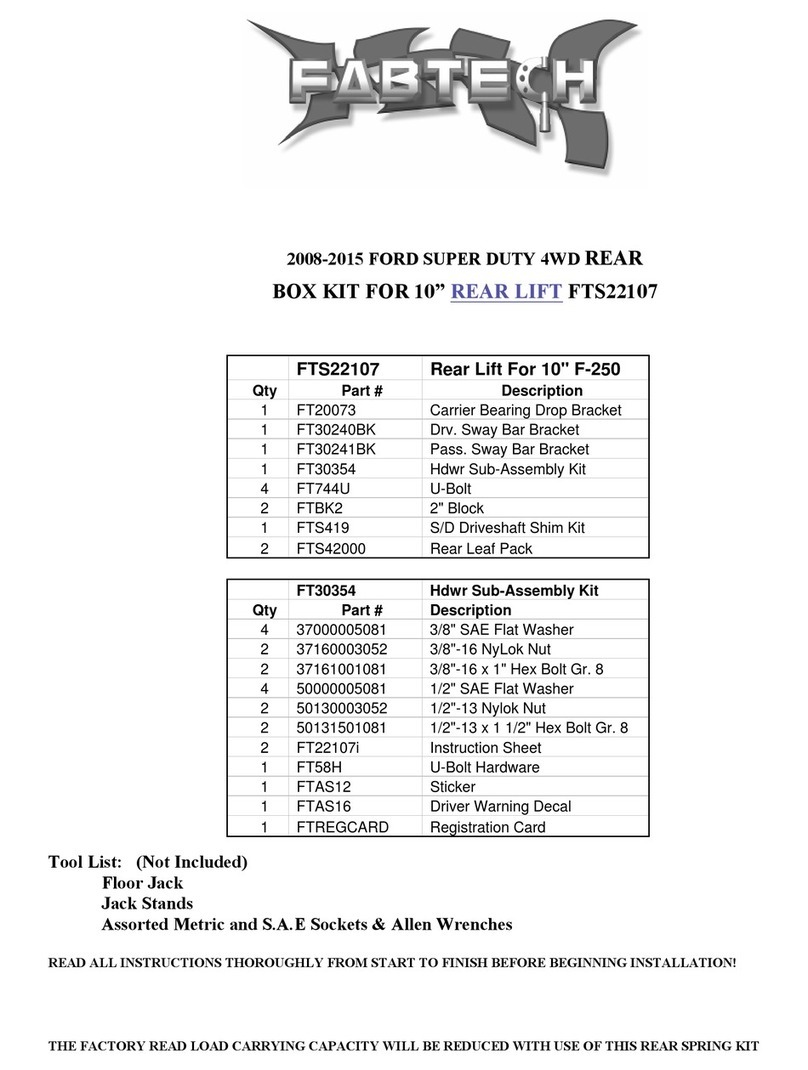
Fabtech FTS22107 User manual

Fabtech

Fabtech FTS22107 User manual

Fabtech FTS8002 User manual

Fabtech

Fabtech FTS8002 User manual

Fabtech FTS8023 User manual

Fabtech

Fabtech FTS8023 User manual

Fabtech FTS22108 User manual

Fabtech

Fabtech FTS22108 User manual

Fabtech FTS22091 User manual

Fabtech

Fabtech FTS22091 User manual

Fabtech FTS24092 User manual

Fabtech

Fabtech FTS24092 User manual

Fabtech FTS8000 User manual

Fabtech

Fabtech FTS8000 User manual

Fabtech FTS24094 User manual

Fabtech

Fabtech FTS24094 User manual

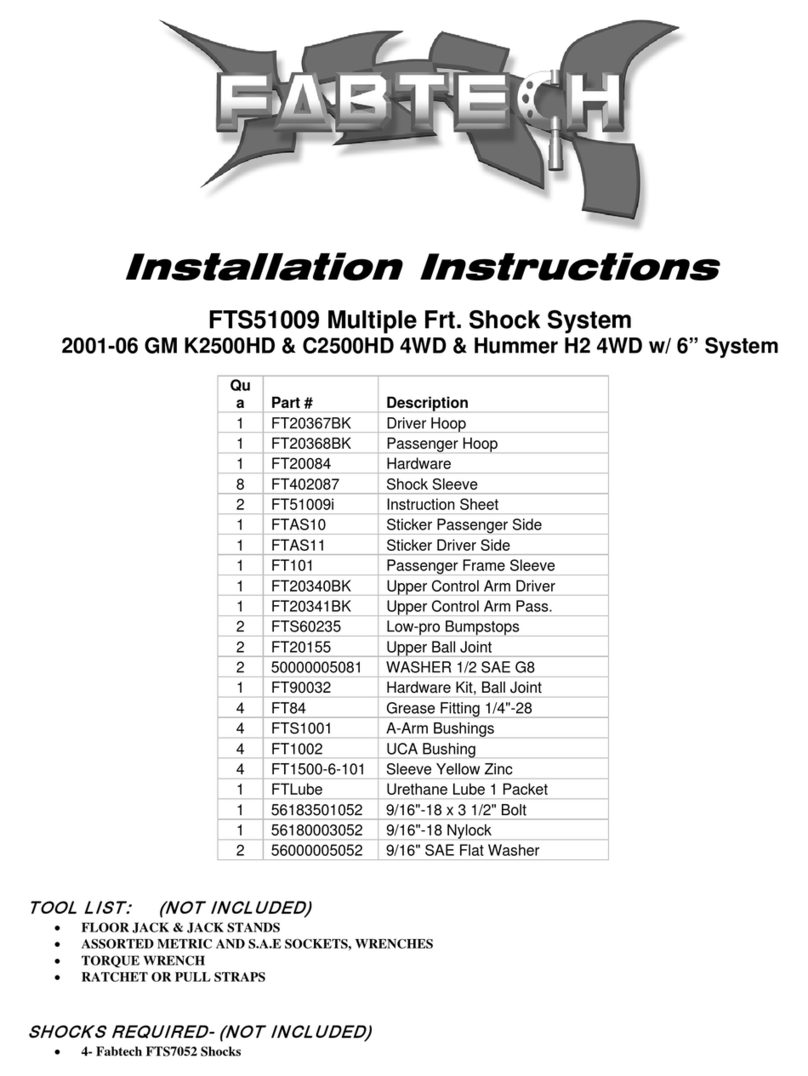
Fabtech FTS51009 User manual

Fabtech

Fabtech FTS51009 User manual

Fabtech FTS24129 User manual

Fabtech

Fabtech FTS24129 User manual

Fabtech FTS22105 User manual

Fabtech

Fabtech FTS22105 User manual

Fabtech FTS22111 User manual

Fabtech

Fabtech FTS22111 User manual

Fabtech FTS22114 User manual

Fabtech

Fabtech FTS22114 User manual

Fabtech FTR10079 User manual

Fabtech

Fabtech FTR10079 User manual

Fabtech FTS7006 User manual

Fabtech

Fabtech FTS7006 User manual

Fabtech FTS22044 User manual

Fabtech

Fabtech FTS22044 User manual

Fabtech FTS22104 User manual

Fabtech

Fabtech FTS22104 User manual

Fabtech FTS71002 User manual

Fabtech

Fabtech FTS71002 User manual

Fabtech Dirt Logic shocks User manual

Fabtech

Fabtech Dirt Logic shocks User manual

Fabtech FTS24048BK User manual

Fabtech

Fabtech FTS24048BK User manual
Popular Automobile Accessories manuals by other brands

Directed Directechs DB3 installation guide

Directed

Directed Directechs DB3 installation guide

aFe Power Scorpion 79-21002L instruction manual

aFe Power

aFe Power Scorpion 79-21002L instruction manual

Ironman4x4 ISNORKEL021 installation guide

Ironman4x4

Ironman4x4 ISNORKEL021 installation guide

Buyers 8883000 manual

Buyers

Buyers 8883000 manual

Yakima Raptor Aero manual

Yakima

Yakima Raptor Aero manual

AVS Bugflector installation instructions

AVS

AVS Bugflector installation instructions

Metra Electronics 107-TO1HG installation instructions

Metra Electronics

Metra Electronics 107-TO1HG installation instructions

AUTOTECH 10.998.230K installation instructions

AUTOTECH

AUTOTECH 10.998.230K installation instructions

CLIM ART CARGO LINERS installation guide

CLIM ART

CLIM ART CARGO LINERS installation guide

DK2 BCR690E user manual

DK2

DK2 BCR690E user manual

Rac Black Box Installation

Rac

Rac Black Box Installation

PROAIM CM-GPMX-00 instruction manual

PROAIM

PROAIM CM-GPMX-00 instruction manual

Xpresskit DBALL2 installation guide

Xpresskit

Xpresskit DBALL2 installation guide

Rola RCLSH Fitting instructions

Rola

Rola RCLSH Fitting instructions

Dakota Digital VHX-66F-BRO manual

Dakota Digital

Dakota Digital VHX-66F-BRO manual

Rear view safety RVS-776718-FL instruction manual

Rear view safety

Rear view safety RVS-776718-FL instruction manual

Hook BTZ 07-17B installation instructions

Hook

Hook BTZ 07-17B installation instructions

Whispbar K792W Fitting instructions

Whispbar

Whispbar K792W Fitting instructions

manuals.online logo
manuals.online logoBrands
  • About & Mission
  • Contact us
  • Privacy Policy
  • Terms and Conditions

Copyright 2025 Manuals.Online. All Rights Reserved.