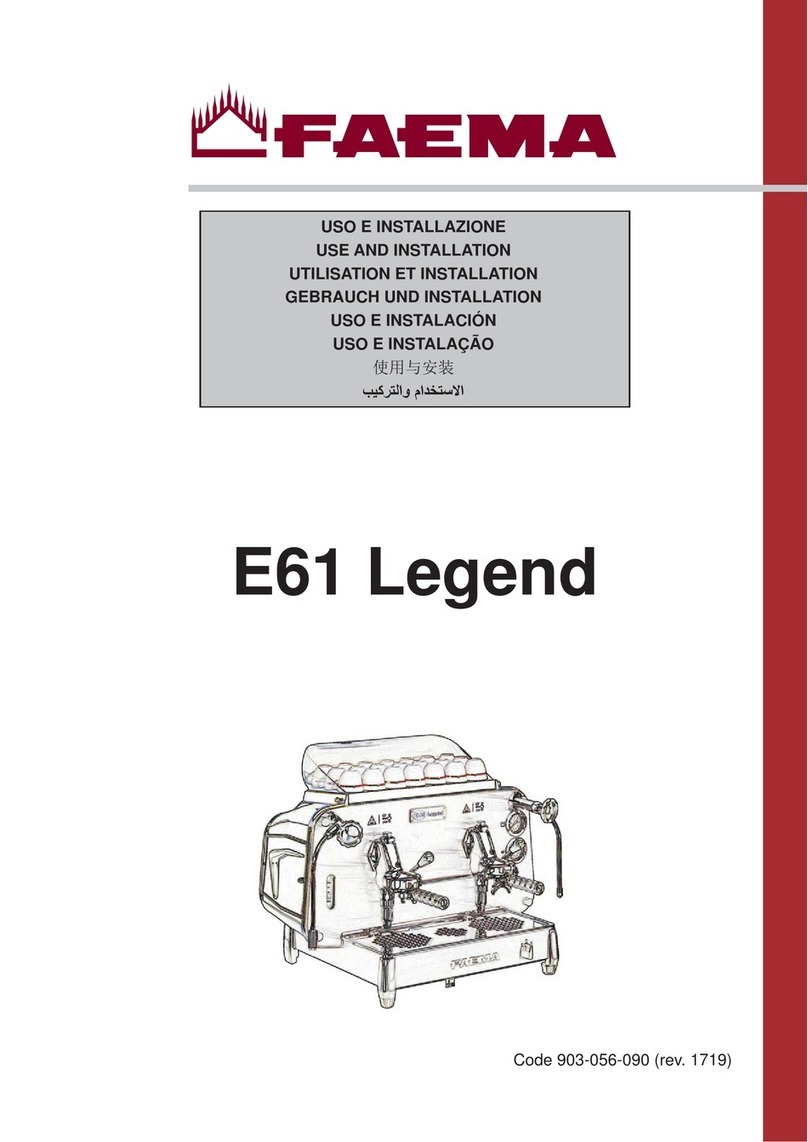
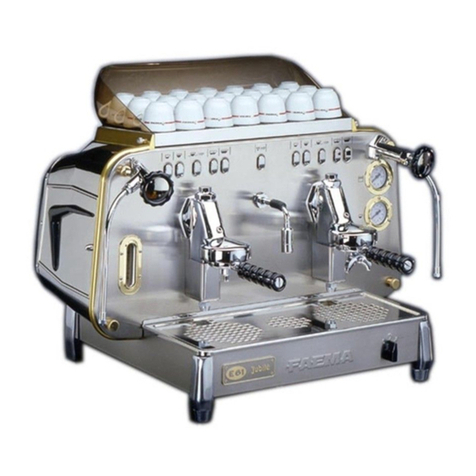
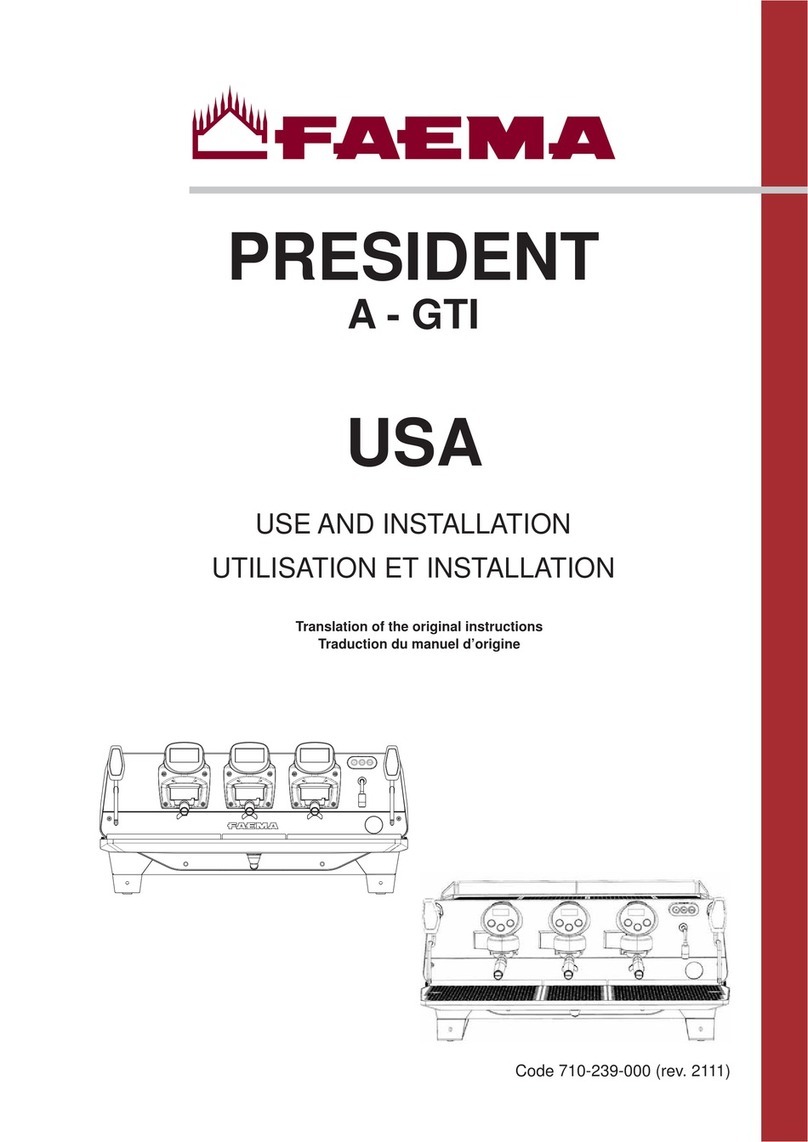
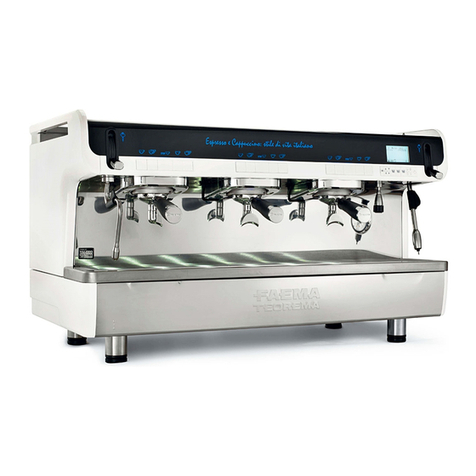
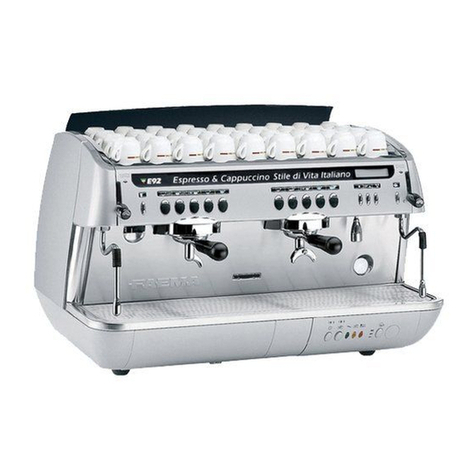
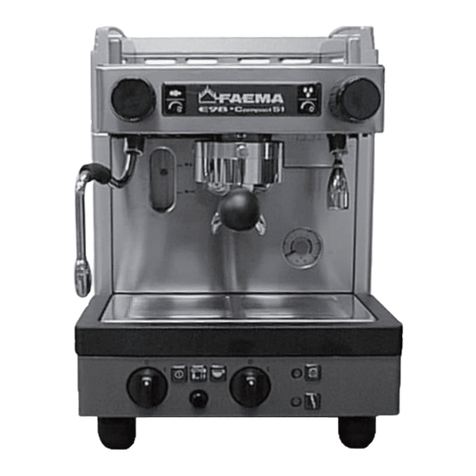
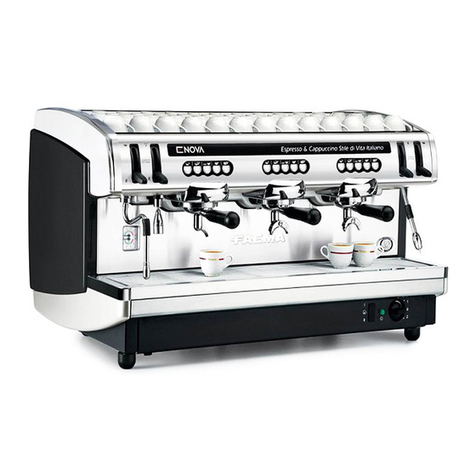
Faema E61 Legend Technical manual

E61 Legend
USE AND INSTALLATION
Translation of the original instructions
USA
Code 903-171-000 (rev. 2112)

https://order.gruppocimbali.com/explorer/spareparts/page/login
User ID: guest
PW: Entr@nc3
An updated, electronic version of the manual can be accessed from the website shown at
the bottom of the page, using the credentials below.

English
1 EN
Page
Index
1. General Rules..................................... 5
2.1 Transport and handling ..................... 6
2.2 Installation Rules ............................... 7
3. Electrical Installation Rules .............. 7
4. Water Installation Rules .................... 8
5. Installation Check-up......................... 9
6. Rules for the worker operating
the machine ........................................ 10
7. Caution................................................ 11
8. Maintenance and Repairs.................. 11
9. Decommissioning the machine ...... 12
USE
10. Daily Switch-On ............................... 13
11. Heating phase .................................. 13
12. Deliveryofthecoee....................... 13
13. Other hot beverages ........................ 14
14. Water level control of boiler
(when provided) ............................... 14
15. Cleaning and maintenance ............. 15
16. Defects - Malfunctions ..................... 17
ILLUSTRATIONS ............................... 19
Service Line ...................................... 20

English
2 EN
E61 Legend
LEGEND
1Main ON/OFF switch
2 Coee dispensing lever
5 Boiler water lling lever
6 Steam jet pipe
7 Steam adjustment knob
8 Hot water dispensing pipe
9 Hot water dispensing knob
10 Filter holder
13 Boiler water level indicator
14 Boiler pressure gauge
15 Pan
16 Pressure gauge pump
17 Cup warmer tray
18 Backlit glass switch
19 Backlit glass
19
1
510 18
2
17
6
7
14
16
9
8
13
15
1
10 18
217
6
7
14
16
9
8
13
15

Pmax
[ bar ]
[ psi ]
Tmax
[ °C ]
[ °F ]
Type of machine 1 group 2 groups
Fluid Capacity [ L ]
Service boiler 2
29
133
271 water/steam 6 11
Heat exchanger 15
218
160
320 water 0.65
x 1
0.65
x 2
English
3 EN
540(21.3)
L
80(3.1)
* 565(22.2)
L1 455(17.9)
L/2
~270(10.6)
Ø~100(3.9)
*+ 110(4.3) with tall feet
L
L1 mm
inches
Kg
pounds
DIMENSIONS
2 gr.
mm
inches
715
28.1
495
19.5
60
132
1 gr.
555
21.9
335
13.2
51
112
Net
Weight

English
4 EN
Generic warning
WARNING: Electrical Hazard
WARNING: Trapping Hazard, Take Care with Hands
WARNING: Hot surface
Environmental protection
Thesepagesinthemanualaretobeusedbyqualied,authorizedtechnicalsta.
These pages of the manual are for the use of the worker operating the machine.
Symbols

English
5 EN
1. General Rules
Please read the warnings and rules in this User’s Manual carefully before using
or handling the machine in any way because they provide important information
regarding safety and hygiene when operating the machine.
Keep this booklet handy for easy reference.
• The machine was designed solely for preparing espresso coee and hot beverages using hot
water or steam, and for warming cups. Any other use is considered irregular.
• The machine must be installed in a place where it is only used by carefully trained sta that know
the risks attached to using the machine.
• The machine is for professional use only.
• This appliance can be used by children aged from 8 years and above and persons with reduced
physical, sensory or mental capabilities or lack of experience and knowledge if they are supervised
or given instruction concerning the safe use of the appliance and understand the hazards involved.
Children must not play with the appliance.
Cleaning and user maintenance must not be made by children without supervision.
Use by minors, with or without adult supervision, must not contravene local employment laws.
• Never leave the appliance unattended while it is in use.
• The appliance must not be used outdoors.
• If the appliance is stored in rooms where the temperature can drop below the freezing point,
empty the boiler and water circuit tubes.
• Do not expose the appliance to atmospheric agents (rain, sun, and cold).
• Do not clean the appliance with jets of water.
• Noise: the equipment does not exceed 70dB.
• If the power-supply cord is damaged, it can only be replaced by qualied and authorized
technicians.
• If the machine is used improperly or for purposes other than those described above, it can be a
source of danger. The manufacturer will not be held responsible for damages caused by improper
use of the appliance.

English
6 EN
WARNING
Installation,dismantling,andadjustmentsmustonlybeperformedbyqualiedand
authorized technicians.
Carefully read the warnings and rules in this manual because they provide important
information regarding safe installation, use and maintenance of the machine.
Keep this booklet handy for easy reference.
2.1 Transport and handling
Packaging
• The machine is delivered in a robust cardboard package, with appropriate internal protection. The
package features the standard symbols indicating rules to be followed when handling and storing
the appliance.
• Transport must be carried out according to the instructions on the package, handling with
appropriate caution and avoiding impact of any type.
• Do not expose the appliance to atmospheric agents (rain, sun, and cold).
Checks on receipt
• On receipt of the appliance, carefully check all transport documentation is correct (against label
on package).
• Check that the original packaging is not damaged.
• After removing the appliance from its packing materials, make sure that the appliance and its
safety devices are intact.
• Packing materials (plastic bags, polystyrene foam, staples, etc.) must be kept out of the reach of
children because they are potentially hazardous.
Advice for disposal of packaging
The packaging materials are eco-compatible and recyclable. For the protection of the
environment they must not be dumped, but taken to a recovery / waste-disposal centre,
according to local regulations.
Handling
Sta responsible for moving the appliance must be aware of the risks in moving heavy loads.
Move the appliance carefully, using, where possible, the correct lifting equipment (fork lift, for
example).
If moving the appliance by hand, make sure:
- enough people are available for the task, depending on the appliance weight and how
dicult it is to handle;
- to always use the necessary safety equipment (shoes/gloves).

English
7 EN
2.2 Installation Rules
• Before plugging in the appliance, make sure that the information on the nameplate (voltage, etc.)
matches that of the electrical and water systems.
• Check the condition of the power-supply cord; if it is damaged it must be replaced.
• Completely unwind the power-supply cable.
• The coee machine should sit on a at, stable surface at least 1 inch (20 mm) from walls and
from the counter. Keep in mind that the highest surface on the machine (the cup-warmer tray) sits
at a height of at least 47 inches (1.2 meters). Make sure there is a shelf nearby for accessories.
• Room temperature must range between 50 and 90 °F (10 and 32 °C).
• An electrical outlet, water connections, and a drain with siphon must be in the immediate vicinity.
• Do not install in rooms (kitchens) that are cleaned with jets of water.
• Do not obstruct openings or ventilation and heat vents.
• Do not install the appliance outdoors.
• Do not install or use the appliance in potentially explosive environments.
• Do not install the appliance in the presence of ammable substances.
Prior to installation, make sure there is a circuit breaker installed with a distance between the contacts
that allows for complete disconnection when there is a category III overload and that provides
protection against current leakage equal to 30 mA. The circuit breaker must be installed on the
power-supply in compliance with installation rules.
If the power-supply is not working properly, the appliance can cause transitory voltage drops.
The electrical safety of this appliance is only ensured when it is correctly connected to an ecient earthing system in
compliance with the electrical safety laws in force. This fundamental safety requirement must be veried. If in doubt,
request that a qualied electrician inspect the system. The manufacturer cannot be held responsible for any damage
caused by the lack of an earthing system on the electrical supply.
Do not use adaptors, multiple plugs, and/or extension cords.
Check that the type of connection and voltage correspond with the information on the nameplate: see illustrations chapter,
Figure 1.
For machines with a single-phase connection: see illustrations chapter, Figure 2.
3. Electrical Installation Rules
This equipment has been tested and found to comply with the limits for a Class A digital device, pursuant to part 15 of
the FCC Rules.
These limits are designed to provide reasonable protection against harmful interference when the equipment is operated
in a commercial environment.
This equipment generates, uses, and can radiate radio frequency energy and, if not installed and used in accordance
with the instruction manual, may cause harmful interference to radio communications.
Operation of this equipment in a residential area is likely to cause harmful interference in which case the user will be
required to correct the interference at his own expense.

English
8 EN
WATER REQUIREMENTS
Water used in coee machines must be suitable for human consumption (see laws and regulations in force).
Check on the machine’s water inlet that the pH and chloride values comply with current law.
If the values do not fall within the limits, an appropriate water-treatment device must be inserted (respecting the local laws
and compatible with the machine).
If the machine uses water with a hardness exceeding 8 °f (4.5 °d), a specic maintenance plan must be implemented
according to the hardness detected and machine usage.
WARNING
Only use the supplied parts for installation. If other parts are installed, they must be new (unused
pipes and gaskets for the water connection) and they must be permitted for contact with water
suitable for human consumption (according to local laws in force).
WATER CONNECTIONS
Place the appliance on a at surface and stabilize it by adjusting and securing the feet.
Hook up the water connections as shown in the Illustrations chapter, Figure 3, respecting the hygiene, water safety, and
anti-pollution laws in the country of installation.
Note: If the water pressure can rise above 87 psi (6 bar), install a pressure reducer set at 29÷43 psi (2÷3 bar). See
Illustrations chapter, Figure 4.
Water draining tube: place the end of the water draining tube in a drain with a siphon for inspection and cleaning.
IMPORTANT: The curves of the water-draining tube must NOT bend as shown in Illustrations chapter, Figure 5.
ATTENTION:Thisequipmentistobeinstalledwithadequatebackowprotectiontocomplywiththeapplicable
federal, state or local plumbing codes having jurisdiction.
4. Water Installation Rules

English
9 EN
WATER CONNECTIONS
• No leaks from the connections or tubes
FUNCTIONING
• Boiler and operating pressures are normal.
• The pressure gauge is working properly.
• The self-levelling device is working properly.
• The expansion valves are working properly
GROUPS
• Hook up the lter holders to the groups (without coee).
• Let each group dispense water for about a minute.
Hot Water
• Continuously dispense hot water (pressing the appropriate button) until at least 4 liters of water have been used for a
machine with 1 group and 6 liters for a machine with 2 groups (see the “Hot water dispensing” chapter in the User’s
Manual).
STEAM
• Dispense steam from the nozzles for about a minute, using the appropriate buttons.
WARNING: AFTER INSTALLATION, CHECK TO SEE IF THE MACHINE IS WORKING PROPERLY (see the
Installation Module C).
WARNING: ONCE THE MACHINE HAS BEEN INSTALLED AND IS READY FOR USE, BEFORE ALLOWING
THE WORKER TO START USING THE MACHINE, WASH THE INTERNAL COMPONENTS ACCORDING
TO THE INSTRUCTIONS BELOW:
5. Installation Check-up

English
10 EN
BEFORE YOU START
Groups
• Hook up the lter holders to the groups (without coee).
• Let each group dispense water for about a minute.
Hot Water
• Continuously dispense hot water (pressing the appropriate button) until at least 4 liters of water
have been used for a machine with 1 group and 6 liters for a machine with 2 groups (see the “Hot
water dispensing” chapter in the User’s Manual).
Steam
• Dispense steam from the nozzles for about a minute, using the appropriate buttons.
DURING OPERATION
Steam dispensing
• Before heating the beverage (water, milk, etc.), open the steam nozzle for at least 3 seconds and
let the steam escape so that condensation is eliminated.
Coeedispensing
• If the machine has not been used for more than an hour, before using the hot water, dispense
about 100 cc and discard the liquid.
Hot water dispensing
• If the machine has not been used for more than an hour, before using the hot water, dispense
about 200 cc and discard the liquid.
Cleaningthecoeecircuits
• Please read the specic section in the user’s manual to learn how to clean these circuits.
WARNING: BEFORE YOU START OPERATING THE MACHINE, WASH THE INTERNAL
COMPONENTS FOLLOWING THE INSTRUCTIONS INDICATED BELOW.
THESE STEPS MUST BE REPEATED AT LEAST ONCE A DAY AND WHEN THE
MACHINE HAS NOT BEEN OPERATED FOR MORE THAN 8 HOURS.
6. Rules for the worker operating the machine

WARNING: Hot surface
ACHTUNG: Heisse Oberäche
ATTENTION: Surface chaude
ATTENZIONE: Supercie calda
English
11 EN
GENERAL
The manufacturer disclaims all liability for
damages to items or persons due to improper
useorduetothecoeemachinebeingused
for purposes other than its intended use.
Do not operate the coee machine with wet hands
or bare feet.
Ensure that the appliance is not used by children
or persons who have not been instructed in its
correct use.
Danger of Burns
Do not place the hands or other parts of the body
close to the coee dispensing groups, or near to
the steam and hot-water nozzles.
Cup-warmer tray
Place only coee cups, cups and glasses to be
used in conjunction with the coee machine on
the cup-warmer tray.
Ensure that the coee cups are completely drained
before placing them on the cup-warmer tray.
No other objects shall be placed on the cup-
warmer tray.
Danger of burns
The areas marked with this sign become
hot. Great care should be taken when
in the vicinity of these areas.
7. Caution
MACHINE CLOSE-DOWN
When the machine is left unattended
for a prolonged period (for example
out of hours), carry out the following steps:
• Clean as indicated in the dedicated
chapter;
• Removethe plugor turno the main
o-onswitch;
• Close the water tap.
Non-compliance with these safety measures
exonerates the manufacturer from all liability
for malfunctions, damage to property and/
or injury to persons and/or animals.

English
12 EN
9. Decomissioning the machine
Electrical equipment cannot be disposed of as
ordinary urban waste.
Suitable dierentiated waste disposal so
that the machine can then be recycled,
treated and disposed of in an
environmentally friendly manner contributes
to avoiding possible negative effects on the
environment and health, and encourages the
reuse and/or recycling of the materials from which
the machine is made.
Improper disposal of electric equipment that fails
to respect the laws in force will be subject to
administrative nes and penal sanctions.
To protect the environment, please proceed
in compliance with the local laws in force.
If the machine is not working properly, turn o the
machine, turn o the main o-on switch, and call
the service centre.
If the power-supply cord is damaged, switch o
the machine and request a replacement from the
service centre.
WARNING
Maintenance by unqualied individuals
can jeopardize the safety and conformity
of the machine.
Only use qualied, authorized technicians for
repairs.
WARNING
Only use original spare parts guaranteed by
the manufacturer.
If original spare parts are not used, the
manufacturer's warranty will no longer be
valid.
WARNING
After maintenance, perform the installation
CHECK-UP as indicated in the specic section
of the user’s manual.
To ensure safety during operation, it
is absolutely necessary to:
• follow all the manufacturer’s instructions;
• havequaliedandauthorizedtechnicians
periodically check that all safety devices
are intact and functioning properly (the
rstinspection withinthree yearsof
purchase and every year after that).
8. Maintenance and Repairs
For California only
WARNING: Consuming beverages that have been
prepared in this machine will expose you to lead, a
chemical known to the State of California to cause
birth defects and other reproductive harm.
Regeneration of the Water Softener
(where is present)
The water softener may be of dierent types,
with different resin capacities and different
periods of validity.
The resins are regenerated by adding coarse
kitchen salt or salt pastilles to the water softener.
If regeneration is not performed at the set times,
calcareous deposits are formed which progres-
sively diminish the machine’s performance until
the functions are blocked.
See the instructions provided with the appliances
for periods of time between one regeneration
and another and for the description of the re-
generation method.
Regeneration at the set times keeps the machine
in ideal working conditions.

English
13 EN
10. Daily Switch-On
USE
“Before setting the machine at work, make sure that
:
• the main electric power switch is on
;
• the mains water cock has been turned on
".
1
0
12
14
2
10
CAUTION: do not put any cloth on the cup-
warmer.
While awaiting for the machine to be ready for use, insert
the lter baskets (10) in the groups.
Do not cover the cup warmer with cloths to prevent over-
heating of the machine.
When the pressure gauge (14) indicates normal working
pressure, the machine is ready to be used.
Electric switching on
Turn the main switch (1) to position 1.
The boiler is lled until the set level is reached.
Turn the main ON/OFF switch (1) to position 2.
“Heating” now begins.
At the end of the day, turn the machine OFF by turning
the main ON/OFF switch (1) to position 0.
11. Heating phase
12.Deliveryofthecoee
1. Unhook the lter-holder (10) from the group.
2. Place the grounds in the grounds drawer.
3. Fill the lter with a dose of ground coee.
4. Level out with the coee press.
5. Insert the lter-holder (10) into the group ensuring it that
the gasket provides a good seal.
6. Place the cups (or cup) under the dispensing spouts.
7. Raise the lever (2) of the group to a vertical position.
From this moment, no coee will be issued for 5-6 se-
conds. This is the time required for the pressure to reach
pump delivery head value. Infusion occurs at this time,
i.e. the preliminary “cooking” of the coee. Dispensing
commences at the end of the infusion, during which the
coee ows out continuously. Once the required quantity
of coee has been obtained, dispensing is stopped by
replacing the lever (2) in the horizontal position. Do not remove the lter holder during coee
dispensing.

English
14 EN
13. Other hot beverages
Steam dispensing
Put a cup with the beverage you wish to heat under the
right or left steam nozzle (6).
Completely immerse the steam nozzle in the beverage.
Gradually open up the steam ta (7) , allow the beverage
to heat to the desired temperature, stop the ow of steam
by turning knob (7) the other way (towards “0”).
Dispensing hot water
Put the pot below of pipe (8) and open the tap (9).
Heatingmilkforfrothycoee(cappuccino)
General indications
Milk is a delicate biological product and can easily
deteriorate. Heat modies its structure. Milk must be kept
at a storage temperature no higher than 41 °F (5 °C) from
the moment the container is opened and throughout its
entire period of use. Our storage appliances are suitable
for this purpose.
At the end of the work day (or not more than 24
hours from the time the container is opened),
any remaining milk must be discarded.
CAUTION: After a long inactivity, the hygienic
norms relevant to milk conservation shall be
followed.
Use a tall narrow jug and ll it up to about the half-way mark.
Then plunge the steam jet pipe (6) into the milk.
Gradually open up the steam tap (7) and heat the milk for
a few seconds.
When the required amount of froth has been made and the
temperature is suciently high, stop the ow of steam by
turning knob (7) the other way (towards “0”).
13
5
14. Water level control of boiler (when provided)
The machine is tted with a series of automatic level control
devices to keep the water in the boiler at a pre-set level.
Filling the boiler with water using the manual service tap
This function should be used only if the electronic level
control devices are not working correctly.
Press the lling lever (5), taking care not to exceed the
MAX. level on the boiler water level indicator (13).
When the steam jet pipe (6) is no longer required, clean it
thoroughly with a sponge and a clean cloth.
Cleaning of steam dispensing pipes
At the conclusion of each steam dispensing
phase:
- Using a clean sponge, wash with hot water
removing any organic residue present. Rinse
carefully.
- clean the inside of the steam nozzle as
follows:
Turn the nozzle towards the cup tray and
carefully activate steam dispensing at least
once.
9
6
7
8

(4) (5) (6)(3)(2)(1)
English
15 EN
GENERAL OVERVIEW OF CLEANING INTERVALS
EVERY
USE DAILY WEEKLY WHEN
NECESSARY TOOLS TO USE
COFFEE CIRCUIT
√ √
• brush (1)
• rubber disk (2)
• detergent powder (3)
COFFEE GROUPS å brush (1)
BOILER WATER CHAN-
GE √ √
FILTER HOLDER
√
• container (4)
• detergent powder (3)
• sponge (5)
STEAM PIPE √ √ • sponge (5)
WATER PIPE å sponge (5)
DRIP PAN å sponge (5)
BODYWORK √ √ • soft cloth (6)
CUP TRAY SURFACE å sponge (5)
For correct application of the food safety system (HACCP), please follow the instructions in this paragraph.
Washing must be carried out using original “Service Line” products; see details on the last page. Any other
product could compromise the suitability of the materials which come into contact with food products.
15. Cleaning and maintenance
For cleaning operation details, see the
dedicated sections on the following
pages.
1 42
5 6
3
Remove the lter holder and
execute the rinse cycle with
water for about 30”.
Remove the filter holder
from the coee group.
Using a brush, clean the
cover gasket.
Attach the lter-holder to the
dispenser unit and perform
a few cycles.
Do not remove the
lter holder during
coee dispensing.
Procedure to follow at the end of the working day on all groups.
NOTE: the following operations must be carried out when the machine is on and pressurized.
Remove the lter from the
lter holder and t the blank
ring into it.
Pour in 5 g of detergent
powder, equal to about one
teaspoon.

English
16 EN
1 32
4 5 A
FILTER-HOLDERSFILTER-HOLDERS - This operation must be made on all the lter-holders at the end of each working day
Remove the lters from the lter holders.
Soak the lters and the lter
holders in this solution for
about 15 minutes.
NOTE! Only immerse the
metal parts.
Place the lters back in the lter holder, making sure that
the anchoring spring (A) of the lter is in its slot.
Remove any residue with a sponge and rinse well with
running cold water.
STEAM DISPENSING PIPES - This operation must be made at the end of each working day
1. Using a suitable container, remove an adequate amount of hot water > 194°F (90 °C) from the boiler, enough to cover
the part of the nozzle that comes into contact with the milk.
2. Let the nozzle steep for at least 30 minutes.
3. Throw the water away and rinse the container thoroughly.
4. Using the nozzle, heat an adequate amount of cold water to at least > 149°F (65 °C), enough to cover the part of the
nozzle that came into contact with the hot water used in step 1.
5. Throw the water away and rinse the container thoroughly.
6. Turn the tube towards the cup tray and very carefully dispense steam for 10 seconds.
7. Dry the nozzle with a clean, slightly damp sponge that does not leave behind any bre residue.
DO NOT use abrasive products.
HOT WATER DISPENSING PIPE - This operation must be made at the end of each working day
Using a clean sponge, wash with hot water removing any organic residue present. Rinse carefully.
DO NOT use abrasive products.
NOTE:theproceduresdescribedbelowcanalsobecarriedoutwhenthemachineisswitchedo.
DRIP PAN - This operation must be made at the end of each working day
Remove the drip plan and complete the cleaning with running water
DISCHARGE BASIN - This operation must be made at the end of each working day
Pour about a liter of hot water into the discharge basin to remove any discharge residues.
BODYWORK - This operation must be made at the end of each working day
Use a soft cloth and cleaning products WITHOUT ammonia or abrasives, removing any organic residue present in the
work area.
NOTE. Do not spray liquids into the panel slots.
Pour one litre of hot water
(122÷176°F; 50÷80°C) and
10 g of detergent powder,
equal to two teaspoons, in
a suitable container that is
neither aluminium nor iron.

English
17 EN
16. Defects - Malfunctions
Direct action by the customer
Before calling service personnel, to avoid useless expense, check whether the machine problem corresponds to one of
the cases listed below.
16. Defects - Malfunctions
Interventions by a specializes technician
PROBLEM CAUSE SOLUTION
Leaking from the lter-holder rim
(10).
Underpan gasket dirty with coee. Clean using the special brush provided.
Coee dispensing time too
short.
Coee ground too coarse.
Coee too old.
Use a ner grind.
Use new coee.
Coee drips out of machine. Filter holes blocked or lter-holder (10)
outlet hole dirty.
Coee ground too ne.
Clean.
Use a coarser grind.
Loss of water under the
machine.
Discharge well clogged up.
Discharge pan hole blocked.
Clean.
Clean.
PROBLEM CAUSE SOLUTION
Infusion time too short
Rapid dispensing.
Coee very bland, without cream.
(Same defects on all groups).
Coee grounds too course.
Old coee.
This defect is associated to other secondary
symptoms which may be caused by a number
of other causes as per the previous points. Do
not adjust the machine until all other causes
have been excluded.
Infusion time very short.
Rapid dispensing.
Coee very bland, without cream.
(Same defects on all groups).
Group nozzle widened through use.
OR gasket in cone-shaped section
leaks.
Infusion valve remains open
Filter edge broken.
The volume ow rate of the group without lter
must be 6.1 inch³ (100 cm³) in 8 ÷ 10 seconds.
Low coee yield.
Slow dispensing.
Coee cold and bland.
Spout dirty. If the group is operated without the lter-
holder, thin, isolated jets will be dispensed
instead of one central jet.
Fast dispensing, coee bland.
Pressure gauge pump indicates
pressure greater than 131 psi
(9 bar).
Pump out of calibration.
By-pass valve blocked.
Low coee yield.
Fast dispensing.
Coee hot and bland.
Filters with perforations widened.
Coarse grinding.
Coee grounds in cup.
Coee cold, bland and without
cream.
Normal infusion and dispensing
times.
Air bubble in thermosiphon
circulation.
Check valve does not hold (with low
pressure in system).
Heat exchangers emptied.
Heat exchanger defective (shows
pressures higher than real values).
Move group to and fro to remove air bubble.
When touching the water tube it is warm near
to the machine.
Pressure gauge calibrated with values that
are too low.
Coee cold in the morning at start
of work.
Air in boiler. See switching on instructions.

English
18 EN
17. Defects - Malfunctions
Interventions by a specializes technician
PROBLEM CAUSE SOLUTION
Dispensing slow.
Coee burnt and cold.
Cream very dark, with tendency of
formation of an “eye”.
Coee grounds too ne.
Low pressure in pump.
Mesh lter above spout dirty.
Spout partially blocked.
Dispensing slow, coee burnt.
Pressure gauge pump lower than
131 psi (9 bar).
Pump out of calibration.
Pump with reduced capacity.
Drainage tube leaks when group is
at rest (defect only on one group).
Coee dispensed normally.
Dispensing valve does not hold. If this defect is not corrected immediately, the
water softener runs out long before the expiry
time, with consequent scale deposit.
Group at rest
Dispensing valve gasket fails
rapidly.
Water leak from the drainage tube.
Coee dispensed normally.
Defect on all groups.
Expansion valve with calibration too
high (above 174 psi (12 bar).
If this defect is not corrected immediately,
the water softener runs out long before
the expiry time, with consequent scale
deposit.
Group at rest.
Continuous loss of cold water in
the drainage tray. Groups do not
dispense any more coee and the
pressure gauge pump shows low
values.
Expansion valve remained open. If this defect is not corrected immediately,
the water softener runs out long before
the expiry time, with consequent scale
deposit.
Group in operation.
Drainage tube leaks.
No coee.
Drainage valve does not hold.
Group in operation.
Loss of cold water in drainage tray.
Coee bland.
Dispensing slow.
Expansion valve out of calibration
(opens at less than 131 psi (9 bar).
Group leaks at cam shaft. Leak on the two glands. Remove the glands taking care not to mark
the housings. Do not use tools made of
steel or other hard materials.
Before remounting, clean the shaft
thoroughly, especially the grooves
Dicult to move the groups. Cam prole worn.
Machine does not go into pressure
or reaches pressure level slowly.
No electricity.
Automatic switch gone o.
Resistances burned.
Electric circuit to resistance
interrupted.
No water in boiler.
Steam taps leak:
Groups function normally.
Pressure gauge pump does not give
correct pressure reading 116 ÷ 131
psi (8 ÷ 9 bar).
Pressure gauge defective.
Pump does not reach pressure
level.
No dispensing.
Motor does not work:
- No electricity.
- Capacitor burnt.
- Microswitch burnt.
- Motor burnt.
Check valve pump open.
By pass valve completely opened.
Pump noisy. Pump defective.
No water in system.
Other manuals for E61 Legend
2
Table of contents
Other Faema Coffee Maker manuals

Faema
Faema E92/A Compact User manual

Faema
Faema X20 User manual

Faema
Faema SMART/A R User manual

Faema
Faema PRESTIGE + Technical manual

Faema
Faema E98/S-1 User manual

Faema
Faema E61 Jubile Technical manual

Faema
Faema X2 GRANDITALIA User manual

Faema
Faema E71 Technical manual

Faema
Faema Family User manual

Faema
Faema E61 Legend Technical manual

Faema
Faema TEOREMA A Technical manual

Faema
Faema E71 E Technical manual

Faema
Faema E61 3 GR User manual

Faema
Faema SMART / A Technical manual

Faema
Faema E98/A-2 Compact User manual

Faema
Faema E61 Jubile Technical manual

Faema
Faema BARCODE Technical manual

Faema
Faema X30 User manual

Faema
Faema Enova User manual

Faema
Faema E61 3 GR User manual