manuals.online logo
Brands
  1. Home
  2. •
  3. Brands
  4. •
  5. FasTest
  6. •
  7. Cables And Connectors
  8. •
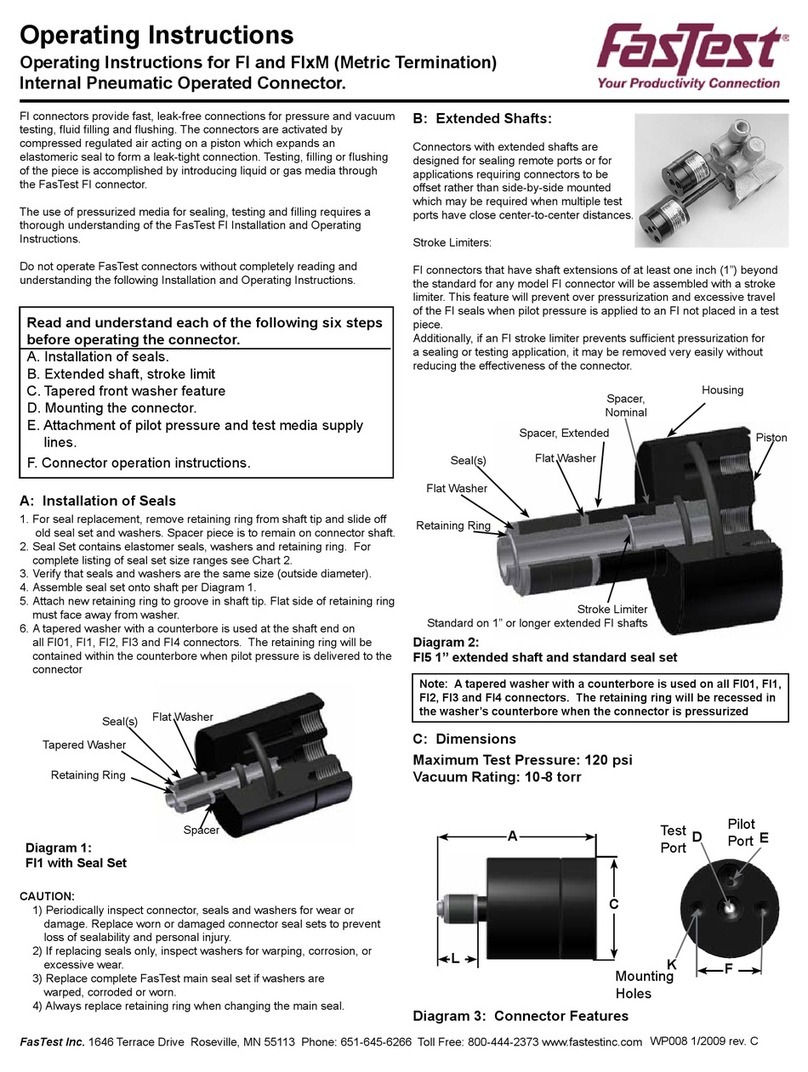
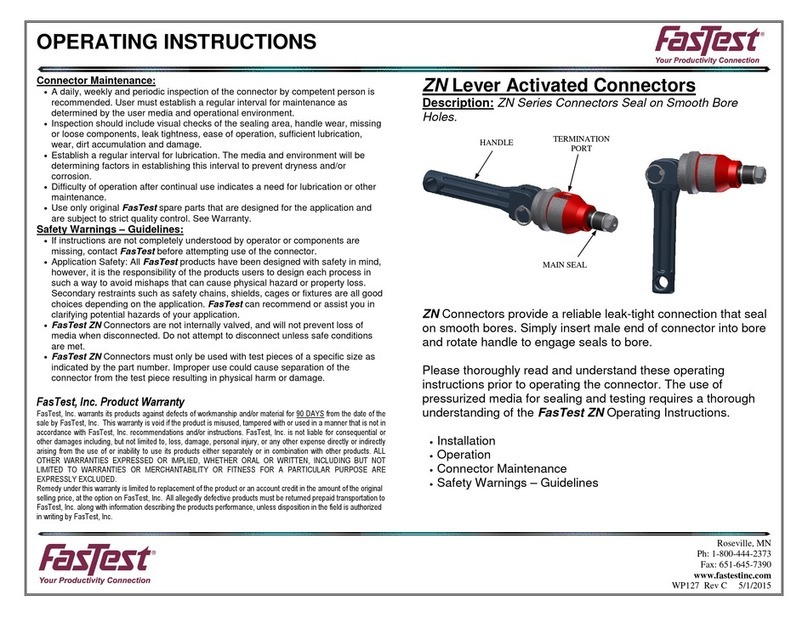
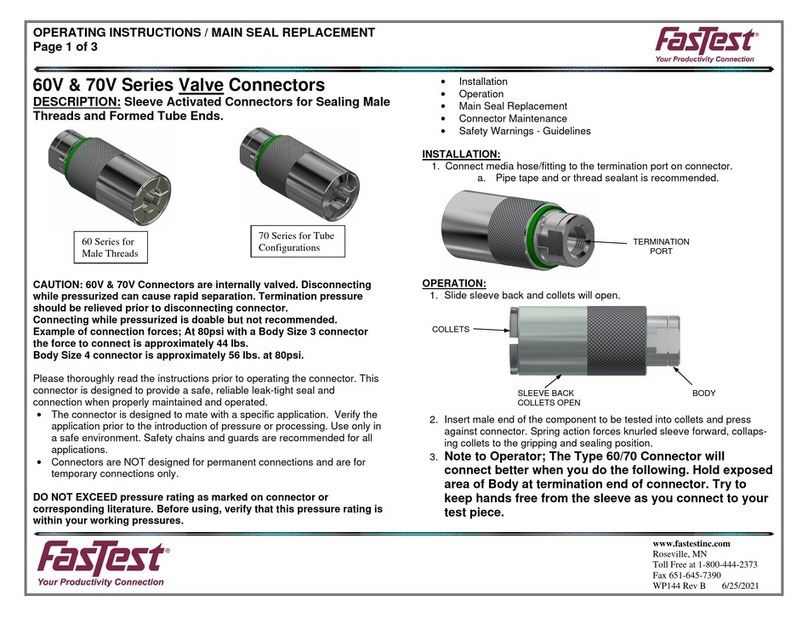
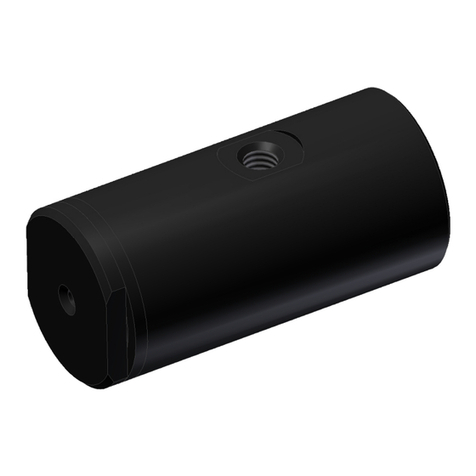
  9. FasTest SnapMate SCPR50 User manual

FasTest SnapMate SCPR50 User manual

REBUILD INSTRUCTIONS
www.fastestinc.com
Roseville, MN
Toll Free at 1-800-444-2373
Fax 651-645-7390
PAT# 6,039,303 WP085 Rev B 04/2009
(1)ADD
SPRING
(2)ADD
BODY
SLIDE
SLEEVE
STEP
COMPLETE
LEAVE ROOM
FOR LATCH
PINS
ASSEMBLE IN
ORDER SHOWN
TAPERED
END
TORQUE TO
10FT-LBS
SLIDE
SLEEVE
INSERT
PINS
REASSEMBLE:
Use all the new seals provided and lubricate lightly with an oil
compatible with your system / process during assembly. Re-
place pins with new pins as provided in the rebuild kit.
1) Place piston with end facing down on
solid surface and add the piston spring.
2) With the piston seal and sleeve o-ring
already replaced, slide the front body
over the back of the piston. This will re-
quire some force but if properly lubricat-
ed, it will slide over without damaging
the seal.
3) Continue to compress the
front body over the piston and
add the 4 balls into their re-
spective holes. Do not re-
lease the pressure until step 4
is complete.
4) Slide the sleeve over the
compressed assembly up to
the grip pin slots.
5) Flip the connector over and inset the
latch pins. Slide the sleeve over the
pins to retain.
6) Insert the spring and poppet into the
back body.
7) Lightly lubricate the poppet seal and in-
sert into the back body above the pop-
pet.
8) Insert the poppet pins into the back of
the front body. Make sure the poppet
pins have the tapered side toward the
poppet. Pins are not required to be
placed in any specific holes but they
must be placed opposing.
9) Use a drop of LocTite
242 on the body
threads and assemble
the two body halves.
Tighten threads to 10ft-
lbs.
SCPR50 Rebuild Kit
Valved In-Line
DESCRIPTION:
Rebuild kit for internally valved,
in-line with pin grip.
INSERT
PINS
STEP 6&7
SUB-
ASSEMBLY
REBUILD INSTRUCTIONS
www.fastestinc.com
Roseville, MN
Toll Free at 1-800-444-2373
Fax 651-645-7390
PAT# 6,039,303 WP085 Rev B 04/2009
PUSH
DISASSEMBLY:
1) Push against the piston and slide the
sleeve forward. Similar movement
as actual connection. This will ex-
pose the wrench flats on the front
body.
2) Thread apart the two halves of the
body by counter rotating the wrench
flats. Use caution when taking apart
body as internal components may
fall out.
3) Once the two halves of the body are
apart, remove the poppet seal using
a repair pick, or similar tool. If the
seal remains below the poppet, re-
move poppet by pushing through
from termination end. It may not be
necessary to remove the poppet
and spring if the seal is easily ac-
cessible. Exercise caution so as not
to scratch or deform the seal
groove. This could cause a poten-
tial leak path.
4) Remove the poppet activation pins. If
the pins are not easily removed, the
connector could require repair and
should be inspected for unusual
wear.
5) Remove the front sleeve. To remove
the sleeve, the front assembly must
be compressed. (Can be finger
compressed.) Once compressed,
the sleeve will slide off the back of
the assembly. Hold compression
while removing the sleeve. Once
compression is removed, the inter-
nal balls will be forced out of their
respective holes. Use caution when
taking apart the assembly as in-
ternal components may fall out. A
catch basin or cloth is recommend-
ed.
6) Remove the main seal from the pis-
ton. Using a repair pick, or similar
tool, remove the main seal. Exer-
cise caution so as not to scratch or
deform the seal groove. This could
cause a potential leak path.
7) Remove the internal piston seal and
the external sleeve o-ring from the
front body. Using a repair pick, or
similar tool, remove the seal. Exer-
cise caution so as not to scratch or
deform the internal seal groove.
This could cause a potential leak
path.
FasTest, Inc. Product Warranty
FasTest, Inc. warrants its products against defects of workmanship and/or ma-
terial for 12 months from the date of the sale by FasTest, Inc. This warranty is
oid if the product is misused, tampered with or used in a manner that is not in
accordance with FasTest, Inc. recommendations and/or instructions. FasTest,
Inc. is not liable for consequential or other damages including, but not limited
to, loss, damage, personal injury, or any other expense directly or indirectly
arising from the use of or inability to use its products either separately or in
combination with other products. ALL OTHER WARRANTIES EXPRESSED
OR IMPLIED, WHETHER ORAL OR WRITTEN, INCLUDING BUT NOT
LIMITED TO WARRANTIES OR MERCHANTABILITY OR FITNESS FOR A
PARTICULAR PURPOSE ARE EXPRESSLY EXCLUDED.
Remedy under this warranty is limited to replacement of the product or an account credit in the
amount of the original selling price, at the option on FasTest, Inc. All allegedly defecti e products
must be returned prepaid transportation to FasTest, Inc. along with information describing the
products performance, unless disposition in the field is authorized in writing by FasTest, Inc.
WRENCH FLATS
POPPET SEAL
COMPRES
S
MAIN SEAL
REMOVE
SLEEVE
INTERNAL PISTON SEAL
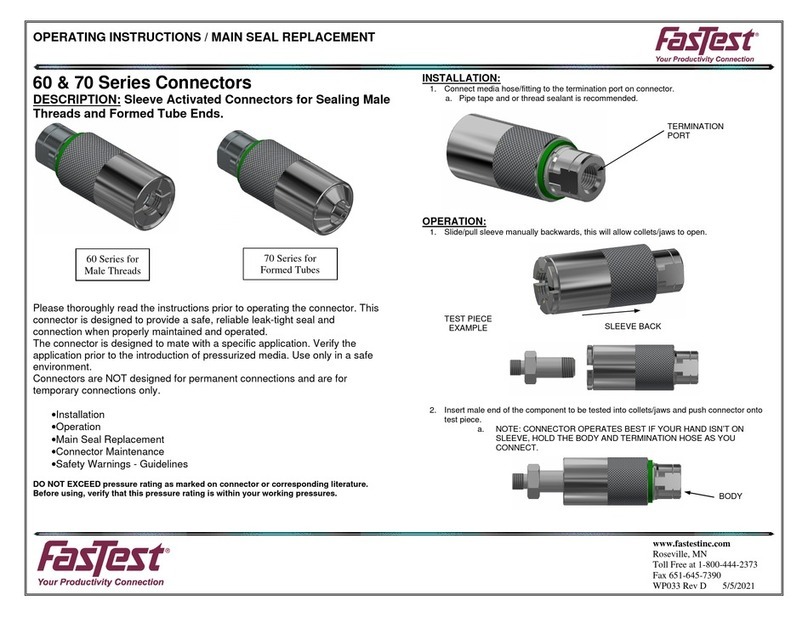
SLEEVE O
-
RING
REMOVE

Other FasTest Cables And Connectors manuals

FasTest FasMate Series User manual

FasTest

FasTest FasMate Series User manual

FasTest 60 Series User manual

FasTest

FasTest 60 Series User manual

FasTest 60V Series User manual

FasTest

FasTest 60V Series User manual

FasTest FI Series User manual

FasTest

FasTest FI Series User manual

FasTest FE001 Series Guide

FasTest

FasTest FE001 Series Guide

FasTest ZN Series User manual

FasTest

FasTest ZN Series User manual

FasTest FasCal Series User manual

FasTest

FasTest FasCal Series User manual

FasTest TWISTMATE Series User manual

FasTest

FasTest TWISTMATE Series User manual

FasTest 60V Series User manual

FasTest

FasTest 60V Series User manual

FasTest 60 Series User manual

FasTest

FasTest 60 Series User manual

FasTest FasMate Series User manual

FasTest

FasTest FasMate Series User manual

FasTest ICON 60 User manual

FasTest

FasTest ICON 60 User manual

FasTest FI Series User manual

FasTest

FasTest FI Series User manual

FasTest FN Series User manual

FasTest

FasTest FN Series User manual

Popular Cables And Connectors manuals by other brands

Mitsubishi AL-232CAB Hardware manual

Mitsubishi

Mitsubishi AL-232CAB Hardware manual

Lütze LION microPLC operating instructions

Lütze

Lütze LION microPLC operating instructions

Festo NEBM-M12G8-E S1G9-V4 Series Assembly instructions

Festo

Festo NEBM-M12G8-E S1G9-V4 Series Assembly instructions

Festo NEBU-M8R3 Series Assembly instructions

Festo

Festo NEBU-M8R3 Series Assembly instructions

Amphenol ePower-Lite Mini Assembly Work Instructions

Amphenol

Amphenol ePower-Lite Mini Assembly Work Instructions

Gefen EXT-HDMI1.3-145 user manual

Gefen

Gefen EXT-HDMI1.3-145 user manual

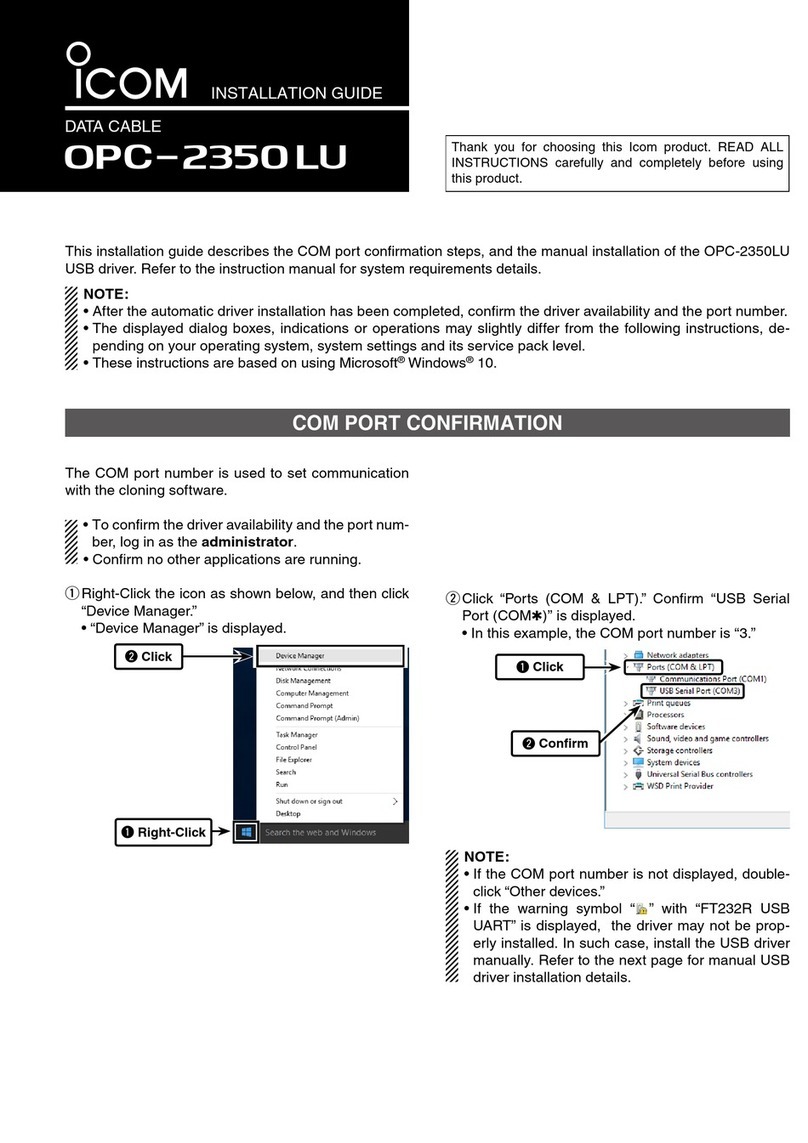
Icom OPC-2350LU instructions

Icom

Icom OPC-2350LU instructions

Vanco 280902 product manual

Vanco

Vanco 280902 product manual

Gefen TOOLBOX GTB-HD4K2K-148C-BLK user manual

Gefen TOOLBOX

Gefen TOOLBOX GTB-HD4K2K-148C-BLK user manual

Lindy 32356 user manual

Lindy

Lindy 32356 user manual

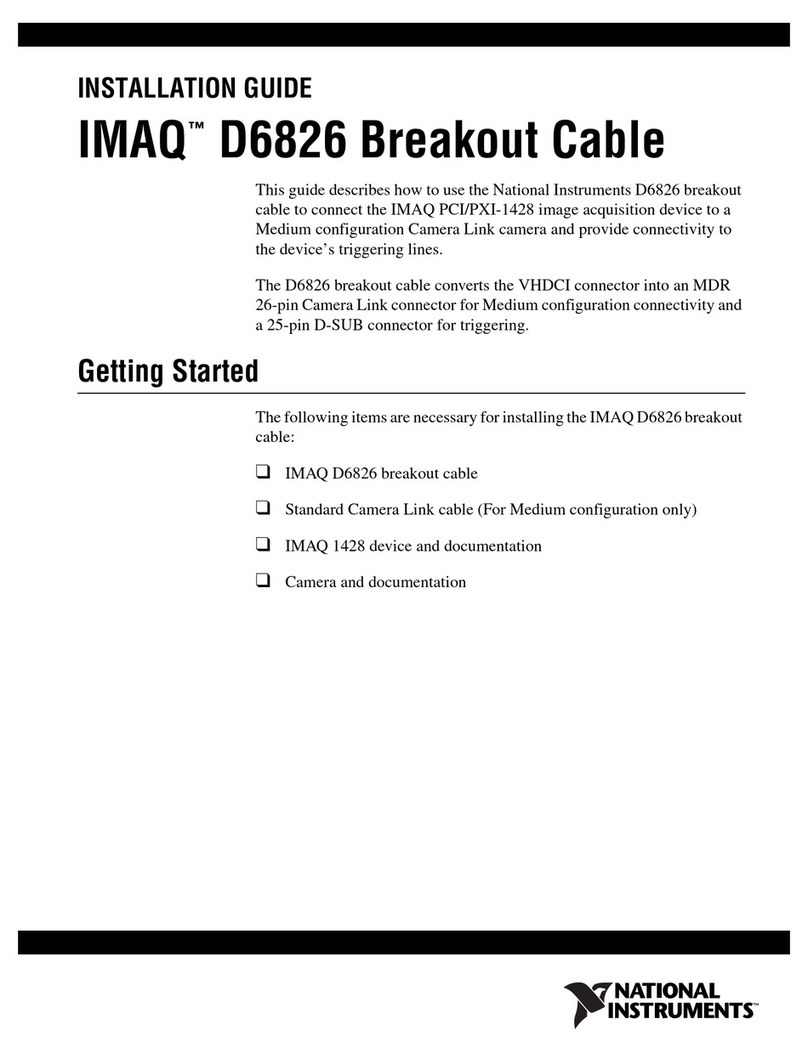
National Instruments IMAQ D6826 installation guide

National Instruments

National Instruments IMAQ D6826 installation guide

BD Q-Syte Instructions for use

BD

BD Q-Syte Instructions for use

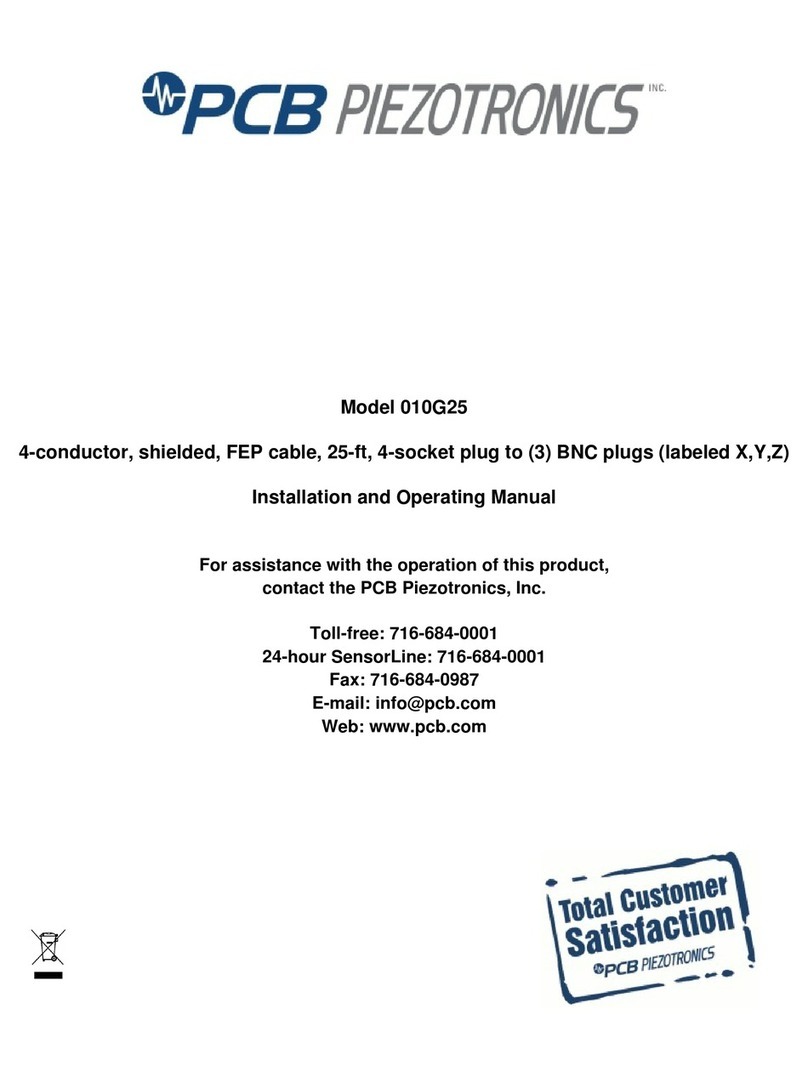
PCB Piezotronics 037G30 Installation and operating manual

PCB Piezotronics

PCB Piezotronics 037G30 Installation and operating manual

Anritsu K Connector K102F manual

Anritsu

Anritsu K Connector K102F manual

ARX MSX12 owner's manual

ARX

ARX MSX12 owner's manual

Philips DLC2416 brochure

Philips

Philips DLC2416 brochure

Staubli RobiFix Assembly instructions

Staubli

Staubli RobiFix Assembly instructions

American ADVANTAGE 2 TIM-3900 Series manual

American

American ADVANTAGE 2 TIM-3900 Series manual

manuals.online logo
manuals.online logoBrands
  • About & Mission
  • Contact us
  • Privacy Policy
  • Terms and Conditions

Copyright 2025 Manuals.Online. All Rights Reserved.