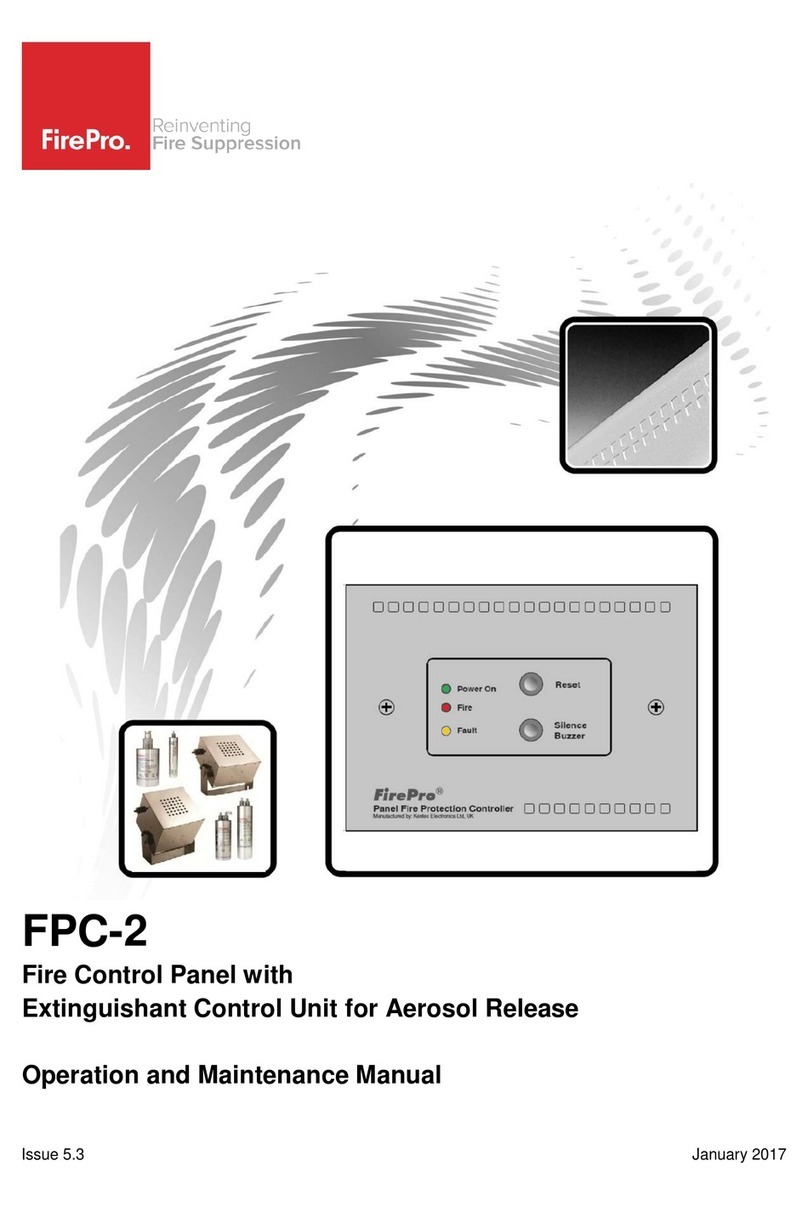
Fire Pro FP-22408 User manual

FP-22408
& 17310
Fire Control Panel
Operation and Maintenance Manual
1. Introduction............................................................................................................................................ 2
2. Operation ............................................................................................................................................... 2
3. Installation Procedure ............................................................................................................................. 3
Installation and Mounting........................................................................................................ 3
Power Supply –Connect directly to Battery .............................................................................. 3
Manual Activation Switches ..................................................................................................... 4
Linear Heat Detection Cable .................................................................................................... 4
Installation of FirePro Units –MAX 4 Units ............................................................................... 5
Thermal Fuse ......................................................................................................................... 5
Relay Connections and Programming ....................................................................................... 6
Sounder circuit wiring ............................................................................................................. 6
Extension Leads ..................................................................................................................... 6
Colour Coded Cables............................................................................................................... 6
4. Panel Operation ...................................................................................................................................... 7
Silence Alarms........................................................................................................................ 7
Isolation Mode ....................................................................................................................... 7
5. Maintenance ........................................................................................................................................... 7
TroubleShooting & Fault Codes ............................................................................................... 7
Replacing the Internal Battery ................................................................................................. 7
6. Commissioning & Testing ........................................................................................................................ 8
7. Component Description ........................................................................................................................... 9
8. Specifications.......................................................................................................................................... 9

fp_22408_m4.1 Page 2 of 10
The Model 22408 vehicle control panel to provide an integrated fire detection and suppression system. This control
panel allows up to 4 FirePro Generators of any size to be installed. The panel is compliant to AS5062.
The FIP (fire indicator panel) incorporates-
•two monitored detection circuits,
•a monitored activation circuit,
•a monitored power supply circuit with installed 10A fuse
•a monitored 24hr backup battery circuit with battery installed.
•programmable shutdown delay time.
IN CASE OF FIRE
The FirePro Vehicle Suppression System is an automatic system and has Manual switches.
In case of fire follow these steps:
1. The Detection system will activate suppression system automatically in case of fire.
2. Safely Stop the Vehicle and Evacuate all personnel from the vehicle as soon as possible.
3. Where manual activation required - Remove Travel Pin from Activation Switch and press
switch.
4. Keep the FirePro Aerosol within the risk until the fire is completely extinguished or fire
may reignite.
5. Wait approximately 20min for the FirePro Aerosol to dissipate and clean up with soapy
water.
6. DO NOT open the risk area or attempt to restart the engine, until the fire is completely
extinguished and the machine has sufficiently cooled.
7. System will remain in fault until the FirePro generators are replaced.
SYSTEM OK INDICATOR will indicate green, when the system is receiving appropriate 24vDC supply and is
operating normally. If power is not supplied, or a fault if detected the LED will not be lit and the panel will not
operate or function correctly.
FIRE INDICATOR will indicate red when the detectors go into alarm or a manual activation switch is pressed.
RELAY RESET INDICATOR and Button. Pressing the button will interrupt the programmed shutdown. This
delay can be maintained by continuously pressing the button. - indicates that the relay time delay has been reset.
If the system is in an alarm condition and has been serviced/recharged, the reset button will allow for normal
vehicle operation.
ALARM SILENCE INDICATOR and Button - will indicate amber when the alarm has been silenced. if pressed,
the alarm will silence for 6 hours before sounding again. All other Fault lights will continue to indicate that a
problem is present.
SERVICE SYSTEM INDICATOR - will indicate amber, and activate an alarm, to show that a fault is present. LED
will flash in a numbered sequence to indicate which circuit is experiencing a fault (see Fault Codes).
PUSH TO TEST Button - Allows the operator to check functionality of all LED's, relays and alarms without activating
the system.
ISOLATION MODE - Pressing the Amerex Logo button five times will put the panel into
Isolation Mode.
To
deactivate Isolation Mode –Press and Hold the Amerex Logo Button for 5 seconds.(only for model 22408)

fp_22408_m4.1 Page 3 of 10
Mount the Amerex 22408 Control Panel in a dry, protected area (such as
inside the vehicle cab). It should be clearly visible and within reach of
the vehicle operator.
DIMENSIONS - 135H x 189W x 50D mm
Connect the wiring loom to the panel.
Note: each cable uses a different plug to
ensure that they are connected to the
correct plug. DO NOT force plugs.
The panel should not be placed in
environments where the temperature is outside the range of -40°C to
+66°C.
Mounting Bracket (FP-22408B) may be used. This bracket
will accommodate the control panel and a manual activation
switch. Made from 316 stainless steel.
Connect Power Supply Assembly to the vehicle's battery terminals and connect to panel using the Power Supply
lead coming from the panel (marked Red). Note: the Red cable goes to the battery's positive terminal and the
black cable goes to the battery's negative terminal.

fp_22408_m4.1 Page 4 of 10
Mount the Internal Activation Switch in a dry, protected area (such as the vehicle cab). It should be clearly visible
and within reach of the vehicle operator. This should then be connected to the control panel using one of the two
Detection Circuits (marked Green).
Mount the External Activation Switch on the exterior of the vehicle. This should be easily accessible and away from
the risk area. Note: the supplied End of Line module MUST be plugged into the cables coming out of the Internal
Activation Switch if no External Activation Switch is to be used.
Switch mechanism with travel Pin Switch Shown in External Mount
Mount the Linear Heat Detection Cable inside the risk area using the supplied P-clips every 500mm and junction
boxes. With reference to use one of the supplied 2 Pin Deutsch Plug pairs create a extension cable and plug into
the remining Detection Circuit (marked Green). This kit comes with an installed End Of line resistor that must be
installed at the end of the LHD cable. Note: wiring should not be done in a way that place tension on the cable
and installers MUST observe the minimum bend radius on 150mm.

fp_22408_m4.1 Page 5 of 10
Using the supplied Heavy Duty Brackets, mount the FirePro Generators inside the risk area facing engine
components that pose hazards in case of fire (for example; turbo, fuel supply and battery). Connect the FirePro
generator(s) to the panel using the Activation Circuit (marked Yellow). For risks that require two or more FirePro
generators use the supplied splitter cable(s).
USING Splitter Cables
Using the supplied Thermal Fuse, remove the cap on the thermal port on one FirePro generator (see image). Screw
thermal fuse into thermal port and connect cable to the System Discharge Advice circuit coming from the control
panel (marked Blue).

fp_22408_m4.1 Page 6 of 10
The control panel also provides a Shutdown/Warning Relay to shutdown the vehicle's engine and activate any
auxiliary warning equipment (for example sirens or lights).
The colour code for the relay wiring is: Common-Red
Normally Closed-Black
Normally Open-White.
Any device that is wired to the relay must draw its own current from an independent power lead with a 5 Amp AGC
fast blow fuse. One of the supplied 3 Pin Deutsch Plugs is supplied any connection.
RELAY PROGRAMMING
Press and hold the "Relay Reset" and "Alarm Service" buttons simultaneously for
20 seconds.
The panel will chirp once and the "System OK" LED will flash.
Press the "Relay Reset" button "x" times for the desired relay delay.
After 10 sec has elapsed, the panel will chirp twice and the "System OK" LED will
stop flashing.
There is no dedicated Siren circuit on this panel. Using the Relay a siren can be connected.
Each FirePro Vehicle Suppression System is supplied with 10 metres of Shielded, 2 hour Fire Rated, 2 Core Cable,
4 x 2 Pin Deutsch Plug Pairs and 3 x 3 Pin Deutsch Plug Pairs. These MUST be used for the construction of any
extension lead. If additional cable or Deutsch plugs are required this needs to be specified by the installer. To
create extension leads follow these steps:
1. Cut cable to required length and strip outer insulation to approximately 50mm. Remove shielding and for
2 Pin plugs cut earth off.
2. Strip inner insulation to approximately 6mm and using an approved Deutsch Crimping tool, fix pins to the
exposed ends of the cable. For 3 Pin plugs this includes the earth.
3. Place heat shrink or rubber boot over the end of the cable. Ensuring that pins are securely fixed to the
cable, identify correct socket on plug by noting the numbers or letter on the side of the plug and push
through the gasket at the bottom of the plug until a click is heard and the pin is locked in place.
4. Place the locking wedge inside the plug to ensure pins remain secure. For male plugs the locking wedge is
orange and for the female plugs it is green.
5. Using the heat shrink, rubber boot, or other approved insulation, seal the back of the plug and using one
of the supplied cable ties mark the cable to identify which circuit it will be used.
Cables are colour coded for easy identification. When installing
system, cables should be only connected to the correctly coded
cable. Colour Coding for cables is as follows:
The delay for the activation of the shutdown relay can be programmed from 0 to 15 seconds (in 5 second intervals).
The default time delay is 15 seconds. To program :

fp_22408_m4.1 Page 7 of 10
In the event of a system alarm or system service the audible alarm can be silenced with the “Alarm Silence” button.
When the “Alarm Silence” button is depressed, the “Alarm Silence” LED will illuminate and the other LEDs will
continue to show the alarm or service system fault status. The alarm will remain silent for 6 hours and will then
resound to remind personnel that a problem condition is present.
Model 22408 ONLY. Pressing the Amerex Logo button five times will put the panel into
Isolation Mode
.
During isolation mode the following panel conditions will be in effect:
•The green System OK LED will blink continuously indicating the panel has power but is in isolation mode.
The Amber colored Service System LED will stay steady on. The audible alarm will chirp every 30 seconds
to indicate the panel is in isolation mode.
•In isolation mode the firing circuit is disabled. All other circuits, (detection, pressure switch, relay) remain
operational. Isolation mode can be used for testing, transportation, machine maintenance etc.
•In isolation mode if either detection circuit is activated the red FIRE LED will illuminate, the audible alarm
will sound and the relay will begin countdown. This condition would remain until the source of the alarm
is cleared.
•The panel will remain in isolation mode until mode is deactivated.
•To deactivate mode, insure the red FIRE LED is not illuminated, press and hold the Amerex Logo button
for five seconds. Panel returns to normal mode green LED System OK illuminated unless fault condition
are present. If fault conditions are present, panel flashes standard fault codes at the Service System LED.
•Relay Transfer (engine shutdown) is indicated by a RED LED at the Relay Reset Button.
To Isolate the Model 17310 panel simply unplug the activation cable –and this will put the panel into fault. This
should be done at the connection closest to the panel.
Control panels do not require any specific maintenance but should the control panel become dirty it can be wiped
over with a damp cloth and should then be dried with a dry, lint free cloth. Detergents or solvents should not be
used to clean the panel and care must be taken that water does not
Enter
the enclosure.
Testing of the extinguishant system should only be carried out by trained personnel and must be done with
appropriate isolation measures in place to ensure that accidental discharge of the extinguishant agent is avoided
and any malfunction should be reported to the fire alarm maintenance company immediately.
TroubleShooting & Fault Codes
In the event of a system fault in any of the supervised circuits, an
audible alarm will sound and the yellow "Service System" LED will flash
once every ten seconds in a coded sequence to indicate the circuit
presenting with a fault.
If a fault is detected there is a five second delay before notification. For
power supply faults, the delay for notification is 20 seconds.
The audible alarm can be silenced with the “Alarm Silence” button.
When pressed, the “Alarm Silence” LED will illuminate and the other
Fault LEDs will remain on. The alarm will remain silent for 6 hours and
will then resound to remind personnel that a fault condition is present.
This battery should be replaced every 2 years to ensure proper system function or if the
panel indicates that there is a fault in the backup circuit. To replace:
1. Remove the four screws on the front of the panel to remove the front cover.
2. Disconnect the battery connector and remove old battery.
3. Replace battery (P/N 18156).
4. Reconnect the battery and replace the front cover.
5. Check the "Service System" LED on the front of the panel. If installed correctly, there will be no fault.

fp_22408_m4.1 Page 8 of 10
IMPORTANT : Before testing or commissioning, FirePro generators should be
physically isolated from the system. This is achieved by unplugging the activation
cable (marked Yellow) and plugging in the test module. This will prevent any
accidental release of extinguishant.
To ensure that your FirePro system will operate as designed, it should be inspected
and serviced every 6 months in accordance with AS1851 and AS5062.
1. Unplug the FirePro Generator(s) and plug in the Test Module. Control Panel
should display "System OK".
2. Clean the Control Panel and components to remove dirt, grease and foreign
material. Replace any parts that appear damaged or are painted.
3. Inspect all wiring connections are tight and sealed from the weather and
check for any wire fatigue.
4. Inspect FirePro Generators and brackets are free from debris and any
corrosion. Ensure brackets are tight and show no signs of fatigue.
5. Inspect Linear Heat Detection Cable ensuring it maintains a closed connection
and check cable for kinks, bends, etc. Replace cable if necessary.
6. To test the linear heat detection circuit, bridge out the connection in the LHD
junction box and ensure that panel activates the Test Module.
7. Inspect condition of Manual Activation Switches. Check each switch by
pressing and releasing. The Panel should go into alarm when each switch is
pressed.
8. Inspect connection of the relay and test to ensure it operates as desired.
9. Unplug the Test Module and plug in the FirePro Generator(s). Control Panel
should display "System OK".
LOGBOOK
The installation should be maintained by an accredited person and a logbook must be
kept, recording all the relevant events concerning the installation. The logbook contains
the items required by Australian Standards for the life of the installation.
□
□
□
□
□
□

fp_22408_m4.1 Page 9 of 10
FP-22408 Amerex AS5062 Vehicle Control Panel
Operates on 10vDC-30vDC power supply with integrated 24hr
backup battery. Features:
- Automatic or Manual Activation.
- Fires up to 4 FirePro Aerosol Generators.
- 2x Detection Circuits; 1x Programmable Shutdown Relay.
- Monitors all electrical circuits.
- Vibration and weather proof and EMI/RFI resistant.
FirePro Aerosol Generator
100g –500g Unit.
Constructed from Stainless Steel.
Comes with installed Deutsch Plug
for easy install.
FP-6200
Heavy Duty Bracket 316 SS.
Suits FP-100, 200, 500 FirePro
Aerosol Generators.
FP-08960
Signage for the System. A sheet of
different size labels.
FP-08826
Thermal Fuse
Constructed from Stainless Steel.
FP-09510
Linear Heat Detection Cable 182° C
FP-09511
Linear Heat Detection Installation
kit. Mounting Clips, 2x Junction
Boxes with strain relief cable glands
and 1x EOL for monitoring.
FP-09500
2 Hour Fire Rated Shielded Cable.
FP-14016
Battery Lead
FP-08912
Wiring loom and Splitter Cable for
installaion of multiple FirePro
generators.
FP-08800
FirePro Simulator –for Testing &
Commissioning.

fp_22408_m4.1 Page 10 of 10
Commissioning Information
Customer
Vehicle Make / Model
Vehicle ID Number
Date of Installation
FirePro Units Installed
Specify Size and No of units
Manual Activation
Specify Location of Manual Actuation Switches
Shutdown Installation
Specify Delay Time and Shutdown Details
Other Information
Any other information relevant to this installation
Table of contents
Other Fire Pro Control Panel manuals

Fire Pro
Fire Pro 08100 User manual

Fire Pro
Fire Pro 08451 User manual

Fire Pro
Fire Pro FP-08450 User manual

Fire Pro
Fire Pro Sigma XT Reference guide

Fire Pro
Fire Pro 08451 User manual

Fire Pro
Fire Pro FPC-2 User manual

Fire Pro
Fire Pro FPC-2 User manual

Fire Pro
Fire Pro FPC-2 User manual

Fire Pro
Fire Pro FPX103C User manual
Popular Control Panel manuals by other brands

Networker
Networker TS790 user manual

CityGrow
CityGrow CG100HTH user manual

Matrix Switch Corporation
Matrix Switch Corporation MSC-CP8X1E product manual

Novacom
Novacom V59 user guide

Saunier Duval
Saunier Duval SR 92f/3 manual

DeDietrich
DeDietrich EASYMATIC Instructions for use, Electrical connection, Start up