manuals.online logo
Brands
  1. Home
  2. •
  3. Brands
  4. •
  5. Firegear
  6. •
  7. Fireplace Accessories
  8. •
  9. Firegear ESTOP-RM-KIT User manual

Firegear ESTOP-RM-KIT User manual

REV. A Page 1
MODEL: ESTOP-RM-KIT
IF YOU CANNOT READ OR UNDERSTAND THESE INSTALLATION INSTRUCTIONS
DO NOT ATTEMPT TO INSTALL OR OPERATE THIS APPLIANCE
E-STOP Gas Timer Surface Mounting Kit
For use with Firegear Outdoors MatchThrow (MT),
Thermocouple Manual Safety (TMSI) Fire Pits and BBQ Grill applications
Warning: For Outdoor Use Only
PLEASE RETAIN THIS MANUAL FOR FUTURE REFERENCE
Installation and Operating Instructions
PN#90084
CALIFORNIA PROPOSITION 65
WARNING
This product can expose you to Chromium, which is
known to the state of California to cause cancer
and birth defects or other reproductive harm.
(For more information, go to www.p65warnings.ca.gov)
REV. A Page 2
ESTOP-RM-KIT
PRODUCT DESCRIPTION: This ESTOP-RM-KIT is surface mounted design to be installed with a
Firegear Outdooors Match Throw (MT) re pit, a Thermocouple Manual Safety (TMSI) re pit or BBQ grill applications.
Use either the ESTOP1-0H or ESTOP2-5H gas timer models with this kit. The ESTOP Gas Timer is not supplied with this
kit and must be purchased seperately. The ESTOP gas timers must be oriented in the upright position as shown in the
instructions. NOTE: All gas lines must enter from the back side of the ESTOP gas timer to use this mounting kit. Ensure
to install the plugs provided with the ESTOP gas timer and seal them with gas rated Teon tape before installing
this ESTOP-RM-KIT.
FOLLOW LOCAL CODES IF APPLICABLE FOR THIS INSTALLATION
INSTALLATION
Step 1: Use the four (4) screws provided in the ESTOP
gas timer box and install the two (2) mounting brackets to
each side of the ESTOP as shown in Fig. 1.
Tools Needed: Power Screwdriver with a Phillips head tip,
5/16” wrench or nut driver.
Step 3: Cut a 3⅛” wide x 4 ¾”tall hole into the wall board
where the ESTOP is to be located.
Step 4: Place the ESTOP into the hole and mark the
mounting hole brackets. Ensure assembly is centered and
level, then drill four ¼” holes in the wall for mounting. See
Fig. 3.
Step 2: After brackets are installed, the ESTOP gas timer
should look like Fig. 2.
Fig. 1 Installing mounting brackets to ESTOP gas timer.
PUSH TO STOP
TURN TO START
OFF
TURN
PAST
Fig. 2 Shows front view of ESTOP with mounting
brackets installed.
PUSH TO STOP
TURN TO START
OFF
TURN
PAST
Hole in Wall Board
Fig. 3 Installing ESTOP gas timer into wall.
4 ¾”
3⅛”
REV. A Page 3
ESTOP-RM-KIT
Step 5: Install the (4) 10-24 x 1.25” Phillips screws through
the mounting brackets, into the wall board holes and secure
with a washer and nut (on back side) for each hole.
PUSH TO STOP
TURN TO START
OFF
TURN
PAST
Fig. 4 Shows ESTOP mounted into wall.
PUSH TO STOP
TURN TO START
OFF
TURN
PAST
Cover Plate
Step 6: Install the cover plate overtop of the ESTOP gas
timer. Align the holes in the cover plate with the holes in
the ESTOP gas timer (top and bottom) and install the two
(2) mounting screws (#10-24x6.25 SS Phillips screws) to
secure the cover plate as shown in Figs.5 and 6.
Wall Board
Cover Plate
Mounting
Screw
Mounting
Screw
Fig. 5 Installing cover plate.
Fig. 6 Side view of ESTOP mounted into wall.
Step 7: When cover plate is installed over the ESTOP gas
timer it will protrude ⅞”. See Fig. 7 for outside dimensions.
PUSH TO STOP
TURN TO START
OFF
TURN
PAST
5¾”
6¾”
Fig.7 Cover plate outer dimensions.
Step 8: After the ESTOP-RM-KIT is installed then use gas
rated Teon tape on the gas lines to connect gas supply.
Ensure you check for gas leaks before nal operation.
REV. A Page 4
ESTOP-RM-KIT
REPLACEMENT PARTS LIST
Item# Description Part Number Qty.
1 Cover Plate Stainless ESTOP-COVER-PLATE 1
2 Stainless Mounting Brackets ESTOP-RECESS-BRKT 8 2
3 #10 Stainless Washers WASHER10SS 4
4 #10-24 Stainless Nuts ST3-113-1020 4
5#10-24x 1¼” Phillips Pan Screw SS SCREW1024PANSS 4
6#10-24x6.25 Phil SS Panhead Screw ST3-113-1019 2
REPLACEMENT PARTS
12
345
6
Manual changes often occur, ensure to check the Firegear Outdoor
website for any recent updates and warranty information.
FOR TECHNICAL SERVICE, CALL:
Firegear Outdoors
17322 Gothard St
Huntington Beach, CA 92647
Web Site: www.regearoutdoors.com
(800) 966-8126

Other Firegear Fireplace Accessories manuals
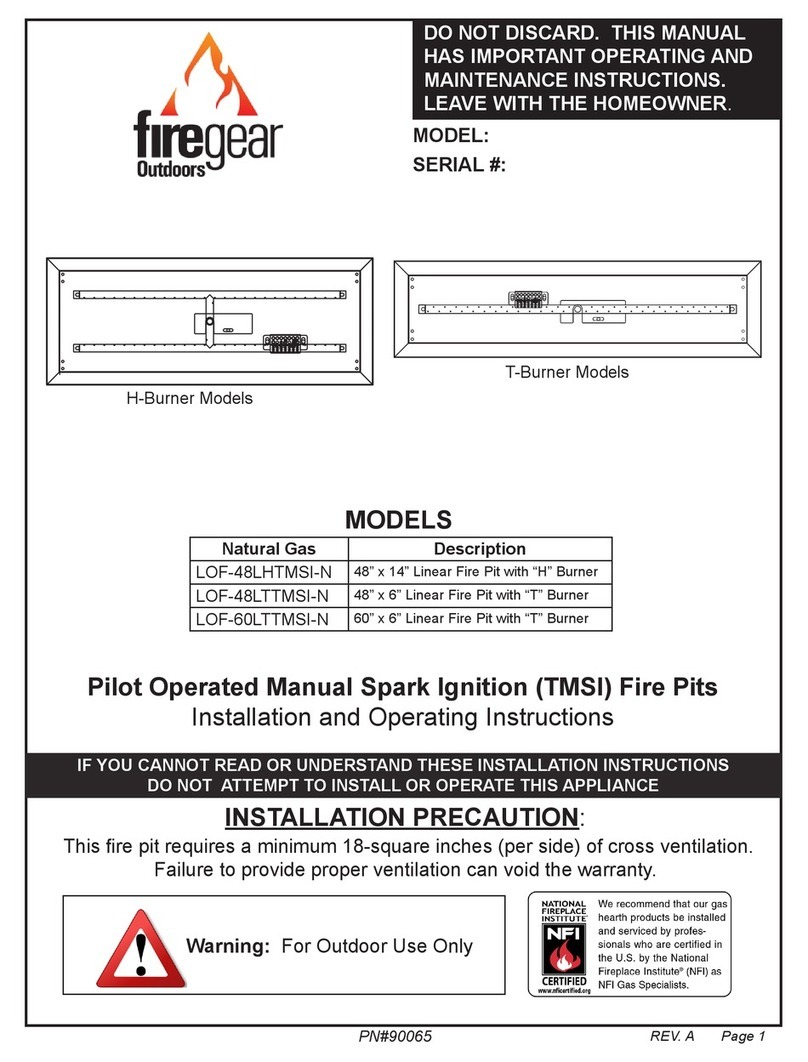
Firegear LOF-48LHTMSI-N User manual

Firegear

Firegear LOF-48LHTMSI-N User manual

Firegear 73230 User manual

Firegear

Firegear 73230 User manual

Firegear LOF-3012HTMSI-N User manual

Firegear

Firegear LOF-3012HTMSI-N User manual

Firegear FG-FR-6SSK User manual

Firegear

Firegear FG-FR-6SSK User manual

Firegear FPB-26DBS22MT-N User manual

Firegear

Firegear FPB-26DBS22MT-N User manual

Firegear FG-H-2110SS User manual

Firegear

Firegear FG-H-2110SS User manual

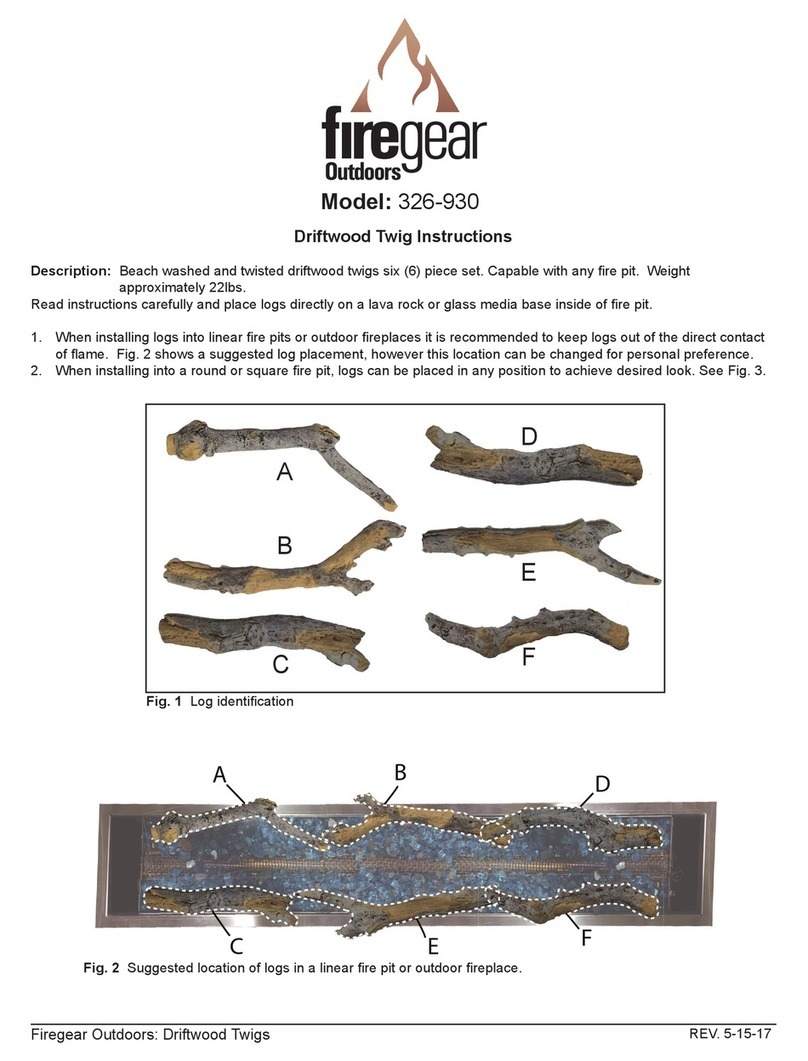
Firegear 326-930 User manual

Firegear

Firegear 326-930 User manual

Firegear FPB-16SBSTMSI-N User manual

Firegear

Firegear FPB-16SBSTMSI-N User manual

Firegear LOF-3010PS246MT-N User manual

Firegear

Firegear LOF-3010PS246MT-N User manual

Firegear OFP-36COV User manual

Firegear

Firegear OFP-36COV User manual

Firegear FPB-19RBS16TPSI-N User manual

Firegear

Firegear FPB-19RBS16TPSI-N User manual

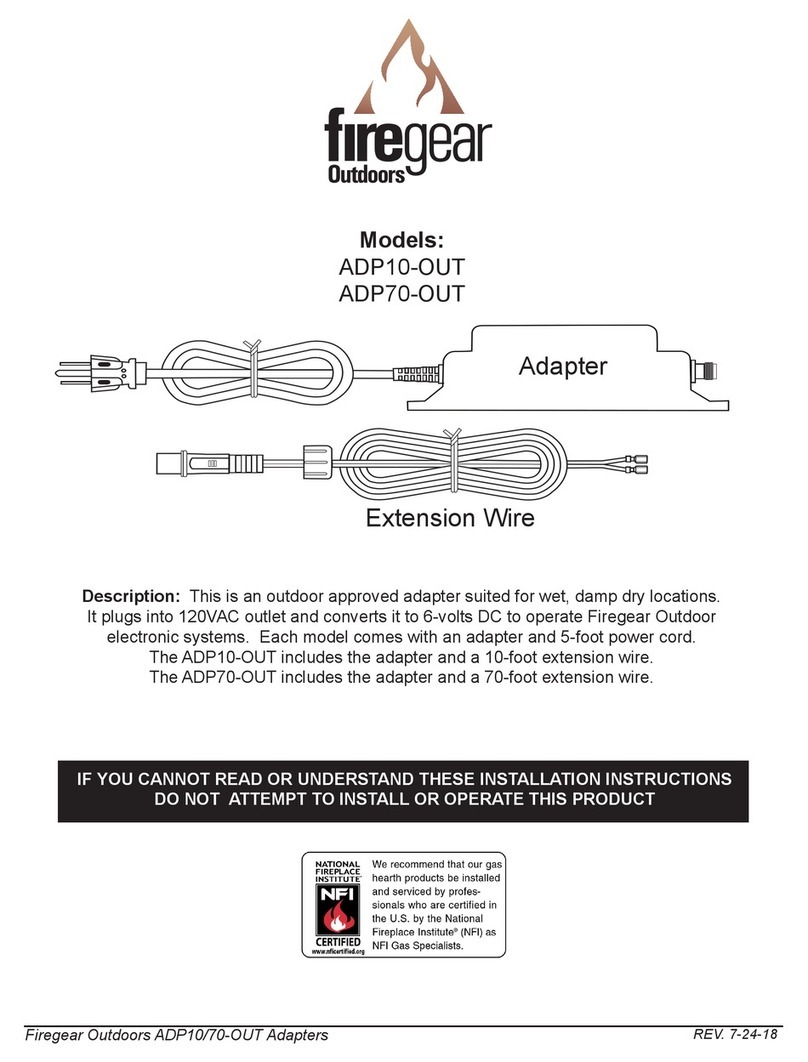
Firegear ADP10-OUT User manual

Firegear

Firegear ADP10-OUT User manual
Popular Fireplace Accessories manuals by other brands

IHP GCKSMS557051NP quick start guide

IHP

IHP GCKSMS557051NP quick start guide

Napoleon DBPDX42 installation instructions

Napoleon

Napoleon DBPDX42 installation instructions

Jøtul FS 73 installation instructions

Jøtul

Jøtul FS 73 installation instructions

pleasant hearth FA338LT quick start guide

pleasant hearth

pleasant hearth FA338LT quick start guide

WT Knowles & Sons KNO300SQ Fitting instructions

WT Knowles & Sons

WT Knowles & Sons KNO300SQ Fitting instructions

Heatilator CFL-30NG Log Placement Instructions

Heatilator

Heatilator CFL-30NG Log Placement Instructions

Hearth & Home LOGS-I30 Placement instructions

Hearth & Home

Hearth & Home LOGS-I30 Placement instructions

Valcourt Beaumont FP2 manual

Valcourt

Valcourt Beaumont FP2 manual

Miles Industries 700I Installation

Miles Industries

Miles Industries 700I Installation

pleasant hearth FA990SA quick start guide

pleasant hearth

pleasant hearth FA990SA quick start guide

Costway JV10066 user manual

Costway

Costway JV10066 user manual

Travis Industries 54PB manual

Travis Industries

Travis Industries 54PB manual

Montigo RXM40VACVO Installation & maintenance manual

Montigo

Montigo RXM40VACVO Installation & maintenance manual

IHP H0776 installation instructions

IHP

IHP H0776 installation instructions

Travis Industries 616 GSR Insert CHEAT SHEET

Travis Industries

Travis Industries 616 GSR Insert CHEAT SHEET

Mendota AA-11-03792 Installation and operating instructions

Mendota

Mendota AA-11-03792 Installation and operating instructions

Eurotops 44083 quick start guide

Eurotops

Eurotops 44083 quick start guide

FireplaceXtrordinair ProBuilder 36 CleanFace Installation

FireplaceXtrordinair

FireplaceXtrordinair ProBuilder 36 CleanFace Installation

manuals.online logo
manuals.online logoBrands
  • About & Mission
  • Contact us
  • Privacy Policy
  • Terms and Conditions

Copyright 2025 Manuals.Online. All Rights Reserved.