133
7. Starting with the center fastener plates,
insert the nose of the Alligator Staple Gold
Class driver into the guide block. Note: the
driver must be rmly seated into the pin
to activate safety switch. Apply adequate
number of trigger pulls to produce sucient
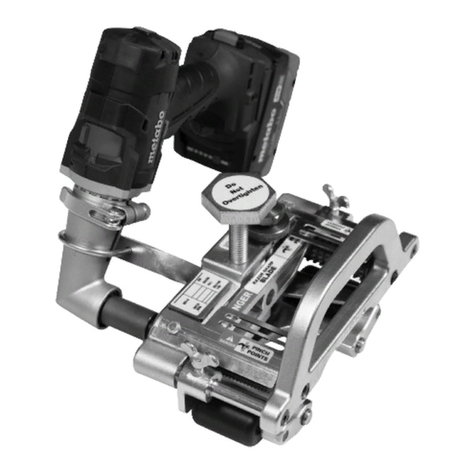
staple leg fold. Refer to chart below. Drive
belt ends next. Do not overdrive staples.
8. Follow the sequence shown above to drive
all remaining fasteners. (a) Staples will be
partially clinched.
9. (a)Raise cam levers, (b)pop up belt using
release bar.
10. Center belt in Final Set installation tool
depress cam levers. Insert the nose of the
Alligator Staple Gold Class driver into the
guide block. Note: the driver must be rmly
seated into the pin to activate safety switch.
Apply adequate number of trigger pulls to
provide desired nal set. Refer to chart below.
Remove belt from tool.
11. Using Belt Nippers, (a) notch trailing
edge of belt only. Notch at an angle.
12. Bring belt ends together and (a) insert
hinge pin. If retaining washer is used, crimp
with pliers. Splice is complete
AVERAGE TRIGGER PULLS
Fastener
Size
Average Trigger Pulls for:
Initial
Drive
Final
Set
RS62 1-2 1-2
RS125 2-3 2-3
RS187 3-4 3-4
Note: Number of trigger pulls will vary
depending on belt thickness and durometer.
2525 Wisconsin Avenue • Downers Grove, IL 60515-4200 • USA
Tel: (630) 971-0150 • Fax: (630) 971-1180 • E-mail: info@exco.com
Visit www.flexco.com for other Flexco locations and products.
©2008 Flexible Steel Lacing Company. Alligator® is a registered trademark. 12-13. For Reorder: X2085
