manuals.online logo
Brands
  1. Home
  2. •
  3. Brands
  4. •
  5. Flexco
  6. •
  7. Tools
  8. •
  9. Flexco Alligator Ready Set RSC187 Guide

Flexco Alligator Ready Set RSC187 Guide

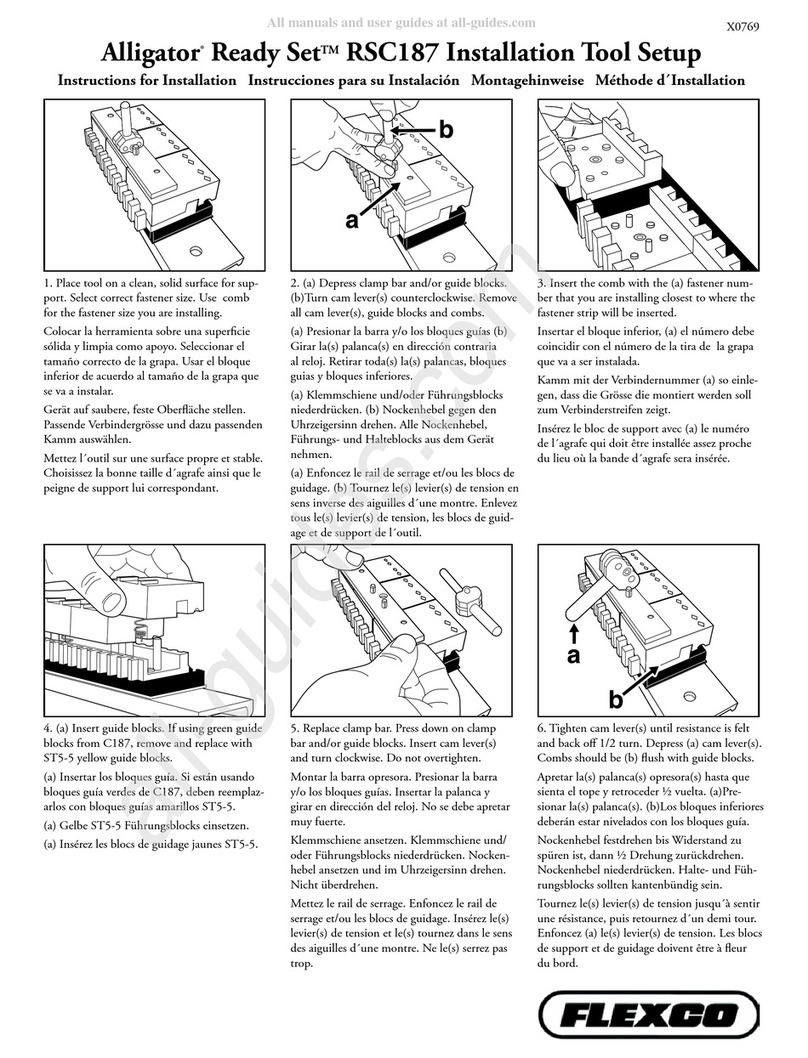
Alligator®Ready SetTM RSC187 Installation Tool Setup
Instructions for Installation Instrucciones para su Instalación Montagehinweise Méthode d´Installation
1. Place tool on a clean, solid surface for sup-
port. Select correct fastener size. Use comb
for the fastener size you are installing.
Colocar la herramienta sobre una superficie
sólida y limpia como apoyo. Seleccionar el
tamaño correcto de la grapa. Usar el bloque
inferior de acuerdo al tamaño de la grapa que
se va a instalar.
Gerät auf saubere, feste Oberfläche stellen.
Passende Verbindergrösse und dazu passenden
Kamm auswählen.
Mettez l´outil sur une surface propre et stable.
Choisissez la bonne taille d´agrafe ainsi que le
peigne de support lui correspondant.
2. (a) Depress clamp bar and/or guide blocks.
(b)Turn cam lever(s) counterclockwise. Remove
all cam lever(s), guide blocks and combs.
(a) Presionar la barra y/o los bloques guías (b)
Girar la(s) palanca(s) en dirección contraria
al reloj. Retirar toda(s) la(s) palancas, bloques
guias y bloques inferiores.
(a) Klemmschiene und/oder Führungsblocks
niederdrücken. (b) Nockenhebel gegen den
Uhrzeigersinn drehen. Alle Nockenhebel,
Führungs- und Halteblocks aus dem Gerät
nehmen.
(a) Enfoncez le rail de serrage et/ou les blocs de
guidage. (b) Tournez le(s) levier(s) de tension en
sens inverse des aiguilles d´une montre. Enlevez
tous le(s) levier(s) de tension, les blocs de guid-
age et de support de l´outil.
3. Insert the comb with the (a) fastener num-
ber that you are installing closest to where the
fastener strip will be inserted.
Insertar el bloque inferior, (a) el número debe
coincidir con el número de la tira de la grapa
que va a ser instalada.
Kamm mit der Verbindernummer (a) so einle-
gen, dass die Grösse die montiert werden soll
zum Verbinderstreifen zeigt.
Insérez le bloc de support avec (a) le numéro
de l´agrafe qui doit être installée assez proche
du lieu où la bande d´agrafe sera insérée.
4. (a) Insert guide blocks. If using green guide
blocks from C187, remove and replace with
ST5-5 yellow guide blocks.
(a) Insertar los bloques guía. Si están usando
bloques guía verdes de C187, deben reemplaz-
arlos con bloques guías amarillos ST5-5.
(a) Gelbe ST5-5 Führungsblocks einsetzen.
(a) Insérez les blocs de guidage jaunes ST5-5.
5. Replace clamp bar. Press down on clamp
bar and/or guide blocks. Insert cam lever(s)
and turn clockwise. Do not overtighten.
Montar la barra opresora. Presionar la barra
y/o los bloques guías. Insertar la palanca y
girar en dirección del reloj. No se debe apretar
muy fuerte.
Klemmschiene ansetzen. Klemmschiene und/
oder Führungsblocks niederdrücken. Nocken-
hebel ansetzen und im Uhrzeigersinn drehen.
Nicht überdrehen.
Mettez le rail de serrage. Enfoncez le rail de
serrage et/ou les blocs de guidage. Insérez le(s)
levier(s) de tension et le(s) tournez dans le sens
des aiguilles d´une montre. Ne le(s) serrez pas
trop.
6. Tighten cam lever(s) until resistance is felt
and back off 1/2 turn. Depress (a) cam lever(s).
Combs should be (b) flush with guide blocks.
Apretar la(s) palanca(s) opresora(s) hasta que
sienta el tope y retroceder ½ vuelta. (a)Pre-
sionar la(s) palanca(s). (b)Los bloques inferiores
deberán estar nivelados con los bloques guía.
Nockenhebel festdrehen bis Widerstand zu
spüren ist, dann ½ Drehung zurückdrehen.
Nockenhebel niederdrücken. Halte- und Füh-
rungsblocks sollten kantenbündig sein.
Tournez le(s) levier(s) de tension jusqu´à sentir
une résistance, puis retournez d´un demi tour.
Enfoncez (a) le(s) levier(s) de tension. Les blocs
de support et de guidage doivent être à fleur
du bord.
X0769
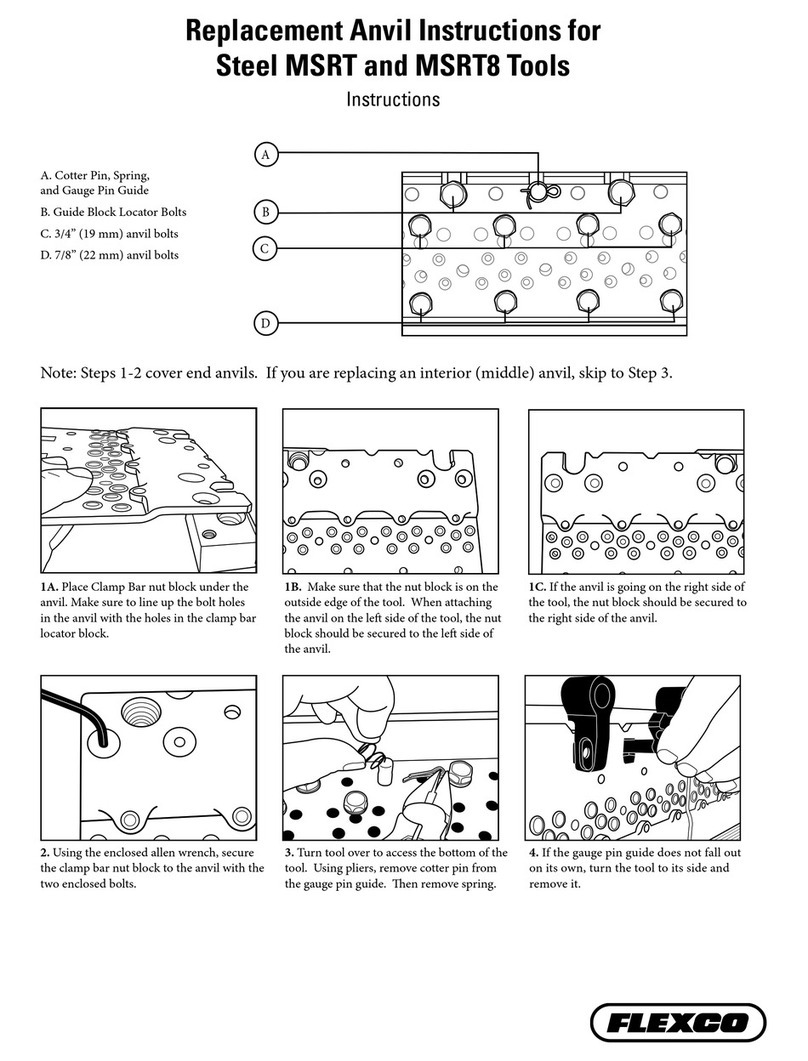
Alligator®Ready SetTM RSC187 Tool Replacement Parts
ST3-9 ST4-8 / ST4-8H
ST5-16
ST5-5
ST5-3
ST4-16
Order Number
Número de Pedido
Bestell-Nr.
No. de Réf.
Applicable with Following Stage Tools
Aplicable con las siguientes Herramientas de Instalación
Verwendbar mit folgenden Gerätegrößen
Utilisable avec les tailles d´outil suivantes
2 inch
(50mm)
4 inch
(101mm)
6 inch
(152mm)
ST4-21 • •
ST5-3 •••
ST5-5 •••
ST4-8 • •
ST3-9 •••
ST4-16 •••
ST5-16 •••
2525 Wisconsin Avenue • Downers Grove, IL 60515-4200 U.S.A.
Tel: 1-630-971-0150 • Fax: 1-630-971-1180 • E-mail: info@exco.com
Visit www.flexco.com for other Flexco locations and products.
©2001 Flexible Steel Lacing Company. Alligator® is aregistered trademark. 02-14. For Reorder: X0769
Other manuals for Alligator Ready Set RSC187

2

Other Flexco Tools manuals

Flexco AMIGO-1000-RETURN-SIDE-KIT User manual

Flexco

Flexco AMIGO-1000-RETURN-SIDE-KIT User manual

Flexco MSRT User manual

Flexco

Flexco MSRT User manual

Flexco Alligator Series Guide

Flexco

Flexco Alligator Series Guide

Flexco SRTA Guide

Flexco

Flexco SRTA Guide

Flexco FSK2MP Installation manual

Flexco

Flexco FSK2MP Installation manual

Flexco MSRT Guide

Flexco

Flexco MSRT Guide

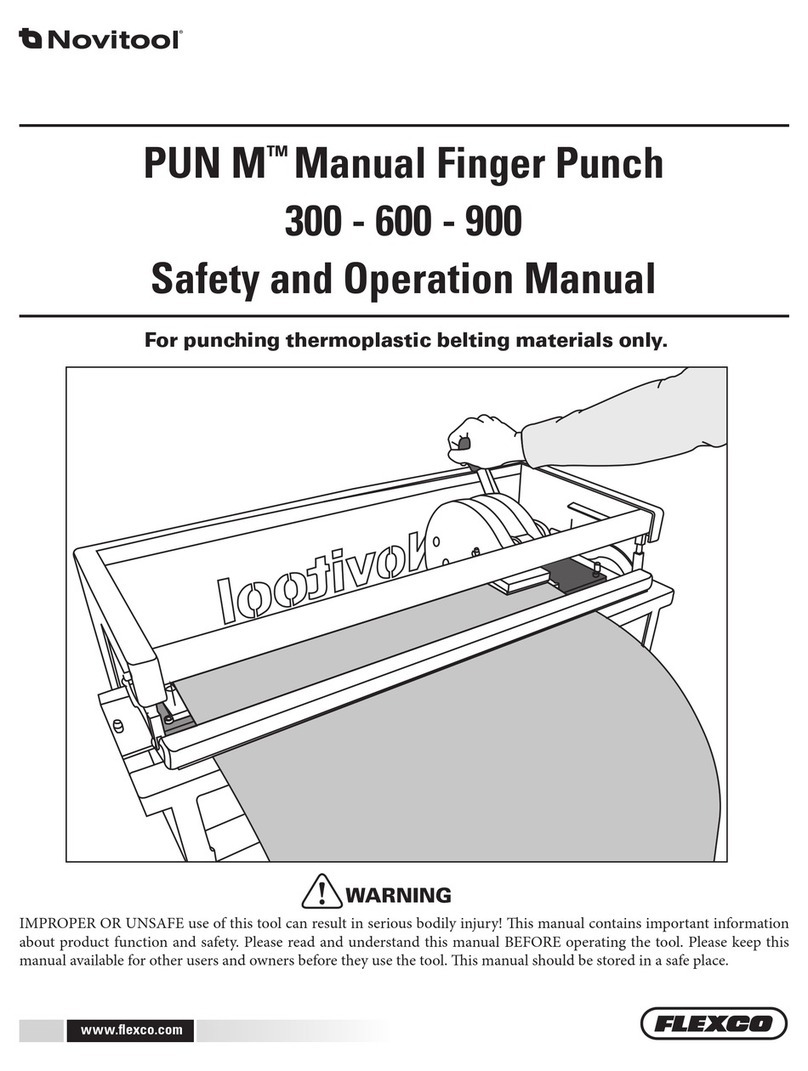
Flexco Novitool PUN M 300 Guide

Flexco

Flexco Novitool PUN M 300 Guide

Flexco Alligator Ready Set RSC187 Guide

Flexco

Flexco Alligator Ready Set RSC187 Guide

Flexco FSK2–XL User manual

Flexco

Flexco FSK2–XL User manual

Flexco Novitool PUN M NDX Series Guide

Flexco

Flexco Novitool PUN M NDX Series Guide

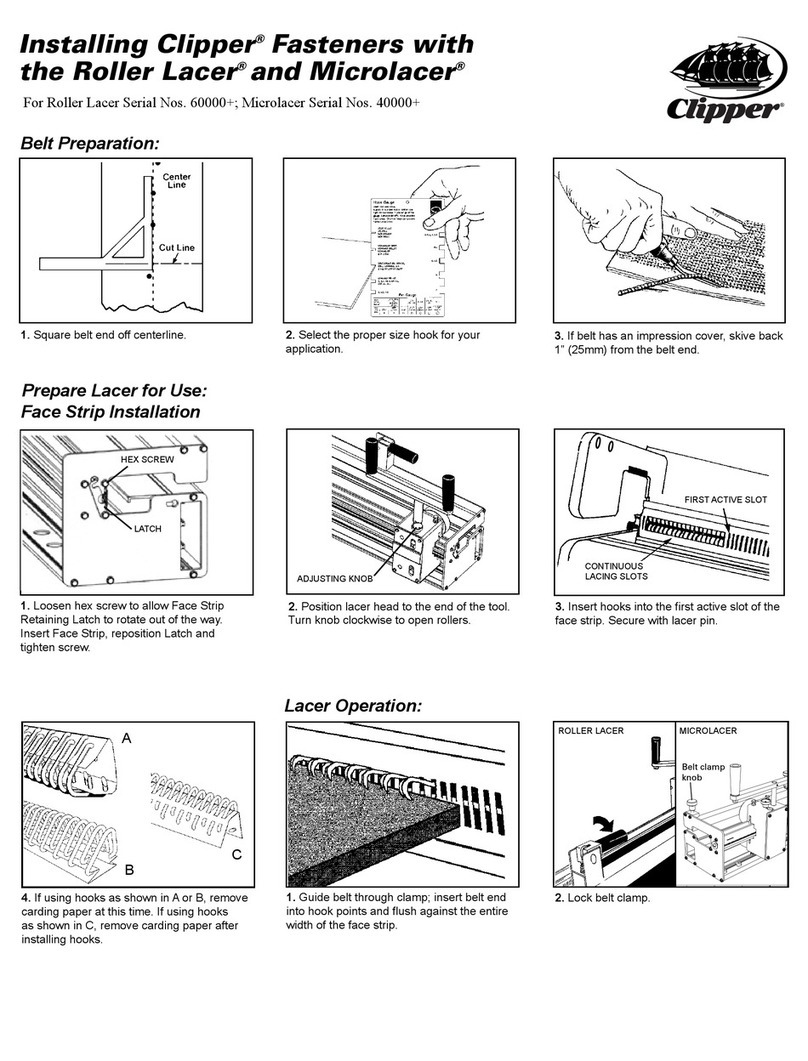
Flexco Roller Lacer User manual

Flexco

Flexco Roller Lacer User manual

Flexco R2T Guide

Flexco

Flexco R2T Guide

Flexco FSK2 User manual

Flexco

Flexco FSK2 User manual

Flexco Alligator Lacing Guide

Flexco

Flexco Alligator Lacing Guide

Flexco Alligator Staple Gold Class Programming manual

Flexco

Flexco Alligator Staple Gold Class Programming manual

Popular Tools manuals by other brands

Campbell Hausfeld PN0090 operating instructions

Campbell Hausfeld

Campbell Hausfeld PN0090 operating instructions

Facom V.580F instructions

Facom

Facom V.580F instructions

gerardi MULTIFLEX Instructions for the use and maintenance

gerardi

gerardi MULTIFLEX Instructions for the use and maintenance

HPSi 500 manual

HPSi

HPSi 500 manual

PlastGrommel CornerRounder instructions

PlastGrommel

PlastGrommel CornerRounder instructions

HOZAN S-79 instructions

HOZAN

HOZAN S-79 instructions

Clas Ohlson RP8031K6 quick start guide

Clas Ohlson

Clas Ohlson RP8031K6 quick start guide

PFS KP5513 manual

PFS

PFS KP5513 manual

Nederman 886 Ex Series user manual

Nederman

Nederman 886 Ex Series user manual

Dafra DRPB48 Operation manual

Dafra

Dafra DRPB48 Operation manual

Sealey VS911.V2 instruction manual

Sealey

Sealey VS911.V2 instruction manual

Kaindl RMS-NC Operation manual

Kaindl

Kaindl RMS-NC Operation manual

JONARD TOOLS FC-500 instruction manual

JONARD TOOLS

JONARD TOOLS FC-500 instruction manual

HOKUYO AUTOMATIC UST Series instruction manual

HOKUYO AUTOMATIC

HOKUYO AUTOMATIC UST Series instruction manual

Leigh FMT PRO ADJUSTMENTS

Leigh

Leigh FMT PRO ADJUSTMENTS

Kennedy VPS055 Operator's manual

Kennedy

Kennedy VPS055 Operator's manual

Powerfix Profi 96475 Operation and safety notes

Powerfix Profi

Powerfix Profi 96475 Operation and safety notes

Beta 1945C Operation manual and instructions

Beta

Beta 1945C Operation manual and instructions

manuals.online logo
manuals.online logoBrands
  • About & Mission
  • Contact us
  • Privacy Policy
  • Terms and Conditions

Copyright 2025 Manuals.Online. All Rights Reserved.