EN
- 6-
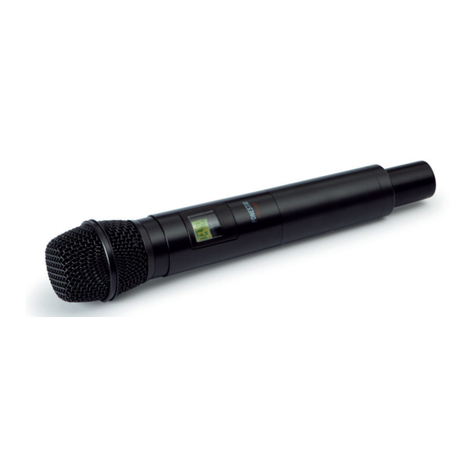
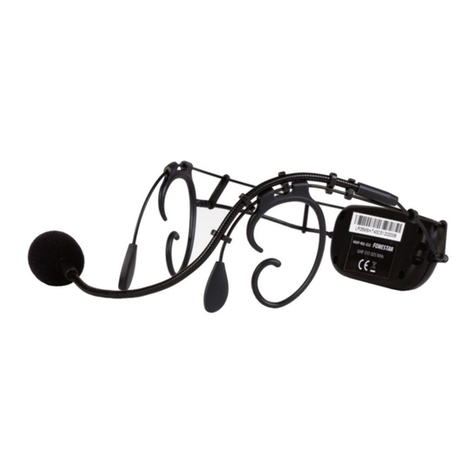
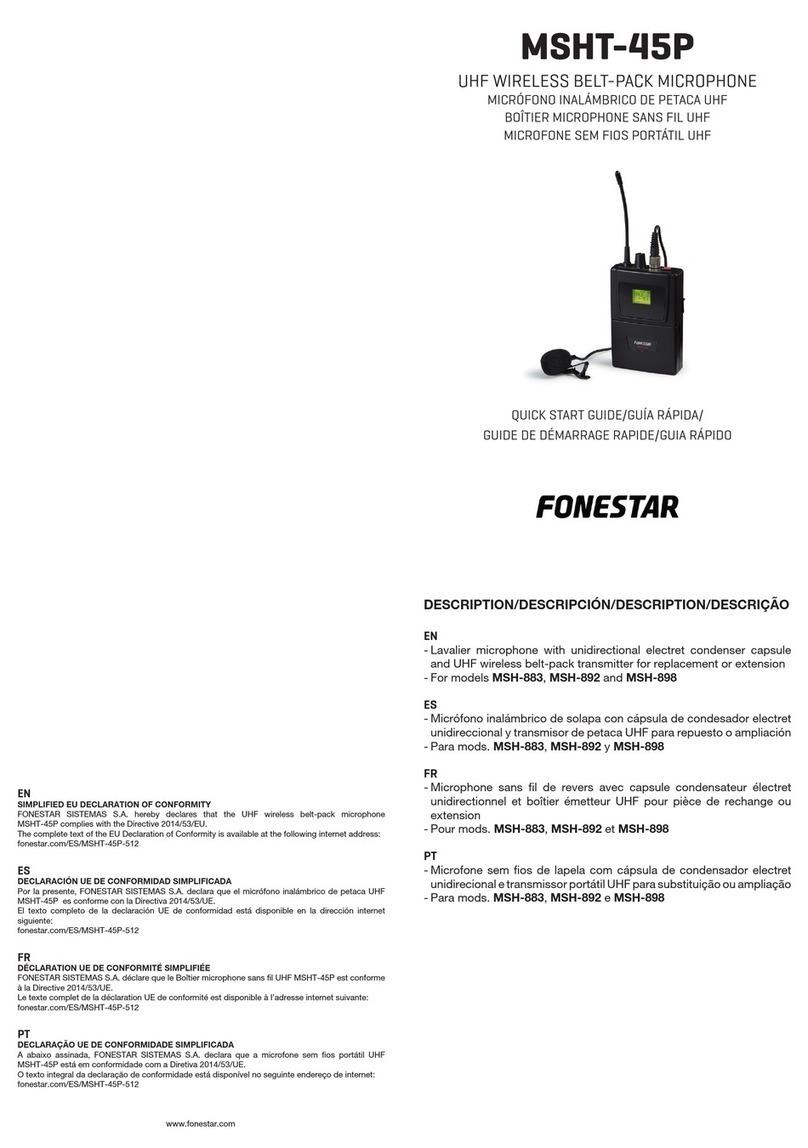
BELT-PACK MICROPHONE (MSH-829)
1.- Press and hold this button for a few moments to switch the microphone
on/off.
It also allows the audio output to be activated/deactivated (MUTE).
2.- Mini 3-pin XLR connector to connect the tie-clip microphone supplied.
3.- Antenna.
4.- Microphone LED power indicator:
It lights up in green when the microphone is switched on.
It lights up in red when the audio output is deactivated (MUTE).
When the belt-pack microphone is synchronized with the receiver using
the SYNC function, the indicator lights up briefly in red then to remain
permanently lit in green (microphone on).
5.- Information display.
6.- Button to manually select the transmission group and channel.
Briefly press and hold this button until the group or channel option is
flashing. At that moment, press the button repeatedly to select the
required group and channel. Once the required group or channel has
been selected, wait until the option stops flashing so that it remains set.
7.- Wireless belt-pack microphone infrared receiver.
8.- Battery compartment. Use two 1.5 V alkaline or rechargeable batteries
type LR6-AA. When inserting the batteries, make sure that the polarity
is correct.
INSTRUCTIONS FOR USE
1.- Connect the receiver to 12 V DC using the mains adapter supplied with the device.
2.- Connect the receiver AUDIO OUT output to the input of an amplifier, mixer, etc. The balanced output (XLR
connector) or the unbalanced output (6.3 mm jack connector) can be used.
3.- Select the audio output level using the LINE/MIC switch located on the rear panel of the receiver,
depending on the input level to which the receiver output has been connected.
4.- Switch on the receiver using the switch located on its front panel.
5.- Insert the batteries in the wireless microphone, respecting the polarity indicated. Switch on the
microphone.
6.- Select the transmission channel (frequency). The transmitter (wireless microphone) and the receiver must
be tuned to the to the same channel.
The selection of the receiver operating frequency, can be made in two ways:
1) Automatically: select the AUTO CHANNEL SELECT option in the MENU and then press the SELECT
button on the receiver. An interference-free channel will automatically be selected. Then select the same
channel in the transmitter
2) Manually: select the GROUP SELECT and CHANNEL SELECT options in the MENU and then press
the SELECT button. Then select the same channel in the transmitter.
Note: if using 2 or more devices (wireless microphone and receiver) at the same time, leave at least 10-
12 channels between the channel being used by one device and another to avoid interference.
Note: it is not possible to use two transmitters (wireless microphones) on the same channel (frequency).
7.- Adjust the volume using the knob located on the front panel of the receiver.
MSH-825_MSH-829_MANUAL_(EN)_20171103_Maqu tación 1 3/11/17 12:54 Página 6

