manuals.online logo
Brands
  1. Home
  2. •
  3. Brands
  4. •
  5. FOREDOM
  6. •
  7. Power Tools
  8. •
  9. FOREDOM H.30H Installation instructions manual

FOREDOM H.30H Installation instructions manual

For Foredom®Handpiece H.30H
IMPORTANT INSTRUCTIONS
It takes a fairly strong grasp of the locking ring to
pull it back.
Be careful that your finger or thumb does not get
pinched when you release the locking ring.
Pull back the black locking ring toward the front end of
the handpiece while you insert the tip of the flex shaft.
The handpiece has a square slot that the square drive tip
fits into. You may need to rotate the handpiece slightly
until the square drive engages the spindle. Release the
locking ring when you feel the shaft connect to the
handpiece. You should hear a click.
To remove handpiece
Pull back the locking ring as described above with a firm
grip and pull the shaft and sheath from the handpiece.
Attaching H.30H Handpiece to the Flexible Shaft
Always wear proper eye protection while
using this handpiece. Wear safety glasses
or a face shield whenever you operate a
Foredom Flexible Shaft machine or any
power tool to prevent serious eye injury.
See your power tool owner’s manual
for complete instructions on use
and maintenance.
Before attaching this handpiece please
read these instructions. They should
always be followed to reduce the risk of
personal injury or damage to
the handpiece.
Always use a proper dust collection
system or wear a respirator to prevent
the inhalation of dust particles, or
other debris into the lungs.
Repair Service
Factory repairs are done promptly and at
reasonable cost. If you wish, you can send
your equipment directly to the factory marked
“Attention: Repair Department”. Be sure to
include a brief note describing the problem
and to give your phone number,email and
street address. Estimates will be made
upon request.
Never wear open shoes or sandals. Use
footwear that is tough enough to protect
your feet from falling tools.
Keep both hands and fingers away from
the cutting edge at all times.
Form 1298 n 1/12 Printed in USA
Do not wear loose fitting clothing or
jewelry. Loose clothing or jewelry can
be come entangled in the tool. Do not
wear items such as neckties or jewelry
when operating power tools. Secure or
tie back long hair.
Use both hands whenever possible to
hold and guide the tool.
Never use a damaged, bent, vibrating,
or out of balance accessory.
Avoid knots, imperfections in the wood
or metal objects like nails, which could
catch or damage the tool bit. Let the
speed of the tool
do the work.
For more information on this handpiece and other Foredom tools , contact your local
dealer.When no local dealer is available, write: The Foredom Electric Co.,
16 Stony Hill Rd., Bethel, CT 06801, call (203) 792-8622, fax (203) 796-7861,
or email: [email protected].
Visit www.foredom.net for the latest information and how-to videos!
locking ring
pulled back toward
the front end of handpiece
locking ring
shaft and handpiece connected
square drive
tip of shaft
Maintenance and Lubrication
Handpieces: no lubrication is required. Putting oil or grease into the front or back of these
handpieces will damage their pre-lubricated ball bearings. The chuck of the handpiece should
be kept free of dirt, chips, dust or debris.
Flexible Shaft: Every50 hours of use: Unscrew outer
sheath connector nut (left hand thread) and
remove sheath.
Flexible Shaft Maintenance continued on reverse
Handpiece Accessories and Spare Parts
AHandpiece Holder is
available that clamps to work
benches up to 21/4
″thick.
The height above the bench
can be adjusted and the
handpiece can be swiveled
and locked into position.
Chuck Keys that are lost or
damaged can be ordered from your dealer or
the factory.
Part No. Description
MAHH-30 Handpiece Holder
HPCK-0 Chuck Key with plastic handle
HP72 Chuck Key
MAHH-30
LIMITED WARRANTY
Warranty period is 90 days for handpieces.
Blackstone Industries, Inc. d/b/a The Foredom Electric Company warrants, to the original purchaser only,
that its products will be free from defects in material or workmanship for the applicable period of time
indicated above following the purchase date. During the warranty period, the defective product will be
repaired or replaced without charge or, at our sole option, the purchase price will be refunded. This
warranty does not cover damage caused in transit or by accident, misuse or ordinary wear.
ALL IMPLIED WARRANTIES INCLUDING, WITHOUT LIMITATION, IMPLIED WARRANTIES OF FITNESS
FOR A PARTICULAR PURPOSE AND MERCHANTABILITY, ARE LIMITED IN DURATION TO THE
APPLICABLE WARRANTY PERIOD. IN NO EVENT WILL WE BE LIABLE FOR ANY INCIDENTAL OR
CONSEQUENTIAL DAMAGES. Some states do not allow limitations on how long an implied warranty
lasts or the exclusion or limitation of incidental or consequential damages, so the above limitations or
exclusion may not apply to you.
At our sole option, repair, replacement or refund will be made if the product is returned
postage prepaid to:
The Foredom Electric Company
16 Stony Hill Road, Bethel, Connecticut 06801
All warranty repairs must be done at our factoryat the above address. We will not pay any shipping or
transportation charges. Shafts, sheaths and duplex springs are not covered by this warranty.
This warranty gives you specific legal rights, and you may also have other rights which vary from
state to state.
Changing Accessories
These handpieces have a geared 3-jaw #0
chuck. Open chuck jaws as far as necessary
with key provided. Insert shank of accessory
fully into the chuck. Tighten each of the jaws
with chuck key until accessory is secure and
centered. If accessory does not run true,
reopen jaws, rotate accessoryand retighten.
To release accessory, simply reopen chuck
jaws with key and pull out accessory.
Go to www.foredom.net to find out about bench top tools that
make the H.30H handpiece even more versatile!
These include drill presses, handpiece holder, belt sander attachment, angle
grinder, collet adapter and the AllSet®attachment for stone setting.
Lubrication of Flexible Shaft
continued:
The shaft is threaded through both a
silencer spring and the outer sheath.
Slide both the outer sheath and the
silencer spring off of the flexible shaft.
Usually the silencer spring remains
inside the sheath when you remove it.
The flexible shaft should be thoroughly
cleaned with a solvent. Apply a light film
of Foredom grease (MS10006) to entire
length of inner shaft. Reattach outer
sheath and run motor for ten minutes
before reconnecting handpiece. Turn off
motor, wipe off excess grease from tip of
drive shaft and reconnect to handpiece
per instructions on reverse.
shaft
silencer
spring

Other FOREDOM Power Tools manuals

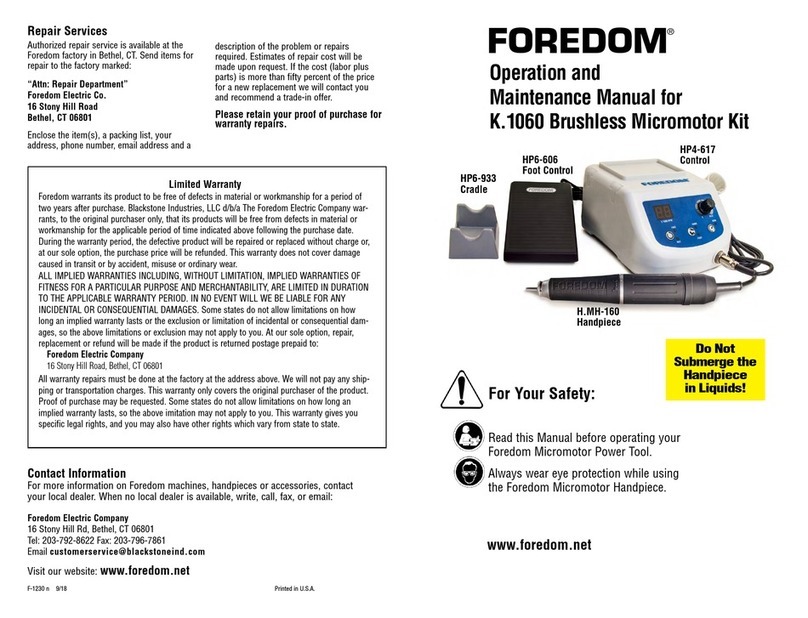
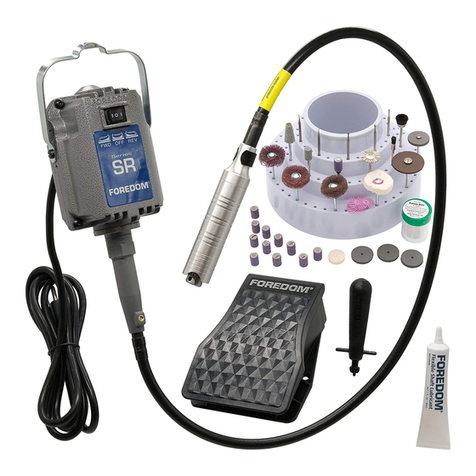
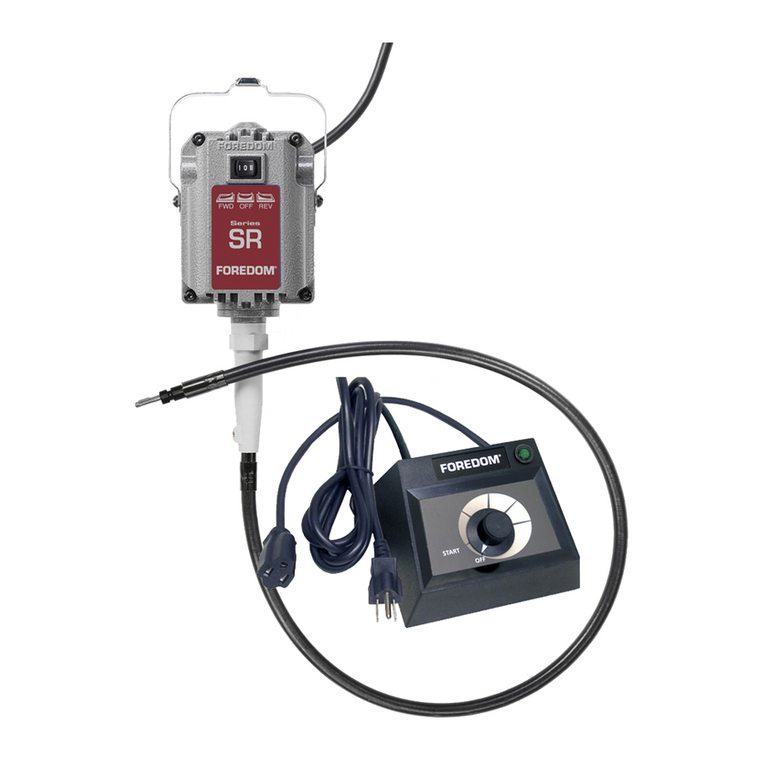
FOREDOM SR User manual

FOREDOM

FOREDOM SR User manual

FOREDOM K.1060 User manual

FOREDOM

FOREDOM K.1060 User manual

FOREDOM H Series Installation instructions

FOREDOM

FOREDOM H Series Installation instructions

FOREDOM SR Series User manual

FOREDOM

FOREDOM SR Series User manual

FOREDOM CC Series User manual

FOREDOM

FOREDOM CC Series User manual

FOREDOM 1045 User manual

FOREDOM

FOREDOM 1045 User manual

FOREDOM SR Series 1/6 HP User manual

FOREDOM

FOREDOM SR Series 1/6 HP User manual

FOREDOM TX Series User manual

FOREDOM

FOREDOM TX Series User manual

FOREDOM K.1050 Manual

FOREDOM

FOREDOM K.1050 Manual

FOREDOM H.18 Installation instructions manual

FOREDOM

FOREDOM H.18 Installation instructions manual

FOREDOM K.103018 User manual

FOREDOM

FOREDOM K.103018 User manual

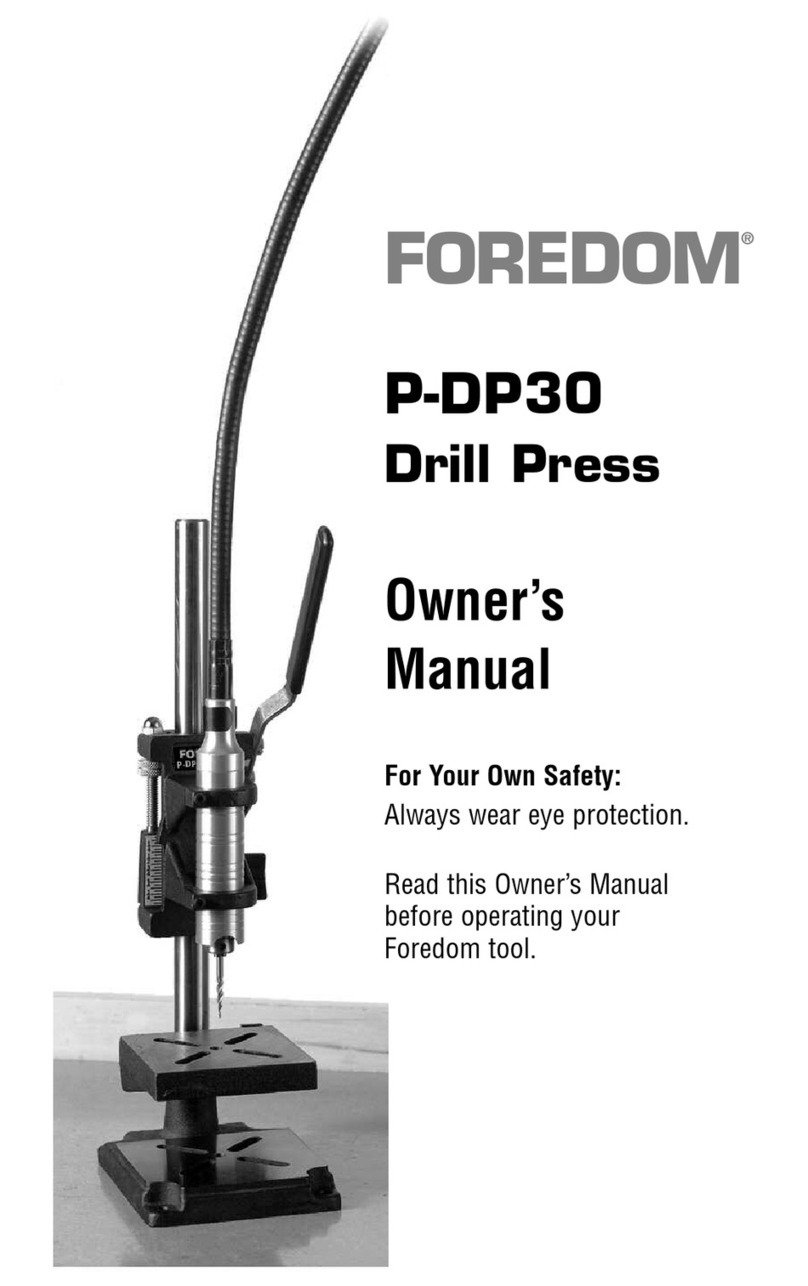
FOREDOM P-DP30 User manual

FOREDOM

FOREDOM P-DP30 User manual

Popular Power Tools manuals by other brands

Craftsman CMCE520B instruction manual

Craftsman

Craftsman CMCE520B instruction manual

RUD OPTILASH Series user manual

RUD

RUD OPTILASH Series user manual

CYKLOP CB 130 Operation manual

CYKLOP

CYKLOP CB 130 Operation manual

Ryobi JS451L Repair sheet

Ryobi

Ryobi JS451L Repair sheet

PROFIX Vulcan Concept VJR50 Operating	 instruction

PROFIX

PROFIX Vulcan Concept VJR50 Operating instruction

SFS intec IP50-B operating instructions

SFS intec

SFS intec IP50-B operating instructions

Milescraft ToolStand 1097 owner's manual

Milescraft

Milescraft ToolStand 1097 owner's manual

Jula 072-000 operating instructions

Jula

Jula 072-000 operating instructions

ZURN Z1471 Assembly instructions

ZURN

ZURN Z1471 Assembly instructions

Certa CTMINCRACTA user guide

Certa

Certa CTMINCRACTA user guide

DeWalt DCD778L1 instruction manual

DeWalt

DeWalt DCD778L1 instruction manual

AEG BSB18 G2 instructions

AEG

AEG BSB18 G2 instructions

Trotec PMTS 10-12V Original instructions

Trotec

Trotec PMTS 10-12V Original instructions

Zionair SK20B Assembly and user instructions

Zionair

Zionair SK20B Assembly and user instructions

Artos Engineering Company CS 338 owner's manual

Artos Engineering Company

Artos Engineering Company CS 338 owner's manual

Metabo SSD 18 LTX 200 BL Original instructions

Metabo

Metabo SSD 18 LTX 200 BL Original instructions

HOLZMANN MASCHINEN BSG 13E user manual

HOLZMANN MASCHINEN

HOLZMANN MASCHINEN BSG 13E user manual

Yokota TKA111-C manual

Yokota

Yokota TKA111-C manual

manuals.online logo
manuals.online logoBrands
  • About & Mission
  • Contact us
  • Privacy Policy
  • Terms and Conditions

Copyright 2025 Manuals.Online. All Rights Reserved.