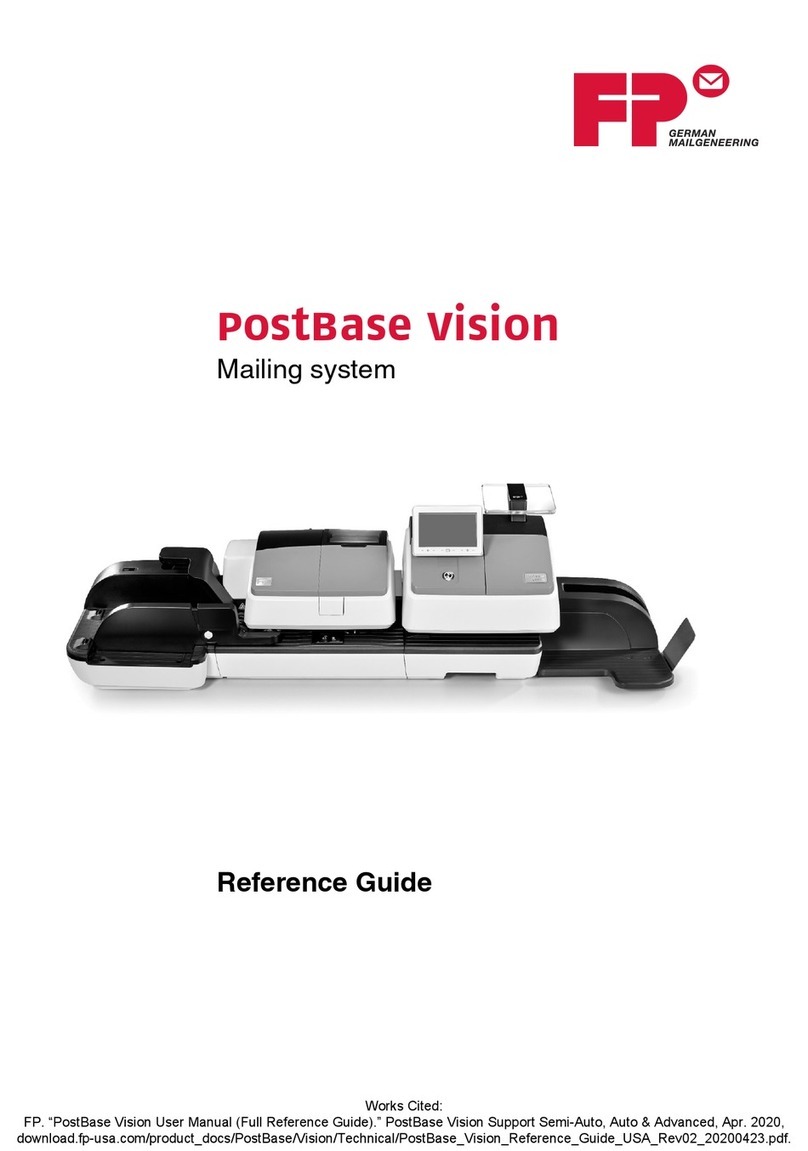
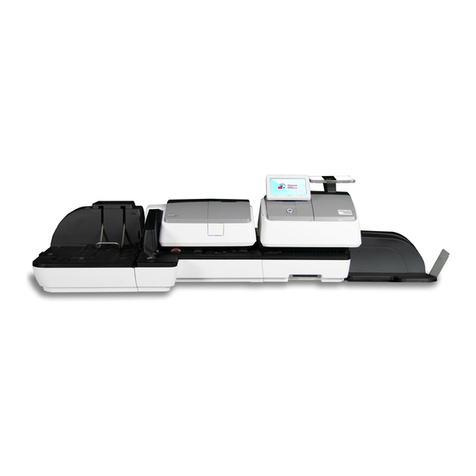
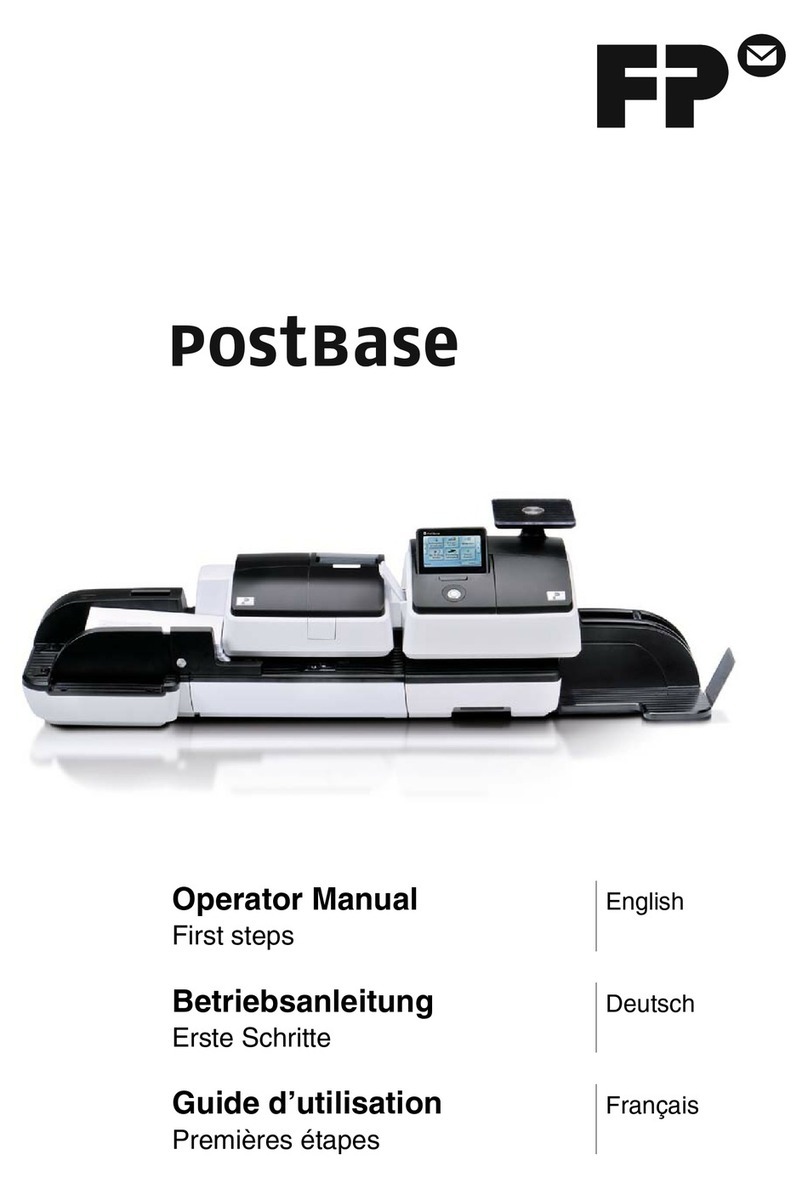
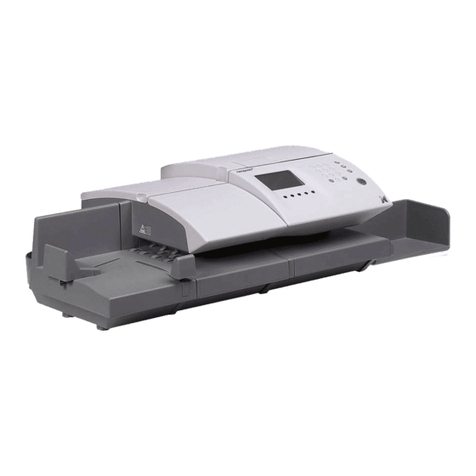
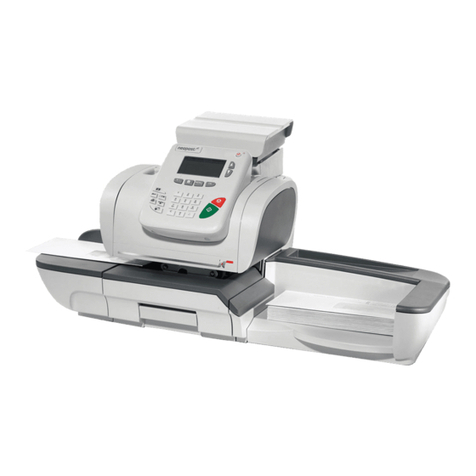
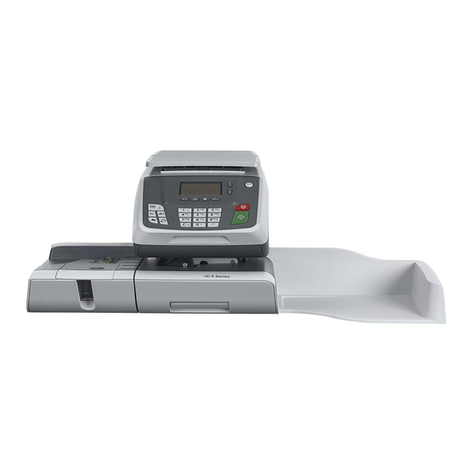
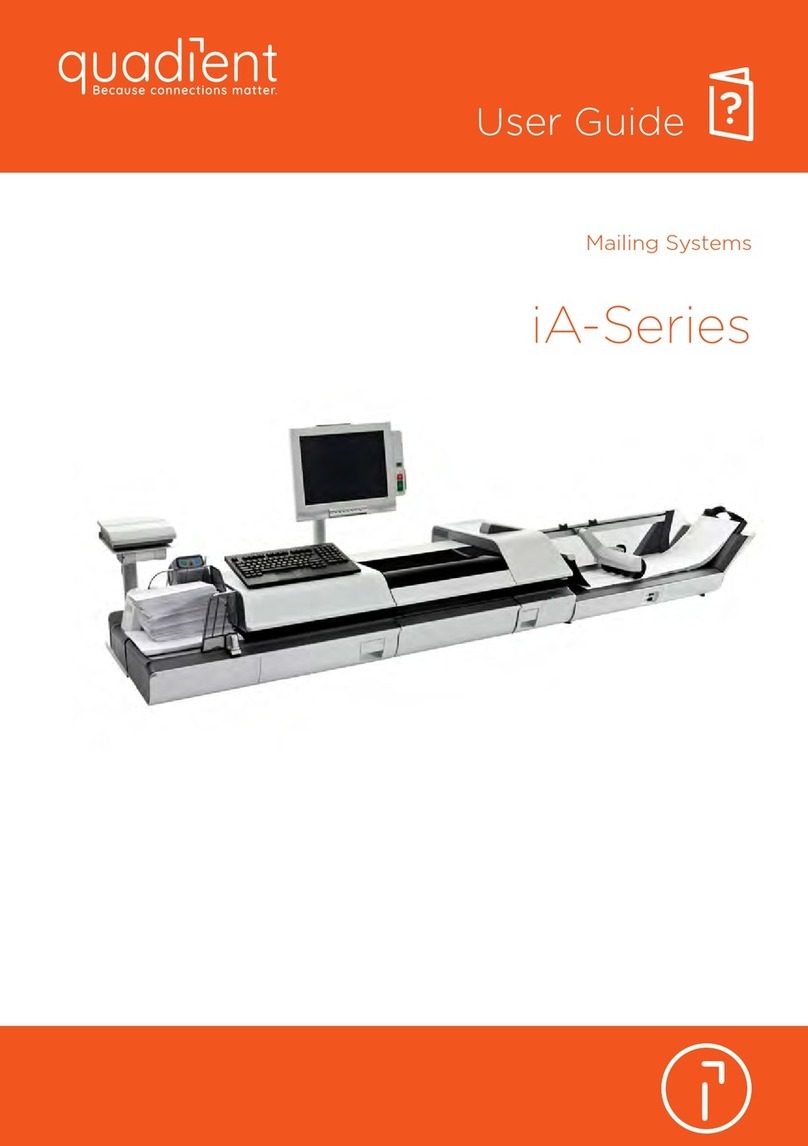
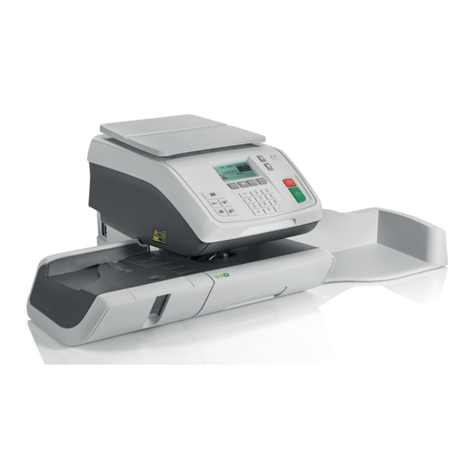
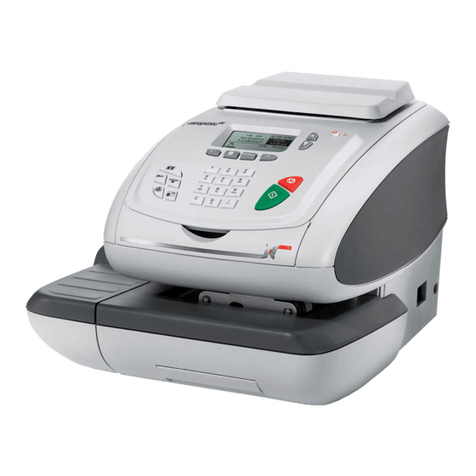
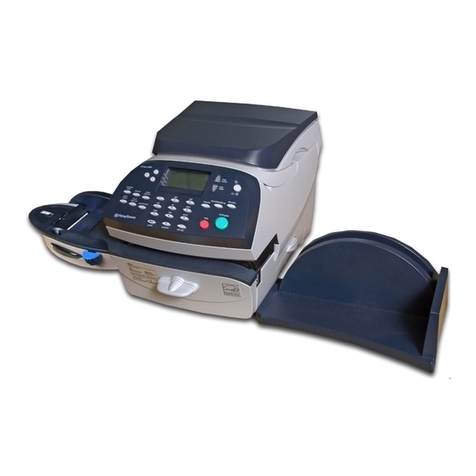
FP centormail User manual

centormail
Digital Mailing System
Operator Manual
™

2centormail – Display and keyboard
Multi function keys
(Soft keys)
Display
Confirm entry
Acknowledge messages
Go back to the higher
window / menu level
Call menu for:
– system settings
– administration
– statistics
–more
TELESET / load postage
Display register
Delete entry
Memory function:
– set saved settings
– save postage settings
Numeric keys
– enter numbers
– enter letters, punctuation
and special characters
Toggle upper / lower
case letters
Arrow keys
–navigate
– scroll
– increase / decrease
values
Print labels
Back to the home menu
(Home)
Start / stop letter
transport

Contents 3
About this operator manual ______________________________________7
1 Safety tips ____________________________________________________8
2 A short description of the centormail _____________________________10
3 The basics of centormail operation ______________________________13
3.1 Switching centormail on / off ______________________________13
3.2 Stand-by ______________________________________________14
3.3 Access control – MASTER / USER _________________________15
3.4 Setting the letter catch tray _______________________________15
3.5 Sealing function
(centormail with sealer)
_________________________16
3.6 The user interface ______________________________________17
3.6.1 Key functions __________________________________________17
3.6.2 Symbols in the display (selection) __________________________19
3.6.3 The home menu ________________________________________21
3.6.4 The menu _____________________________________________24
3.6.5 Lists _________________________________________________25
3.6.6 Adjustment menus ______________________________________26
3.6.7 Pop up windows ________________________________________27
3.6.8 Procedures ____________________________________________27
3.6.9 Presentation of operating procedures and menu sequences _____28
3.7 Text input _____________________________________________29
3.8 Zero imprint ___________________________________________30
4 Setting the meter imprint _______________________________________32
4.1 Postage value _________________________________________33
4.2 Endorsement __________________________________________34
4.3 Custom Advertisements (Advert) ___________________________35
4.4 SMS Text Message _____________________________________36
4.5 Date _________________________________________________38
4.6 Imprint offset __________________________________________39
5 Metering _____________________________________________________40
5.1 Setting / changing the account _____________________________40
5.2 Using the batch counter __________________________________42
5.3 Positioning letters _______________________________________43
5.3.1 Hand Feed Tray ________________________________________43
5.3.2 Feeder
(optional)
________________________________________44
5.4 Meter a label __________________________________________46
5.5 Display / reset item counter _______________________________47

centormail Operator Manual
4
6 Postage rate calculation
(centormail with static / dynamic scale)
______________ 48
6.1 The product selection menu ______________________________ 48
6.2 Setting mailing data, weighing, and metering _________________ 51
6.2.1 Using the static scale ___________________________________ 51
6.2.2 Using the dynamic scale _________________________________ 54
6.3 Special features with regard to postage calculation ____________ 58
6.3.1 Entries in pop up windows ________________________________ 58
6.3.2 Nonmachinable surcharge _______________________________ 58
6.3.3 Dimensional weight _____________________________________ 58
7 Special imprints and functions __________________________________ 63
7.1 Postage correction _____________________________________ 63
7.2 Redate _______________________________________________ 64
7.3 Reply Mail metering _____________________________________ 66
7.4 Stamping incoming mail _________________________________ 67
7.5 Seal letters only
(centormail with sealer)
________________________ 68
7.6 Only feed letters _______________________________________ 70
7.7 Printing advert only _____________________________________ 71
8 Memory keys ________________________________________________ 73
8.1 Using memory keys (MEM) _______________________________ 73
8.2 Display and print memory key settings ______________________ 74
8.3 Storing settings for use with a memory key ___________________ 75
8.4 Rename memory key ___________________________________ 76
8.5 Delete memory key _____________________________________ 77
9 Using an external postage scale ________________________________ 78
9.1 Connecting an external postage scale to the centormail
postage meter _________________________________________ 78
9.2 Operating centormail with an external postage scale ___________ 79
10 Display and print registers _____________________________________ 80
11 Loading postage – TELESET ___________________________________ 81
12 Account administration ________________________________________ 83
12.1 Creating a new account __________________________________ 83
12.2 Create / block USER card ________________________________ 85
12.3 Display / print account statistics ___________________________ 86
12.4 Edit / delete / reset account to zero _________________________ 86
12.5 Clear down to zero all accounts ___________________________ 87
12.6 Delete all accounts _____________________________________ 87

Contents 5
13 Imprint management __________________________________________88
13.1 Load data from card _____________________________________88
13.2 View / print / rename / delete advert ________________________89
13.3 Entering new text messages ______________________________90
13.4 View / print / edit / delete text messages _____________________91
13.5 View / delete endorsements _______________________________92
13.6 View / print endorsement statistics _________________________92
14 Advanced settings & system information _________________________93
14.1 Display / print / send system information _____________________93
14.2 Setting the label type ____________________________________94
14.3 Setting the display contrast _______________________________95
14.4 Setting the tone signaling _________________________________96
14.5 Setting the meter type ___________________________________97
14.6 Changing the user interface language _______________________98
14.7 Clock ________________________________________________99
14.7.1 Time correction ________________________________________99
14.7.2 Daylight Savings Time / Summer time changeover ____________100
14.7.3 Setting the time zone ___________________________________102
14.8 Modem – changing the dialing parameters __________________103
14.9 Changing phone numbers _______________________________105
14.10 Determining access control ______________________________107
14.11 Customizing the home menu _____________________________108
14.12 Setting Low Postage Warning ____________________________109
14.13 Setting High Postage Warning ____________________________110
14.14 Setting the letter transport run time
(centormail without feeder)
_______111
14.15 Extend number of available accounts ______________________112
14.16 Print system __________________________________________113
14.16.1 Display current state / filling level __________________________113
14.16.2 Adjusting the print head lowered duration ___________________113
14.17 Rate tables
(centormail with static / dynamic scale)
__________________114
14.17.1 Updating the rate table __________________________________114
14.17.2 Deleting rate table _____________________________________115
14.17.3 Switching automatic endorsement imprint on/off ______________115
14.17.4 Changing local ZIP code for postage rate calculation __________117
14.18 Zeroing static scale
(centormail with static scale)
__________________118
14.19 Set gravitation
(centormail with static / dynamic scale)
_______________118
14.20 Dynamic scale – changing the weighing mode
(centormail with dynamic scale)
________________________________119
14.21 Adjusting moistening
(centormail with sealer)
____________________120
14.22 Re-authorization _______________________________________121
centormail Operator Manual
6
15 Maintenance and care ________________________________________ 122
15.1 Cleaning the centormail mailing system ____________________ 122
15.2 Changing the ink cartridges
(centormail 120)
___________________ 123
15.3 Changing the print heads
(centormail 140)
____________________ 129
15.4 Changing the ink tank
(centormail 140)
_______________________ 136
15.5 Adjusting the ink cartridges
(centormail 120)
/
print heads
(centormail 140)
________________________________ 139
15.6 Cleaning the print system _______________________________ 140
15.7 Replacing the ink fleece ________________________________ 143
15.8 Filling with sealing liquid
(centormail with sealer)
_________________ 145
15.9 Clean / replace the sponge
(centormail with sealer)
_______________ 147
15.10 Replacing the battery __________________________________ 149
16 Troubleshooting _____________________________________________ 151
16.1 Error messages _______________________________________ 151
16.2 Fixing a letter jam in the feeder ___________________________ 158
16.3 Fixing a letter jam in the sealer ___________________________ 159
16.4 Safety cap has been released – letter transport stops _________ 161
Appendix
Access rights for selected functions _______________________________ 163
Menu (overview) ______________________________________________ 165
Country codes _______________________________________________ 166
Moving the centormail mailing system to another location ______________ 170
Glossary ____________________________________________________ 189
Technical Data _______________________________________________ 191
Index ______________________________________________________ 198
centormail mailing system (overview) _____________________________ 206
Service _____________________________________________________ 211

About this operator manual 7
About this operator manual
Please read this operator manual before using the centormail
mailing system. Please keep this manual near the system for
quick reference.
Thismanual covers allconfigurationsand equipment options of
the centormail mailing system. Functions that are only available
forparticularsystemconfigurationsaremarkedbyanadditional
note, e.g.
(centormail with static scale)
.
In this operator manual, ‘centormail’ stands for postage meters
centormail 120 and centormail 140.
Quick Reference Guide
A separate quick reference guide provides an overview of the
operating menu and on metering with the centormail.
The following keywords and signs identify the safety tips in this
operator manual:
Warning! indicates a potential hazard that may result in injury.
Warning! indicates a potential hazard that may result in injury
to the hands. Thissign is also used to identify hazardous areas
of the mailing system.
Caution! indicates a potential hazard that may result in dam-
age to the mailing system or impair the metering process.
The following symbols and text features are used in this opera-
tor manual:
• Bullets precede instructions.
– Dashes precede list items.
MENU Menu names and options from the operating menu are written
in small capitals.
“Select entry” Messages are highlighted by quotation marks.
A tip offers advice or additional suggestions for improving the
operation.
Chapter “The basics of centormail operation” on page 28
explains how operating and menu sequences are described.

centormail Operator Manual
8
1 Safety tips
centormail is a digital mailing system with ink-jet print technology for metering mail.
centormail complies with the pertinent safety regulations for office information equip-
ment.
Please observe the following tips for your own safety:
• Installation and commissioning of the centormail mailing system have to be done
by qualified personnel authorized by FP Mailing Solutions.
• Operate the centormail only on grounded power sockets. Make sure your office
power supply conforms to the power requirements indicated on the serial number
plates.
• Only use the supplied power and connection cables or cables that have been
approved by FP Mailing Solutions. Make sure that cables are not damaged.
• Onlyusethepowersupplyunit(PSU)suppliedwiththesealer, oronethathasbeen
approved by FP Mailing Solutions. Make sure that the PSU and its cables are not
damaged.
• Make sure the sockets for connecting the mailing system are close by and easily
accessible at all times.
• Do not reach into the danger areas marked with warning signs.
• Keep long hair, fingers, loose clothing pieces, shawls and jewelry away from mov-
ing machine parts.
• Do not remove any parts of the housing.
• Do not remove any equipment related to safety or protection. Do not make them
inoperative or unable to function. In case of an error (jam or unauthorized interfer-
ence), the safety cap – a small part of the housing located at the letter exit of the
postage meter – is released and the transport stops. You have to bring the safety
cap back into position before you can go on using the centormail. By no means
must you try to block or fasten the safety cap.
• Never cover the ventilation slots of the housing.
• Unplug the plugs prior to cleaning the centormail mailing system.

Safety tips 9
• Be extremely careful when handling liquids. If you fill the sealant tank, make sure
not to moisten any parts connected to the mains.
If this should happen, immediately unplug the plugs. Have the centormail mailing
system checked by FP Mailing Solutions Service before using it again.
• Take special care that no foreign objects penetrate the system’s interior. If this
should happen, have the centormail mailing system checked by FP Mailing Solu-
tions Service before using it again.
• Unplug the plugs in case of an emergency. Call the Service.
• Only use ink cartridges / print heads and ink tanks by FP Mailing Solutions.
Observe the information enclosed with every package.
• Only use the batteries provided by FP Mailing Solutions. Observe the instructions
enclosed with the battery for correct use and disposal.
• Have maintenance and repair work done only by qualified personnel authorized by
FP Mailing Solutions. Otherwise, your warranty will become void. You will be liable
for any damage.
• If you wish to move the centormail mailing system to another location, observe the
specific notes on moving the centormail mailing system on page 170.

centormail Operator Manual
10
2 A short description of the centormail
centormail is a digital mailing system with ink-jet print
technology and vertical letter transport. You can meter
mailpieces ofallformatsthat aremade of ink-absorbent
material–rangingfromapostcardtolettersISOB4with
a thickness of up to 0.8" (20 mm) – as well as FP meter-
ing labels that can be stuck onto the mail piece.
Modular design
In its basic version, the mailing system consists of the
centormail postage meter, a hand feed tray, and a letter
catch tray (envelope slide with catch brackets). This
basic version can easily be extended usingcomponents
for automatic feeding, moistening / sealing, and weigh-
ing. This modular concept allows for a flexible adapta-
tionofthemailingsystemtothetypeandamountofyour
mail.
The postage meter is available as model
–centormail 120 with a processing speed up to
120 letters per minute
–centormail 140 with a processing speed up to
140 letters per minute.
Feeder
Dynamic scale
Postage meter
Static scale
Power sealer
Lettercatchtray
Label dispenser
Sealer

A short description of the centormail 11
Menu-based operation
All functions – be it setting up the meter imprint, manag-
ing accounts and quick select memories, or changing
system parameters – are securely and quickly accessi-
ble via the clearly laid out user interface in the back-lit
display. The home menu shows all relevant information
on the metering process at a glance.
Metering
To meter a letter, simply position it – the centormail
mailing system will automatically transport and meter
the letter, after which it is exited to the right side – ready
for Mailing.
Letters as advertising medium
In addition to printing postage, you can use centormail
toprintcustomadvertisementsofyourchoice;aswellas
user programmable SMS text messages to provide up-
to-the-minute information on every mail piece you send.
TELESET
Load postage into the centormail using the TELESET
process via the built-in modem – fast, easy and, if need
be, 24 hours a day.
Protection against
unauthorized use
Access cards in smart card format protect the centor-
mail against unauthorized use and allow individual
access rights to be assigned (MASTER / USER).
Flexible and up-to-date
New adverts, endorsements or new USPS pricing –sim-
ply update your centormail via chip card.
Additional functions
The centormail mailing system offers a range of conve-
nient additional functions. Among these are:
–Memory function for frequently used USPS
products.
–Accountfunctionforseparateregistrationandbilling
of postage costs.
–Redate and postage correction for correcting wrong
meter imprints.
–Reply mail metering.
– Print date and time on incoming mail.
–Print lists of account data, register states,
system settings, and further information.
– Variableimprintoffset forchangingthemeterimprint
position on the envelope.
–Label dispenser to print self-adhesive labels, for
largeor thick mail pieces or for envelopes that are not
suited for ink-jet printing.

centormail Operator Manual
12
Options
The following components are available to extend the
machine’s range of functions:
–Feeder. Separates the letters individually from the
stackandtransfersthemtothepostagemeter.Letters
can be added during operation.
–Sealer for mail pieces with a thickness of up to 0.28"
(7 mm). The envelope flap is moistened in the sealer
module and firmly pressed down in the power sealer.
–Postage rate calculation. When equipped with a
static or dynamic scale, the postage rate calculation
function is available. centormail calculates the post-
age on the basis of selected mailing data in a fast and
reliable way. Postage and type of mail endorsement
are set automatically.
–Static scale. The space saving, integrated scale
quickly and reliably determines the weight for letters
and parcels up to 10 lb.
–Dynamic scale. The dynamic scale (for mail pieces
up to 2 lb) detects the weight and size of the mail
piece while transporting it to the postage meter. Both
values are transmitted to the postage meter, which
automatically determines the correct product setting –
this is especially useful for handling of mixed mail.
For an overview of all system components, see pages
206 to 210.

The basics of centormail operation 13
3 The basics of centormail operation
In this chapter you will learn about the basic functions of the centormail mailing
system and how to handle the user interface.
3.1 Switching centormail on / off
Use the power switch (the toggle switch on the top left side of the postage meter) to
turn the centormail and all installed optional components ON or OFF.
Caution! Wait for at least one minute
between switching off and back on.
Switch on
• Push the power switch to I(ON)
position.
The display illumination turns on and a
start routine is initialized. centormail
checks and activates all components.
If your system features an ink tank
system,youwillheardistinctsoundsfrom
its pump.
When the start routine is completed, the
home menu is displayed. centormail is
nowreadyfor operationwiththefollowing
settings for metering:
– The postage value (and the
endorsement imprint if applicable)
are reset to default values, as stored in
memory MEM1.
– Current date.
– The advert and the text message are
determined by the current account.
– An account is selected if either an
access card has been plugged in
(MASTER / USER),or ifaccess control
has been disabled.

centormail Operator Manual
14
Switching off
Caution! Always switch off the
centormail mailing system using the
power switch. Never simply unplug the
plug or disrupt the power supply in any
other way before the print system is in
sealed position. Only in that way can you
prevent the ink from drying and thus
maintain a constant print quality.
• Push the power switch to O(OFF)
position.
centormail terminates all current
processes and moves the print system to
sealed position. This procedure may take
some time.
Only afterwards will the mailing system
switch off. The display illumination turns
off.
3.2 Stand-by
Ifyoudonotfeedlettersorpressa keyfor
some time, the mailing system enters the
stand-by mode.
When in stand-by mode, centormail
displays a screen saver with date and
time. The display is not illuminated.
You can easily ‘wake up’ centormail by
pressing any key.

The basics of centormail operation 15
3.3 Access control – MASTER / USER
By means of the MASTER and USER cards, collectively referred to as access cards,
the access rights for using the mailing system are determined.
The card with the inscription MASTER provides unrestricted access to all functions.
The card with the inscription USER only provides access to certain functions:
– metering to the assigned account
– storing and changing memories
– assigning an advert and a text message to the card’s account.
Access control by means of access cardscan also be completely switched off. Then,
metering is possible to all accounts without having to insert an access card.
You will find an overview of the access rights on page 163.
Inserting an access card
• Insert the access card into the card
reader in the direction of the arrow.
The chip on thecard must face the rear.
• Insert the access card into the card
reader, you will feel a slight resistance
before the card is locked into position
and comes to a stop.
Removing the access card
• Simply pull the card out of the card
reader.
3.4 Setting the letter catch tray
The catch tray can be adapted to different envelope sizes – up to 10" x 14" (ISO B4 /
250 x 353 mm). • Adjust both catch brackets so that the
metered mail pieces easily slide into
the catch tray and are neatly stacked.

centormail Operator Manual
16
3.5 Sealing function
(centormail with sealer)
When equipped with the optional components sealer and power sealer, centormail
can meter and seal your mail in a single run. Coming from the feeder, the mail pieces
pass through the sealer. In the sealer, the sealing flap of the envelope is moistened
by a sponge. The flap is then closed and sealed as it passes through the system.
After metering, the mail piece is ultimately closed by the power sealer.
You can use the sealing function for letters with a thickness of up to 0.28" (7 mm).
The envelopes must be suitable for machine sealing (see page 197). Also, please
mind envelope quality. To always achieve optimal sealing results, it is recommended
that sealit™ sealing liquid is used. This is available directly from FP Mailing Solutions
or authorized FP dealer.
Sealing
If the letters are to be sealed:
• Turnthe envelope sealing switch to the
position SEAL.
centormail monitors the level in the
sealant tank. You are notified when you
have to top up the sealing liquid.
PleasereferenceChapter 15.8,page 145
for information on how to fill the tank.
If you have not used the sealing function
or if the mailing system was switched off
foracertainamountoftime,sealingliquid
is automatically pumped into the moist-
ener. Thus, centormail makes sure the
sponge is properly wetted. In theSEALING
menu,youcansettheoptimalmoistening
level for the envelopes you use (see
Chapter 14.21, page 120).
No sealing
Ifthelettersarenottobesealed(orifthey
are already sealed):
• Turnthe envelope sealing switch to the
position NON SEAL.

The basics of centormail operation 17
3.6 The user interface
This chapter covers the centormail user interface, introducing the different menus,
window types, and symbols used. Furthermore, it is shown how menu / operating
sequences are presented in this manual.
3.6.1 Key functions
Multi function keys
The multi function keys (also referred to as soft keys) are
located to the right of the display. The functions assigned to
these keys vary depending on the context. Text andsymbols
in the display indicate the key’s currently assigned function.
Arrow keys
– Scrolling in menus, lists …
– Moving the cursor (e.g. when entering text).
– Increase /decreasevalues(whensettingselectedsystem
parameters).
Memory function (MEM)
– Display and activate pre-configured settings.
– Store product settings as a memory.
Back key
Go back to the previous window / menu level.
Opens the menu for system settings, information, and
functions related to administration and service.
Home key
Back to the home menu.
Enter key
– Confirm entries.
– Acknowledge messages.
Deleting entries, characters, and digits …

centormail Operator Manual
18
Opens the TELESET menu for
– loading postage
– calling up register values.
Label key
Prints a label.
Start / Stop key
Starts / stops letter transport.
Numeric keys
– Enter numbers.
– Enter text (text message, the name of a memory, etc.).
Insert a blank: key.
Available special characters using the key:
. , : !; ? % & ’ " ( ) * + - / < = > \ ^ _ @ # €$ £ ¥
Shift key
To toggle upper / lower case letters when entering text.

The basics of centormail operation 19
3.6.2 Symbols in the display (selection)
The letter indicates: centormail is ready for metering.
You can feed letters to meter.
Dynamic scale is active.
‘Always weigh’-mode for processing mixed mail.
Dynamic scale is active. Mode ‘Weigh once’
(only the first letter of a stack is weighed).
The printer indicates the print list function.
A list, report, preview image … can be printed.
MEM and the number indicate that a memory has been set.
The pre-select counter is turned on.
The number of mail pieces yet to be processed is displayed.
Text input in capital letters.
Text input in lower case letters.
The mailbox indicates that the incoming mail stamp has been set and is
ready for operation. You can now feed incoming mail.
Water drops and the canceled stamp indicate the sealing only function.
The mail pieces will not be metered.
Feed only. The mail pieces will not be metered.
The ‘landscape’ indicates the print advert only function.
centormail only prints the set advert.
Arrows in the status bar indicate that further display / menu items are
available.
Use the arrow keys / to scroll forwards or backwards.
Thehourglasssymbolappearswhencentormailrequiressomemoretime
(e.g. when updating data). Please wait until the procedure is completed.
The magnifying glass appears next to explanation on the settings in
adjustment menus.

centormail Operator Manual
20
The following symbols are used to indicate the assignment of the multi
function keys:
Set postage value.
Set endorsement.
Set advert.
Set text message.
Change account.
Set date.
Set the reply mail imprint.
Set the correction imprint.
Set the redate imprint.
Open the menu for special functions: Incoming mail, feed only, sealing
only, print advert only.
Open the menu for the batch counter function. Pre-set the number of
mail pieces to be processed.
Display / reset item counter.
Set the imprint offset.
Other manuals for centormail
2
Table of contents
Other FP Digital Mailing System manuals

FP
FP Postbase 20 Operating and safety instructions

FP
FP PostBase Vision User manual

FP
FP PostBase Vision User guide

FP
FP PostBase Vision User manual

FP
FP FPi 6600-2 User manual

FP
FP Post Base Vision Operator's manual

FP
FP PostBase Vision User manual

FP
FP PostBase Instruction Manual

FP
FP PostBase User manual

FP
FP myMail User manual