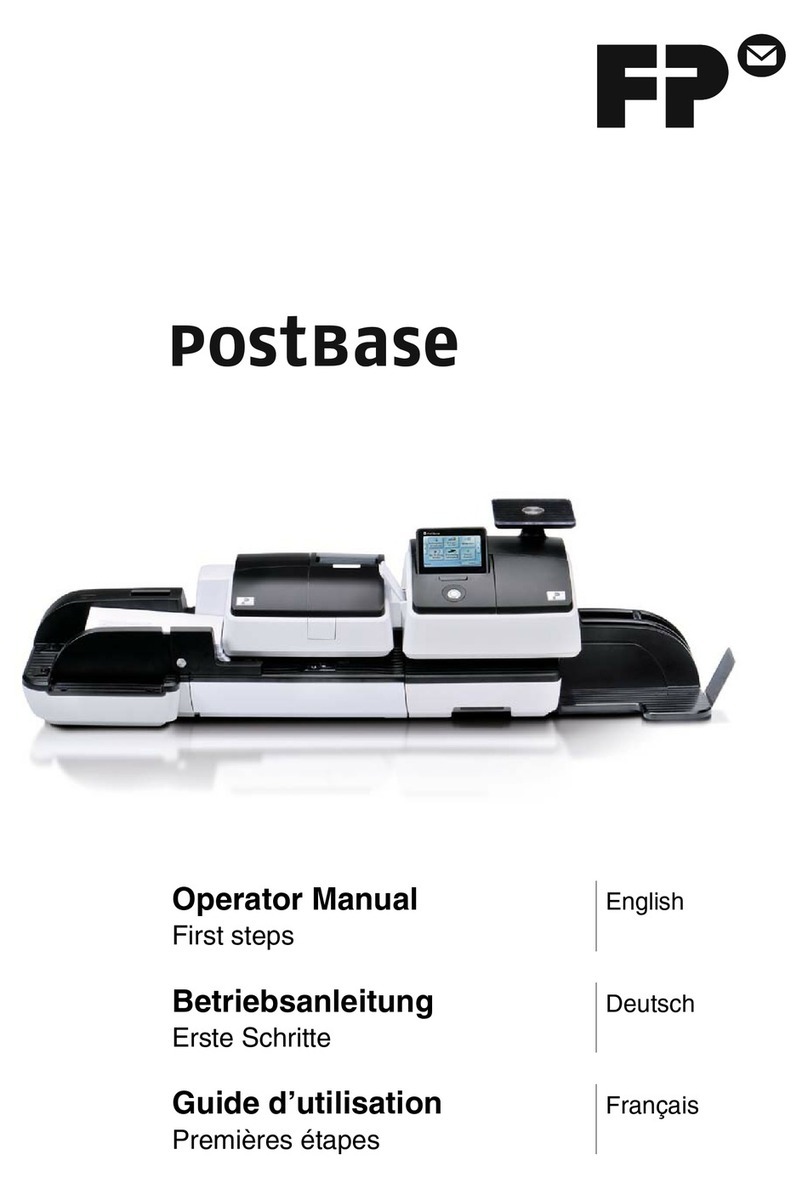
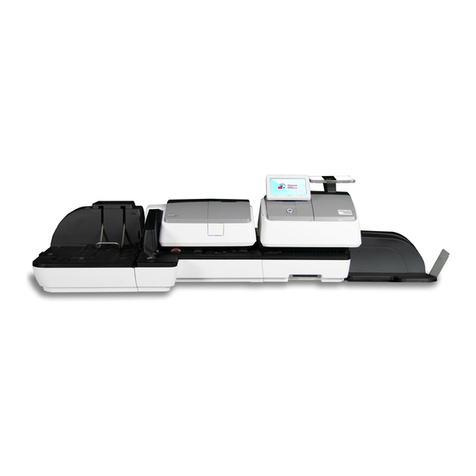
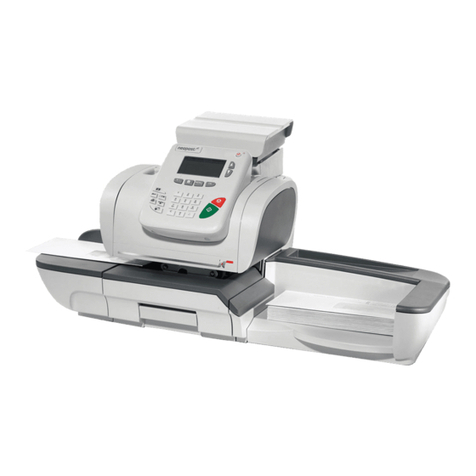
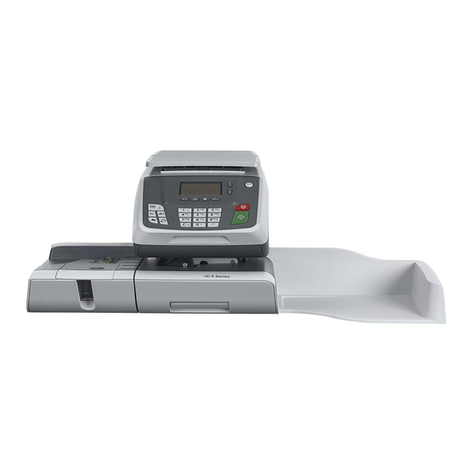
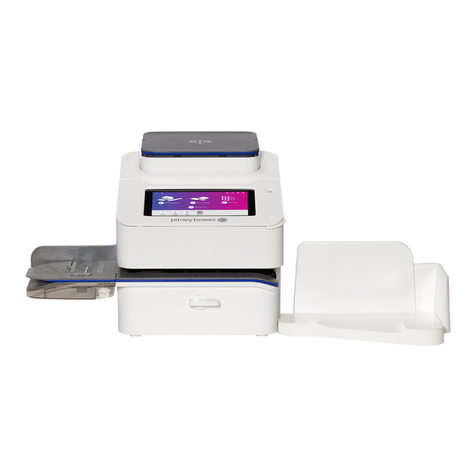
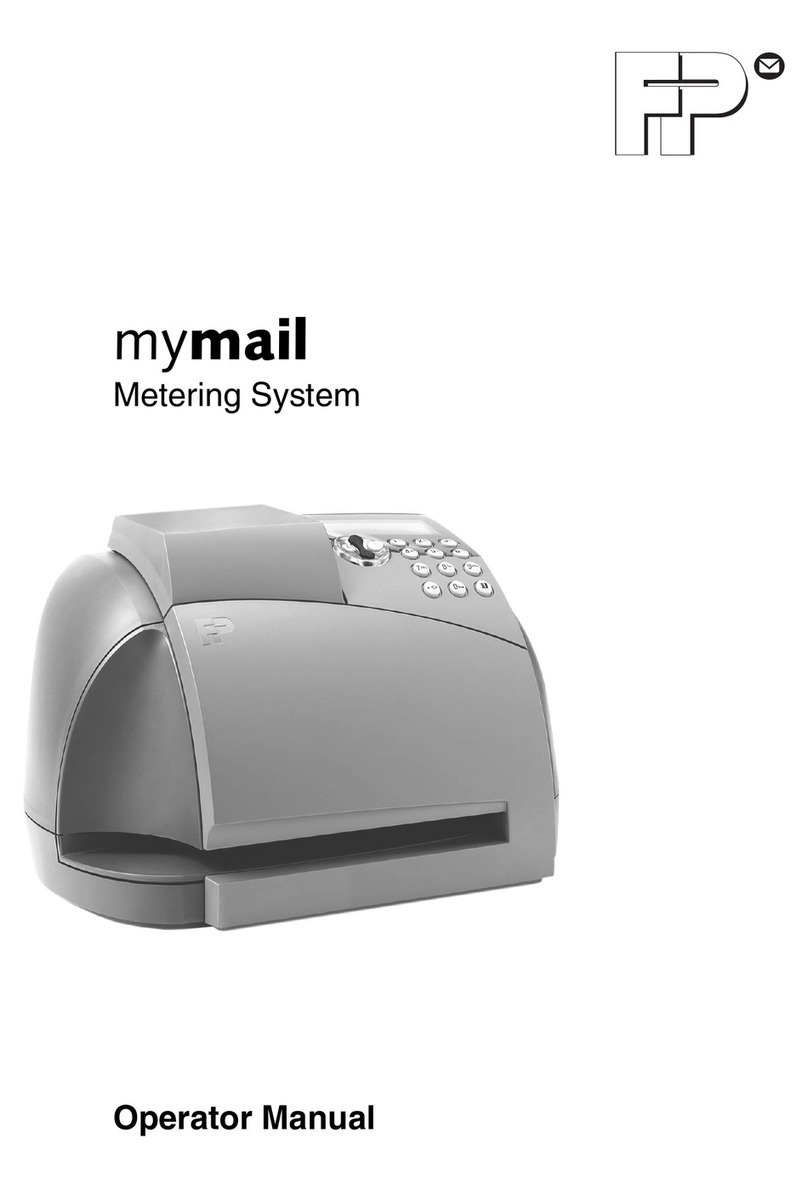
FP PostBase Instruction Manual

DRAFT v0.3 English, 01 Mar 2012
- 1 -
The PostBase Connectivity Wizard
The PostBase Connectivity Wizard allows you to easily set up your postage meter to suit your
organization’s arrangements. This document will guide you through the steps of the wizard.
Depending on the network onfiguration in your organization, this may be very straightforward.
However, in some ases, you may need to get information from your network administrator - where
ne essary this is indi ated in the steps below.
The Conne tivity Wizard runs automati ally the first time you turn on your PostBase meter. However
you an hange any settings at any time later from the main menu (under ‘Manage Conne tion’).
Se tion 10 summarizes the information a network administrator may need about the meter; it also
in ludes a table where you an re ord the settings you have used.

DRAFT v0.3 English, 01 Mar 2012
- 2 -
Contents
1 Introdu tion ..................................................................................................................................... 3
2 Preparation ...................................................................................................................................... 3
3 First Steps: Type of onne tion, Ethernet or modem? ................................................................... 4
4 Setting up Ethernet Conne tions .................................................................................................... 4
5 Entering Proxy Server Settings ........................................................................................................ 6
6 Manual Configuration of an Ethernet Conne tion .......................................................................... 8
7 Gathering information about your network ................................................................................. 10
8 Setting up Modem Conne tions .................................................................................................... 15
9 Referen ed Terms and FAQ ........................................................................................................... 17
10 Referen e Information for Network Administrators ................................................................. 18
Copy
ri
ght
2012
Fran otyp
-
Postalia
GmbH

DRAFT v0.3 English, 01 Mar 2012
- 3 -
1Introduction
The PostBase meter needs a onne tion to the Fran otyp-Postalia Infrastru ture in order that it an
download funds and data. It is re ommended that an Ethernet (LAN) onne tion is used for this. This
is the type usually used to onne t omputers to the Internet, both at work and in the home (e.g.
using DSL).
If ne essary the meter an also use a modem onne tion - that is the older, slower method over the
telephone. Modem onne tions are, however, only intended for those users annot use an Ethernet
onne tion sin e they are mu h slower and offer a more restri ted servi e.
This do ument gives you details on setting the meter up to use these ommuni ation methods.
2Preparation
Before you get your meter you an ensure that you will have the orre t onne tion arrangements in
pla e. This will ensure that the meter an be fully operational from its first day.
For an Ethernet onne tion, the meter needs:
•An Ethernet onne tion (minimum 10MBit/se ) in the vi inity of where the meter will be
operated. The meter itself omes with a 3 meter (9.8 foot) able. The meter and the in luded
able use an RJ45 type of onne tor. If you use a different able, then we re ommend it is of
type CAT5E.
•If you work in a medium or larger organization, then the meter will probably have to be
onne ted to an internal network, whi h will in lude a proxy server. If so, we re ommend
you he k with your network administrator, whether “DHCP” is supported and, if not, then
you will need an “IP-Address”. The last page of this do ument in ludes te hni al details for
your network administrator. It in ludes a list of all information you will require.
If you do not have an Ethernet onne tion available, then you will need to use a telephone/modem
onne tion. In this ase you should make sure you have ordered the PostBase USB modem adapter,
and should have a suitable telephone so ket within 3 meters of your meter.
We strongly recommend using your PostBase meter with an Ethernet connection.

DRAFT v0.3 English, 01 Mar 2012
- 4 -
What’s
DHCP
?
Dynamic Host Configuration Protocol
(DHCP) allows the automatic allocation of
an ‘IP address’ for the device within your
network by your router or network server
Using DHCP makes the configuration
process much
simpler
3First Steps: Type of connection, thernet or modem?
In the wizard you will first be asked whether you want to use an Ethernet or Modem based
onne tion.
Sele t the type of onne tion in the first s reen of the
wizard.
The set up for Ethernet onne tions is des ribed in the
next se tion.
For modem onne tions see se tion 8.
4Setting up thernet Connections
4.1 DHCP: Is the IP Address assigned automatically?
For an Ethernet onne tion, you will next be asked
whether ‘DHCP’ onne tions an be used in your network
or not. Using DHCP simplifies the onfiguration and so
we re ommend this if possible.
If you are not sure whether DHCP is supported, we
suggest you simply try making a onne tion with DHCP. If
it isn’t supported, then you will get an error later and will simply have to run through the wizard
again.
Simply tou h your hosen option and then ‘C
ONTINUE
’.
For another way of finding out whether D CP is
supported, see section 7. Otherwise, if you have a
system administrator, ask them.

DRAFT v0.3 English, 01 Mar 2012
- 5 -
4.2 pecifying a proxy server
Next, you will be asked about a ‘Proxy Server’. If your
organization uses one, you will have to enter its details
so that the meter an get a ess to the Internet.
If you are in a small offi e, it may be that you have a
dire t onne tion to the Internet through your router.
In this ase you should answer ‘
DISABLED
’ here.
Otherwise, answer ‘
ENABLED
’.
4.3 Final steps
Finally you will be shown a onfirmation of all the
entries you have made.
Che k you have entered the details orre tly.
Graphi s missing
After you tou h ‘C
ONTINUE
’ the meter will test the
onne tion.
If it can’t connect, the wizard will return to its starting
point. In this case, you should first check the
connections, then the settings you have entered. You
can also look at the guide in section 7, or check the
settings with your system administrator.
If all goes well, PostBase will now continue with the remainder of its configuration…
IP-Einstellungen werden automatisch bezogen.
Dieser Vorgang kann einige Minuten dauern.
18
What’s a
Proxy erver
?
Proxy servers are used in most larger
organizations as a bridge between their
internal networks and the Internet It can
protect the computers in the internal
network against attack from the wider
Internet
Verbindungseinstellungen
Verbindungsart Ethernet
DHCP aktiviert
DNS-Server Automatisch
Proxy deaktiviert
ZurückSpeichern
MAC-Adresse 00-90-4B-12-93-CE
If you have entered ‘
ENABLED
’, then next f
ollow the instru tions in se tion
5
,
“Entering Proxy Server Settings”.

DRAFT v0.3 English, 01 Mar 2012
- 6 -
5ntering Proxy Server Settings
If your network uses a proxy server, you will need to
enter its details into the wizard. Before you an do
this, you will need to obtain the needed information.
You will need the following:
•The IP address of the proxy server and the port
number to use
•Whether authenti ation is to be used, and if
so,
the orresponding user name and password.
Either onta t your network administrator, or follow the instru tions in se tion 7.
1) Enter the IP address of the proxy server
A keyboard will appear on the display in whi h you an
enter the IP address.
Each of the 4 sets of numbers must be in the range 0 to
255 and they must be separated by full stops (bottom
left key).
You an use the CE (bottom right key) to su essively
orre t the last entries.
2) Enter the Port Number
The ‘port number’ must be entered next. This will
normally have the value “8080”.
Occasionally another value might be needed, for
example “80”.
See se tion 7 to onfirm the value for your network, or
onta t you network administrator.
What’s an
IP address
?
Every computer or device that communicates
over the Internet must have an IP (Internet
Protocol) address This also applies to most of
today’s large networks within companies
Common IP addresses are written as 4 groups
of 3 digits, separated by full stops e g
123 987 567 543

DRAFT v0.3 English, 01 Mar 2012
- 7 -
3) Spe ify whether your proxy requires Authentication
If your proxy server needs authenti ation, then you
must set P
ROXY
-A
UTH
=E
NABLED
here and enter the
details on the next wizard pages.
Looks awful. Use Off/On instead of enabled/disabled!
If in doubt, contact your network administrator. If the
proxy needs authentication they may need to give you
a special user name and password for the device.
3a) Enter the User Name
An alpha-numeri keyboard will appear on the display
in whi h you an enter the user name. This keyboard
fun tions in a omparable way to similar keyboards on
mobile phones - tou hing the button a number of
times rapidly will y le through the possible values.
Tou hing another button, or waiting for a se ond or
so, will ause the sele ted value to be entered.
3b) Enter the Password
You an enter the password in a similar way. It
operates slightly differently in that, on e the hara ter
has been sele ted, it is then displayed only as “*”.
This ompletes the entry of the proxy server details - tou hing ‘C
ONTINUE
’ will take you to the next
part of the wizard.
What’s
Proxy Authentication
?
Often a proxy server needs to know who is
talking to it - to confirm that it is a known
user of the organization’s network who is
authorized to have access to the Internet Any
device will then have to log-on to the proxy
server with its own user name and password
This process is called ‘authentication’

DRAFT v0.3 English, 01 Mar 2012
- 8 -
FAQs: … What’s
meant by
:
ubnet Mask
DN server
Default
Gateway
A network infrastructure in any
organization will usually be split
up into ‘subnets’ that connect
associated groups of users In this
case the full IP address can be
seen as having two parts - a prefix
that identifies the subnet and the
remainder that identifies a device
in the subnet The subnet mask
shows how much of the IP address
is formed by the prefix and how
much by the rest A typical subnet
mask might look like
‘255 255 127 000’
W
e usually refer to websites by
their web-address or ‘URL’, for
example www francotyp com In
fact though these are just labels
and actually computers just use IP
addresses The Domain Name
System refers to a special type of
computer server that translates
web addresses into IP addresses
Hence a DNS server would return
80 67 28 145 when asked for the
address of www francotyp com
Where
an organization’s network
is split into a number of subnets,
then the ‘gateway’ is the device
that allows the traffic to flow out
of the subnet and into the
organization’s wider network
infrastructure - including other
subnets and to the Internet (in this
case, often through a proxy
server) This default gateway will
also have
an IP address
6Manual Configuration of an thernet Connection
Larger organizations may want to have expli it ontrol over the IP addresses of the devi es
onne ted to their networks. Here, IP addresses will be individually allo ated to ea h devi e by the
network administrator and must remain fixed. In this ase you will have to enter the allo ated IP
address manually into your PostBase meter.
Firstly you will have to onta t your network administrators to ask them for an IP address. The
information they may need is summarized in se tion 10 - there is also a table to re ord the details.
1) Enter the meter’s IP Address
Use the numeri keypad to enter the number, as four
groups of up to 3 digits. Don’t forget the separating
points!
2) Enter the meter’s Subnet Mask
Similarly to the IP address, enter the subnet mask. You
an get this from your network administrator, or
follow the instru tions given in se tion 7.
DRAFT v0.3 English, 01 Mar 2012
- 9 -
3) Enter the Default Gateway address
Enter this in the same way as the IP address in step
(1).
4) Enter the DNS server address
Again, use the same method as in step (1).
Finally, before saving the information, a summary will
be shown of all the entries, in luding the manual IP
address and the proxy server.
Che k these through before tou hing on ‘S
AVE
’.
In the ase of manual onfiguration, the PostBase
meter must restart before the settings will be ome
a tive. This happens automati ally.
On rebooting the onfigured onne tion will be
tested. If there is a problem, the wizard will return.
If all goes well, PostBase will now continue with the remainder of its configuration…
The next pages of the wizard let you
set up details of your organization’s
proxy server. This is des ribed in se tion 5.

DRAFT v0.3 English, 01 Mar 2012
- 10 -
7Gathering information about your network
You may be able to get the some of the network information you need from an existing omputer
atta hed to your network (using a physi al, Ethernet onne tion). The instru tions in the following
se tions show how to get this information from a omputer running Mi rosoft Windows XP, Vista or
Windows7.
There are two parts to this:
•Finding the basic network settings, in luding whether DHCP is enabled, and the Subnet
Mask, Standard Gateway, and DNS Server details.
•Finding the pro y server settings (IP address and port).
7.1 Windows Vista, Windows7
In Windows7 or Windows Vista, follow the steps below.
7.1.1 Basic Network Settings
1. From the task bar, open the Control Panel
2. In the Control Panel, li k on “View network status and tasks” link (lo ated below the
“Network and Internet” heading).
3. This opens the “Network and sharing enter” dialog. Here, li k on “Lo al Area Conne tion”,
whi h will open the “Lo al Area Conne tion status” dialog
4. In the “Lo al Area Conne tion status” dialog, li k on “Details…”
5. The “Network Conne tion Details” dialog box will be displayed. This gives the information
you need, as des ribed below.

DRAFT v0.3 English, 01 Mar 2012
- 11 -
In the Network Conne tion Details dialog, the following information is available.
1. If DCHP Enabled is shown as “Yes”, then the network supports DHCP, and the automati
pro edure for allo ating an IP address in se tion 4.1 an be used.
2. Here, the Subnet mask is shown. This is needed when you are onfiguring the IP address
manually in se tion 6 - it must be entered during step (2) “Enter the meter’s Subnet Mask”.
3. Here, the Default Gateway is shown. This is needed when you are onfiguring the IP address
manually in se tion 6. It must be entered during step (3) “Enter the Default Gateway
address”. Note: Make sure you note the “IPv4 Default Gateway”.
4. Here, the DNS Server is shown. This is needed when you are onfiguring the IP address
manually in se tion 6. It is the value that must be entered during step (4) “Enter the DNS
server address”. Note: Make sure you note the “IPv4 DNS Server”.
7.1.2 Proxy Server Settings
1. From the task bar, open the Control Panel
2. In the Control Panel, li k on “Network and Internet” link.
3. Then li k on the “Internet Options” link to open the pop-up dialog “Internet Options”.

DRAFT v0.3 English, 01 Mar 2012
- 12 -
4. Cli k on the “Conne tions” tab, and then on the button “LAN settings” in this tab.
5. This will open up the dialog box “Lo al Area Network Settings”. Here the lower se tion alled
“Proxy Server” ontains the IP Address and Port Number for the proxy server, as shown in
the diagram.
In the example, the proxy server has an IP Address of ‘192.168.2.2’ and a Port Number of
‘8080’.

DRAFT v0.3 English, 01 Mar 2012
- 13 -
7.2 Windows XP
7.2.1 Basic Network Settings
1. From the “Start” button, hoose the “Run…” option.
2. The Run dialog box will open. Here, type “ md”, whi h will open a ommand line window in
whi h you an type ommands.
3. Type the following ommand after the prompt:
ipconfig /all
4. The output if the program will be shown in the ommand line window. This gives the
information you need, as des ribed below.
The following information is an be determined from the program output.
1. If DCHP Enabled is shown as “Yes”, then the network supports DHCP, and the automati
pro edure for allo ating an IP address in se tion 4.1 an be used.
2. Here, the Subnet mask is shown. This is needed when you are onfiguring the IP address
manually in se tion 6 - it must be entered during step (2) “Enter the meter’s Subnet Mask”.
3. Here, the Default Gateway is shown. This is needed when you are onfiguring the IP address
manually in se tion 6. It must be entered during step (3) “Enter the Default Gateway
address”. Note: Make sure you note the “IPv4 Default Gateway”.
4. Here, the DNS Server is shown. This is needed when you are onfiguring the IP address
manually in se tion 6. It is the value that must be entered during step (4) “Enter the DNS
server address”. Note: Make sure you note the “IPv4 DNS Server”.

DRAFT v0.3 English, 01 Mar 2012
- 14 -
7.2.2 Proxy Server Settings
1. From the task bar, open the Control Panel
2. In the Control Panel, li k on “Network and Internet Conne tions” link.
3. Then li k on the “Internet Options” link to open the pop-up dialog “Internet Options”.
4. Cli k on the “Conne tions” tab, and then on the button “LAN settings…” in this tab.
5. This will open up the dialog box “Lo al Area Network (LAN) Settings”. Here the lower se tion
alled “Proxy Server” ontains the IP Address and Port Number for the proxy server, as
shown in the diagram.
6. In the example, the proxy server has an IP Address of ‘192.168.2.2’ and a Port Number of
‘8080’.

DRAFT v0.3 English, 01 Mar 2012
- 15 -
8Setting up Modem Connections
If you do not have a ess to an Ethernet onne tion, then PostBase an be onfigured to use a
modem onne tion. In this ase the PostBase USB modem must be used. Conne t the modem to the
USB interfa e and telephone onne tion before pro eeding. Then in the first step (see se tion 3
“First Steps: Type of onne tion, Ethernet or modem?”), sele t modem.
8.1 Direct Line
Next you will be asked to onfirm the type of telephone
line: Dire t Line or Extension.
If you hose Dire t Line, then that is all the information
that is needed. You will be shown the onfirmation
s reen (as below) and PostBase will attempt to make a
onne tion.
8.2 Extension lines: Hook Flash or Exchange Digit
If you have hosen an extension line above, then you
will next need to onfigure the way in whi h the
modem obtains an outside line. There are two ways:
either where the modem uses an ele tri al signal
(‘hook flash’) or where the modem dials a spe ial
‘ex hange digit’ (e.g. a ‘9’).
If the method is hook flash, then you will have entered
all that is needed and will be shown the onfirmation
s reen (here). The meter will then attempt to make a
onne tion.
Nebenstelle
Hauptstelle
Anschlussart Zurück
Weiter
Verbindungseinstellungen
Verbindungsart USB-Modem
Wählverfahren (fest) Tonwahl
Anschlussart Hauptstelle
ZurückSpeichern
Kennziffer
Hook Flash
Amtsholung Zurück
Weiter
Verbindungseinstellungen
Verbindungsart USB-Modem
Wählverfahren (fest) Tonwahl
Anschlussart Nebenstelle
Amtsholung Hook Flash
ZurückSpeichern

DRAFT v0.3 English, 01 Mar 2012
- 16 -
8.3 Extension Lines: etting the dialed code
In systems where an ex hange digit is used to get an extension line, the dialed digit(s) must be
entered. This may be a simple digit, for example, ‘9’ or a more ompli ated ode.
Enter the ode using the numeri keypad. Sometimes
there must a pause or wait period after the ode has
been entered to allow the telephone system to re eive
the dialing tone from the outside line. You an enter
su h a pause use the ‘P/W’ key.
If you make a mistake, use the CE (bottom right key) to
su essively orre t the last entries.
That is all the information that is needed. You will be
shown the onfirmation s reen (here) and PostBase
will attempt to make a onne tion.
8.4 Final steps
After you tou h ‘Save’ the meter will test the
onne tion.
If it can’t connect, the wizard will return to its starting
point. In this case, you should first check the
connections, then the settings you have entered.
If all goes well, PostBase will now continue with the remainder of its configuration…
Note that you will next be asked to onfirm the
ountry in whi h the meter is lo ated - this is needed
so that the orre t telephone number an be used.
2
0p
W = Warten
P = 2 s Pause
Kennziffer eingeben
1 3
54 6
87 9
0CE
P/W Weiter
Zurück
Verbindungseinstellungen
Verbindungsart USB-Modem
Wählverfahren (fest) Tonwahl
Anschlussart Nebenstelle
Amtsholung mit Kennziffer
Zurück
Kennziffer 0p
Speichern
IP-Einstellungen werden automatisch bezogen.
Dieser Vorgang kann einige Minuten dauern.
18

DRAFT v0.3 English, 01 Mar 2012
- 17 -
9Referenced Terms and FAQ
DHCP
Dynamic ost Configuration Protocol (D CP) allows the automatic allocation of an ‘IP address’ for the
device within your network by your router or network server. Using D CP makes the configuration
process much simpler.
IP address
Every computer or device that communicates over the Internet must have an IP (Internet Protocol)
address. This also applies to most of today’s large networks within companies. Common IP addresses
are written as 4 groups of 3 digits, separated by full stops e.g. 123.987.567.543.
Proxy erver
Proxy servers are used in most larger organizations as a bridge between their internal networks and
the Internet. It can protect the computers in the internal network against attack from the wider
Internet.
ubnet Mask
A network infrastructure in any organization will usually be split up into ‘subnets’ that connect
associated groups of users. In this case the full IP address can be seen as having two parts - a prefix
that identifies the subnet and the remainder that identifies a device in the subnet. The subnet mask
shows how much of the IP address is formed by the prefix and how much by the rest. A typical subnet
mask might look like ‘255.255.127.000’.
Default Gateway
Where an organization’s network is split into a number of subnets, then the ‘gateway’ is the device
that allows the traffic to flow out of the subnet and into the organization’s wider network
infrastructure - including other subnets and to the Internet (in this case, often through a proxy server).
This default gateway will also have an IP address.
DN server
We usually refer to websites by their web-address or ‘URL’, for example www.francotyp.com. In fact
though these are just labels and actually computers just use IP addresses. The Domain Name System
refers to a special type of computer server that translates web addresses into IP addresses. ence a
DNS server would return 80.67.28.145 when asked for the address of www.francotyp.com.
Proxy Authentication
Often a proxy server needs to know who is talking to it - to confirm that it is a known user of the
organization’s network who is authorized to have access to the Internet. Any device will then have to
log-on to the proxy server with its own user name and password. This process is called
‘authentication’.

DRAFT v0.3 English, 01 Mar 2012
- 18 -
10 Reference Information for Network Administrators
The following se tion summarizes the information that a system administrator may need about the
Fran otyp-Postalia PostBase meter.
The PostBase meter requires (preferably) an Ethernet onne tion, with a minimum of 10 Mbit/se , in
order to able to download postal funds from a Fran otyp-Postalia server. Ethernet ables of lass
CAT5E are re ommended. For this it normally uses TCP/IP (v4 only) through an https onne tion
using TLS v1.2 over port 443. In ertain ases it may also use an http onne tion over port 80. These
two ports must therefore be enabled in any firewall. It will attempt to make a onne tion to
*.fran otyp. om (* will vary from ountry to ountry).
The meter may be onfigured to use DHCP (default) or, alternatively, it may be onfigured to use a
fixed IP address, in whi h ase the IP address of the meter, subnet mask, gateway and DNS server
information must be manually entered.
A proxy server may also be onfigured, in whi h ase the IP address and port of the proxy will be
needed. Proxy servers without authenti ation are supported, however the meter an also use ‘basi ’
or ‘digest’ authenti ation methods (using a user name and password; the digest uses an MD5
he ksum). NTLM is not supported as an authenti ation method.
The meter may also use a modem onne tion over a telephone line, however this me hanism is no
longer re ommended. In this ase an 56,000 baud modem line is required.
10.1 ummary of Configured Connection
Use this form to re ord the settings you have used for your referen e.
10.1.1 DHCP
DHCP
ENAB
LED / DISABLED
10.1.2 Fixed IP Address (if DHCP not enabled)
Meter’s IP Address
_____ . _____ . _____ . _____
Subnet Mask
_____ . _____ . _____ . _____
IP Address of
Standard Gateway
_____ . _____ . _____ . _____
IP Address of
DNS Server
_____ . _____ . _____ . _____
10.1.3 Proxy Server
Proxy Server used
YES / NO
Proxy Server IP Address
_____ . _____ . _____ . _____
Port Number
__________
User Name
Other manuals for PostBase
8
Table of contents
Other FP Digital Mailing System manuals