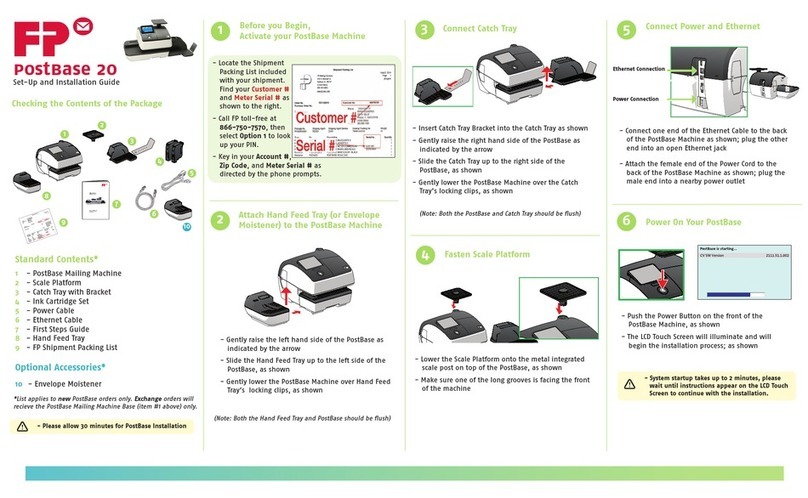
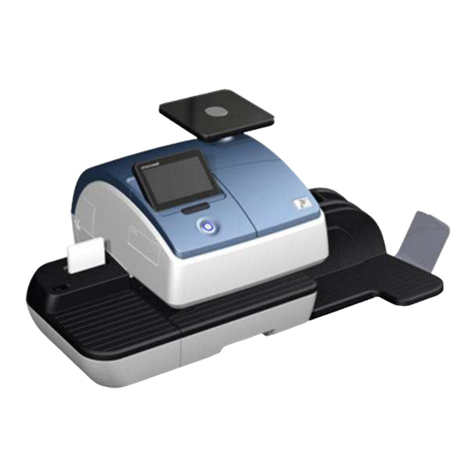
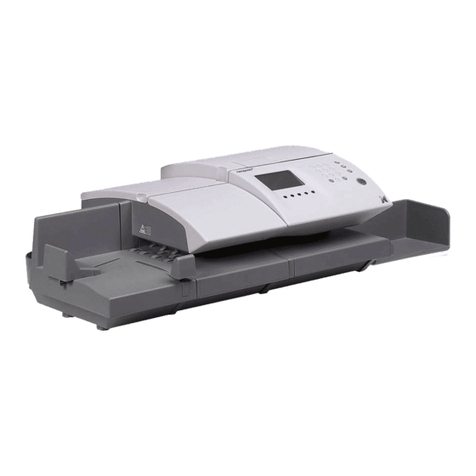
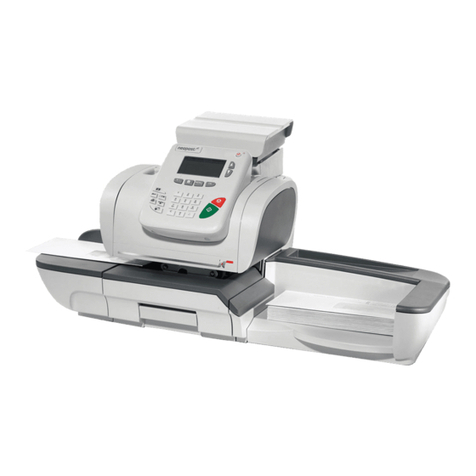
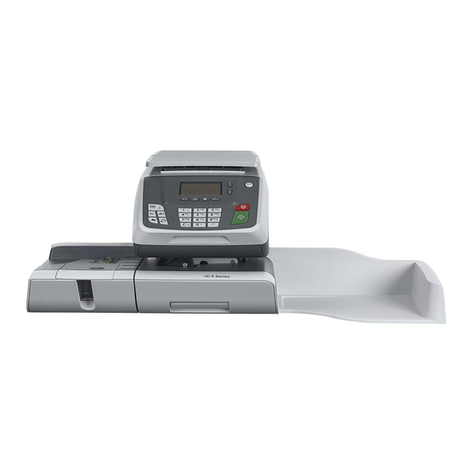
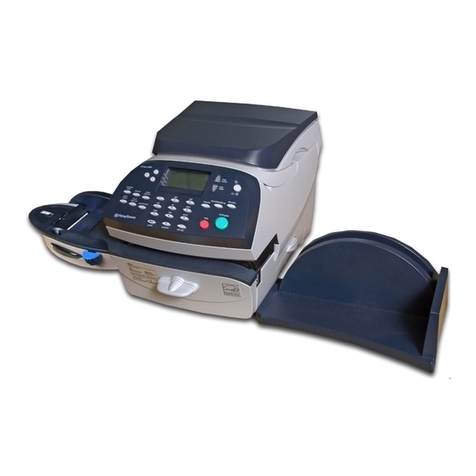
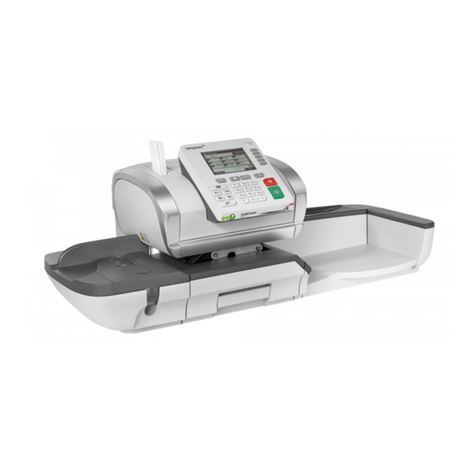
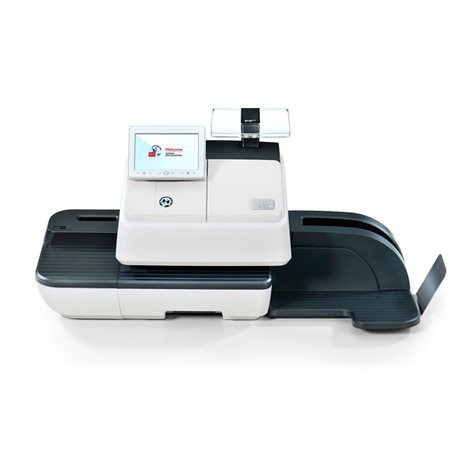
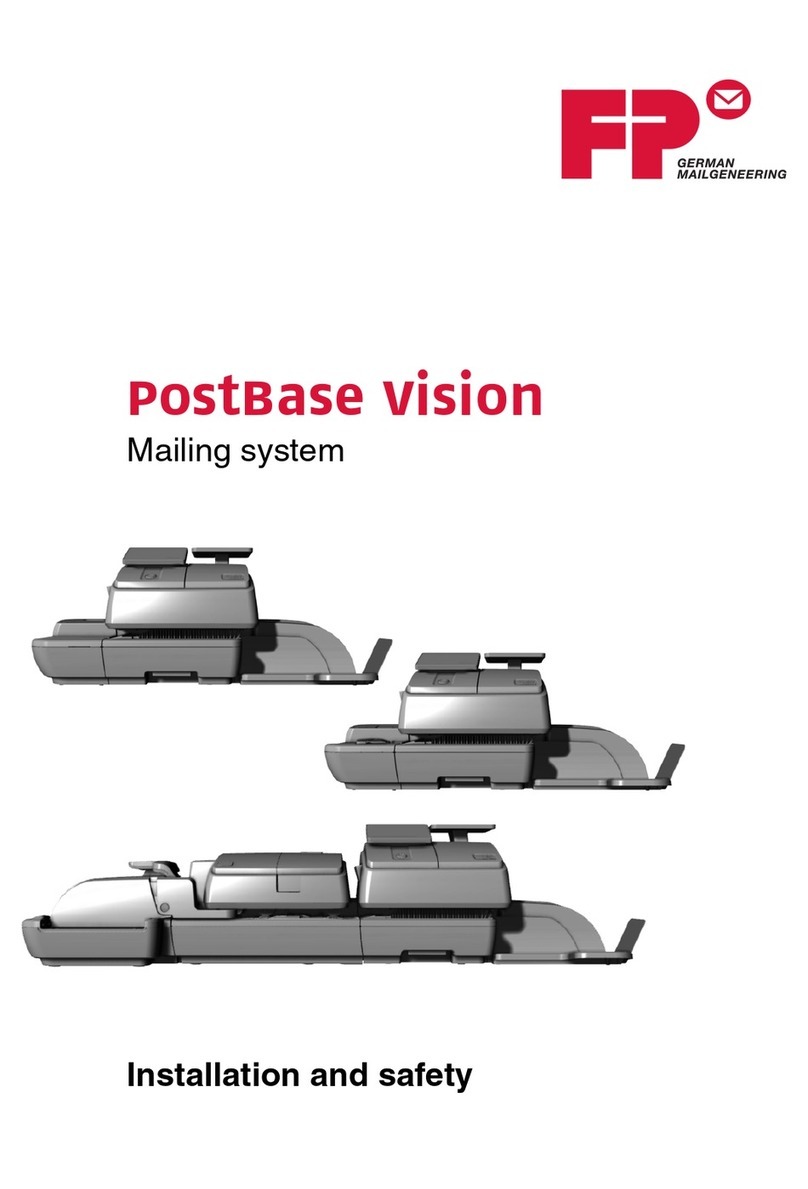
FP PostBase Vision User manual

Mailing system
Reference Guide
postbase vision

PostBase Vision
2
About this Reference Guide
Target audience This Reference Guide is intended for operators and administra-
tors of the PostBase Vision mailing system.
Contents This Reference Guide describes the installation and commis-
sioning, the proper use as well as cleaning and maintenance of
the PostBase Vision mailing system. Functions that are only
available for particular system configurations are marked by an
additional note, e.g. (optional).
Further documents The Installation and safety manual is an excerpt from this Ref-
erence Guide. It contains information for your safety and
describes how to set up and commission the PostBase Vision
mailing system.
The Quick Reference Guide (leaflet) provides an overview of
the most important functions for everyday use.
In this Reference Guide, the product name appears in its plain
form “PostBase Vision”.
The following keywords and signs identify the safety instructions
and additional information in this manual:
Warning! indicates a potentially hazardous situation which
could result in death or serious injury if disregarded.
Caution! indicates a potentially hazardous situation which
could result in minor or moderate injury if disregarded.
Caution! indicates an increased risk or a risky situation which
could result in damage to property if disregarded.
A tip offers advice or additional suggestions for improving the
operation.
Illustrations The display illustrations in this manual are examples that may
differ from the actual display on your PostBase Vision.
The explanation of the safety signs and product safety labels on
the PostBase Vision mailing system can be found on page 173.

Contents 3
About this Reference Guide _____________________________________2
1 For your safety ________________________________________________8
2 PostBase Vision mailing system – Short profile ____________________10
2.1 Things worth knowing about the PostBase Vision ______________10
2.2 PostBase Vision postage meter ____________________________13
2.3 PostBase Vision Feeder (optional) ___________________________15
3 Installation and commissioning _________________________________17
Step 1: Unpacking and checking the contents of the package _________17
Step 2: Assembling the PostBase Vision _________________________20
Step 3: Assembling the sealer (optional) ___________________________22
Step 4: Connecting the PostBase Vision _________________________23
Step 5: Turning on the PostBase Vision __________________________25
Step 6: Installing the PostBase Vision ___________________________25
Step 7: Installing the PostBase Vision Feeder (optional) _______________31
4 The basics of operation ________________________________________37
4.1 Turning the PostBase Vision on / off ________________________37
4.2 Standby (Sleep mode) ___________________________________38
4.3 Screen elements and operation philosophy ___________________39
4.3.1 The touch screen _______________________________________39
4.3.2 The Home screen ______________________________________42
4.3.3 The menu bar __________________________________________43
4.3.4 The menu _____________________________________________43
4.3.5 Selection lists __________________________________________44
4.3.6 Setting menus _________________________________________44
4.3.7 On-screen keyboard ____________________________________45
4.3.8 Pop-up windows ________________________________________46
4.3.9 Procedures / wizards ____________________________________46
4.4 Setting the display angle _________________________________47
4.5 Setting the display brightness _____________________________47
4.6 Setting the volume ______________________________________48
4.7 Inserting labels _________________________________________49
4.8 Setting up the catch tray _________________________________50
4.9 Using the Drop Stacker (optional) ____________________________50

PostBase Vision
4
5 Setting the meter imprint _______________________________________ 51
5.1 Postage / USPS product _________________________________ 52
5.1.1 Setting the product using a shortcut ________________________ 52
5.1.2 Setting mailing data _____________________________________ 53
5.1.3 Setting the weight ______________________________________ 54
5.1.3.1 Weighing a mail piece ___________________________________ 54
5.1.3.2 Entering the weight manually _____________________________ 55
5.1.3.3 Differential weighing (optional) ______________________________ 56
5.2 Date _________________________________________________ 58
5.3 Advertising imprints _____________________________________ 59
5.4 Imprint offset __________________________________________ 60
5.5 Test print – testing the meter imprint settings _________________ 61
6 Metering ____________________________________________________ 63
6.1 Logging on / switching users ______________________________ 63
6.2 Setting up / changing cost accounts ________________________ 64
6.3 Feeding letters and metering ______________________________ 65
6.3.1 Hand feed tray _________________________________________ 65
6.3.2 Sealer (optional) _________________________________________ 66
6.3.3 Feeder (optional) ________________________________________ 69
6.3.3.1 Preparing letter stacks and setting up feeder _________________ 69
6.3.3.2 Switch the sealing function on / off _________________________ 70
6.3.3.3 Setting the letter thickness _______________________________ 71
6.3.3.4 Feeding letters in stack and metering _______________________ 72
6.3.3.5 Working with the batch counter ____________________________ 74
6.4 Metering labels ________________________________________ 76
6.5 Correcting faulty meter imprints ___________________________ 78
6.5.1 Postage correction _____________________________________ 78
6.5.2 Redate _______________________________________________ 79
6.6 Displaying and resetting the item counter ____________________ 80
7 Displaying and printing registers ________________________________ 81
8 Download postage ____________________________________________ 82
9 Special functions _____________________________________________ 83
9.1 Print Advert Only _______________________________________ 83
9.2 Print Numbers _________________________________________ 84
9.3 Feed Only / Count mail pieces (PostBase Vision with feeder) __________ 86
9.4 Seal Only (PostBase Vision with feeder) __________________________ 87
9.5 Stamping incoming mail (optional) ___________________________ 88
Contents 5
10 Manage shortcuts _____________________________________________90
10.1 Saving a product as a shortcut ____________________________90
10.2 Renaming a shortcut ____________________________________91
10.3 Deleting a shortcut ______________________________________92
10.4 Resetting shortcuts to default _____________________________92
11 Managing printed text and QR codes _____________________________93
11.1 Entering a new text _____________________________________93
11.2 Generating a newQR code _______________________________94
11.3 Changing a text /QR code ________________________________95
11.4 Deleting a text /QR code _________________________________96
12 Local cost account administration _______________________________97
12.1 Display / print cost account report __________________________97
12.2 Display / print usage data for a defined cost account ___________98
12.3 Deleting usage data _____________________________________99
12.4 Matching cost accounts to advertising imprints _______________100
13 Synchronizing _______________________________________________102
14 Advanced settings & system information ________________________104
14.1 System information ____________________________________104
14.2 Contact Information ____________________________________104
14.3 Access control / Administrator PIN ________________________105
14.4 Low postage warning ___________________________________106
14.5 Sound signals ________________________________________107
14.6 Color of the menu bar __________________________________108
14.7 User interface language _________________________________108
14.8 Standby time _________________________________________109
14.9 Product after standby ___________________________________109
14.10 Auto Off _____________________________________________110
14.11 Automatic date advance ________________________________110
14.12 Switching weighing mode (optional) _________________________113
14.13 Ethernet / Wi-Fi connection (Connectivity settings) ____________114
14.13.1 Displaying connectivity settings ___________________________114
14.13.2 Setting up a new network connection / changing settings _______114
14.13.3 Deleting the Wi-Fi connection ____________________________118
14.14 Change ZIP / Re-authorization ___________________________118

PostBase Vision
6
15 Ordering consumables _______________________________________ 119
15.1 Placing an order ______________________________________ 119
15.2 Displaying order status _________________________________ 120
15.3 Displaying address data ________________________________ 120
16 Maintenance and care ________________________________________ 121
16.1 Cleaning the housing ___________________________________ 121
16.2 Cleaning the sensors ___________________________________ 122
16.3 Cleaning the print system _______________________________ 125
16.3.1 Starting automatic print system cleaning ____________________ 125
16.3.2 Cleaning ink cartridge by hand ___________________________ 126
16.4 Test Imprint – Check print quality _________________________ 128
16.5 Print system: show ink level _____________________________ 129
16.6 Changing the ink cartridge ______________________________ 130
16.7 Replacing the transport brush ____________________________ 134
16.8 Calibrating the touch screen _____________________________ 136
16.9 PostBase Vision Feeder (optional) __________________________ 137
16.9.1 Filling with sealing liquid ________________________________ 137
16.9.2 Adjust moistening level _________________________________ 140
16.9.3 Cleaning / changing the moistening sponge _________________ 141
16.9.4 Cleaning / changing the moistening brush __________________ 145
16.10 Sealer (optional) ________________________________________ 147
16.10.1 Cleaning ____________________________________________ 147
16.10.2 Checking the liquid level and filling with sealing liquid _________ 148
16.10.3 Replacing felts ________________________________________ 149
17 Tips for troubleshooting ______________________________________ 152
17.1 Error messages _______________________________________ 152
17.2 Possible causes and remedy ____________________________ 152
17.3 Remedying a letter jam _________________________________ 163
17.4 Inserting the letter guide at the ramp (PostBase Vision Feeder) ______ 165
17.5 Correcting the moistening felt position on the rocker (Sealer) _____ 166
17.6 Removing / inserting the security device ____________________ 167
17.7 Manually moving the ink cartridge to the exchange position _____ 169
18 Decommissioning and disposing of the mailing system ____________ 172

Contents 7
Appendix
Graphical symbols, safety signs and product safety labels on the
PostBase Vision mailing system __________________________________173
Glossary ____________________________________________________175
Technical Data _______________________________________________177
Product variants and equipment __________________________________181
Supplies ____________________________________________________182
The Security Device (PSD) ______________________________________182
License _____________________________________________________183
Security Declaration for data usage _______________________________185
United States Patents __________________________________________185
FCC Compliance Statement _____________________________________186
Index _______________________________________________________187
Service _____________________________________________________195

PostBase Vision
8
1 For your safety
The PostBase Vision complies with the relevant safety regulations for information
technology equipment in office environments.
Before installing, commissioning and using the PostBase Vision mailing system,
please read this safety information carefully.
For your own safety, please observe the following instructions:
Proper use
• PostBase Vision is a digital mailing system with ink-jet print technology for
metering mail.
• The PostBase Vision mailing system is intended only for use in enclosed offices or
office-like environments. Observe the operating conditions specified in the “Tech-
nical Data” section.
• The PostBase Vision mailing system is intended exclusively for processing mail
pieces in accordance with the specifications described in the “Technical Data” section.
Prevention of electrical hazards
• Operate the PostBase Vision mailing system only on a grounded single-phase
power socket. Make sure that the power connection conforms to the power require-
ments indicated on the type plates.
• Make sure the sockets for connecting the PostBase Vision mailing system are
close by and easily accessible at all times.
• Unplug the PostBase Vision mailing system power plugs from the sockets in case
of an emergency.
• Take care to ensure that no foreign objects penetrate the PostBase Vision mailing
system interior.
• Be extremely careful when handling liquids.
• When refilling the sealing liquid, make sure that no live parts become wet.
• Unplug all power plugs of the PostBase Vision mailing system prior to cleaning the
mailing system.
Prevention of mechanical hazards
• Keep long hair, fingers, loose clothing pieces, neck ties, scarves, jewelry and the
like away from moving machine parts.
• Do not remove any parts of the housing.
• Do not remove any equipment related to safety or protection. Do not make them
inoperative or unable to function.

For your safety 9
Accessories and consumables
• We recommend to use only approved FP equipment and FP original parts.
The manufacturer FP has established reliability, safety and applicability. The man-
ufacturer cannot assess the reliability, safety and applicability for products not
approved by FP, and therefore not vouch for such products. Full functionality of the
PostBase Vision mailing system is only guaranteed at the time of delivery if original
Francotyp-Postalia ink cartridges are used.
• Use the supplied power and connection cables or cables that have been approved
by Francotyp-Postalia. Make sure that the cables are not damaged.
• When handling ink cartridges, observe the hazardous substance labeling and the
product information enclosed with each package.
Avoid eye contact with the ink. Ingestion of the ink can be harmful to health. Keep
the ink cartridges away from children. Detailed information can be found on the
safety data sheet, available at sdb.francotyp.com.
General safety instructions
• Install and commission the PostBase Vision mailing system as described in the
“Installation and commissioning” section.
• Never transport the PostBase Vision mailing system by attachments such as weigh-
ing platform, label compartment, display or drawer. The best way to transport the indi-
vidual components is to hold them on the side at the bottom in the recesses on the
housing.
• If the mailing system was previously in a cold environment (i.e. below 50 °F /
10 °C): Unpack the mailing system and wait at least two hours before connecting
and commissioning the PostBase Vision mailing system. The PostBase Vision
needs this time to adapt to the environmental conditions. Any condensed moisture
will escape.
• The “PostBase Vision Feeder” is designed for operation on the PostBase Vision
postage meter. It is not permissible to operate the Feeder without the
PostBase Vision postage meter.
• Only have maintenance and repair work carried out by qualified personnel
approved by Francotyp-Postalia. Otherwise any warranty claims may become void.
• Note: When a letter is fed, letter transport will start automatically after a short delay.
Do not be startled.

PostBase Vision
10
2 PostBase Vision mailing system – Short profile
2.1 Things worth knowing about the PostBase Vision
PostBase Vision, the new mailing system from the PostBase
series for small to medium-sized mail volumes. It is charac-
terized by its intuitive operation via the 5-inch large swivel-
ing color touch display. The new inkjet print system with
only one ink cartridge ensures clean, offset-free prints.
Modular design The modular design allows the mailing system to be flexibly
adapted to the structure and quantity of your outgoing mail.
The basic model consists of the PostBase Vision postage
meter with scale, hand feed tray and catch tray.
This basic model can easily be expanded with optional com-
ponents, e.g. for automatic feeding of shipments from the
stack.
The PostBase Vision mailing system is available in various
versions with cycle speeds ranging from 35 letters per
minute to 85 letters per minute.
Intuitive operation After turning on at the touch of a button, the clearly arranged
operator guidance in the touch screen always takes you
quickly and safely to the desired destination.
PostBase Vision also shows what to do on the display for
tasks that are not everyday occurrences, such as changing
the ink cartridge. Thanks to this operating concept, even
inexperienced and occasional users can quickly get to grips
with the PostBase Vision mailing system.
Metering To meter, simply place the letter on it – the PostBase Vision
will seize the letter and meter it, after which it is exited to the
right side ready for dispatch.
Metering is possible on mail pieces made of ink-absorbing
material – postcards to 0.4" (10 mm) thick letters in ISO B4
format – and special self-adhesive labels.
Letters as
advertising medium
In addition to printing postage, you can print two custom
advertisements of your choice on every mail piece you
send. These can be graphic advertising motifs, text mes-
sages or information displayed as QR code (optional).

PostBase Vision mailing system – Short profile 11
Load postage Easily load postage for metering from the data center direct-
ly into your mailing system. If desired, PostBase Vision will
also ensure that you have sufficient credit and will prompt
you to visit the postage shop if necessary.
Remote services:
Flexible and up to date
The PostBase Vision ensures you are always using the cur-
rent postage rates. Whether new postage rates, advertising
motifs or machine software – all updates are loaded directly
into your mailing system via synchronization.
Access control The PostBase Vision mailing system can be protected
against unauthorized use via a PIN.
www.discoverFP.com The discoverFP customer portal is available to all users of
the PostBase Vision mailing system.
Your password-protected access will provide you with all
the important information about your mailing system, for
example, the complete overview of your data (orders, con-
tracts, invoices, …), information on available updates, the
accessories shop and consumables and much more.
The discoverFP customer portal is also the place where you
can conveniently manage cost accounts, user profiles and
advertising motifs from your laptop / PC. A number of con-
venient reporting functions are available on the customer
portal for evaluating the consumption data of your mailing
system.
Additional functions The PostBase Vision mailing system offers a range of con-
venient additional functions. Among these are:
– The space saving, integrated scale quickly and reliably
determines the weight for letters and parcels. The deter-
mined weight directly affects the product settings.
–Shortcut function for frequently used postal products.
–Cost account function for recording and evaluating
postage costs by cost account.
–Label printing.The PostBase Vision can print self-
adhesive labels, for large or thick mail pieces or for
envelopes that are not suited for ink-jet printing.
–Print lists of register states and loading report.
– Variable imprint offset for changing the meter imprint
position on the envelope.

PostBase Vision
12
Options The following options are available for expanding the basic
model and enhancing its functionality:
–PostBase Vision Feeder (automatic feeder with sealer).
The letters are removed individually from the stack,
optionally moistened and sealed and then transferred to
the postage meter.
–Sealer. Manually pass the open envelope through the
sealer. The moistened flap will be closed in the
PostBase Vision during subsequent metering.
– For larger mail volumes, the Drop Stacker with a capac-
ity of up to 250 letters (format: ISO DL, contents: 1 sheet
ISO A4) is the practical alternative to the catch tray.
The items ejected by PostBase Vision fall into the Drop
Stacker and are carefully stacked there. The finished mail
pieces can be easily removed from there in stacks – even
during operation.
–Differential weighing is a special weighing mode of the
integrated scale that helps you save time when weighing
and metering large amounts of similar mail pieces.
–Received stamp for labeling incoming mail.

PostBase Vision mailing system – Short profile 13
2.2 PostBase Vision postage meter
Label compartment
ON/OFF button
Catch tray
Scale with weighing platform
Drawer
Access flap to print system
Drawer latch lever
Hand feed tray (illustrated here)
Optional: manual sealer
Stylus for touch screen operation
(is inserted on the right of the
display housing)
Touch screen
(motor adjustable)

PostBase Vision
14
Postage meter – rear view
USB port
Power connection
PC connection
(not used)
Ethernet / LAN port
Cover flap, at rear
Revenector security device
Slider for unlocking
the security device
Type plate
(on the bottom side)
CAN BUS
(Feeder connection)
Emergency release
for ink cartridge

PostBase Vision mailing system – Short profile 15
2.3 PostBase Vision Feeder (optional)
Brush for moistening
envelope flaps
(under roller transport)
Flap with viewing pane, below
– Sealant tank
– LED status indicator
Letter guide (adjustable)
Ramp
Seal / non seal switch
Open flap:
Press key
Roller transport
Release key (move
roller transport upward)
Letter receiving tray
(inclination adjustable)
Safety sign
Pendulum
Sensor for
letter detection

PostBase Vision
16
Feeder – rear view
Power connection
Termination plug (plugged in
the factory)
Tray
with sponge
Catches (lugs) for coupling
with the postage meter housing CAN BUS (connection to
postage meter)
Type plate

Installation and commissioning 17
3 Installation and commissioning
This chapter describes how to set up and commission the PostBase Vision mailing
system in the following versions
– with hand feed tray (basic model)
– with manual sealer
– with the “PostBase Vision Feeder”.
Caution! Carry out the steps for commissioning the PostBase Vision mailing
system in precisely the given order. Only in this way it is possible to ensure
the successful commissioning of your mailing system.
Step 1: Unpacking and checking the contents of the package
• Unpack all packages.
Keep the packing. Use it again if you need to
transport the mailing system or send it in to
the Customer Support.
• Check that the contents of the packages
are complete and free from any damage.
The scope of delivery is listed on the
following pages.
Warning! Damage or the absence of parts
can lead to injuries and hazards due to
electrical voltage.
Do not start operating the PostBase Vision
mailing system if parts are damaged or miss-
ing. Please contact the Francotyp-Postalia
Customer Support.

PostBase Vision
18
Scope of delivery
PostBase Vision postage meter
(1 box)
Standard configuration:
Sealer
(1 box)
Optional, only if ordered separately
12
3
4
5
6
7
8
910
1PostBase Vision postage meter
2Weighing platform
3Ink cartridge (packaged)
4Hand feed tray
5Power cable
6Ethernet cable
7Catch tray and stop
8Labels
9Installation and safety (brochure)
10 Quick Reference Guide (leaflet)
Extra delivery (by e-mail or post)
❑R-PIN (Repository-PIN)
1
2
1Manual sealer
2Bottle of SEALIT (sealing liquid)

Installation and commissioning 19
Optional, only if ordered separately
PostBase Vision Feeder
(2 boxes)
Drop Stacker
(1 box, not illustrated)
The delivery package of the Drop Stacker is
shown and listed in the installation instruc-
tions which come together with the Drop
Stacker.
1
3
4
5
62
1Feeder (automatic feeder with sealer)
2Power cable
3Bottle of SEALIT (sealing liquid)
4Replacement sponge holder with sponge
5Ramp
6Pendulum

PostBase Vision
20
Step 2: Assembling the PostBase Vision
Installation site The installation site for the PostBase Vision
mailing system must meet the following
requirements:
– Firm, level, low vibration and horizontal
base, which offers sufficient space for the
mailing system in the ordered version.
The dimensions of the individual compo-
nents can be found at page 177.
– Room temperature in the range from 59 °F
to 95 °F / 15 °C to 35 °C.
– No direct sunlight.
– Relative humidity within a range of 15 % to
80 %, non-condensing.
– Power socket in the immediate vicinity.
– Network connection with internet access.
• The PostBase Vision postage meter must
be placed on a suitable surface.
• Remove the protective film from the
display.
Assembling the weighing platform
• Hold the weighing platform as shown in
the illustration and place it onto the scale
receptacle. The long slot in the foot of the
weighing platform must slide in the coun-
terpart on the scale receptacle.
Long slot
Other manuals for PostBase Vision
6
Table of contents
Other FP Digital Mailing System manuals

FP
FP PostBase Vision User manual

FP
FP PostBase Instruction Manual

FP
FP myMail User manual

FP
FP FPi 6600-2 User manual

FP
FP Optimail30 User manual

FP
FP Postbase 20 Operating and safety instructions

FP
FP PostBase Vision User manual

FP
FP Post Base Vision Operator's manual

FP
FP centormail User manual

FP
FP PostBase User manual