manuals.online logo
Brands
  1. Home
  2. •
  3. Brands
  4. •
  5. Frico
  6. •
  7. Heater
  8. •
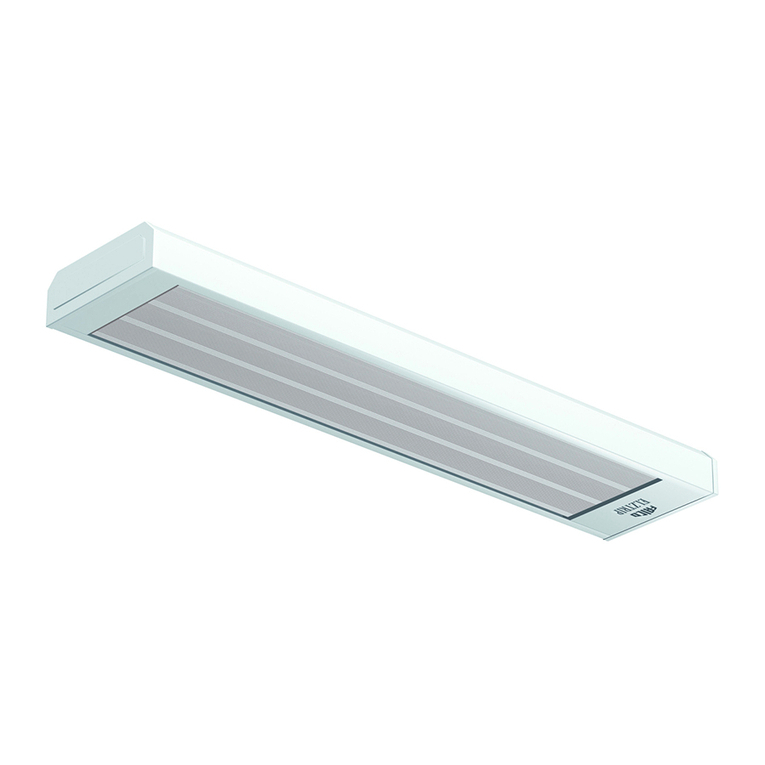
  9. Frico Infrapalm IHPA User manual

Frico Infrapalm IHPA User manual

Infrapalm
IHPA
....11
FR
.... 3
GB .... 6
DE .... 14
NL
Infrapalm IHPA
3
GB
Dear Customer, please read the following
information carefully before using the
appliance for the first time for your own
safety and to ensure correct use.
Safety information
These instructions belong to the appliance
and must be kept in a safe place. If changing
owners, they should be surrendered to the
new owner.
• The appliance should be used only in the
way described in this instruction manual
and may be used outside, even in wet
conditions.
• The appliance is not intended for use in
animal farming and rearing.
• Do not use the appliance in flammable and
combustible atmospheres.
• Connect the appliance only to an
alternating current. Voltage as specified on
the rating plate.
• The appliance should be connected to
the mains by a qualified electrician and
according to current and local electrical
regulations.
• The manufacturer has provided an
appropriate supply cable with this
appliance.
• When installing, ensure it is suitably
connected to a power point that can be
disconnected on all poles.
• The supply cable should be laid out in
such a way to prevent it being damaged or
tripped over.
• In case the cable is damaged during
operation the unit should be disconnected
from the power and a qualified electrician
called to make the necessary repairs.
• The guarantee and any liability of the
producer will be invalid in case of damage
caused by improper use, improper
assembly or lack of compliance with safety
regulations.
• If the appliance is installed in an area
where there is a risk of high winds, public
events, children playing etc., the base of the
appliance must be anchored to the ground
with screws or bolts - ø 8x120.
• After initially switching on the appliance or
following periods of non use, there may be a
burning smell.
• Never touch the heater elements during
operation or for at least 20 minutes after
switching off.
Cleaning
Disconnect the equipment from the power
supply system before cleaning any part of this
apparatus.
• Do not use abrasive or caustic cleaning
agents.
• Clean with soft, moistened lint.
• Do not touch the heater lamps with bare
fingers since the deposited grease can cause
premature failure.
• If it happens, clean the quartz with a soft
cloth moistened with alcohol. Do not use
denatured or spirit salicylic.
After sales service
All repairs must be carried out by a person
having adequate knowledge and qualifications.
Any repairs carried out by unqualified
personnel may cause loss of warranty.
Unpacking the heater
Before unpacking please check that the
packaging has not been damaged during
transport. If so, check for any visible damage
and inform your supplier. After assembly, the
packaging should be removed according to
local regulations.
Note
Non-professional installation or repairs
constitutes danger for the users!
ASSEMBLY AND OPERATING INSTRUCTIONS
Infrapalm IHPA
4
GB
Assembly of the heater
Infrapalm IHPA
5
GB
A: The cast-iron base
Lay the cast-iron base on a horizontal plane.
Screw the six leveling bolts (1) into the holes
in the base with the use of a hexagon socket
wrench. If the base is to be fixed to the
ground after assembly, use only three leveling
bolts interspersed with fixing bolts.
B: Attaching the steel tubes to the base
Screw steel tube (2) into the base and tighten.
(A steel bar is provided for this purpose.)
Slide the right-angled steel cable anchorage
(3) onto the steel tube ensuring the angle is
facing upwards. Do not add the plastic cable
gland (PG 13,5) at this stage. Screw on the
other two poles (4) and (5) and tighten.
C: Fitting the supply cable* Three phase**
Feed the supply cable (6) from the top to
the base until it exits by a few centimeters.
Dismantle the plastic cable gland and add
the inner nut to the supply cable and then
feed the cable through the hole of the steel
anchorage (3). Pull through until 50cm of
supply cable remains at the top.
Feed on the rubber seal to the cable, followed
by the main part of the cable gland and
locking nut. Assemble and tighten.
* On some versions, the feed cable and
junction box may already be connected. This
is for guidance only and should be dismantled
before attempting to install the cable.
** If monophase is required, consult with
your electrician.
D: Aluminum outer casing and heater and
cable casing
Fit the 900mm casing (7) with the earth cable
(8) attached to the base. Follow with ring (9),
700mm casing (10), ring (11), 525mm casing
(12), ring (13). Screw on flange (14) with
supplied key until the outer casing is locked
tightly into place. Add the heater support
frame (15) and screw it down tightly with one
of the two brass nuts (16).
Slide on the flange (17) followed by the
second brass nut (18), BUT DO NOT
TIGHTEN.
E: Heater and junction box installation
Carefully attach each heater (21) to the frame
with the supplied nuts and bolts, ensuring the
end of each heater arm is engaged under the
loose flange (17). The brass nut can now be
gradually tightened until the heater angles are
as required. Recommended angle 45°. Feed
the supply cable through the junction box
pole (19-20). Screw on ensuring the cable
does not twist.
F: Electrical connections
This work should be completed by a qualified
electrician. Ensure there is no connection
to the electricity supply at this stage. Firstly
connect the supply cable to the junction box
(Fig A) neutral to the brass-colored connector
marked N phases to each steel phase
connector. (8kW models, two phases can be
added to the connector with the strongest
voltage rating.) earth to the central connector
ensuring a circuit to the outer steel frame
of the junction box and finally connecting
to the central steel post. Feed each heater
cable through the steel spring grommets into
the junction box, making the appropriate
connections. Finally check all electrical
connections are tight, replace and screw on
junction box cover. Install the globe cover
(22) and fix in place with washer (23) and
chrome-plated bolt (24).
Now connect to the appropriate electricity
supply.
The recommended three phase cross-section
of cables and power protections (fuse) for the
heater.
RCA heaters
Total power
in kW
Fuse
Time-lag „C”
Cable cross
section in mm2
(length up to 10
m)
4,0 10A 1,5
6,0 10A 1,5
8,0 10A 2,5
20180320 HH
Main office
Frico AB Tel: +46 31 336 86 00
Box 102
SE-433 22 Partille [email protected]
Sweden www.frico.se
For latest updated information and information
about your local contact: www.frico.se

Other Frico Heater manuals

Frico Thermozone ADC A Series User manual

Frico

Frico Thermozone ADC A Series User manual

Frico Thermozone AD 200 W Series User manual

Frico

Frico Thermozone AD 200 W Series User manual

Frico Thermozone ADA Series User manual

Frico

Frico Thermozone ADA Series User manual

Frico PFSE4 User manual

Frico

Frico PFSE4 User manual

Frico IRCF User manual

Frico

Frico IRCF User manual

Frico Elektra V User manual

Frico

Frico Elektra V User manual

Frico PA3500 Series User manual

Frico

Frico PA3500 Series User manual

Frico IRC15 Service manual

Frico

Frico IRC15 Service manual

Frico Thermozone AD 400 W Series User manual

Frico

Frico Thermozone AD 400 W Series User manual

Frico SWS02 User manual

Frico

Frico SWS02 User manual

Frico Infratower IHA30BP User manual

Frico

Frico Infratower IHA30BP User manual

Frico Thermozone AR3500 User manual

Frico

Frico Thermozone AR3500 User manual

Frico SIReBX User manual

Frico

Frico SIReBX User manual

Frico AR3200 User manual

Frico

Frico AR3200 User manual

Frico RAR200A User manual

Frico

Frico RAR200A User manual

Frico Elztrip EZ100 User manual

Frico

Frico Elztrip EZ100 User manual

Frico PAECS User manual

Frico

Frico PAECS User manual

Frico IR3000 User manual

Frico

Frico IR3000 User manual

Frico Infraglas IHGB12SR User manual

Frico

Frico Infraglas IHGB12SR User manual

Frico ICW Series Parts list manual

Frico

Frico ICW Series Parts list manual

Frico Panther SE 06 User manual

Frico

Frico Panther SE 06 User manual

Frico Thermozone AD Corinte W Service manual

Frico

Frico Thermozone AD Corinte W Service manual

Frico Tiger TIG203 User manual

Frico

Frico Tiger TIG203 User manual

Frico Elektra C Series User manual

Frico

Frico Elektra C Series User manual

Popular Heater manuals by other brands

Cordivari Window 550 hydro user manual

Cordivari

Cordivari Window 550 hydro user manual

Vassilias R-052T instruction manual

Vassilias

Vassilias R-052T instruction manual

HOMCOM 820-256 Assembly & instruction manual

HOMCOM

HOMCOM 820-256 Assembly & instruction manual

POLO CFH20 user manual

POLO

POLO CFH20 user manual

Dru ALTO Instructions for installation and operation

Dru

Dru ALTO Instructions for installation and operation

Somogyi FKA 100 instruction manual

Somogyi

Somogyi FKA 100 instruction manual

Linea 2000 DOMO DO7351CH Instruction booklet

Linea 2000

Linea 2000 DOMO DO7351CH Instruction booklet

Hendi 809600 manual

Hendi

Hendi 809600 manual

Kooper 5902472 User instructions

Kooper

Kooper 5902472 User instructions

HearthStone 8890 Owenrs manual

HearthStone

HearthStone 8890 Owenrs manual

camry Premium CR 7724 user manual

camry

camry Premium CR 7724 user manual

Yoshimasa YMAC36 user manual

Yoshimasa

Yoshimasa YMAC36 user manual

Eterna OILH211TIM installation instructions

Eterna

Eterna OILH211TIM installation instructions

Strend Pro EO-008.TA instruction manual

Strend Pro

Strend Pro EO-008.TA instruction manual

Hiyasu CA 90 Operation manual

Hiyasu

Hiyasu CA 90 Operation manual

YMGI WMMS-09EU-V2B Installer's instruction & user's manual

YMGI

YMGI WMMS-09EU-V2B Installer's instruction & user's manual

Autojack EHB2KW Owner's manual & safety instructions

Autojack

Autojack EHB2KW Owner's manual & safety instructions

Klarstein HARRISON 10045584 manual

Klarstein

Klarstein HARRISON 10045584 manual

manuals.online logo
manuals.online logoBrands
  • About & Mission
  • Contact us
  • Privacy Policy
  • Terms and Conditions

Copyright 2025 Manuals.Online. All Rights Reserved.