manuals.online logo
Brands
  1. Home
  2. •
  3. Brands
  4. •
  5. Frico
  6. •
  7. Heater
  8. •
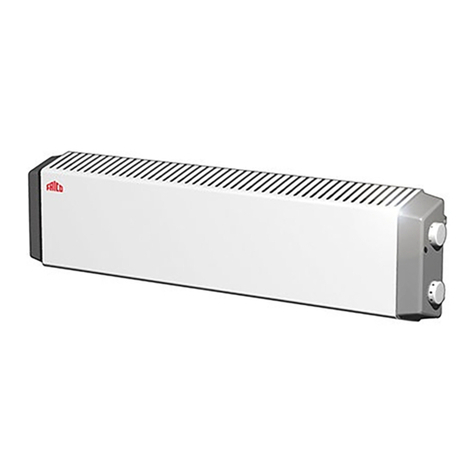
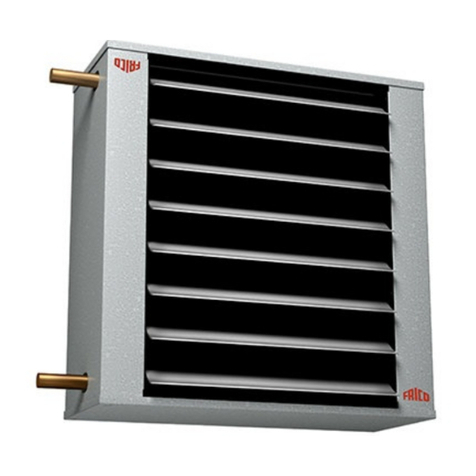
  9. Frico PFW Series User manual

Frico PFW Series User manual

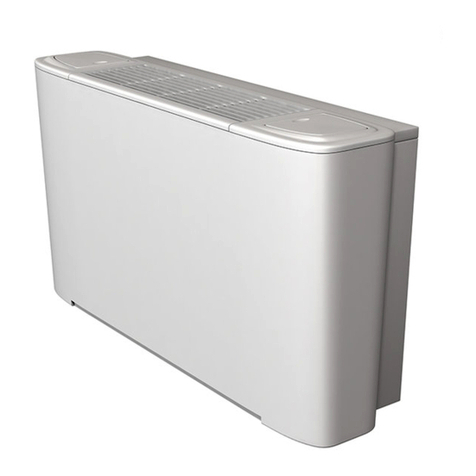
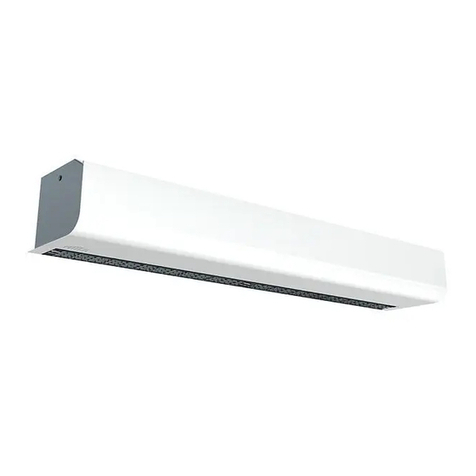
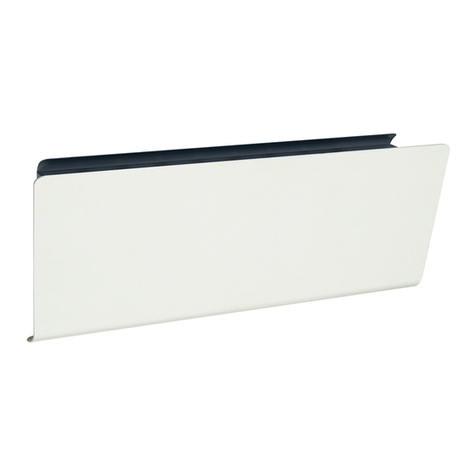
Fläktradiator PFW
Fan convector PFW
Vifteradiator PFW
Convecteur dynamique PFW
Ventilatorkonvektor PFW
KonwektorywentylatorowePFW
PuhallinlämmitinPFW
...4
...8
...6
SE
RU
GB
PFW
2
515 / 975 20
88153
Inlet DN15 ,outside thread (½")
Outlet DN15, outside thread (½")
240
100
30
45
990
330
598 / 1058
PFW
3
min 100 mm
min 100 mm
min 100 mm
Minimumavstånd runt radiatorn.
Minimum clearance around the radiator.
Минимальные расстояния при установке
RSK-nr Längd/Length Effekt/Output/* Spänning/Voltage/ Vikt/Weight
(SE) [mm] [W] [V] [kg]
PFW10 6727580 598 0-1000W 230V~ 7,3
PFW20 6727581 1058 0-2000W 230V~ 12,8
*Beroende av vattentemp./Depending on the water temp./
IP23
CE-märkning.
CE compliant.
[ ] [ ] [B] [ ]
PFW10 598 0-1000 230B~ 7,3
PFW20 1058 0-2000 230B~ 12,8
*В зависимости от температуры воды
IP23
Сертифицировано ГОСТ, стандарт СЕ
PFW
6
GB
Mounting
1. Please note that the area close to the radiator must
be left free of obstructions, see page 2 for minimum
distance.
2. Mount the wall fixing on the wall. Make sure the
fixing is mounted level. The holes on the wall fixing
can be marked in two ways.
• Hammer a nail in the middle hole on the
fixture and use a spirit level to get it
square. (The distance between the hole in the
middle and the floor should be 240 mm.)
See Fig. 2.
• The holes can also be marked by using the
template on the box. Make sure the template is
flat to the wall surface! See Fig. 3.
Fasten the wall fixing securely on the wall by
screwing the screws in the oval holes (4x).
240 mm
Fig. 2
Using a spirit level to mount the wall fixing.
Fig. 3
Using the packing to mount the wall fixing.
3. Angle the radiator 90ooutwards and slot the
lower part of the wall fixing into the circular holes
furthest down on the back of the radiator. Raise
radiator and fasten the security chains. The top is
then clipped in place with the snap pins on the wall
fixing. Now the radiator will hang on the wall fixing
by the chains even if the pins are loosened for
example for cleaning. See Fig. 4.
Fig. 4
Mounting of security chains.
4. Connect the radiator to an earthed wall socket.
Water connection
The water pipes (DN15, 1/2” BSP-F outside thread)
are connected at the left hand side (when viewed
from inside of the building) on the backside of the
unit, see fig.on page 2.
Flexible hoses type PEX 15x2,5, length 850mm are
supplied with the unit as standard.
Using flexible hoses makes the maintenance and
service much easier.
The installation should be carried out by a certified
installer.
Mounting of fan convector PF.
horizontal
The chain is
fixed here
Fasten the
chain
here
PFW
7
GB
Check-up
Make sure that the electrical connection is completed
and earth is connected. Put the radiator on and make
sure the fan is running.The fan speed can be
controlled in two steps with the switch on the right
hand side of the unit.
If the heater at first appears noisy, it should be
operated for at least a month before any evaluation
of sound level is done.
To change or remove the front panel
The front panel can easily be relacquered or the
appearance changed by applying a plastic film.
Disconnect the power before removing the front
panel, thereafter the two screws under the radiator
are loosened and the front panel is pulled
downwards. This must be done by a competent
electrician.
Approvals
• Protection class: IP23.
• PFW is approved for mounting with plug 230V~.
Safety
• The radiator must not be positioned immediately
below a permanent socket.
• The radiator must not be mounted outdoors.
• The radiator should be positioned out of reach of
people in showers and bathtubs.
• The radiator should be installed to ensure that
operation and maintenance can be carried out
safely.
• Before service and maintenance is started, the
power must be disconnected and the fan wheel
must have stopped.
Maintenance, service and reparation
The radiator should be cleaned when necessary,
recommended at least four a year to prevent damage
on the bearings (differs depending on the indoor
environment). If the air flow is obstructed it may
affect the operation of the radiator. Lower the
radiator forward. Vacuum the inlet grilles on the back
and underside. High pressure cleaning must not be
used to clean the radiator. Cleaning must be made
carefully and only in exeptional cases must the
radiator be opened. The radiator must only be opened
by a competent electrician. The bearings are
maintenance free and should only be changed when
necessary. Make sure no discordant sounds are
heard from the fan. Make sure that the fan wheel is
not blocked. A damaged mains cable must only be
changed by a competent electrician.
Art: 203643, 20100601 HH
Frico AB Tel: +46 31 336 86 00
Box 102 Fax: +46 31 26 28 25
SE-433 22 Partille [email protected]
Sweden www.frico.se
For your local contact: www.frico.se

This manual suits for next models

4

Other Frico Heater manuals

Frico IHW10 User manual

Frico

Frico IHW10 User manual

Frico Thermozone PA3500 User manual

Frico

Frico Thermozone PA3500 User manual

Frico IR3000 User manual

Frico

Frico IR3000 User manual

Frico Elektra V User manual

Frico

Frico Elektra V User manual

Frico Elektra C User manual

Frico

Frico Elektra C User manual

Frico IRCF Series User manual

Frico

Frico IRCF Series User manual

Frico AREC4000 Series User manual

Frico

Frico AREC4000 Series User manual

Frico Pamir 2500 User manual

Frico

Frico Pamir 2500 User manual

Frico Thermozone AD 300A User manual

Frico

Frico Thermozone AD 300A User manual

Frico HDI145 User manual

Frico

Frico HDI145 User manual

Frico AGS5500 User manual

Frico

Frico AGS5500 User manual

Frico Thermozone AR 200 E Series User manual

Frico

Frico Thermozone AR 200 E Series User manual

Frico INFRAGLAS IHG12 User manual

Frico

Frico INFRAGLAS IHG12 User manual

Frico SWX EX22 User manual

Frico

Frico SWX EX22 User manual
Frico IRCF15L User manual

Frico

Frico IRCF15L User manual

Frico SWL Series User manual

Frico

Frico SWL Series User manual

Frico Infradark IND15 User manual

Frico

Frico Infradark IND15 User manual

Frico Thermoplus Series User manual

Frico

Frico Thermoplus Series User manual

Frico Thermoplus Operation and maintenance manual

Frico

Frico Thermoplus Operation and maintenance manual

Frico Tiger User manual

Frico

Frico Tiger User manual

Frico AGR5500 User manual

Frico

Frico AGR5500 User manual

Frico Panther FC 20 User manual

Frico

Frico Panther FC 20 User manual

Frico PF Smart User manual

Frico

Frico PF Smart User manual

Frico HDI22 User manual

Frico

Frico HDI22 User manual

Popular Heater manuals by other brands

Holmes HQH307 owner's guide

Holmes

Holmes HQH307 owner's guide

Manta MM438 user manual

Manta

Manta MM438 user manual

emerio FH-124273.1 instruction manual

emerio

emerio FH-124273.1 instruction manual

flowair ELIS AX W-100 Technical documentation

flowair

flowair ELIS AX W-100 Technical documentation

STIEBEL ELTRON CK 15 E Operation and installation

STIEBEL ELTRON

STIEBEL ELTRON CK 15 E Operation and installation

Cordivari CLAUDIA ELEKTRISCH EcoDesign Digi 400X760... manual

Cordivari

Cordivari CLAUDIA ELEKTRISCH EcoDesign Digi 400X760... manual

EWT ECO15 manual

EWT

EWT ECO15 manual

Spartan JOH-2000R instruction manual

Spartan

Spartan JOH-2000R instruction manual

Stanley ST-602-WS-E user guide

Stanley

Stanley ST-602-WS-E user guide

Master BV 110 E Operation and maintenance manual

Master

Master BV 110 E Operation and maintenance manual

Myson WHISPA III 5000 WM Installation, operating, maintenance & after sales manual

Myson

Myson WHISPA III 5000 WM Installation, operating, maintenance & after sales manual

Nibe ELK 15 Installation and maintenance instructions

Nibe

Nibe ELK 15 Installation and maintenance instructions

Stelpro SDH Series Installation and user guide

Stelpro

Stelpro SDH Series Installation and user guide

Schou 69661 instruction manual

Schou

Schou 69661 instruction manual

Spacio Innovations WEXSTAR WS-4W installation instructions

Spacio Innovations

Spacio Innovations WEXSTAR WS-4W installation instructions

Heatscope TUNE Original installation and instruction manual

Heatscope

Heatscope TUNE Original installation and instruction manual

Truma VarioHeat eco operating instructions

Truma

Truma VarioHeat eco operating instructions

MHS Boilers Voltec Series installation guide

MHS Boilers

MHS Boilers Voltec Series installation guide

manuals.online logo
manuals.online logoBrands
  • About & Mission
  • Contact us
  • Privacy Policy
  • Terms and Conditions

Copyright 2025 Manuals.Online. All Rights Reserved.