manuals.online logo
Brands
  1. Home
  2. •
  3. Brands
  4. •
  5. Frisco
  6. •
  7. Pet Care Product
  8. •
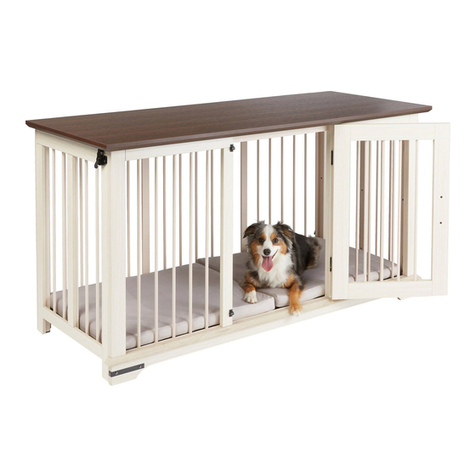
  9. Frisco XXL DOG CRATE User manual

Frisco XXL DOG CRATE User manual

1-800-672-4399
Available exclusively at
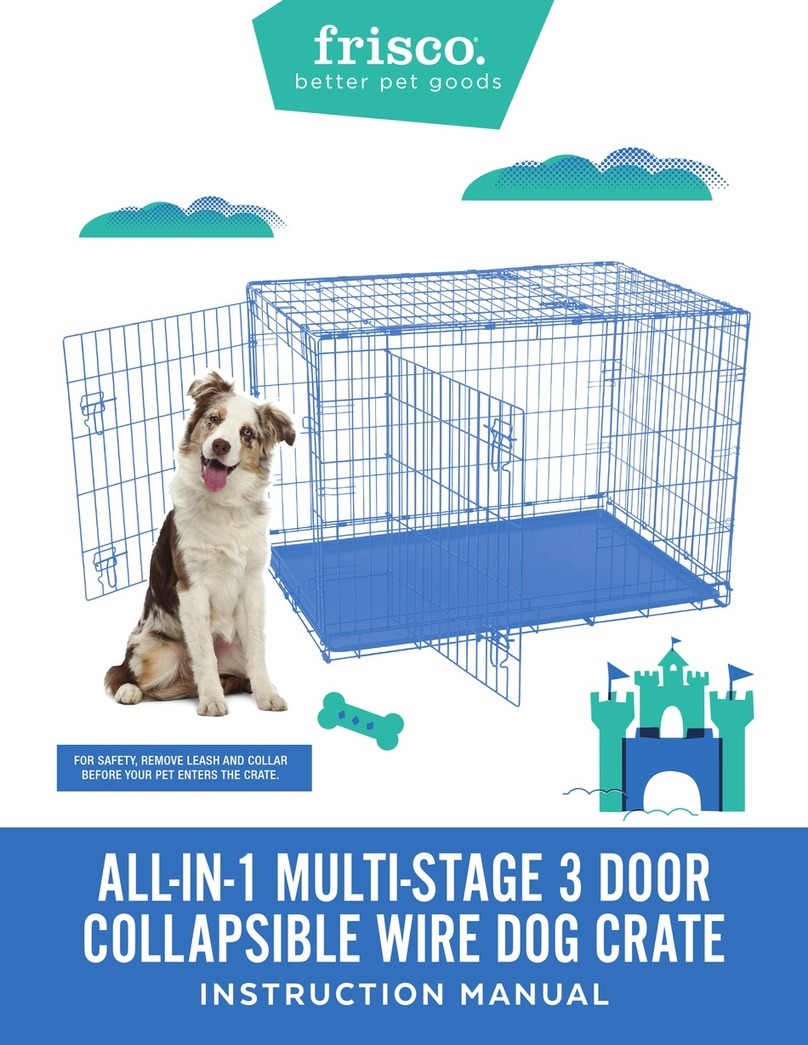
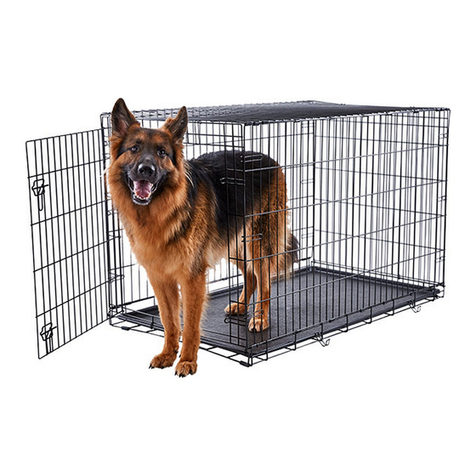
XXL DOG CRATE
INSTRUCTION MANUAL
FOR SAFETY, REMOVE LEASH AND COLLAR
BEFORE YOUR PET ENTERS THE CRATE.
1-800-672-4399
Available exclusively at
Floor Panel (1x)
Has tall upright bent hooks and
a pan locking latch on one end.
DOG CRATE ASSEMBLY INSTRUCTIONS
This “castle” requires two people for assembly.
STEP 2 (a) Locate the side panel without the door and lay it on
the floor along the left side of the floor panel. The loops should be
facing up. The closely spaced horizontal wires should be closest
to the floor panel. (b) Place the floor panel hooks between the
second and third horizontal wires and inside the first vertical wires
of the side panel.
STEP 1 Identify and locate each of the components listed above.
Remove the four corner rods from the front and back panels.
Place the floor panel flat on the floor with the hooks extending
upward. Locate the pan locking latch on one end of the floor panel
– this is the front of the crate. It’ll be your point of reference.
STEP 4 Locate the back panel and place it at the back of
the floor panel and alongside the vertical side panel. The two
u-shaped hooks should be on top and facing inward. Align the
uppermost loop of the back panel to rest on the uppermost loop
of the side panel. Insert the corner rod downward through all of
the intersecting loops of this corner.
12a
4
STEP 3 Slightly lift the side panel, making sure the floor panel
hooks go over and wrap around the second horizontal wire.
Continue lifting until the side panel is vertical.
3
BACK
PANEL
FLOOR
PANEL
SIDE PANEL
CORNER ROD
Pan Locking Latch
Front Door Panel (1x)
Small panel with hinged door.
Plastic Pan (1x)Back Panel (1x)
Same size as front door panel, without a door.
Top Panel (1x)
Same size as floor panel with two
horseshoe tabs on both ends.
FLOOR
PANEL
Side Panels (2x)
(largest panels)
Has loops along both ends. One panel has a hinged door.
PARTS INCLUDED
Prior to assembling your pup’s new “castle”, we recommend watching a helpful instruction video.
Visit chewy.com, search sku #97489.
CLOSELY SPACED
HORIZONTAL WIRES
HOOK PLACEMENT
2b
2
3
Corner Rods (4x)
Remove the four corner rods
from the front and back panels.
1-800-672-4399
Available exclusively at
MAINTENANCE
To provide your pet with the most comfortable “castle” possible, clean his crate routinely with a mild, non-toxic cleaner and water.
STEP 5 Locate the side panel with the door and lay it flat on
the floor along the right side of the floor panel. The door lock
should be facing out and down. The loops on the short ends
should be facing up with the closely spaced horizontal wires
closest to the floor panel.
Slightly lift the side panel, making sure the floor panel hooks
go over and wrap around the second horizontal wire. Continue
lifting until the side panel is vertical.
Align the uppermost loop of the back panel to rest on the
uppermost loop of the side panel. Insert the corner rod
downward through all of the intersecting loops of this corner.
STEP 6 (a) Locate the top panel and place on top of all three
upright panels with the hooks facing down. First, connect the
hooks over the top rung of the side panels. (b) Second, connect
the u-shaped hooks of the back panel over the top rung of
the top panel, while making sure the center horseshoe tab of
the top panel is resting on top of the back panel.
6a
6b
5
SIDE
PANEL
CORNER
ROD
Recommended for dogs 90lbs and over.
STEP 7 Position the front door panel at the front of the crate
with the door lock facing out and down and the u-shaped hooks
facing inward.
Place the u-shaped hooks over the first rung of the top panel
while also making sure the center horseshoe tab of the top
panel is resting on top of the door panel.
The uppermost side loop of the front panel should rest on top
of the side panel loops. Insert a corner rod downward through
all of the intersecting loops of both corners.
STEP 8 Insert the bottom plastic pan by sliding it underneath
the front panel on the floor of the crate and secure it with the
pan locking latch.
78
FRONT
DOOR
1-800-672-4399
Available exclusively at
• To prevent choking and other serious injuries, always remove any collars, tags or
leashes from your pet before placing him in his crate.
• Never transport your pet in his crate. Please use a carrier specifically designed for the
purposes of pet transport.
• This crate is not designed to restrain aggressive breeds of dogs who may thrash and
launch themselves inside the crate. Consult your veterinarian for recommendations on
restraining aggressive pets.
• Before your pet enters his crate, make sure that it’s secure. Double check that the
crate is properly assembled and that all latches and hooks are secure before leaving
your pet inside his crate.
• It’s never a good idea to leave your pet inside his crate for too long. Remember, pets
need time to socialize, exercise and go potty! Consult your veterinarian or trainer to
determine the appropriate amount of time that your pet can safely and comfortably
be left in his crate.
• Always be sure your pet has enough food and water before leaving him in his crate.
• Consult your veterinarian about whether it’s safe to leave food, toys or other items
in the crate with your particular pet. They all have unique personalities and habits, so
what works for one might not work for another.
• Never place multiple pets into one crate.
• Never use the crate without its plastic pan properly fitted and secured, and be sure
not to place your pet into a crate with a damaged pan.
• Please, never allow your children to play in, on, or around the crate. For pet use only.
• We know how excited pets can get, but do be sure to make sure his paws, snout, ears
or tail aren’t in the way of the door hinge or latch. Ouch!
• Never place your pet’s crate in direct sunlight or leave your pet in a closed car on a hot
day. Serious heat stroke, death or other injury could result from an overheated pet.
• Do not store your crate outside or in a car. Extreme heat may cause the crate pan to
warp.
• While we are dedicated to providing the best for your pet, Chewy, Inc. is not
responsible for any loss, damage, discomfort, injury, illness, death or costs of any kind
as a result of or by use of this crate.
CRATE TRAINING TIPS
WARNINGS AND CAUTIONS
We care about the safety of your pet, so please READ AND FOLLOW ALL INSTRUCTIONS before using a new crate. Improper
use may result in serious injury or even the death of your pet.
INTRODUCTION
Introduce your pet to his new home. Let him explore it first – on his own time. Don’t force him or
rush the process. Remember, you want your pet to think of his crate as a positive, safe space of his
own, so let his natural curiosity lead. If he seems reluctant, entice him to explore by putting a few
treats and his favorite toy inside.
TIME
Acclimate him to it slowly. Once your pet is comfortable, get him used to the idea of staying in his
crate little by little. At first, keep him inside the crate by sitting or standing in front of the open door
while talking soothingly. Do this for a short amount of time, then gradually increase it. Eventually,
close the door, leaving it closed for a short duration, increasing it gradually. Praise him and reward
him with treats each time. Remember, positive associations!
DENNING
Appeal to your pet’s instinct as a denning animal. Help him associate his crate with a den (or a
castle) of his own by creating the safe space where all his basic needs are met. And make it comfy
for him by placing a towel, bed or blanket at the bottom.
BATHROOM
Take him out for regular potty breaks. Wild animals don’t do their business in their dens. Reinforce
this natural instinct in your pet by taking him outside, away from his “castle” to do his business. And
do it regularly. Younger animals especially need to be let out more frequently.
POSITIVE ASSOCIATION
Never put your pet in his crate as punishment. That creates negative associations and will make him
reluctant to use it.
PROFESSIONAL HELP
Always consult your veterinarian or trainer with specific questions for crate training your pet.
CALL OUR FRIENDLY CUSTOMER SERVICE TEAM ANYTIME.
WE’RE HERE 24/7! 1-800-67-CHEWY (672-4399)
QUESTIONS?

Other Frisco Pet Care Product manuals

Frisco CAT TREE User manual

Frisco

Frisco CAT TREE User manual

Frisco 363901 User manual

Frisco

Frisco 363901 User manual

Frisco 296678 User manual

Frisco

Frisco 296678 User manual

Frisco 253037 User manual

Frisco

Frisco 253037 User manual

Frisco 289339 User manual

Frisco

Frisco 289339 User manual

Frisco 109787 User manual

Frisco

Frisco 109787 User manual

Frisco 140154 User manual

Frisco

Frisco 140154 User manual

Frisco 296670 User manual

Frisco

Frisco 296670 User manual

Frisco Cat Playpen User manual

Frisco

Frisco Cat Playpen User manual

Frisco 186820 User manual

Frisco

Frisco 186820 User manual

Frisco 120135 User manual

Frisco

Frisco 120135 User manual

Frisco 356073 User manual

Frisco

Frisco 356073 User manual

Frisco CERAMIC WHALE DOG & CAT WATER FOUNTAIN User manual

Frisco

Frisco CERAMIC WHALE DOG & CAT WATER FOUNTAIN User manual

Frisco 297465 User manual

Frisco

Frisco 297465 User manual

Frisco 122090 User manual

Frisco

Frisco 122090 User manual

Frisco 255324 User manual

Frisco

Frisco 255324 User manual

Frisco 289334 User manual

Frisco

Frisco 289334 User manual

Frisco 156786 User manual

Frisco

Frisco 156786 User manual

Frisco 140149 User manual

Frisco

Frisco 140149 User manual

Frisco 88785 User manual

Frisco

Frisco 88785 User manual

Frisco 331621 Quick reference guide

Frisco

Frisco 331621 Quick reference guide

Frisco 296684 User manual

Frisco

Frisco 296684 User manual

Frisco 120133 User manual

Frisco

Frisco 120133 User manual

Frisco 156784 User manual

Frisco

Frisco 156784 User manual

Popular Pet Care Product manuals by other brands

Nebu-tec SaHoMa Instructions for use

Nebu-tec

Nebu-tec SaHoMa Instructions for use

Trixie Dayna Assembling Instruction & Part List

Trixie

Trixie Dayna Assembling Instruction & Part List

PAC F100 Instructions for use

PAC

PAC F100 Instructions for use

INVISIBLE FENCE Outdoor Shields Plus owner's manual

INVISIBLE FENCE

INVISIBLE FENCE Outdoor Shields Plus owner's manual

Munchkin MK0004-000 quick start guide

Munchkin

Munchkin MK0004-000 quick start guide

BravoWalk Collar owner's manual

BravoWalk

BravoWalk Collar owner's manual

Veterinary Ventures Drinkwell 360 operating instructions

Veterinary Ventures

Veterinary Ventures Drinkwell 360 operating instructions

Kurgo RSG TOWNIE HARNESS Instructions and care

Kurgo

Kurgo RSG TOWNIE HARNESS Instructions and care

PetChatz Pet Care Product Instructions for use

PetChatz

PetChatz Pet Care Product Instructions for use

Richel 803840 80000-3 instruction manual

Richel

Richel 803840 80000-3 instruction manual

Hunter GPS-DTR 15000 quick start guide

Hunter

Hunter GPS-DTR 15000 quick start guide

Trixie TX1 Instructions for use

Trixie

Trixie TX1 Instructions for use

Hakuna Pets CAT FLAP 1120 instructions

Hakuna Pets

Hakuna Pets CAT FLAP 1120 instructions

DogWatch I-50 Products and Features

DogWatch

DogWatch I-50 Products and Features

Tracker Hunter Tracker G400 manual

Tracker Hunter

Tracker Hunter Tracker G400 manual

Motorola BARK500U user guide

Motorola

Motorola BARK500U user guide

Tru-Test 0.15 J user manual

Tru-Test

Tru-Test 0.15 J user manual

Pet Stop Indoor Battery Powered Transmitter Operator's manual

Pet Stop

Pet Stop Indoor Battery Powered Transmitter Operator's manual

manuals.online logo
manuals.online logoBrands
  • About & Mission
  • Contact us
  • Privacy Policy
  • Terms and Conditions

Copyright 2025 Manuals.Online. All Rights Reserved.