manuals.online logo
Brands
  1. Home
  2. •
  3. Brands
  4. •
  5. Frisco
  6. •
  7. Pet Care Product
  8. •
  9. Frisco 247915 User manual

Frisco 247915 User manual

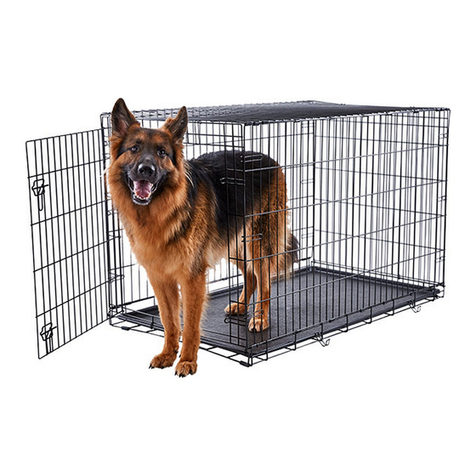
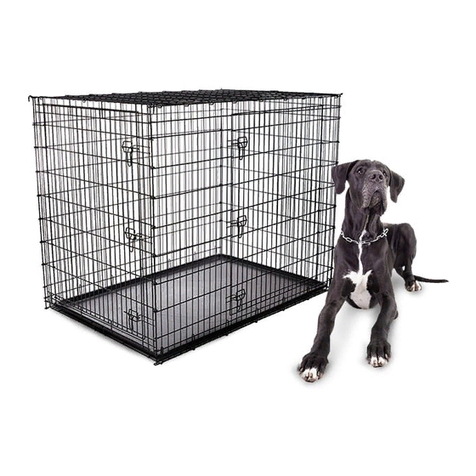
ALL-IN-1 MULTI-STAGE 3 DOOR
COLLAPSIBLE WIRE DOG CRATE
INSTRUCTION MANUAL
FOR SAFETY, REMOVE LEASH AND COLLAR
BEFORE YOUR PET ENTERS THE CRATE.
For questions, please call 1-800-672-4399. For questions, please call 1-800-672-4399.
7c
Carrying Plastic Handle - the handles included
with this crate are repositionable and can be used for
transporting an unassembled crate.
Folded Crate
Plastic Pan
Divider Panel
Floor Grid
PARTS INCLUDED
DOG CRATE ASSEMBLY INSTRUCTIONS
Assembly instructions for Frisco All-in-1 Multi-Stage 3 Door Collapsible Wire Dog Crate models 247915, 247916, 247917.
DIVIDER PANEL INSTRUCTIONS
Our crates are designed to provide a safe, comfortable space for your pet. Think of it as his very own castle! Usually, dogs won’t
do their business in the same area where they sleep, but if the crate is too large, they may choose to go potty in one end and
sleep in the other. To avoid this, use the divider panel to shorten the length of the crate so it’s the right size for your pet.
FLOOR GRID INSTRUCTIONS
This crate includes a floor grid to use while potty training a puppy weighing up to 30 lbs. Once your puppy is potty trained,
you should remove the floor grid.
PLASTIC PAN INSTRUCTIONS
STEP 1 From the front of the crate, lift the pan above the
pan-locking latch, then push the pan-locking latch inward
under the pan.
STEP 1 First, determine the proper
length the crate should be for your
pet. He should have enough room
to stand up without hunching, turn
around comfortably and stretch his
legs out fully, but no larger than that
(See Weight Recommendations).
STEP 2 Insert the divider panel into
the opening at an angle, making sure
the hooks face the back of the crate.
STEP 3 Stand the divider panel up at the desired
position and attach the hooks securely to a vertical
wire on one side, then slightly pull the side panel
in to attach the hooks on the other side.
STEP 2 Remove the pan by sliding it out toward you from the
front of the crate. Reverse steps to reinsert pan and reengage the
pan-locking latch.
As your dog grows,
you can adjust the length of the
crate by adjusting the divider
panel. Remove the divider panel
when your pet is fully grown.
NOTE: If the crate has a side
door, hook the divider panel onto
the door’s vertical wire. In this
case, the side door will not operate
while the divider panel is in use.
7a 7b
STEP 7 (a) Insert the floor grid through the back of the crate. (b) With the side door open, fit the side hooks on the floor grid over the
BOTTOM wire on the regular side panel first, then over the BOTTOM wire on the side door panel. (c) Then, fit the floor grid hooks over the
MIDDLE wire on the front and back panel and make sure the floor grid is level.
HINT: The divider panel and floor grid should not be used together. Using the divider
panel with the floor grid may damage the protective coating on the floor grid.
5a
4a
9a
9b
5b
4b
6
3
108
STEP 8 Push the back panel into the
crate, then pull it back into place and
secure it with the side and top clips.
Make sure to fit the hook on the floor
grid over the BOTTOM wire on the back
panel.
STEP 5 (a) Pull up the front panel and secure it with the side and top clips.
(b) The side panels should rest inside the base of the crate as indicated.
STEP 6 Open the front and side doors.
Remove the divider panel from the crate.
STEP 2 (a) Set the floor grid aside.
(b) Unhook the two side hooks and
unfold the crate like a book.
STEP 9 (a) To secure the door panel,
pull it forward and then push down on
the top panel. Position the u-shaped
hooks on top of the door panel over the
wire on the top panel. (b) The center
horseshoe(s) should rest on top of
the door panel. Repeat this process to
secure the back panel.
STEP 4 Pull the back panel all the way
out and lay it flat outside the crate.
STEP 3 With both hands, grab and
lift the top panel. You will see the crate
start to take shape.
STEP 10 To open and close the
door(s), lift the lock handles at about a
90-degree angle on the panel door and
slide to open, and into the lock to close.
To disassemble, reverse the process.
MIDDLE
WIRE
FLOOR
GRID
For questions, please call 1-800-672-4399.
• To prevent choking and other serious injuries, always remove any collars, tags or
leashes from your pet before placing him in his crate.
• You can transport your pet in his crate for short distances inside the home, but not
for long distances. Please use a carrier specifically designed for the purposes of pet
long-distance transport.
• This crate is not designed to restrain aggressive breeds of dogs who may thrash and
launch themselves inside the crate. Consult your veterinarian for recommendations
on restraining aggressive pets.
• Before your pet enters his crate, make sure that it’s secure. Double-check that the
crate is properly assembled, all screws are tightened, and all locks are secure before
leaving your pet inside his crate.
• It’s never a good idea to leave your pet inside his crate for too long. Remember, pets
need time to socialize, exercise and go potty! Consult your veterinarian or trainer to
determine the appropriate amount of time that your pet can safely and comfortably
be left in his crate.
• Make sure that your dog’s paws are large enough that they won’t slip through
the bars in the floor panel.
• Always be sure your pet has enough food and water before leaving him in his crate.
• Consult your veterinarian about whether it’s safe to leave food, toys or other items in
the crate with your particular pet. They all have unique personalities and habits, so
what works for one might not work for another.
• Never place multiple pets into one crate.
• Never use the crate without its metal tray properly fitted and secured, and be sure not
to place your pet into a crate with a damaged tray.
• Please, never allow your children to play in, on, or around the crate.
• We know how excited pets can get, but do be sure to make sure his paws, snout, ears
or tail aren’t in the way of the door hinge or latch. Ouch!
• Never place your pet’s crate in direct sunlight or store your crate outside or in a car,
because the metal can become very hot. Never leave your pet in a closed car on a hot
day. Serious heatstroke or death could result from an overheated pet.
• While we are dedicated to providing the best for your pet, Chewy, Inc. is not
responsible for any loss, damage, discomfort, injury, illness, death or costs of any kind
as a result of or by use of this crate.
CRATE TRAINING TIPS
WARNINGS AND CAUTIONS
We care about the safety of your pet, so please READ AND FOLLOW ALL INSTRUCTIONS before using a new crate.
Improper use may result in serious injury or even the death of your pet.
INTRODUCTION
Introduce your pet to his new home. Let him explore it first – on his
own time. Don’t force him or rush the process. Remember, you want
your pet to think of his crate as a positive, safe space of his own, so let
his natural curiosity lead. If he seems reluctant, entice him to explore
by putting his favorite toy inside.
TIME
Acclimate him to it slowly. Once your pet is comfortable, get him used
to the idea of staying in his crate little by little. At first, keep him inside
the crate by sitting or standing in front of the open door while talking
soothingly. Do this for a short amount of time, then gradually increase it.
Eventually, close the door, leaving it closed for a short duration, increasing
it gradually. Praise him and reward him with treats each time. Remember,
positive associations!
DENNING
Appeal to your pet’s instinct as a denning animal. Help him associate
his crate with a den (or a castle) of his own by creating the safe space
where all his basic needs are met. And make it comfy for him by
placing a towel, bed or blanket at the bottom.
BATHROOM
Take him out for regular potty breaks. Wild animals don’t do their
business in their dens. Reinforce this natural instinct in your pet by
taking him outside, away from his “castle” to do his business. And
do it regularly. Younger animals especially need to be let out more
frequently.
POSITIVE ASSOCIATION
Never put your pet in his crate as punishment. That creates negative
associations and will make him reluctant to use it.
PROFESSIONAL HELP
Always consult your veterinarian or trainer with specific questions for
crate training your pet.
WEIGHT RECOMMENDATIONS
For your pet’s safety, please follow the recommended weight limitations for each crate model. Never use a crate for a pet that
exceeds the maximum stated weight.
MEDIUM 36 in (36in x 24.5in x 26.5in) (91.4cm x 62cm x 67cm) 41 to 70 lbs (18.6-31.8 kg)
LARGE 42 in (42in x 28.5in x 30in)(106.7cm x 72.4cm x 76.2cm) 71-90 lbs (32.2-40.8 kg)
X-LARGE 48 in (48in x 30.5in x 32.5in)(122 cm x 77.5cm x 82.6cm) 91-110 lbs (41.3-49.9 kg)
NOTE: The floor grid is designed to support one puppy up to 30 lbs.
MAINTENANCE
To provide your pet with the most comfortable “castle” possible, clean his crate routinely with a mild, non-toxic cleaner and water.
FINAL ASSEMBLY CHECKLIST
Before introducing your pup to his new castle,
remember to double-check the following:
• Check that the side panels are resting inside
the base of the crate.
• If you aren’t using the divider panel, make
sure it is removed from the crate.
NOTE:
• Never put your pet into his crate without the pan in place or the
pan-locking latch engaged.
• Please do not attempt to remove or reinsert the pan in any other
way than the one described here or it may break or be damaged.
• Never remove or replace the pan while your pet is in the crate.
To order a replacement pan, call 1-800-67-CHEWY or visit www.chewy.com.
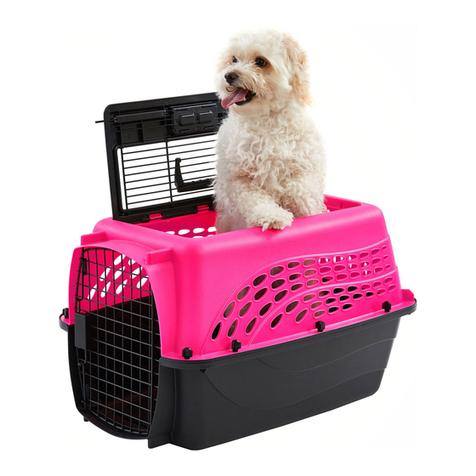
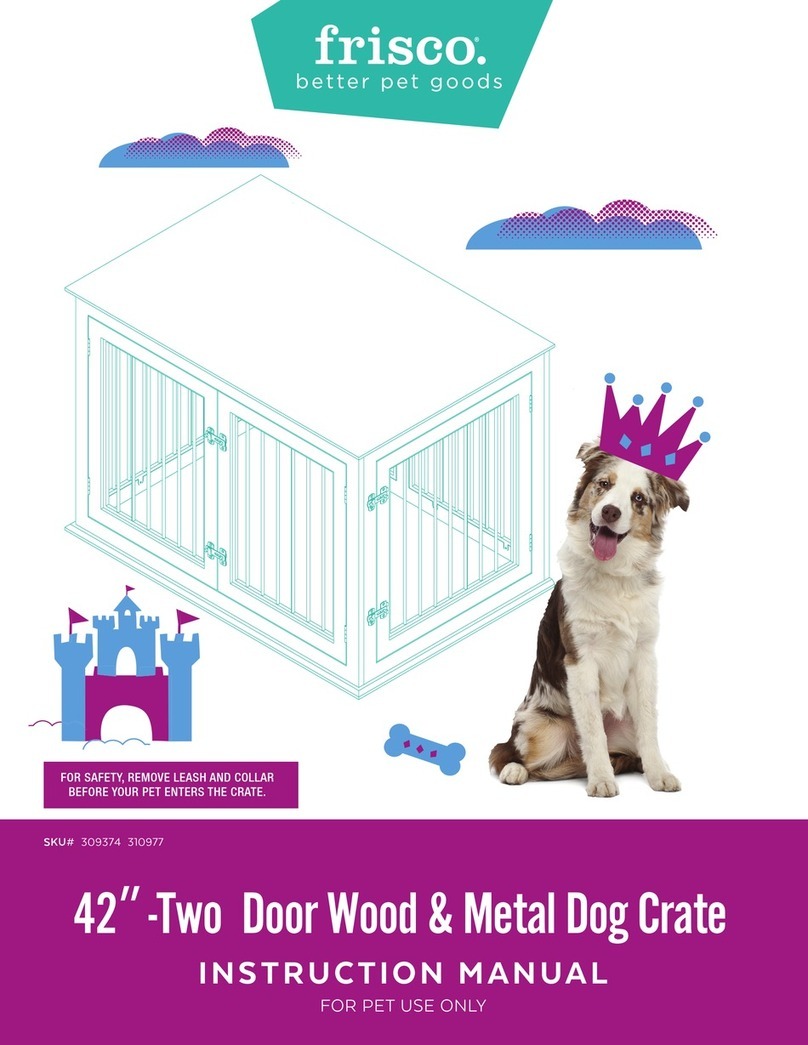
This manual suits for next models

2

Other Frisco Pet Care Product manuals

Frisco 120135 User manual

Frisco

Frisco 120135 User manual

Frisco 109787 User manual

Frisco

Frisco 109787 User manual

Frisco 186820 User manual

Frisco

Frisco 186820 User manual

Frisco 120133 User manual

Frisco

Frisco 120133 User manual

Frisco 296684 User manual

Frisco

Frisco 296684 User manual

Frisco 208924 User manual

Frisco

Frisco 208924 User manual

Frisco XXL DOG CRATE User manual

Frisco

Frisco XXL DOG CRATE User manual

Frisco 322625 User manual

Frisco

Frisco 322625 User manual

Frisco 296670 User manual

Frisco

Frisco 296670 User manual

Frisco 156786 User manual

Frisco

Frisco 156786 User manual

Frisco 88785 User manual

Frisco

Frisco 88785 User manual

Frisco 122090 User manual

Frisco

Frisco 122090 User manual

Frisco 128075 User manual

Frisco

Frisco 128075 User manual

Frisco 309374 User manual

Frisco

Frisco 309374 User manual

Frisco 156784 User manual

Frisco

Frisco 156784 User manual

Frisco 363901 User manual

Frisco

Frisco 363901 User manual

Frisco 356073 User manual

Frisco

Frisco 356073 User manual

Frisco Cat Playpen User manual

Frisco

Frisco Cat Playpen User manual

Frisco 297465 User manual

Frisco

Frisco 297465 User manual

Frisco 140149 User manual

Frisco

Frisco 140149 User manual

Frisco 255324 User manual

Frisco

Frisco 255324 User manual

Frisco CAT TREE User manual

Frisco

Frisco CAT TREE User manual

Frisco 331621 Quick reference guide

Frisco

Frisco 331621 Quick reference guide

Frisco 289334 User manual

Frisco

Frisco 289334 User manual

Popular Pet Care Product manuals by other brands

Qpets AF 105 user manual

Qpets

Qpets AF 105 user manual

Petsafe In-Ground Fence System operating guide

Petsafe

Petsafe In-Ground Fence System operating guide

Petsafe SSSCAT PPD17-16169 product manual

Petsafe

Petsafe SSSCAT PPD17-16169 product manual

Dogtra YS 200 owner's manual

Dogtra

Dogtra YS 200 owner's manual

Dog Care NOAH DF01 manual

Dog Care

Dog Care NOAH DF01 manual

chipdeal Reader Plus Extra Elementary user's manual

chipdeal

chipdeal Reader Plus Extra Elementary user's manual

Petsafe PTY19-16445 operating guide

Petsafe

Petsafe PTY19-16445 operating guide

Aqua One Aquis 1050 Instruction booklet

Aqua One

Aqua One Aquis 1050 Instruction booklet

Patpet 620 Series product manual

Patpet

Patpet 620 Series product manual

WOLSELEY Lark Instruction book

WOLSELEY

WOLSELEY Lark Instruction book

BulbHead CHEWBRUSH quick start guide

BulbHead

BulbHead CHEWBRUSH quick start guide

Smart Animal Training Pet Tutor user manual

Smart Animal Training

Smart Animal Training Pet Tutor user manual

Super Pet CritterTrail Run-About Habitat Assembly instructions

Super Pet

Super Pet CritterTrail Run-About Habitat Assembly instructions

ATS G2110E user manual

ATS

ATS G2110E user manual

PAWGUST PAWdometer Instructions for use

PAWGUST

PAWGUST PAWdometer Instructions for use

Wildlife Materials International 3190 quick start guide

Wildlife Materials International

Wildlife Materials International 3190 quick start guide

SportDOG In-Ground Fence 100A operating guide

SportDOG

SportDOG In-Ground Fence 100A operating guide

Canine Innovations Pet Convincer II user guide

Canine Innovations

Canine Innovations Pet Convincer II user guide

manuals.online logo
manuals.online logoBrands
  • About & Mission
  • Contact us
  • Privacy Policy
  • Terms and Conditions

Copyright 2025 Manuals.Online. All Rights Reserved.