manuals.online logo
Brands
  1. Home
  2. •
  3. Brands
  4. •
  5. Full Gauge
  6. •
  7. Controllers
  8. •
  9. Full Gauge EasyProg User manual

Full Gauge EasyProg User manual

evolution
EasyProg
Ver. 06
PROGRAMMING KEY
EasyProg
PC Controller
1. DESCRIPTION
The is an accessory that has as main function store the parameters of the controllers, load
EasyProg
them and unload them quickly and easily. can help programming a production line, for
EasyProg
instance, by copying the information from a standard controller (creating a standard preset) and then
downloading it to the other controllers without the need for connecting it to a PC.
Through a USB port, the can connect to your PC and modify the parameters for the editor
EasyProg
revenue Sitrad. For communication with the instrument contains an RS-485 and TTL Serial.
Note: ver. 2 or higherSee the controller's manual to check if it is compatible with , before
Easyprog
connecting them.
2. TECHNICAL SPECIFICATIONS
- Power supply: Through the mini USB port or serial TTL
- Operating temperature: 0 to 50ºC (32 to 122ºF)
- Operating humidity: 10 to 90% RH (no condensation)
- Indication: Led display (seven segments) and two multicolor leds.
- Size: 45 X 24 X 87 mm (WxHxD)
3. SIGNALINGCONNECTIONS, KEYS AND
Key START
LED receipt
Display indicator
of chosen recipe
LED sending
Key MODE
Serial TTL connection
RS 485
USB connection to PC
4. FUNCTIONS
The has a led display (seven segments) that shows the number of selected recipe and two
EasyProg
multicolors leds, through which are signaled the following functionality: PC connection, receiving the
parameters, selection of recipes and communication with success or error .
By connecting the leds are lit (magenta when connected to the PC by USB or cyan EasyPro
if connected by Serial TTL).
To select recipes that are sent or received through the serial TTL, you should press the key for 15 MODE
seconds. The leds will pass to yellow indicating it is in menu selection of recipes. To select
the recipe, use the key, pressing briefly until you reach the desired amount of revenue. The START
EasyPro supports store up 9 recipes.
The key to be pressed switches between sending and receiving states, identified MODE for 10 seconds
through the leds .
and
Send parameters to the controller;
Receive parameters from the controller;
and
and
To execute both the sending and receiving commands require pressing the key for 1 second. START
When the key is released, the communication starts and the corresponding led flashes. When finished,
the same led will indicate if the parameter transmission or reception ended successfully or with errors.
5. LOADING AND UNLOADING RECIPES
5.1. Copying a recipe from a controller to EasyProg
1) Connect to the Controller via Serial TTLor RS-485.
EasyProg
2) If the recipe chosen is the number 1, skip to step 3.
To select the desired recipe, press for 15 seconds then release it ( lit - yellow). MODE key
Press the key and select the desired recipe number. Press the key for 15 seconds then START MODE
release it to exit the menu selection of recipes.
3) When connecting to on the controller, the LEDs sending and receive are lit , to
EasyProg
move to the mode receive press the button for 10 seconds.MODE
4) START To start the receipt of recipe press for 1 second.
5) The same LED will flash and, upon completion, will light up green if the communication is successful,
or red if any errors occurred.
Note: When sending or receiving recipes, the indicator will remain off.
EasyProg
5.2. Sending a recipe EasyProg to a controllerfrom a
1) To send the parameters to a controller, a preset must be previously recorded on (from
EasyProg
other controller or using Sitrad 's Preset Editor).
2) Connect to the controller via Serial TTL or RS-485.
EasyProg
3) If the recipe chosen is the number 1, skip to step 4.
To select the desired recipe, press the key for 15 seconds then release it ( MODE lit - yellow).
Press the key and select the number of the desired recipe.START
Press the key for 15 seconds then release it to exit the menu selection of recipes.MODE
4) MODE Press the key until the LED is on (sending).
5) START To start sending the recipe, press the key for 1 second.
6) The same LED will flash and, upon completion, will light up green if the communication is successful,
or red if any errors occurred.
Note: When sending or receiving recipes, the indicator will remain off.
EasyProg
5.3. from a PC for EasyProgSending a recipe
1) Connect to the PC using the mini USB cable.
EasyProg
2) Use Sitrad 's Preset Editor to create or edit a preset for the required controller.
3) Click the file menu, then , and a new window will open.
EasyProg
4) In this new window, click on the menu recipes stored in and choose the desired position.
EasyProg
This position corresponds to the number of recipe. After, click the corresponding arrow to send the
recipe to .
EasyProg
5.4. Upload a recipe from a EasyProg to the PC
1) Connect to the PC using the mini USB cable.
EasyProg
2) Use Sitrad 's Preset editor.
3) Click the file menu, then , and a new window will open.
EasyProg
4) In this new window, click on the menu recipes stored in and choose the desired position.
EasyProg
This position corresponds to the number of recipe. After, click the corresponding arrow to send the
recipe to .
EasyProg
5) Upon closing this window, the parameters saved on will remain on the screen.
EasyProg
and
and
LED STATE COLOR
Connected to PC
Selection of recipes (press to select)START
Error during initialization of memory. Disconnect the cable
and reconnect
On power up when fed by Serial TTL or other source with
USB connection
Sending of parameters (waiting press )START
Sending of parameters during data transmission
Sending of parameters successfully completed
Sending of parameters with error (controller model is
incorrect or the version is not compatible)
Sending of parameters with error (without communication
with the controller)
Receiving of parameters (waiting press )START
Receiving of parameters during data transmission
Receiving of parameters successfully completed
Receipt of parameters error (controller model is incorrect
or the version is not compatible)
Receipt of parameters error (without communication with
the controller)
magenta
red
yellow
cyan
cyan
cyan
green
red
red
cyan
cyan
green
red
red
ON
flashing
ON
ON
ON
flashing
ON
ON
flashing
ON
flashing
ON
ON
flashing
and
and
and
and
DESCRIPTION
The has three ways to load or unload the parameters:
EasyProg
- Serial RS-485: Connects to the controller via RS-485 network. must be connected to
EasyProg
only one controller in the RS-485 network. In this case, an external power supply through the mini USB
port is required. It is connected to the terminals A, B and Ground of the controller through a three-way
cable.
- Serial TTL: The controller can be connected directly to the by Serial TTL through a five-
EasyProg
way cable. Thus, can be powered by the controller, or vice versa.
EasyProg
USB Power
EasyProg
RS-485
A - Orange
B - Red
- Brown
AB
NOTE: SHOULD CONSULT THE MANUAL CONTROLLER
TO VERIFY THAT IS COMPATIBLE WITH Easyprog ver. 2
or higher, BEFORE MAKING A CONNECTION AMONG THEM.
!
- USB: Can be connected to the computer via USB port, no Windows driver installation is required since
EasyProg uses HID (Human Interface Device) communication. The parameters can be copied,
edited, and saved using Sitrad's Preset Editor. The USB port can also function to supply electric power
to and the Controller (when not used along with USB and Serial TTL).
EasyProg
Note: Always use shielded USB cables with a maximum length of 6 ft (1.8 m).
Note: Whenever the parameters from a controller model are uploaded to , the information
EasyProg
must be downloaded to controllers with the same model.
6. FORMS OF CONNECTION AND CONNECTION DIAGRAMS
NOTE 2: CONNECTING TO ON THE COMPUTER, THE INDICATOR FLASHES TWO
EASYPROG ver. 4 or higher
SOMETIMES, FIRST INFORMING THE FIRMWARE VERSION AND ITS RELEASE AND THEN IT SHUTDOWNS. AFTER,
REMAINS ONLY THE LEDS AND ACCESSORIES ON THE MAGENTA COLOR.
!
Copyright 2022 All rights reserved
The products manufactured by Full Gauge Controls, from May 2005, have a warranty period of 02
(two) years directly with the factory and 01 (one) year with accredited resellers/dealers, from the date
of the consigned sale on the invoice. After this year with resellers, the warranty will continue to be
effective if the instrument is sent directly to Full Gauge Controls. This period is valid for the Brazilian
market. Other countries have a 2 (two) year warranty. The products are guaranteed in case of
manufacturing failure that makes them improper or unsuitable for the applications for which they are
intended. The warranty is limited to the maintenance of instruments manufactured by Full Gauge
Controls, disregarding other types of expenses, such as indemnification due to damages caused to
other equipment.
EXCEPTIONS TO WARRANTY
The Warranty does not cover transport and / or insurance costs for sending products with
indications of defect or malfunction to Technical Assistance. The following events are also not
covered: natural wear of parts, external damage caused by falls or improper packaging of products.
LOSS OF WARRANTY
oduct will automatically lose its warranty if:The pr
- y in the technical description and the installation procedures The instructions for use and assembl
present in Standard NBR5410 are not observed ;
- It is subjected to conditions beyond the limits specified in its technical description;
- It is violated or repaired by a person who is not part of Full Gauge’s technical team;
- The damage is caused by a fall, blow and / or impact, water infiltration, overload and / or
atmospheric discharge.
WARRANTY USE
To be covered and benefit from the guarantee, the customer must send the product properly
packed, together with the corresponding purchase invoice, to Full Gauge Controls. Shipping costs
for products are at customer's costs. It is also necessary to send as much information as possible
regarding the detected defect, thus making it possible to streamline the analysis, testing and service.
These processes and eventual product maintenance will only be carried out by Full Gauge
Controls’ Technical Assistance, at the Company’s headquarters- Rua Júlio de Castilhos, 250, CEP
92120-030 - Canoas - Rio Grande do Sul - Brazil.
ENVIRONMENTAL INFORMATION
Packing:
The materials used in the packaging of Full Gauge products are 100% recyclable. Try to dispose of it
through specialized recycling agents.
Product:
The components used in Full Gauge controllers can be recycled and reused if disassembled by
specialized companies.
Disposal:
Do not burn or dispose of controllers that reach the end of their life span in household trash. Observe
the existing effective legislation in your region regarding the disposal of electronic waste. In case of
any doubts, contact Full Gauge Controls.
7 WARRANTY AGREEMENT AND ENVIRONMENT.

Other Full Gauge Controllers manuals

Full Gauge MT-444 eXpress User manual

Full Gauge

Full Gauge MT-444 eXpress User manual

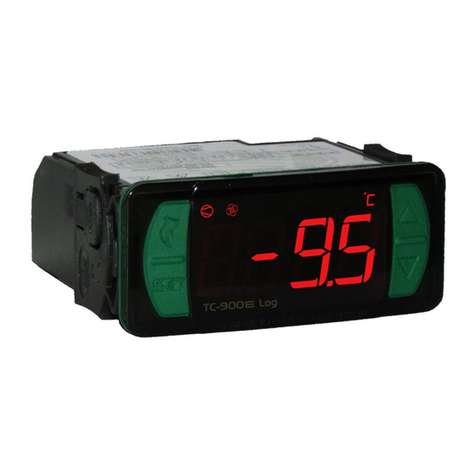
Full Gauge TC-900 E User manual

Full Gauge

Full Gauge TC-900 E User manual

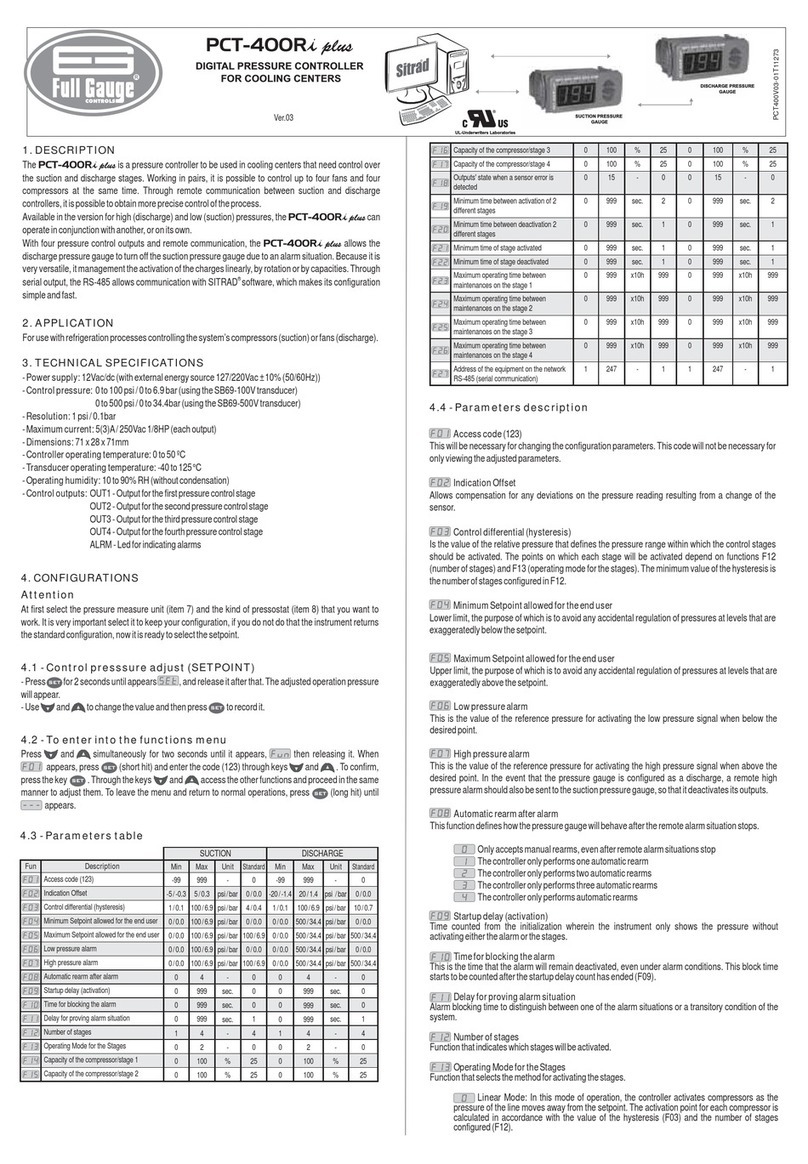
Full Gauge PCT-400R Plus User manual

Full Gauge

Full Gauge PCT-400R Plus User manual

Full Gauge TC-900RG2 slim User manual

Full Gauge

Full Gauge TC-900RG2 slim User manual

Full Gauge Microsol II E plus User manual

Full Gauge

Full Gauge Microsol II E plus User manual

Full Gauge PWR-3200 plus User manual

Full Gauge

Full Gauge PWR-3200 plus User manual

Full Gauge TC-900EL Log User manual

Full Gauge

Full Gauge TC-900EL Log User manual

Full Gauge Faston MT-444e User manual

Full Gauge

Full Gauge Faston MT-444e User manual

Full Gauge CONV 256 User manual

Full Gauge

Full Gauge CONV 256 User manual

Full Gauge TC-900Ri User manual

Full Gauge

Full Gauge TC-900Ri User manual

Full Gauge TC-970E+ECO Faston User manual

Full Gauge

Full Gauge TC-970E+ECO Faston User manual

Full Gauge TC-900e 2HP User manual

Full Gauge

Full Gauge TC-900e 2HP User manual

Full Gauge MT-530 Super User manual

Full Gauge

Full Gauge MT-530 Super User manual

Full Gauge TIC-17 Series Manual

Full Gauge

Full Gauge TIC-17 Series Manual

Full Gauge MT-512Ri LOG User manual

Full Gauge

Full Gauge MT-512Ri LOG User manual

Full Gauge PCT-120E plus User manual

Full Gauge

Full Gauge PCT-120E plus User manual

Full Gauge TIC-17 Series User manual

Full Gauge

Full Gauge TIC-17 Series User manual

Full Gauge MT-514 E FASTON User manual

Full Gauge

Full Gauge MT-514 E FASTON User manual

Popular Controllers manuals by other brands

Cubic AM6108B specification

Cubic

Cubic AM6108B specification

Beijer Electronics BFI-P2/E3 quick start guide

Beijer Electronics

Beijer Electronics BFI-P2/E3 quick start guide

Zamel SRP-22 manual

Zamel

Zamel SRP-22 manual

Sfida 01 Series Operation manual

Sfida

Sfida 01 Series Operation manual

Nidec HVAC Drive H300 Quick Startup and Operation Guide

Nidec

Nidec HVAC Drive H300 Quick Startup and Operation Guide

Unitronics MJ20-MEM1 Installation Guide & Technical Specifications

Unitronics

Unitronics MJ20-MEM1 Installation Guide & Technical Specifications

MSA ZGARD C instruction manual

MSA

MSA ZGARD C instruction manual

AUMA SA 16.1 Operation instructions

AUMA

AUMA SA 16.1 Operation instructions

Newport New Focus Picomotor 8742 user manual

Newport

Newport New Focus Picomotor 8742 user manual

C&S CSPF-100 Quick reference guide

C&S

C&S CSPF-100 Quick reference guide

Festo CMMS-AS Brief overview

Festo

Festo CMMS-AS Brief overview

Rice Lake 880 Performance Series Technical manual addendum

Rice Lake

Rice Lake 880 Performance Series Technical manual addendum

Tolomatic RSX manual

Tolomatic

Tolomatic RSX manual

Fluke 1732 user manual

Fluke

Fluke 1732 user manual

Fairford agility Series user manual

Fairford

Fairford agility Series user manual

Becker Centronic SunWindControl SWC545-II Assembly and operating instructions

Becker

Becker Centronic SunWindControl SWC545-II Assembly and operating instructions

Invertek Drives Optidrive HVAC Series user guide

Invertek Drives

Invertek Drives Optidrive HVAC Series user guide

Omron CK3M Series user manual

Omron

Omron CK3M Series user manual

manuals.online logo
manuals.online logoBrands
  • About & Mission
  • Contact us
  • Privacy Policy
  • Terms and Conditions

Copyright 2025 Manuals.Online. All Rights Reserved.