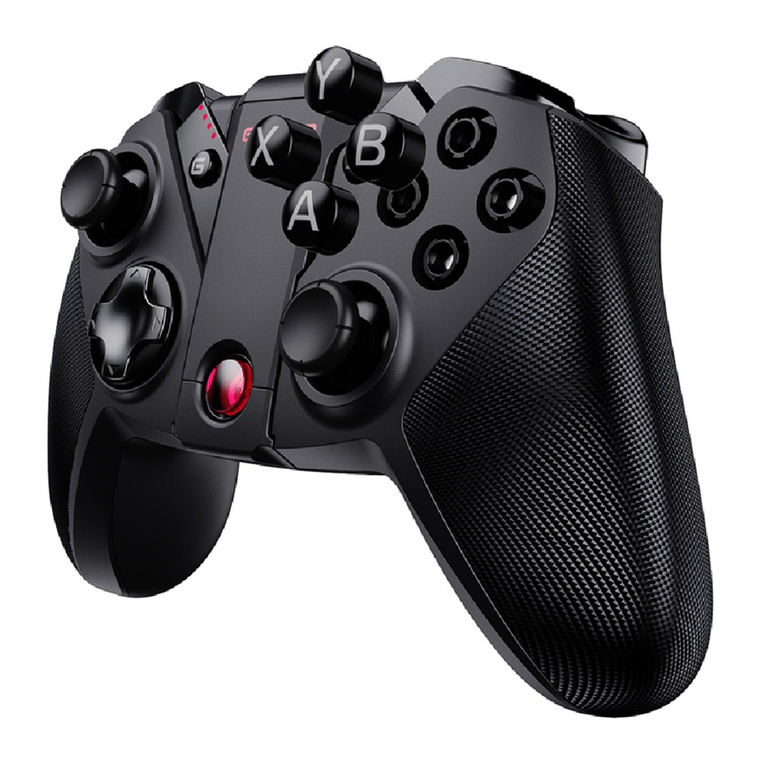
GameSir T3 User manual

User Manual
GameSir T3
Gaming is winning.™

EQUIPMENT LAYOUT
D-Pad
Function Zone
A / B / X / Y Button
Indicator Light
HOME Button
Left Joystick
Right Joystick
L1 / L2 Button
R1 / R2 Button
Micro-USB Port
USB Cable
USB Wireless Receiver

EQUIPMENT LAYOUT
D-Pad
Function Zone
A / B / X / Y Button
Indicator Light
HOME Button
Left Joystick
Right Joystick
L1 / L2 Button
R1 / R2 Button
Micro-USB Port
USB Cable
USB Wireless Receiver

Power on: Press and hold the HOME button for 2s to power on;
Power off: Press and hold the HOME button for 5s to power off.
POWER ON/OFF
Use the attached USB cable to connect the Micro-USB port at the
top of the gamepad and a USB power adapter (not included).
Note: The charging indicator light will cover the mode indicator light
when charging.
HOW TO CHARGE THE GAMEPAD
BATTERY STATUS
INDICATOR LIGHT DESCRIPTION
Battery level is below 15%Fast blinking red
Slow blinking red Charging
Solid red Fully charged
1.
2.
3.
4.
Plug the USB receiver into the USB port of your computer.
When the gamepad is powered off, press and hold the R1+X+
HOME button for 2s to start the gamepad;
The indicator light of the gamepad fast blinks alternately blue and
red to enter the pairing mode;
After successful connection, the default mode is computer
connection mode.
1.
2.
3.
Plug the USB receiver into the USB port of your computer;
Press and hold the X+HOME button to start the gamepad;
When reconnecting to your computer again after the gamepad is
powered off, just by pressing and holding the HOME button for 2s
to start the gamepad, the gamepad will automatically connect with
the USB receiver .
HOW TO PAIR WITH USB RECEIVER
HOW TO CONNECT TO YOUR COMPUTER VIA USB RECEIVER
CHARGING INDICATOR LIGHT DESCRIPTION
Slowly blinking blue
Fast blinking blue
Connecting
Solid blue
Pairing
Connected

HOW TO CONNECT TO YOUR ANDROID TV BOX VIA USB CABLE
1.
2.
Combo setup:press and hold the TURBO button, then quickly
press the button that needs a combo setup(programmable
buttons: A/B/X/Y/L1/L2/R1/R2);
Combo gear: 4 gears, Slow 2Hz/Middle 5Hz/Fast 8Hz/Off;
COMBO FUNCTION SETUP OR CANCEL
1.
2.
Vibration gear: 4 gears, Off/Low/Middle/Strong;
Adjustment of vibration gear: press and hold the TURBO button,
then press the D-Pad’s down button (downshift)or up (upshift)
button to adjust the vibration gear. The according vibration
response time is 2s when adjusting.
MOTOR VIBRATION INTENSITY
ADJUSTMENT
INDICATOR LIGHT DESCRIPTION
Solid red Connected
1.
2.
Press and hold the A+HOME button to start the gamepad;
Connect the gamepad to your Android TV box via USB cable.
HOW TO CONNECT TO ANDROID TV BOX VIA USB RECEIVER
1.
2.
3.
Plug the USB receiver into the USB port of your Android TV box;
Press and hold the A+HOME button to start the gamepad;
When connecting your Android TV box again after the gamepad is
powered off, just by pressing and holding the HOME button for 2s
to start the gamepad, the gamepad will automatically connect with
the USB receiver .
INDICATOR LIGHT DESCRIPTION
Slowly blinking purple
Fast blinking purple
Connecting
Solid purple
Pairing
Connected
INDICATOR LIGHT DESCRIPTION
Solid red Connected
HOW TO CONNECT TO YOUR COMPUTER VIA USB CABLE
1.
2.
Press and hold the X+HOME button to start the gamepad;
Connect the gamepad to your computer via USB cable.

3.
4.
Adjustment of combo gear: press and hold the TURBO button,
then press the D-Pad’s left button (downshift)or right (upshift)
button to adjust the combo gear. The indicator light will flicker 1
time when it’s at Slow level, 2 times when at Middle, and 3 times
when at Fast. It can be cyclically adjusted again when it’s at Off.
Combo cancel: Double-click the CLEAR button to cancel all the
combo buttons that have been set.
NOTICE PLEASE READ THIS PRECAUTIONS CAREFULLY.
CONTAINS SMALL PARTS. Keep out of reach of children under the age of 3.
Seek immediate medical attention if swallowed or inhaled.
DO NOT use the product near fire.
DO NOT expose to direct sunlight or high temperatures.
DO NOT leave the product in a humid or dusty environment.
DO NOT impact the product or cause it to fall due to strong impact.
DO NOT touch USB port directly or it might cause malfunctions.
DO NOT strongly bend or pull cable parts.
Use a soft, dry cloth while cleaning.
DO NOT use chemicals such as gasoline or thinner.
DO NOT disassemble, repair or modify.
DO NOT use for purposes other than its original purpose. We are NOT
responsible for accidents or damage when used for non-original purposes.
DO NOT look directly at the optical light. It might damage your eyes.
If you have any quality concerns or suggestions, please contact GameSir
or your local distributor.
Thisdevicecomplieswithpart15oftheFCCRules.Operationissubjecttothefollowing
twoconditions:(1)Thisdevicemaynotcauseharmfulinterference,and(2)thisdevice
mustacceptanyinterferencereceived,includinginterferencethatmaycauseundesired
operation.
Note:ThisequipmenthasbeentestedandfoundtocomplywiththelimitsforaClassB
digitaldevice,pursuanttopart15oftheFCCRules.Theselimitsaredesignedtoprovide
reasonableprotectionagainstharmfulinterferenceinaresidentialinstallation.This
equipmentgenerates,usesandcanradiateradiofrequencyenergyand,ifnotinstalledand
usedinaccordancewiththeinstructions,maycauseharmfulinterferencetoradio
communications.
However,thereisnoguaranteethatinterferencewillnotoccurinaparticularinstallation.
Ifthisequipmentdoescauseharmfulinterferencetoradioortelevisionreception,which
canbedeterminedbyturningtheequipmentoffandon,theuserisencouragedtotryto
correcttheinterferencebyoneormoreofthefollowingmeasures:
-Reorientorrelocatethereceivingantenna.
-Increasetheseparationbetweentheequipmentandreceiver.
-Connecttheequipmentintoanoutletonacircuitdifferentfromthat towhichthe
receiverisconnected.
-Consultthedealeroranexperiencedradio/TVtechnicianforhelp.
Other manuals for T3
1
Table of contents
Other GameSir Controllers manuals

GameSir
GameSir G4 pro User manual

GameSir
GameSir G3w User manual

GameSir
GameSir GameSir T6 User manual

GameSir
GameSir G3s Enhanced Edition User manual

GameSir
GameSir G7 User manual

GameSir
GameSir X2 User manual

GameSir
GameSir X3 TYPE-C User manual

GameSir
GameSir T3S User manual

GameSir
GameSir T2a User manual

GameSir
GameSir X2 User manual