7
so that tube is closer to your lower arm.
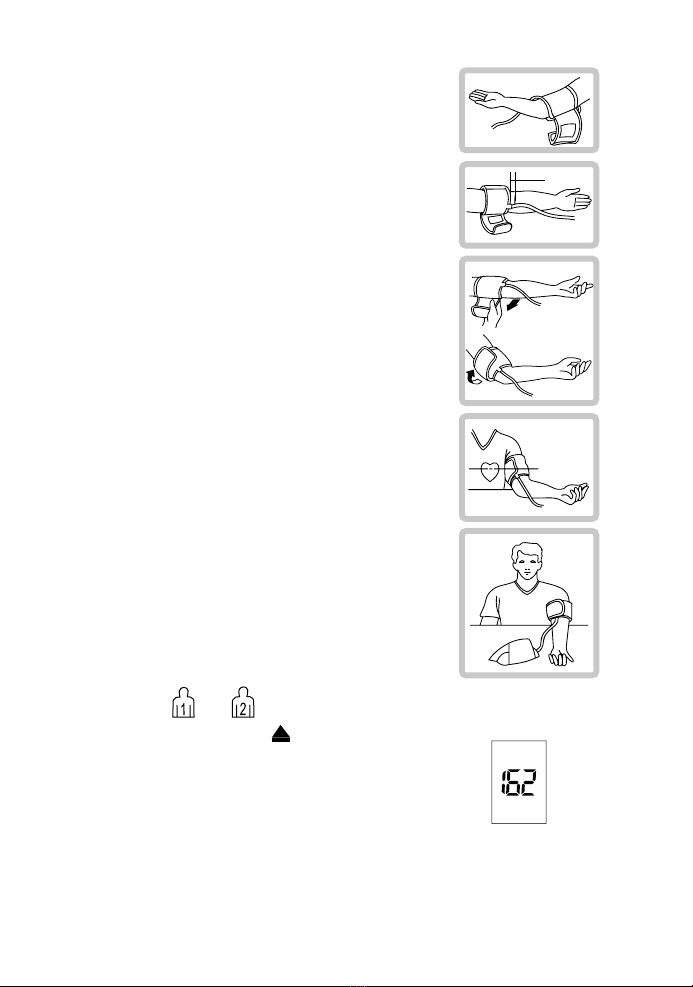
3. Lay the cuon the arm so that the low-
er edge of the culies approximately 2 to 3
cm above the elbow.
4. Tighten the cuby pulling the end and
close the cuby axing the velcro. There
should be little free space between the arm
and the cu. Cuthat does not t properly
results in false measurement values. Cloth-
ing must not restrict the arm. Any piece of
clothing which does must be removed.
5. Lay your arm on a table so the cuis at
the same height as your heart. If the upper
arm artery lies considerably lower or higher
than the heart, a false higher or lower blood
pressure will be measured! A variation of 15
cm between cuand heart level can result in
BSFBEJOHFSSPSPGPSNN)H
Make sure the tube is not kinked.
6. Remain seated quietly for two minutes
before you begin the measurement.
3.2. Measuring procedure
1. Press or button, the display
TIPXTiw*OøBUJPOJDPO ashes on dis-
play when it it begins to inate.
During the ination, please do not move
2. Automatic deation after measure-
ment, and display the blood pressure,heart
rate, and blood pressure indicator
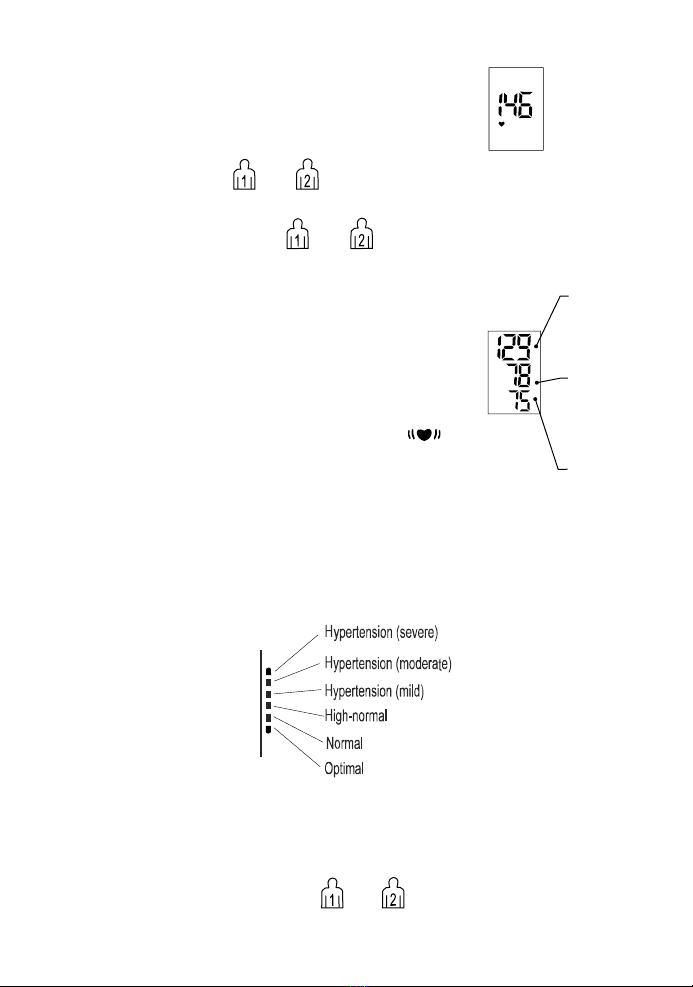
t .JTUBLFEJTQMBZi&wQMFBTFSFGFSUIFJO-
struction about troubleshooting.
2-3cm