6
SAFETYINFORMATION
·Use this appliance in outdoor areas described below:
(a) With walls on all sides, but at least one permanent opening at ground level and no overhead
cover.
(b) Within a partial enclosure that includes overhead cover and no more than two walls. These
walls may be parallel, or at right angles to each other.
(c) Within a partial enclosure that includes overhead cover and no more than two walls. The
following shall apply:
(i) One wall that is equivalent to at least 25% of the total wall area is completely open.
(ii) 30% or more in total of the remaining wall area is open and unrestricted.
· Store the cylinder outdoors in a well-ventilated area (not in a building, garage, or other enclosed
area) out of the reach of children.
·Do not store a spare LP-gas cylinder under or near this appliance.
· Never fill the cylinder beyond 80 percent full.
WARNING
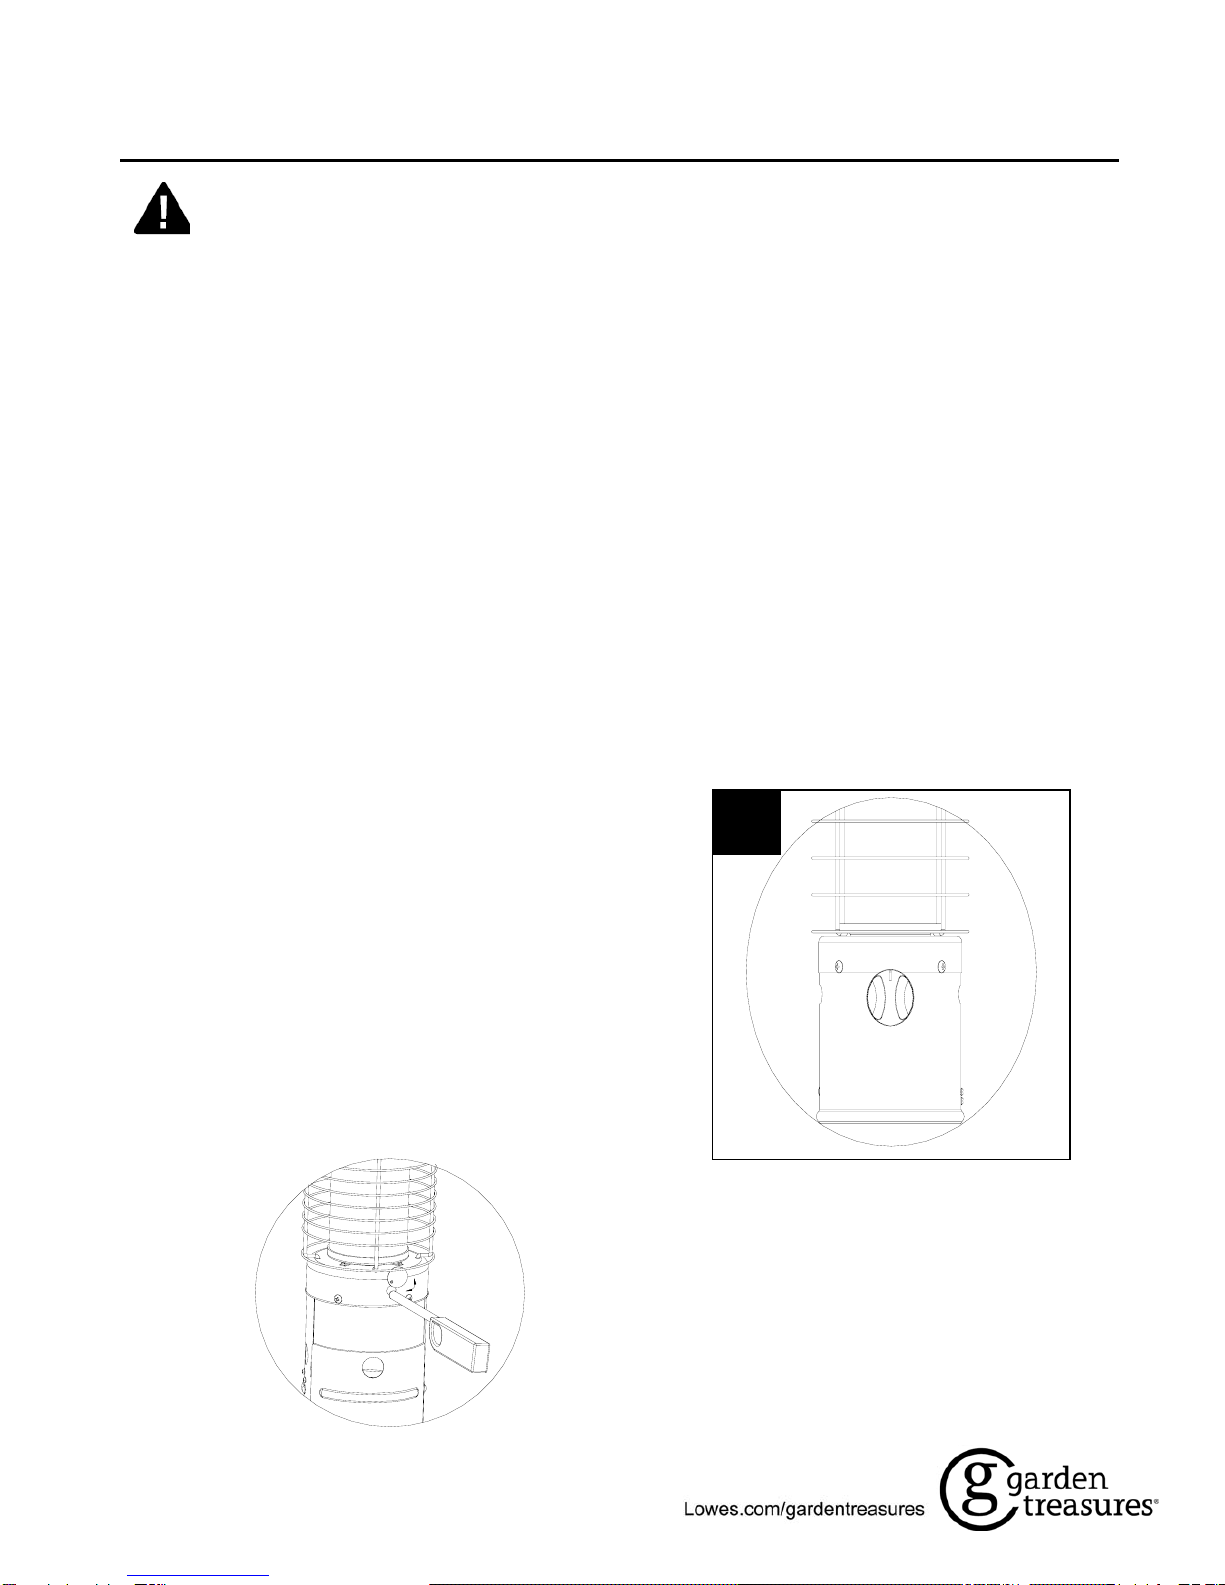
· Inspect the visible portion of the hose before each use of the appliance
·Perform a leak test with a soapy solution:
(a) To check gas connections.
(b) After connecting a new cylinder.
(c) Upon re-assembly after disassembly.
Please refer to the leak test procedure indicated in this instruction manual on page 11.
Replace the hose assembly prior to the appliance being put into operation if there is evidence of
excessive abrasion or wear, or if the hose is damaged. The pressure regulator and hose
assembly supplied with the appliance must be used .The replacement hose assembly/ regulator
shall be that specified by the manufacturer.
·The cylinder used must include a collar to protect the cylinder valve.
·Installation and repair should be done by qualified service person; the heater should be inspected
before use and at least annually by a qualified service person.
·Do not obstruct the flow of combustion and ventilation air.
· The LP-gas supply cylinder to be used must be:
(a) Constructed and marked in accordance with the Specifications for LP-gas cylinders of the
U.S. Department of Transportation of Dangerous Goods and Commission, CAN/CSA-B339,
as applicable;
(b) Provided with a listed overfilling prevention device; and
(c) Provided with a cylinder connection device compatible with the connection for the appliance.
· Disconnect the cylinder when the appliance is not in use.
·Storage of an appliance indoors is permissible only if the cylinder is disconnected and removed
from the appliance.
·Materials or items when stored under the heater will be subjected to intense heat and could be
seriously damaged.